
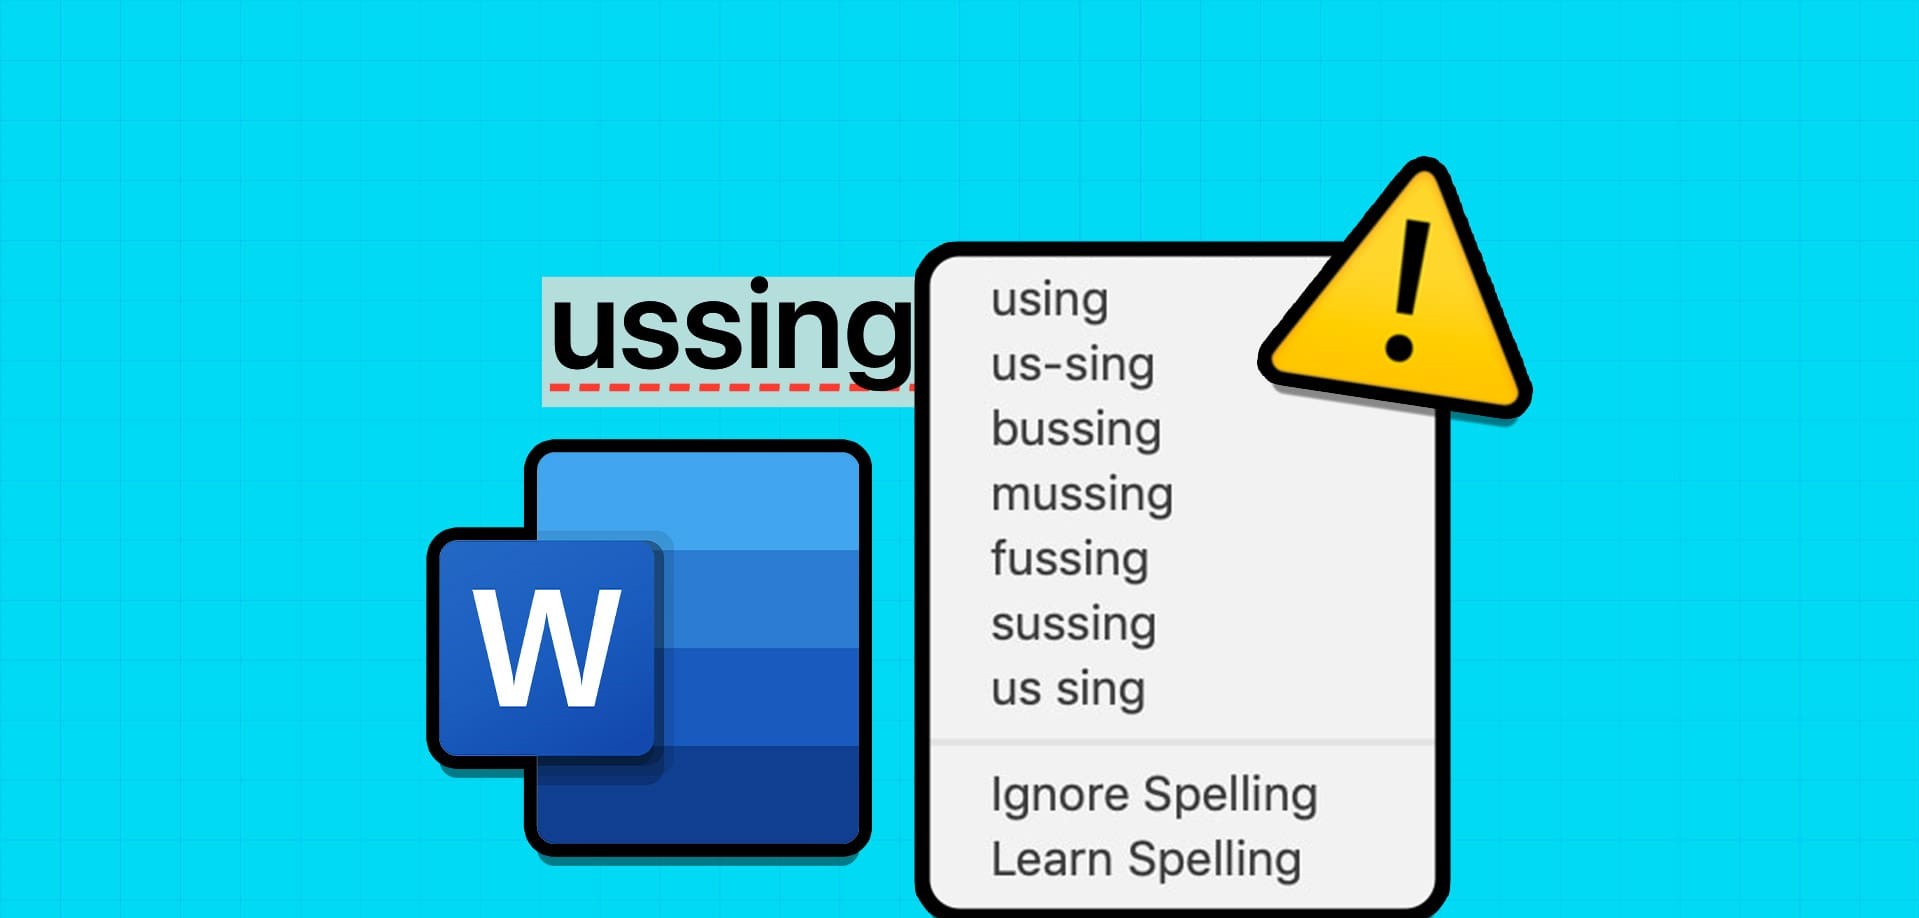
Check Your Spelling and Grammar Settings
One of the first steps to take when spell check is not working in Word is to ensure that your spelling and grammar settings are correctly configured. Follow these steps to check your settings:
- Open Microsoft Word and click on the “File” tab at the top left corner of the screen.
- Select “Options” from the dropdown menu.
- In the Word Options dialog box, click on “Proofing” in the left-hand menu.
- Make sure that the “Check spelling as you type” and “Mark grammar errors as you type” options are checked.
- Scroll down to the “Exceptions for” section and ensure that the appropriate language is selected.
- Review the additional settings such as “Ignore words in UPPERCASE” and “Ignore words that contain numbers” to customize your spell check preferences.
- Click “OK” to save your changes.
Once you have verified that the correct options are selected, try typing a sample sentence with a deliberate misspelling or grammar mistake to test if the spell check feature is working properly. If it still doesn’t work, proceed to the next troubleshooting steps.
It’s important to note that different versions of Microsoft Word may have slightly different options and layout arrangements. However, the general process of accessing the settings and ensuring the spell check features are enabled remains the same.
By double-checking your spelling and grammar settings, you can rule out any simple configuration issues that may be hindering the functionality of the spell check feature. If the problem persists, move on to the next recommended solution.
Update Microsoft Office and Word
If your spell check is not working in Word, it may be due to outdated software. Updating your Microsoft Office suite and Word application can help resolve any compatibility issues or bugs that may be affecting spell check. Here’s how you can update your software:
- Open Microsoft Word and click on the “File” tab at the top left corner of the screen.
- Select “Account” from the left-hand menu.
- Click on the “Update Options” button, and then choose “Update Now”.
- Allow the software to check for and install any available updates.
- If prompted, restart your computer to complete the update process.
It’s important to keep your software up to date as updates often include bug fixes and performance improvements. By updating Microsoft Office and Word, you ensure that you have the latest version with all the necessary patches.
If updating your software doesn’t fix the spell check issue, there may be other factors at play. Consider trying the next troubleshooting steps to resolve the problem.
Note that the process for updating Microsoft Office and Word may vary slightly depending on the version you are using. However, the basic steps outlined above should help guide you in the right direction.
Updating your software should be one of the first troubleshooting steps to take when spell check is not functioning properly in Word. It’s a straightforward process that may resolve the issue without requiring further troubleshooting steps. However, if the problem persists, continue to the next recommended solution.
Reset Spell Check Options
If your spell check is still not working in Word, resetting the spell check options can help resolve any misconfigurations or corrupted settings. Follow these steps to reset the spell check options:
- Open Microsoft Word and click on the “File” tab at the top left corner of the screen.
- Select “Options” from the dropdown menu.
- In the Word Options dialog box, click on “Proofing” in the left-hand menu.
- Scroll down to the “When correcting spelling and grammar in Word” section.
- Click on the “Recheck Document” button.
- On the confirmation prompt, select “Yes” to reset the spelling and grammar checker.
- Click “OK” to save the changes.
By resetting the spell check options, you essentially clear any customized settings and return to the default configuration. This can be helpful if there are conflicting settings or if the spell check feature has become unresponsive due to corruption.
After resetting the options, try typing a new sentence with deliberate mistakes to verify if the spell check feature is functioning correctly. If the issue persists, proceed to the next troubleshooting step.
Remember that the steps mentioned above may vary slightly depending on the version of Microsoft Word you are using. However, the overall process remains the same. Resetting the spell check options is a simple yet effective solution to try when encountering problems with the spell check feature.
Add or Remove Words from the Custom Dictionary
If spell check is not working correctly in Word, it’s possible that certain words are not recognized because they are not included in the custom dictionary. Adding or removing words from the dictionary can help improve the accuracy of the spell check feature. Follow these steps to manage the custom dictionary:
- Open Microsoft Word and click on the “File” tab at the top left corner of the screen.
- Select “Options” from the dropdown menu.
- In the Word Options dialog box, click on “Proofing” in the left-hand menu.
- Click on the “Custom Dictionaries” button.
- In the Custom Dictionaries window, you will see a list of dictionaries available. Select the dictionary you want to manage.
- To add a word, type it into the “Word” box and click “Add”. The word will now be recognized as valid by the spell check feature.
- To remove a word, select it from the list and click “Delete”. This will exclude the word from future spell checks.
- Click “OK” to save the changes.
By managing the custom dictionary, you can ensure that specific words that are commonly used or unique to your industry or vocabulary are recognized by the spell check feature. This can help prevent false positive errors and improve the overall accuracy of the spell check.
It’s important to note that the steps mentioned above may differ slightly depending on the version of Microsoft Word you are using. However, the general process remains the same.
Adding or removing words from the custom dictionary is a useful troubleshooting step when encountering issues with the spell check feature. It allows you to have better control over the words that are recognized and ultimately enhances the accuracy of the spell check process.
Clear the Word Data Registry Key
If you’re still experiencing problems with the spell check feature in Microsoft Word, clearing the Word Data Registry Key could potentially resolve any underlying issues related to the registry settings. Follow the steps below to clear the Word Data Registry Key:
- Close all instances of Microsoft Word.
- Press the Windows Key + R to open the Run dialog box.
- Type “regedit” (without quotes) and press Enter to open the Registry Editor.
- In the Registry Editor, navigate to the following location: HKEY_CURRENT_USER\Software\Microsoft\Office\{version}\Word\Data
- Right-click on the “Data” folder and select “Delete” from the context menu.
- Confirm the deletion when prompted.
- Close the Registry Editor.
Deleting the Word Data Registry Key removes any corrupt or conflicting registry entries that may be causing the spell check to malfunction. By clearing this key, you allow Microsoft Word to recreate the necessary registry settings the next time it starts, potentially resolving any issues with the spell check.
It’s important to note that modifying the Windows Registry should be done with caution as it contains critical system settings. Before proceeding, it is advisable to create a backup of the registry or seek assistance from a knowledgeable professional.
After clearing the Word Data Registry Key, launch Microsoft Word and test the spell check feature to see if it is functioning correctly. If the problem persists, continue to the next recommended solution.
The process to clear the Word Data Registry Key is consistent across different versions of Microsoft Word, but it’s essential to exercise caution and follow the instructions accurately to prevent any unintended consequences.
Repair Microsoft Office Installation
If spell check is still not working in Microsoft Word, repairing your Office installation can help resolve any issues related to the software’s installation files or configurations. Follow these steps to repair the Office installation:
- Close all Office applications, including Word.
- Open the Control Panel on your computer.
- Click on “Programs” or “Programs and Features”.
- Locate and select Microsoft Office from the list of installed programs.
- Click on the “Change” or “Repair” button.
- Follow the on-screen prompts to initiate the repair process.
- Depending on your installation, you may be prompted to choose between quick repair or online repair. Select the appropriate option.
- Allow the repair process to complete. This may take some time.
- Once the repair is finished, restart your computer.
Repairing the Microsoft Office installation ensures that any corrupted or missing files are replaced, and any misconfigurations are corrected. This can help resolve issues with the spell check feature in Microsoft Word.
It’s important to note that the steps outlined above may vary depending on the version of Microsoft Office you have installed. However, most versions provide a repair option in the Control Panel or through the Office installer.
After repairing the Microsoft Office installation, launch Word and test the spell check feature to see if it is now functioning properly. If the problem persists, there may be other factors contributing to the issue, and further troubleshooting steps may be required.
Repairing the Office installation is a recommended solution when encountering software-related issues such as spell check not working. It helps ensure that the Office suite is in a good working condition and can address any underlying problems that may be affecting specific features like spell check.
Use an Online Spell Checker
If you’re still facing issues with the spell check feature in Microsoft Word, utilizing an online spell checker can provide a temporary solution. Online spell checkers are tools available on the internet that can help identify and correct spelling errors in your documents. Here’s how you can use an online spell checker:
- Open your preferred web browser.
- Search for “online spell checker” using a search engine.
- Choose a reputable online spell checker tool from the search results.
- Copy and paste the text from your Word document into the provided text box on the online spell checker website.
- Click on the “Check” or “Spell check” button to initiate the spell check process.
- The online spell checker will analyze your text and highlight any spelling errors or suggest corrections.
- Review the suggested corrections and make the necessary changes in your Word document.
Using an online spell checker can be a helpful workaround when the built-in spell check feature in Microsoft Word is not working. These tools are often equipped with extensive dictionaries and advanced algorithms to provide accurate spelling suggestions.
However, it’s important to note that relying solely on online spell checkers may not be the most efficient solution. They may not have all the features and functionality offered by Word’s spell check, such as grammar checks and contextual suggestions. It’s always recommended to use the online spell checker as a temporary solution while seeking to fix the issue directly within Word.
By utilizing an online spell checker, you can ensure that your documents are free from spelling errors, even if Word’s built-in spell check feature is not functioning properly. However, it’s crucial to address the root cause of the issue to regain full functionality within Microsoft Word.
Use an Alternative Word Processing Software
If you’ve tried all the troubleshooting steps and the spell check feature in Microsoft Word is still not working, you may consider using an alternative word processing software as a temporary solution. There are several reliable alternatives available that offer similar features and functionalities. Here are a few options to consider:
- Google Docs: Google Docs is a free web-based word processing software that can be accessed through a web browser. It offers a built-in spell check feature and collaboration tools, making it a convenient choice for creating and editing documents.
- LibreOffice Writer: LibreOffice Writer is a free and open-source word processing software that provides a comprehensive set of features. It supports multiple platforms and offers a spell check feature, grammar checking, and compatibility with Microsoft Word documents.
- WPS Office: WPS Office is a full-featured office suite that includes a word processor with a robust spell check feature. It is available for free and includes compatibility with Microsoft Office file formats.
When using an alternative word processing software, you may need to import your existing Word documents or save them in compatible file formats. Most alternative software options provide easy-to-follow instructions on how to do this.
While using an alternative software can provide a temporary fix, it’s important to address the issue with Microsoft Word’s spell check feature if you rely heavily on the application in your daily workflow. Consider seeking further assistance or exploring additional troubleshooting steps to resolve the problem.
By using an alternative word processing software, you can continue working on your documents while having access to a functioning spell check feature. However, it’s advisable to reevaluate the situation periodically and aim to restore the proper functionality of Microsoft Word as your primary word processing solution.
Seek Help from Microsoft Support
If all else fails and the spell check feature in Microsoft Word is still not working, it may be necessary to seek help from Microsoft Support. Microsoft offers various support channels to assist users in resolving software-related issues. Here are some options to consider:
- Microsoft Support Website: Visit the official Microsoft Support website for troubleshooting guides, knowledge base articles, and community forums where you can find answers to common issues. You may also find helpful resources specific to the version of Microsoft Word you are using.
- Microsoft Community: Engage with the Microsoft Community, an online forum where users and Microsoft experts collaborate to provide solutions to problems. You can post your question or search for similar issues that have already been addressed.
- Microsoft Support Assistant: Utilize the Microsoft Support Assistant, a virtual support agent that can guide you through troubleshooting steps, provide automated solutions, and help connect you with a Microsoft support representative if needed.
- Microsoft Support Phone Number: Contact Microsoft Support directly by phone for personalized assistance. The support phone number may vary depending on your geographical location and the specific Microsoft products you are using.
When seeking help from Microsoft Support, it’s advisable to have relevant information ready, such as your Microsoft Word version, any recent updates or changes made to your system, and a detailed description of the issue you are facing.
The Microsoft Support team is dedicated to assisting users with troubleshooting their software-related problems. They can guide you through additional troubleshooting steps, diagnose any underlying issues, and provide recommendations or solutions to get the spell check feature working again.
Remember to take note of any support ticket or case numbers provided during your interaction with Microsoft Support. This will help facilitate future communication regarding the progress of your issue and any potential solutions.
Seeking help from Microsoft Support is an essential step when you experience persistent issues with the spell check feature in Microsoft Word. Their expertise can provide valuable guidance and assistance to overcome any technical obstacles you may encounter.