
Check the Power Connection
If your Roku won’t turn on, the first and most basic step is to check the power connection. Sometimes, a loose or faulty power connection can cause your Roku device to not turn on. Follow the steps below to ensure a secure power connection:
- Check the power cable: Verify that the power cable is firmly connected to both your Roku device and the power outlet. Gently tug on the cable to make sure it is securely plugged in. If it’s loose, disconnect and reconnect the cable to ensure a snug fit.
- Use the original power adapter: Ensure that you are using the power adapter that came with your Roku device. Using a different power adapter may not provide the correct voltage and could prevent your Roku from turning on. If you are using the original adapter, proceed to the next step.
- Inspect the power adapter: Examine the power adapter for any visible damage or frayed wires. If you notice any issues, such as a bent prong or exposed wires, it may be necessary to replace the power adapter. Faulty adapters can cause power fluctuations that prevent your Roku from powering on.
Once you have checked the power connection and ensured that everything is secure and properly connected, attempt to turn on your Roku device again. If the issue persists, there may be other factors causing the problem.
Make Sure the Power Source is Active
If your Roku device is not turning on, it is essential to verify that the power source is active. Sometimes, the problem may lie with the power outlet rather than the device itself. Follow the steps below to ensure that the power source is active:
- Check other electronic devices: Plug in another electronic device into the same power outlet to confirm if it is functioning properly. If the other device does not work either, the issue may be with the outlet or the power supply in your home. In this case, you may need to contact an electrician to diagnose and fix the problem.
- Reset the circuit breaker or fuse: If the power outlet is not supplying electricity, check if the circuit breaker has tripped or the fuse has blown. Locate the circuit breaker panel or fuse box in your home and check for any switches that are in the “off” position or fuses that are visibly damaged. Reset the breaker or replace the fuse if necessary.
- Use a different power outlet: If you have confirmed that the power outlet is working correctly, try plugging your Roku device into a different outlet. This can help determine if the issue is isolated to a specific power outlet.
- Consider using a surge protector: Power surges or fluctuations can sometimes impact the functionality of electronic devices. Plugging your Roku device into a surge protector can help protect it from sudden power spikes and ensure a stable power supply.
Once you have carefully assessed the power source and taken the necessary steps to verify its availability and stability, attempt to turn on your Roku device again. If the problem persists, continue troubleshooting using the next steps.
Try a Different Power Outlet
If your Roku device is still not turning on, it’s worth trying a different power outlet. Sometimes, the power outlet itself may be causing the issue. Here’s what you can do:
- Identify an alternative power outlet: Look for another power outlet in the vicinity of your Roku device. It could be in the same room or a nearby area. Make sure the outlet is easily accessible and can accommodate the power adapter.
- Unplug the power adapter: Disconnect the power adapter from the current power outlet and detach it from your Roku device.
- Plug into the new power outlet: Insert the power adapter into the alternative power outlet firmly. Ensure it is securely connected.
- Connect to your Roku device: Reconnect the power adapter to your Roku device. Double-check that it is properly inserted and snugly fitted.
- Check for power indication: Look for any sign of power, such as lights or indicators, on your Roku device. If you see them, it indicates that the new power outlet is functioning correctly.
If your Roku device turns on after using a different power outlet, it suggests that the previous power outlet was the problem. In this case, you might want to address any issues with the original power outlet or consider using the new one as a regular power source for your Roku device. However, if the device still doesn’t turn on, you should proceed with additional troubleshooting steps to resolve the issue.
Replace the Power Adapter
If you have tried different power outlets and your Roku device still fails to turn on, the issue may lie with the power adapter. Over time, power adapters can become damaged or worn out, preventing the proper flow of electricity to your device. Here’s what you can do:
- Check for visible damage: Inspect the power adapter for any visible signs of damage, such as frayed wires, a bent prong, or a cracked casing. If you notice any issues, it is likely that the power adapter needs to be replaced.
- Check the compatibility: Ensure that you are using the correct power adapter for your specific Roku model. Using a power adapter that is not compatible with your device can prevent it from turning on.
- Obtain a replacement power adapter: If it is determined that the power adapter needs to be replaced, contact Roku customer support or visit the official Roku website to purchase a genuine replacement adapter. Using a genuine power adapter will ensure compatibility and optimal performance.
- Connect the new power adapter: Once you have obtained a replacement power adapter, disconnect the old adapter from your Roku device and unplug it from the power outlet. Then, connect the new power adapter to your device and plug it into a working power outlet.
- Test the Roku device: After replacing the power adapter, attempt to turn on your Roku device again. If the new power adapter resolves the issue, your device should power on successfully.
If replacing the power adapter does not solve the problem, there may be other underlying issues with your Roku device. It is recommended to continue with further troubleshooting steps or reach out to Roku customer support for assistance.
Check the HDMI Connection
If your Roku device is powered on but there is no image or video on your TV screen, it’s possible that the HDMI connection between your Roku device and your TV is the culprit. Follow these steps to check the HDMI connection:
- Inspect the HDMI cable: Examine the HDMI cable that connects your Roku device to your TV. Look for any visible damage or loose connections. If you notice any issues, try using a different HDMI cable to see if it resolves the problem.
- Ensure it’s securely connected: Disconnect the HDMI cable from both your Roku device and your TV, and then reconnect it firmly at both ends. Make sure it is inserted fully into each port to establish a secure connection.
- Try a different HDMI port: If you have multiple HDMI ports on your TV, try connecting your Roku device to a different HDMI port. This can help determine if the issue is related to a specific port on your TV.
- Check for HDMI compatibility: Verify that your TV supports the HDMI version of your Roku device. Older TVs may not be compatible with newer HDMI versions, which can cause compatibility issues and prevent a proper connection.
- Test with another device: To ensure that the HDMI port on your TV is functioning correctly, try connecting another HDMI device, such as a gaming console or Blu-ray player, to the same HDMI port. If the other device works, it indicates that the HDMI port is functional, and the issue may be specific to your Roku device.
After carefully checking the HDMI connection and addressing any issues, try turning on your Roku device and see if the video is displayed on your TV screen. If the problem persists, there may be other factors contributing to the issue that require further troubleshooting.
Ensure the TV Input is Set to the Correct HDMI Port
If you have confirmed that the HDMI connection between your Roku device and your TV is secure, but you are still not getting any video or audio, it’s possible that your TV input is not set to the correct HDMI port. Follow these steps to ensure the TV input is set correctly:
- Locate the input button: Look for the input/select button on your TV remote control. It is usually labeled as “Input,” “Source,” or “AV.” Press this button to access the TV’s input menu.
- Select the correct HDMI input: Use the arrow keys on your TV remote control to navigate through the input menu. Look for the HDMI port that your Roku device is connected to. Select the corresponding HDMI input using the remote control.
- Check for a signal: After selecting the correct HDMI input, wait a few seconds to see if your TV displays the Roku interface or any video signal. If you still don’t see anything, try the next step.
- Restart your Roku device: Press the power button on your Roku remote control to turn off your Roku device. Wait for a few seconds, and then press the power button again to turn it back on. This can help establish a connection between your Roku device and your TV.
- Try a different HDMI port: If you have multiple HDMI ports on your TV, try connecting your Roku device to a different HDMI port and repeat the steps above. Sometimes, specific HDMI ports on your TV may be faulty or not compatible with your Roku device.
After ensuring that the TV input is set to the correct HDMI port and following the steps above, check if the video or audio from your Roku device is now appearing on your TV screen. If the issue persists, further troubleshooting steps may be required.
Replace the HDMI Cable
If you have checked the HDMI connection and ensured that the TV input is set correctly, but you are still experiencing issues with the video or audio on your Roku device, it’s possible that the HDMI cable is defective or damaged. Follow these steps to replace the HDMI cable:
- Inspect the HDMI cable: Examine the HDMI cable that connects your Roku device to your TV. Look for any visible signs of damage, such as frayed wires, bent or broken connectors, or a worn-out cable. If you spot any issues, it’s best to replace the cable.
- Obtain a replacement HDMI cable: Purchase a new HDMI cable that is compatible with your Roku device. Look for high-quality cables that support the required HDMI specifications for optimal performance.
- Disconnect the old HDMI cable: Unplug the old HDMI cable from both your Roku device and your TV. Take note of which HDMI ports were used for reference when connecting the new cable.
- Connect the new HDMI cable: Connect one end of the new HDMI cable to the HDMI output port on your Roku device. Then, connect the other end to the HDMI input port on your TV. Ensure that the cable is inserted securely into both ports.
- Test the Roku device: After replacing the HDMI cable, turn on your Roku device and check if the video and audio are now being displayed correctly on your TV. If the new cable resolved the issue, you should now have a stable and clear connection.
If replacing the HDMI cable does not resolve the problem, there might be other underlying issues that require further troubleshooting. Consider trying additional troubleshooting steps or reaching out to Roku customer support for assistance.
Restart Your Roku Device
If you are experiencing issues with your Roku device, one of the simplest and most effective troubleshooting steps is to restart it. Restarting can help resolve minor software glitches and refresh the device’s system. Follow these steps to restart your Roku device:
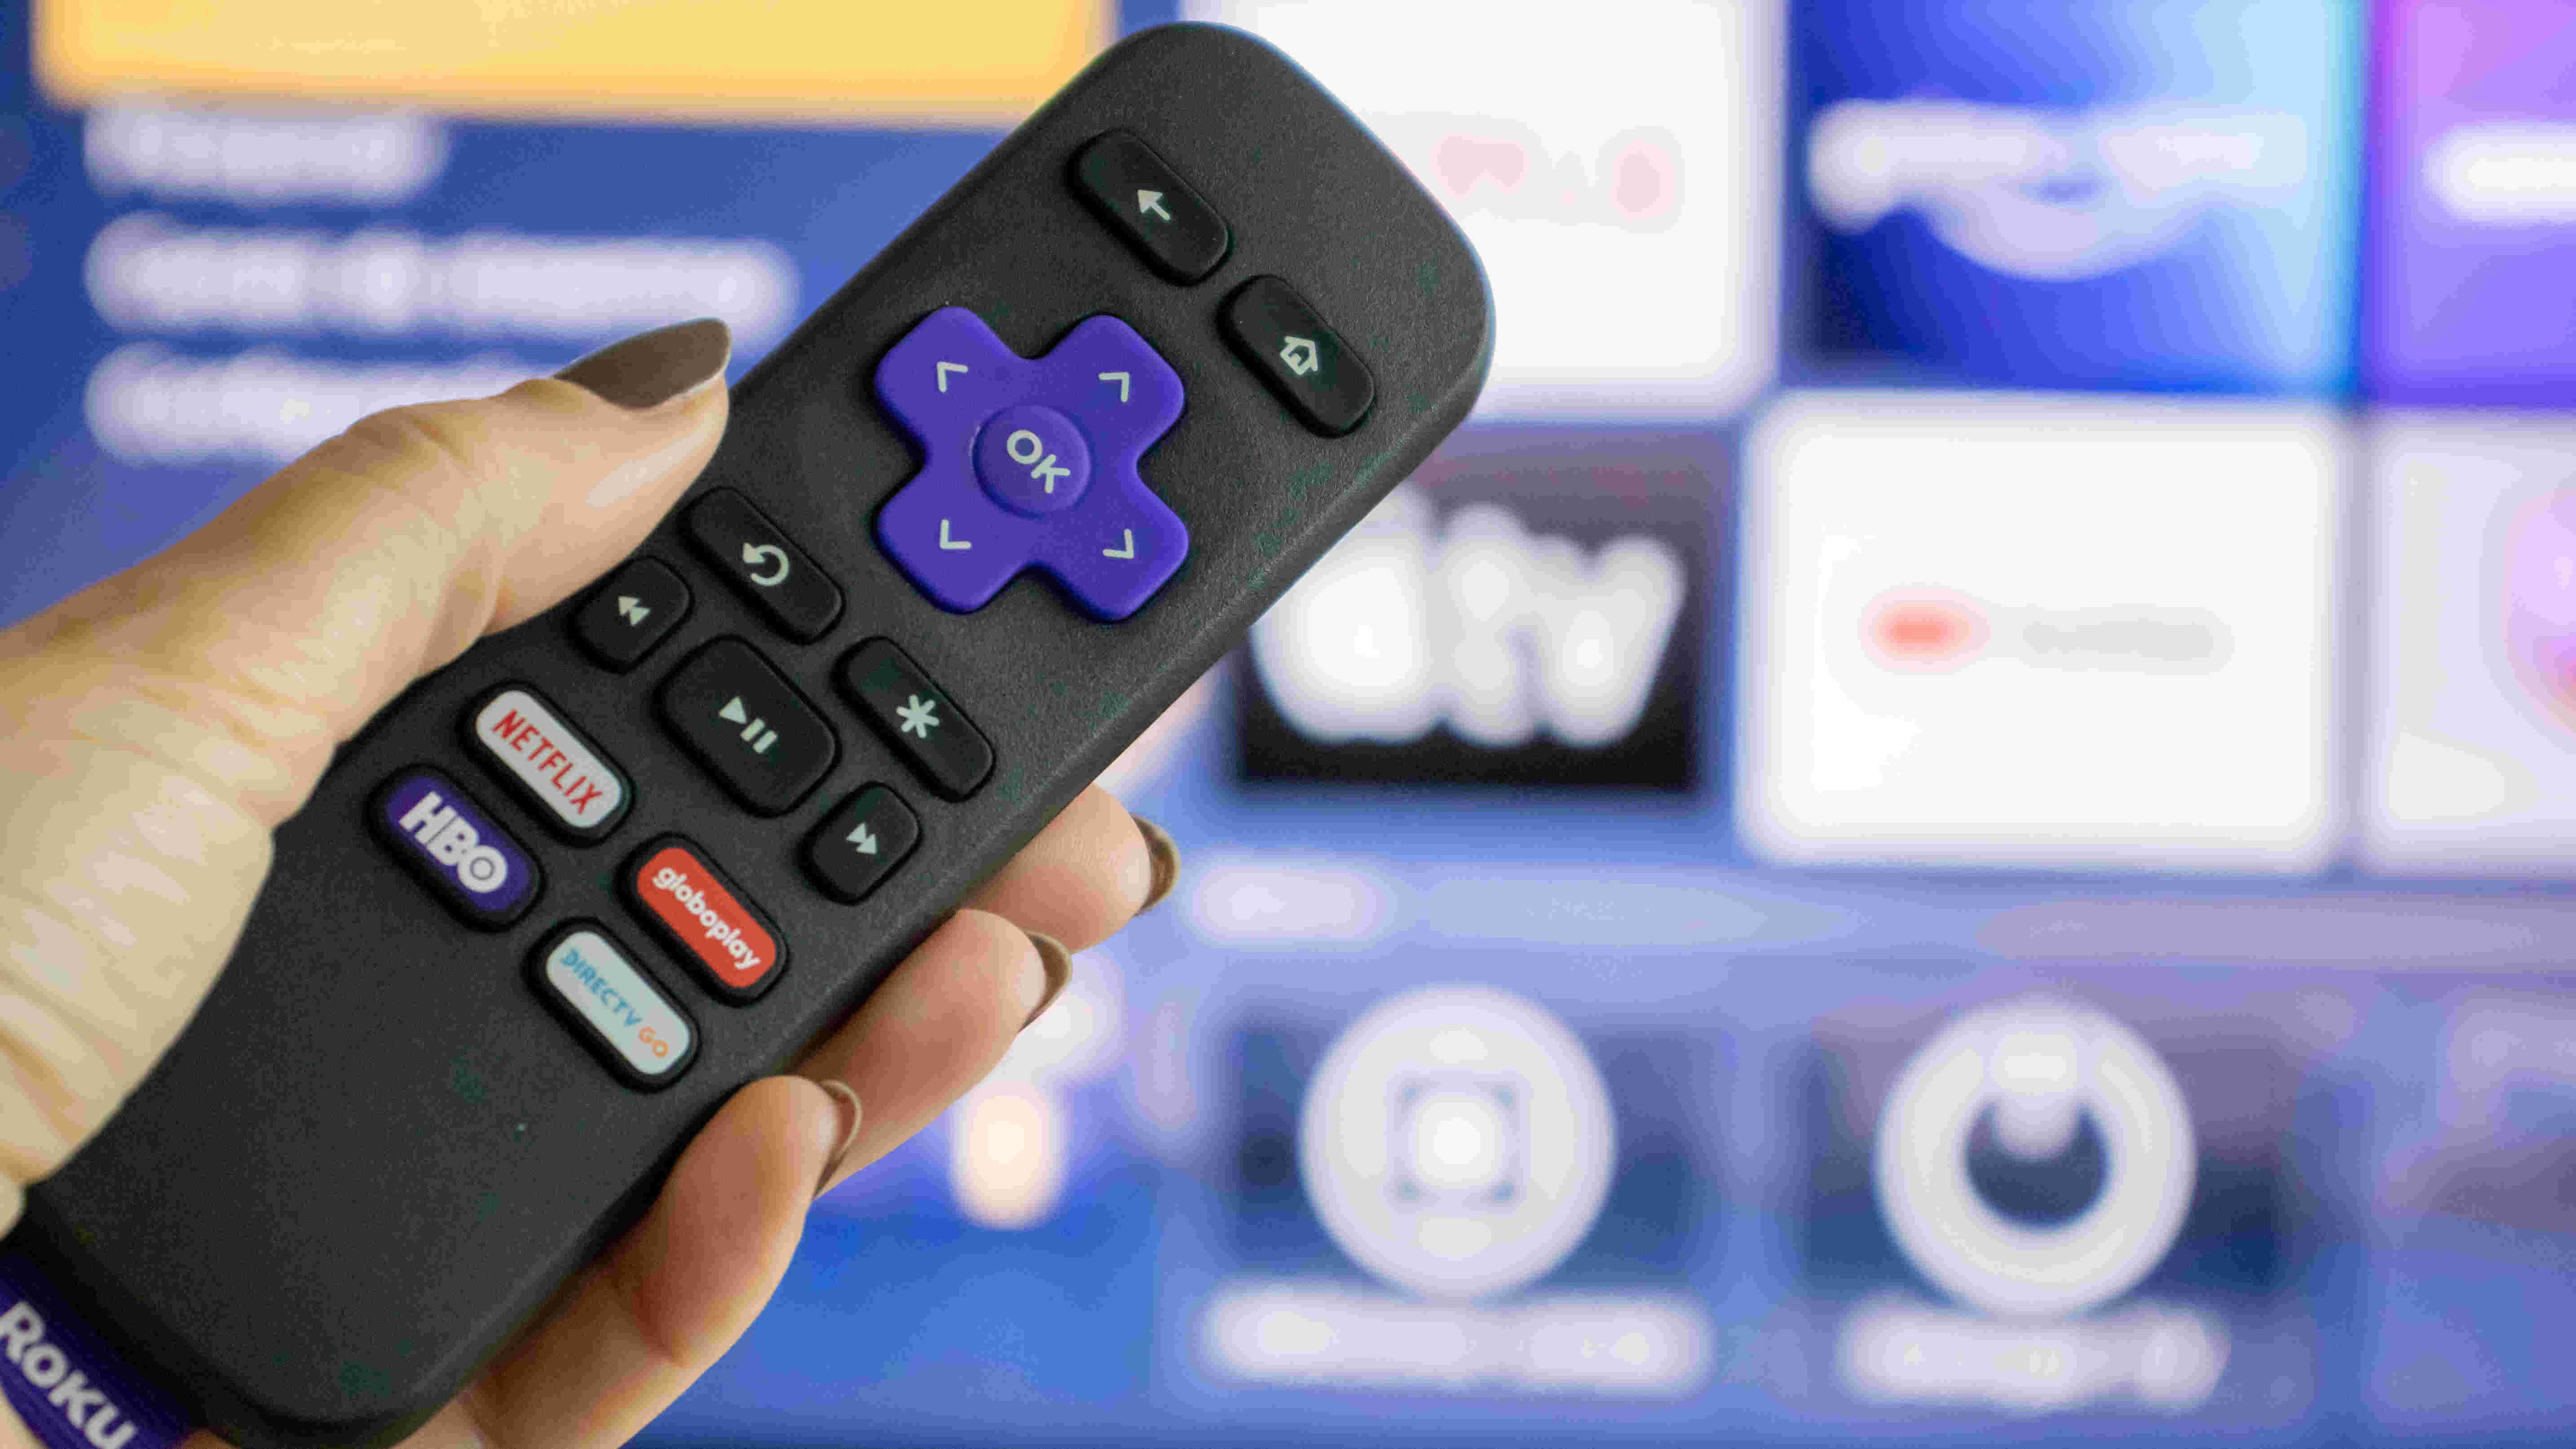
- Navigate to the Roku Home screen: Press the Home button on your Roku remote to return to the Roku Home screen. This is where you can access all the apps and settings on your Roku device.
- Select the Settings menu: Use the arrow keys on your remote to navigate to the left-hand side of the screen and scroll up or down to highlight and select “Settings.”
- Choose the System option: In the Settings menu, navigate to the right-hand side of the screen and scroll down to highlight and select “System.”
- Select the System Restart option: Within the System menu, scroll down and choose “System Restart.” Confirm your selection when prompted.
- Wait for the Roku device to restart: Your Roku device will automatically restart. This process may take a minute or two. During this time, do not remove any cables or turn off the power to the device.
- Check for functionality: Once the Roku device has restarted, try using it as usual. Check if the previous issues, such as the device not turning on or video/audio problems, have been resolved.
If restarting your Roku device did not resolve the issue, you may need to try more advanced troubleshooting steps. Proceed to the next section for further troubleshooting options.
Reset Your Roku Device
If you have tried restarting your Roku device and you’re still experiencing persistent issues, performing a factory reset may help. Resetting your Roku device will restore it to its original factory settings, clearing any software issues or misconfigurations that could be causing the problems. Follow these steps to reset your Roku device:
- Access the Roku Home screen: Press the Home button on your Roku remote to navigate to the Roku Home screen, where you can access all the apps and settings on your device.
- Select the Settings menu: Use the arrow keys on your remote to navigate to the left-hand side of the screen. Scroll up or down to highlight and select “Settings.”
- Choose the System option: In the Settings menu, navigate to the right-hand side of the screen and scroll down to highlight and select “System.”
- Scroll down and select Factory Reset: Within the System menu, scroll down and choose “Factory Reset.” Confirm your selection when prompted.
- Enter the confirmation code: To proceed with the factory reset, you will need to enter a confirmation code shown on the screen. This ensures that you don’t accidentally reset your device. Enter the code using your remote, following any on-screen instructions.
- Wait for the Roku device to reset: Your Roku device will begin the factory reset process. This may take a few minutes as the device erases all data and reinstalls the original software.
- Follow the on-screen setup instructions: Once the factory reset is complete, your Roku device will restart. Follow the on-screen setup instructions to connect to your network, sign in to your Roku account, and customize your settings.
After resetting your Roku device, any previous issues should be resolved. However, keep in mind that a factory reset will remove all installed apps and settings, so you will need to reinstall and reconfigure them. If the problems persist even after resetting, it may be necessary to contact Roku customer support for further assistance.
Perform a Factory Reset
If you have exhausted all other troubleshooting options and your Roku device is still not working properly, performing a factory reset can be a last resort. This process restores your Roku device to its original factory settings, erasing all data and configurations. Here’s how to perform a factory reset:
- Access the Roku Home screen: Press the Home button on your Roku remote to navigate to the Roku Home screen, where you can access all the apps and settings on your device.
- Go to the Settings menu: Use the arrow keys on your remote to move to the left-hand side of the screen. Scroll up or down to highlight and select “Settings.”
- Select the System option: In the Settings menu, navigate to the right-hand side of the screen and scroll down to highlight and select “System.”
- Choose the Advanced System Settings: Within the System menu, scroll down and choose “Advanced System Settings.”
- Select Factory Reset: From the list of advanced system settings, choose “Factory Reset.” Confirm your selection when prompted.
- Enter the confirmation code: To proceed with the factory reset, you will need to enter a code shown on the screen. Enter the code using your remote, following any on-screen instructions.
- Initiate the factory reset: After entering the confirmation code, select “Factory Reset” to start the process. Your Roku device will begin erasing all data and resetting to its original factory settings.
- Follow on-screen setup instructions: Once the factory reset is complete, your Roku device will restart. Follow the on-screen setup instructions to reconnect to your network, sign in to your Roku account, and customize your settings.
Performing a factory reset should resolve any persistent issues with your Roku device. However, note that this process will remove all installed apps, settings, and personal preferences. You will need to reinstall your apps and reconfigure your settings after the reset. If problems persist after the factory reset, it is recommended to contact Roku customer support for further assistance.
Contact Roku Support
If you have tried all the troubleshooting steps mentioned above and your Roku device is still not functioning properly, it may be time to seek assistance from Roku Support. They have a dedicated team of experts who can provide further guidance and solutions to resolve your device’s issues. Here’s how you can contact Roku Support:
- Visit the Roku Support website: Go to the official Roku Support website, which can be found at https://support.roku.com/contactus.
- Choose your Roku device: Select your specific Roku device model from the list provided on the support page. If you are unsure about your device model, you can find it by going to the Settings menu on your Roku device and selecting “System” and then “About.”
- Select the issue category: Choose the category that best describes the issue you are facing. It could be related to hardware, software, network connectivity, or any other specific problem you are encountering.
- Explore support articles: Before contacting support directly, browse through the support articles related to your issue. Roku provides an extensive knowledge base with helpful articles and guides that might have the solution you need.
- Contact Roku Support: If you cannot find a solution in the support articles, choose the “Contact Support” option. Roku provides different contact methods, including live chat, email, and phone support. Select the option that suits your preference and follow the instructions to get in touch with a Roku support representative.
- Provide necessary details: When contacting Roku support, be prepared to provide details about your device, the issue you are facing, and any troubleshooting steps you have already tried. This will help the support team assist you more effectively.
Roku Support is dedicated to helping customers resolve their issues and providing the best possible assistance. If you are unable to troubleshoot the problem on your own, do not hesitate to reach out to them for further guidance and support.