
Diagnosing the Problem
Dealing with a broken tablet screen can be frustrating, but before you attempt to fix it, it’s important to accurately diagnose the problem. By identifying the root cause, you can determine the best course of action to get your tablet back up and running.
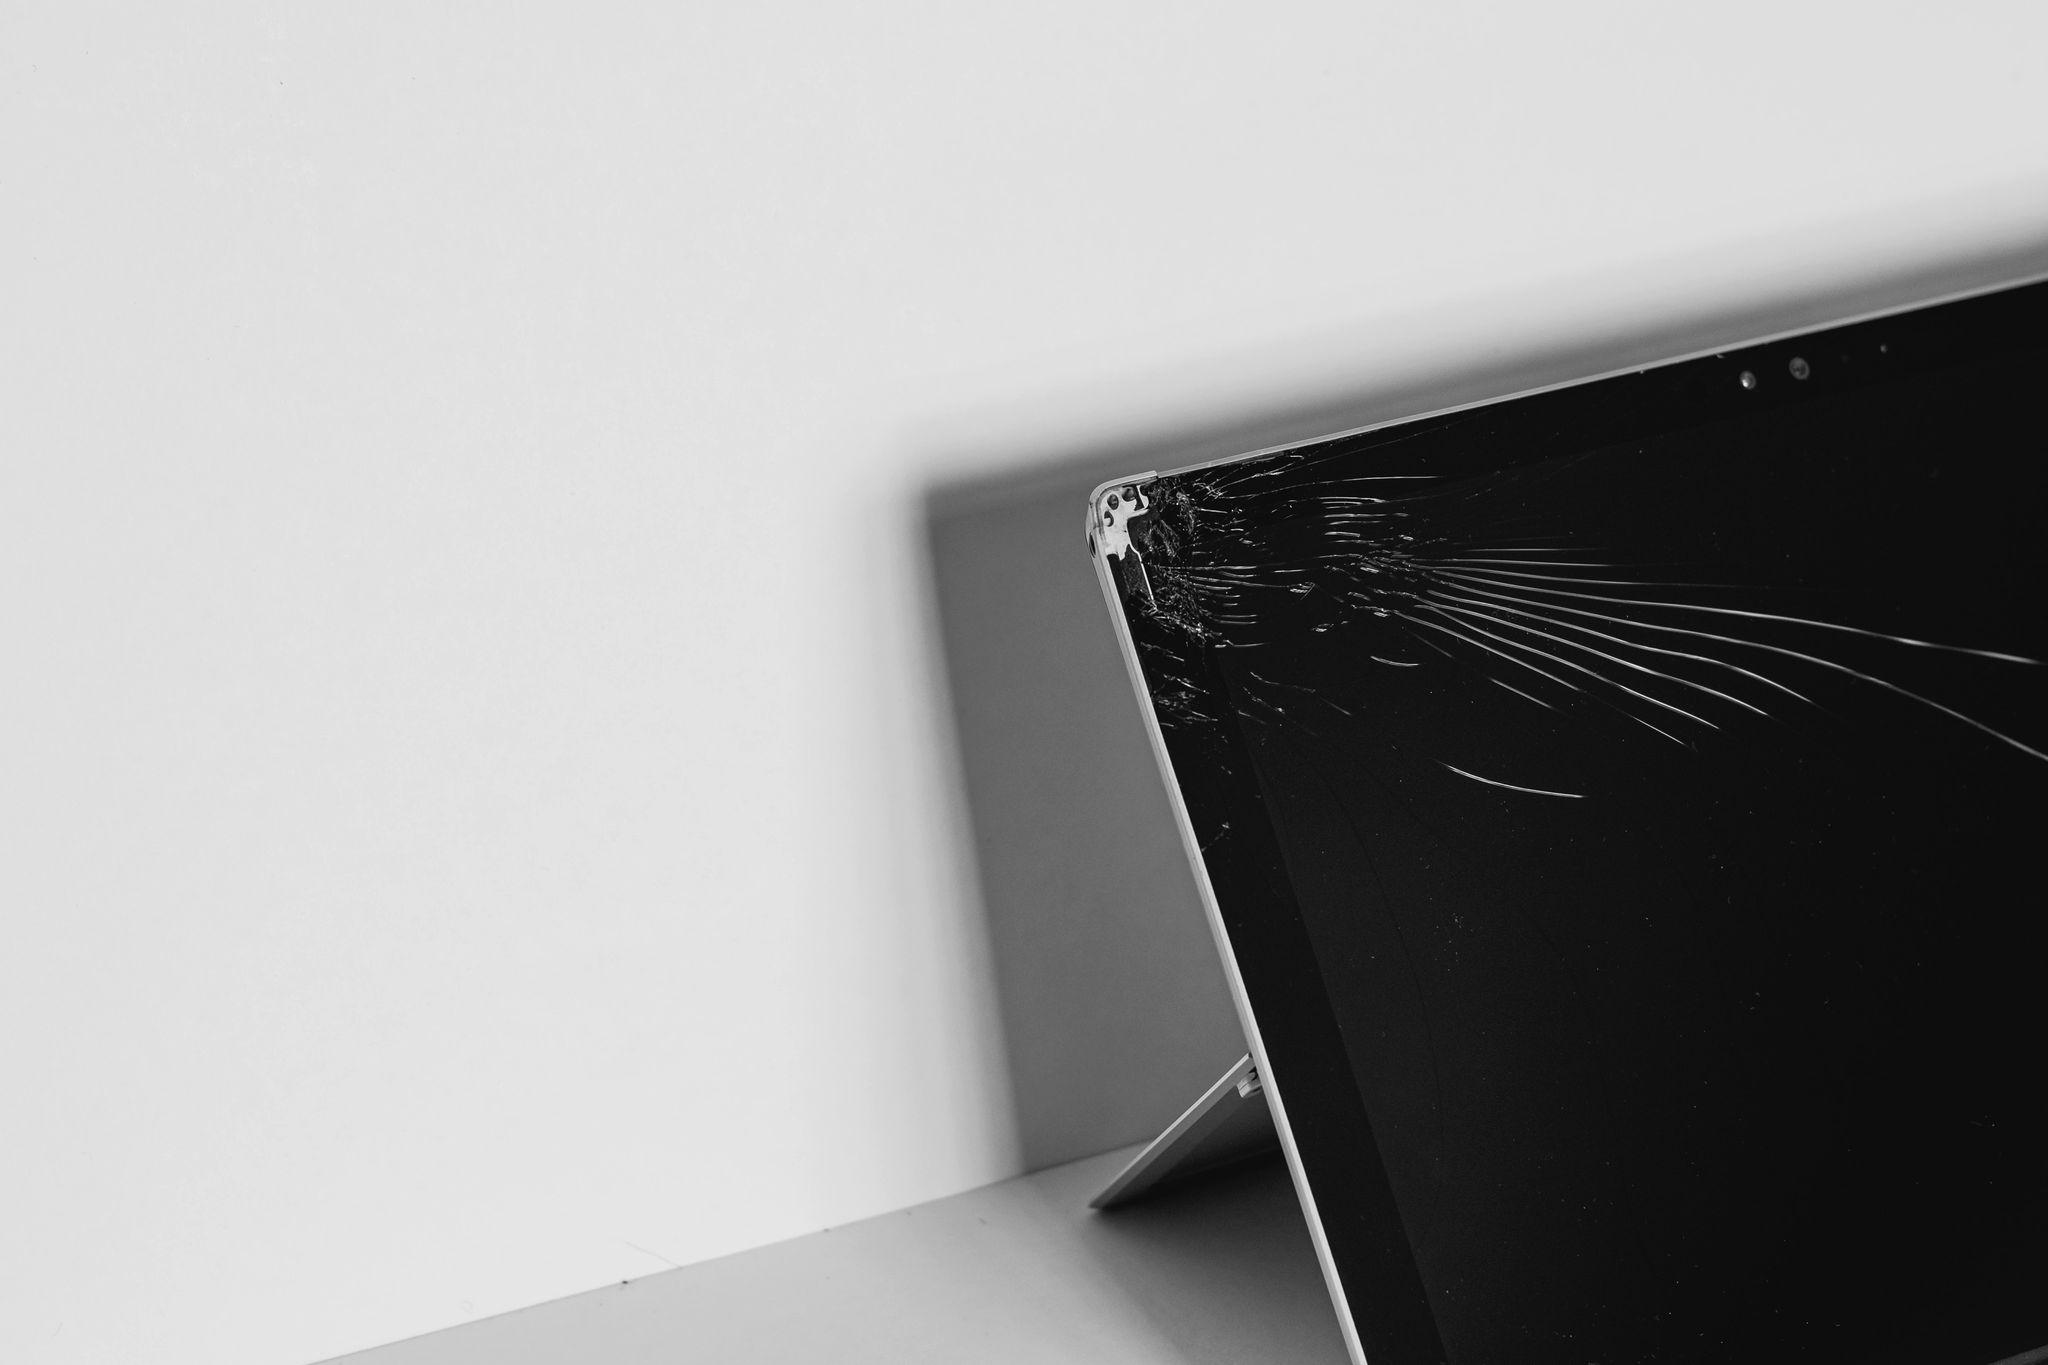
Start by examining the screen for any visible signs of damage. Look for cracks, scratches, or areas where the display is distorted. Additionally, check if the touch functionality is working properly. If the screen doesn’t respond when you try to swipe or tap, it could indicate a touch sensor issue.
Next, connect your tablet to an external display via HDMI or USB to see if you can still get a picture. If you’re able to see the display on the external monitor, it suggests that the problem lies with the tablet screen itself.
If the screen is flickering or displaying unusual colors, it might be a sign of a faulty connection or a damaged display panel. In some cases, a software glitch could also cause screen issues. Try rebooting your tablet to see if the problem persists.
It’s essential to rule out any other possible causes before proceeding with screen replacement. Sometimes, a frozen or unresponsive screen can be resolved through a simple restart or a software update. Additionally, check for any water damage or physical trauma that could impact the screen’s functionality.
If you’re unsure about the exact problem or how to go about fixing it, consider consulting a professional technician or reaching out to the tablet manufacturer for support. They might be able to provide valuable insights or guide you through troubleshooting steps specific to your tablet model.
Backing Up Your Data
Before you begin any repairs or replacements on your tablet screen, it’s crucial to back up your data to prevent potential loss or corruption. This step ensures that your important files, photos, and documents are safe and easily accessible, even in the event of unforeseen issues during the repair process.
The first step is to connect your tablet to a computer using a USB cable or utilize cloud storage services such as Google Drive or Dropbox. By transferring your files to another device or storing them in the cloud, you create a secure backup that can be easily restored once your tablet is back in working condition.
If possible, make a complete backup of your tablet’s data, including contacts, apps, and settings. Most tablets offer built-in backup options, so explore the Settings menu to find the appropriate backup and restore functions.
For Android devices, you can back up your data by going to Settings, selecting System, then Backup. From there, you can enable options such as backing up app data, Wi-Fi passwords, and other settings.
iOS devices have a similar backup feature. Simply connect your tablet to a computer with iTunes installed and select the “Back Up Now” option. This will create a complete backup of your device, including all apps, settings, and data.
It’s important to note that backing up your data should be a regular habit, not just a step taken before repairs. By regularly backing up important files and documents, you ensure that you can easily restore your tablet to its previous state if any unexpected issues or accidents occur.
Once you have completed the backup process and verified that all your data is safely stored, you can proceed with confidence to disassemble and replace the tablet screen, knowing that your files are secure.
Disassembling the Tablet
Now that you have backed up your data, it’s time to begin the process of disassembling your tablet. This step requires careful attention and precision to ensure that you don’t cause further damage to the device.
Start by turning off the tablet and disconnecting it from any power source. Lay a soft cloth or towel on a flat surface to protect the screen from scratches during the disassembly process.
Refer to the user manual or online tutorials specific to your tablet model for guidance on how to open the device safely. Different tablets have varying methods of disassembly, so it’s crucial to follow the correct instructions.
Using a small screwdriver or a plastic opening tool, carefully remove any screws or clips that secure the back cover or bezel. Take note of the location of each screw as they may vary in size or length. It’s also helpful to keep a small container or magnetic pad nearby to store the screws to avoid losing them.
Once the cover or bezel is removed, you will likely find additional screws or connectors holding the screen in place. Carefully disconnect any cables or ribbons that connect the screen to the tablet’s motherboard. Again, take note of the connections to ensure easy reassembly later.
Gently lift the broken screen out of its housing, being cautious not to damage any other components or circuitry. Some screens may be attached with adhesive, so use a plastic prying tool or a heat gun to loosen the adhesive if necessary.
During the disassembly process, it’s important to work slowly and steadily. Avoid applying excessive force or bending any components, as it could lead to further damage. If you encounter any resistance or difficulty, consult the user manual or seek professional assistance.
Once the broken screen is successfully removed, you can proceed to the next step: replacing it with a new one. Take care to handle the new screen with clean hands or wear gloves to avoid leaving fingerprints or smudges on the display.
Remember to keep the screws and connectors organized and easily accessible as you will need them for the reassembly process. Take note of the disassembly steps and follow them in reverse order to ensure a smooth and hassle-free reassembly.
With the tablet disassembled and the broken screen removed, you’re now ready to replace it with a new one. Take your time and stay focused to ensure a successful repair.
Replacing the Screen
With the old screen removed, it’s time to proceed with replacing it. The following steps will guide you through the process of installing the new screen on your tablet.
Start by carefully unpacking the new screen and inspecting it for any visible damage or defects. Ensure that it matches the specifications of your tablet and that all the necessary connectors and cables are present.
Place the new screen into the tablet’s housing, aligning it properly with the screw holes and connectors. If the screen is secured with adhesive, remove the protective film and carefully press it down to ensure it sticks securely.
Next, reattach any cables or ribbons that were disconnected during the disassembly process. Ensure that they are firmly connected and properly aligned with their respective ports. Use gentle pressure to lock them into place.
If there are any screws or clips that secure the screen to the tablet, carefully reattach them. Make sure to tighten the screws securely, but avoid overtightening, as it could damage the screen or the tablet’s housing.
Once everything is securely in place, power on the tablet to check if the new screen is functioning correctly. Look for any signs of distortion, flickering, or unresponsive touch sensitivity. If there are any issues, double-check the connections and make sure they are properly seated.
If you encounter any difficulties during the screen replacement process, consult the user manual or seek assistance from a professional technician. It’s important to handle the delicate components with care and ensure a proper installation for optimal performance.
After verifying that the new screen is working correctly, you can proceed with reassembling the tablet and testing it thoroughly to ensure everything is functioning as expected.
Remember, replacing a tablet screen requires patience and attention to detail. Take your time, follow the instructions carefully, and don’t rush through the process. By doing so, you’ll increase the chances of successfully replacing the screen and restoring your tablet to its former glory.
Reassembling the Tablet
After successfully replacing the screen, it’s time to reassemble your tablet. This step requires attention to detail and careful handling of the components to ensure a proper and seamless reassembly.
Start by gathering all the screws, clips, and other fasteners that were removed during the disassembly process. Refer to any notes or documentation you made to ensure they are placed in their correct positions.
Begin by reattaching the back cover or bezel onto the tablet’s housing. Align it properly and secure it in place using the screws or clips. Take care not to overtighten the screws, as it could cause damage to the tablet’s casing.
Once the back cover is in place, check all the openings and ports on the tablet to ensure they are not obstructed or covered. This includes the charging port, headphone jack, and any other external connectors.
Next, reconnect any cables or ribbons that were detached during the disassembly. Ensure that they are properly aligned and securely connected. Use gentle pressure to lock them into place, making sure they are seated firmly.
After all the cables are reconnected, double-check the tablet’s internal components to ensure that nothing is loose or out of place. Look for any loose cables or connectors and reposition them if necessary.
Once you are satisfied that everything is properly reassembled, power on the tablet and check if it boots up successfully. Test the screen’s touch functionality, check the audio, and ensure that all the buttons and features are functioning as expected.
If you encounter any issues or the tablet doesn’t power on, double-check the connections and make sure everything is properly seated. It may be necessary to repeat the disassembly and reassembly process to troubleshoot and resolve any problems.
Take your time during the reassembly process to avoid mistakes or skipped steps. Each component should be secured and aligned correctly to ensure the tablet functions smoothly. Remember, it’s better to double-check and make sure everything is in place than to rush and potentially damage your device.
Once you are confident that the tablet is fully reassembled and in working order, you can proceed to test the screen thoroughly and perform any additional checks to ensure its performance and functionality.
Congratulations! You have successfully reassembled your tablet after replacing the screen. Now you can enjoy using your device with its newly restored display.
Testing the Screen
After reassembling your tablet, it’s crucial to thoroughly test the new screen to ensure that it functions properly and meets your expectations. Testing the screen will help identify any lingering issues and ensure that your tablet is fully functional.
Start by powering on the tablet and observing the display. Look for any abnormalities such as flickering, distorted colors, or dead pixels. Test different brightness levels to see if the screen adjusts accordingly. If you notice any problems, it may indicate a faulty screen or an incomplete installation.
Next, check the touch functionality of the screen. Swipe across the screen in different directions and tap on various areas to ensure that it responds accurately. Test the multitouch feature by using multiple fingers simultaneously. If you experience any unresponsive areas or lag, it may indicate a calibration issue or a faulty touch sensor.
If your tablet has a stylus or pen input, test its functionality as well. Ensure that the screen accurately detects and responds to the stylus pressure and tilt. Try different pressure levels to verify that the screen accurately reflects the input.
It’s also essential to test the orientation sensors on your tablet. Rotate the device to see if the screen adjusts accordingly. If the orientation doesn’t change or if it becomes stuck in a particular orientation, there may be an issue with the sensors or their connection to the screen.
Another aspect to test is the screen’s responsiveness during gaming or other graphic-intensive applications. Play games that require swiping, tapping, or precise touch gestures to ensure that the screen can handle the demands of these applications without lagging or missing inputs.
Additionally, test the screen’s visibility in different lighting conditions. Check for any issues with glare or poor contrast that may affect the screen’s legibility in bright sunlight or low-light situations. Adjust the brightness settings to find the optimal viewing experience.
If you encounter any issues during the testing process, refer to the user manual or seek assistance from a professional technician. They can provide guidance in troubleshooting the problem or help you determine if a replacement screen is necessary.
By thoroughly testing the screen, you can ensure that your tablet is fully functional and that the new screen meets your expectations. Taking the time to test the screen will give you peace of mind and allow you to enjoy using your tablet without any screen-related issues.
Troubleshooting Common Issues
While replacing a tablet screen can often resolve display problems, there may be instances where you encounter common issues even after the replacement. Understanding and troubleshooting these issues can help you address them effectively and ensure optimal screen performance.
1. Unresponsive Touchscreen: If the touchscreen is unresponsive or registering inaccurate inputs, try cleaning the screen with a soft, lint-free cloth. Ensure that your hands and fingers are clean and dry. If the problem persists, recalibrate the touchscreen or check for any software updates that may address touch-related issues.
2. Screen Flickering: Screen flickering can be caused by a variety of factors, including incompatible drivers, a faulty display cable, or incompatible refresh rates. To troubleshoot this issue, update your device’s graphics drivers, check the connection of the display cable, and adjust the refresh rate settings if necessary.
3. Dead Pixels: Dead pixels are isolated spots on the screen that do not display any color. If you notice dead pixels after screen replacement, try gently massaging the affected areas with a cloth or applying light pressure with your finger. If the dead pixels persist, you may need to consider replacing the screen again.
4. Display Glitches or Distorted Colors: Glitches or distorted colors can be caused by loose cables or improper cable seating. Check the connection of the display cable and ensure that it is securely attached. You can also try disconnecting and reconnecting the cable to ensure a tight connection.
5. Backlight Issues: If the screen appears dim or the backlight is not functioning, it could be due to a faulty backlight component or connection. Check the backlight cable connection and make sure it is secure. If the issue persists, you may need to replace the backlight component or seek professional assistance.
6. Screen Orientation Problems: If the screen orientation does not change when you rotate the device, first ensure that the orientation lock is disabled in the device’s settings. If the problem persists, try recalibrating the orientation sensors or restarting the device.
7. Poor Screen Visibility: If the screen visibility is poor, particularly in bright sunlight, adjust the brightness settings to the highest level. You can also enable any adaptive brightness features available on your tablet to improve visibility in different lighting conditions.
If you encounter persistent issues that you are unable to resolve through troubleshooting, consider seeking assistance from the tablet manufacturer or a professional technician. They can diagnose and address any underlying hardware or software issues that may be affecting the screen performance.
It’s important to note that these troubleshooting steps may vary depending on your tablet model and operating system. Always refer to the user manual or seek specific instructions for your device to ensure accurate troubleshooting.