
Check Device Compatibility
Before downloading and installing a new iOS update, it is essential to ensure that your device is compatible with the latest software. Apple regularly releases updates that may include new features, bug fixes, and enhanced security measures that can improve the performance and functionality of your device.
To check if your device is compatible with the latest iOS update, follow these steps:
- Go to the ‘Settings’ app on your device.
- Scroll down and tap on ‘General’.
- Select ‘Software Update’.
On the ‘Software Update’ screen, you will see information about the latest iOS update available for your device. If your device is compatible, you will have the option to download and install the update. However, if your device is not compatible, you may need to consider upgrading to a newer model.
It’s important to note that not all devices receive the same iOS updates. As Apple releases new updates, older devices may not be able to support the latest software due to hardware limitations. If your device is not compatible with the latest update, you can still continue using it with the previous iOS version available for your model.
Checking device compatibility before proceeding with the update ensures that your device will be able to handle the new features and optimizations introduced in the latest iOS version. It also helps prevent any issues or compatibility conflicts that may arise from attempting to install an incompatible update on your device.
By keeping your device updated with the latest iOS software, you can take advantage of new functionalities, improved security measures, and enhanced performance, ensuring a smooth and optimized user experience. Always check for compatibility and update your device accordingly to make the most out of your Apple device.
Back up your Device
Before proceeding with any software update, it is vital to back up your device to ensure that your data, settings, and important files are safely stored. While updating your iOS device does not typically result in data loss, it is always better to be safe than sorry. Backing up your device can be done using iCloud or your computer.
To back up your device using iCloud, follow these simple steps:
- Connect your device to a Wi-Fi network.
- Go to the ‘Settings’ app on your device and tap on your name at the top.
- Select ‘iCloud’ and then ‘iCloud Backup’.
- Ensure that the ‘iCloud Backup’ toggle is enabled.
- Tap on ‘Back Up Now’ to initiate the backup process.
It is essential to have enough iCloud storage available to back up your device adequately. If you are running low on storage, you may need to free up some space or consider upgrading your iCloud storage plan.
If you prefer to back up your device using your computer, you can use iTunes or Finder (for macOS Catalina and later versions). Here’s how:
- Connect your device to your computer using a USB cable.
- Open iTunes or Finder (depending on your macOS version).
- Select your device when it appears in iTunes or Finder.
- Click on ‘Back Up Now’ to start the backup process.
Ensure that the backup process is successfully completed before proceeding to download and install the iOS update. You can verify the backup by going to ‘Settings’ > ‘Your Name’ > ‘iCloud’ > ‘iCloud Storage’ > ‘Manage Storage’ (or ‘Settings’ > ‘Devices’ for iCloud backups) to check the date and size of your latest backup.
Backing up your device provides an added layer of protection for your data, allowing you to restore your device to its previous state in case of any unforeseen issues during the update process. Whether you choose to use iCloud or your computer, regularly backing up your device is essential to safeguard your valuable files and settings.
Connect to a Wi-Fi Network
Before proceeding with the iOS update, it is crucial to connect your device to a stable Wi-Fi network. Updating your device over a Wi-Fi connection ensures a faster download speed and helps minimize any potential data charges that may apply when using cellular data.
To connect to a Wi-Fi network on your device, follow these steps:
- Unlock your device and go to the ‘Settings’ app.
- Tap on ‘Wi-Fi’.
- Toggle the Wi-Fi switch to the ‘On’ position.
- Select a Wi-Fi network from the available list of networks.
- If necessary, enter the Wi-Fi network password, then tap ‘Join’.
Ensure that you have a strong and stable Wi-Fi connection to prevent any interruptions during the iOS update process. It is advisable to be in close proximity to the Wi-Fi router for the best performance.
Connecting your device to a Wi-Fi network is beneficial not only for downloading and installing the iOS update but also for other data-intensive tasks such as app updates, iCloud backups, and media streaming. It conserves your cellular data, offering a more reliable and consistent internet connection.
If you are experiencing any issues with your Wi-Fi connection, you can try the following troubleshooting steps:
- Restart your Wi-Fi router and your device.
- Forget the Wi-Fi network on your device and reconnect to it.
- Ensure that the Wi-Fi network is working correctly by connecting another device to it.
- Update your Wi-Fi router firmware if an update is available.
By connecting to a stable Wi-Fi network, you can download the iOS update seamlessly and ensure a smooth installation process. It is a simple yet vital step to ensure that your device is ready for the newest features, improvements, and bug fixes that the update brings.
Check Battery Level
Prior to initiating the iOS update, it is crucial to check the battery level on your device. Updating your device with a low battery level can lead to interruptions or even failure during the installation process. To ensure a smooth and uninterrupted update, follow these steps to check your battery level:
- Unlock your device and access the home screen.
- Locate and tap on the ‘Settings’ app.
- Scroll down and select ‘Battery’.
- On the ‘Battery’ screen, you will see the current battery percentage displayed.
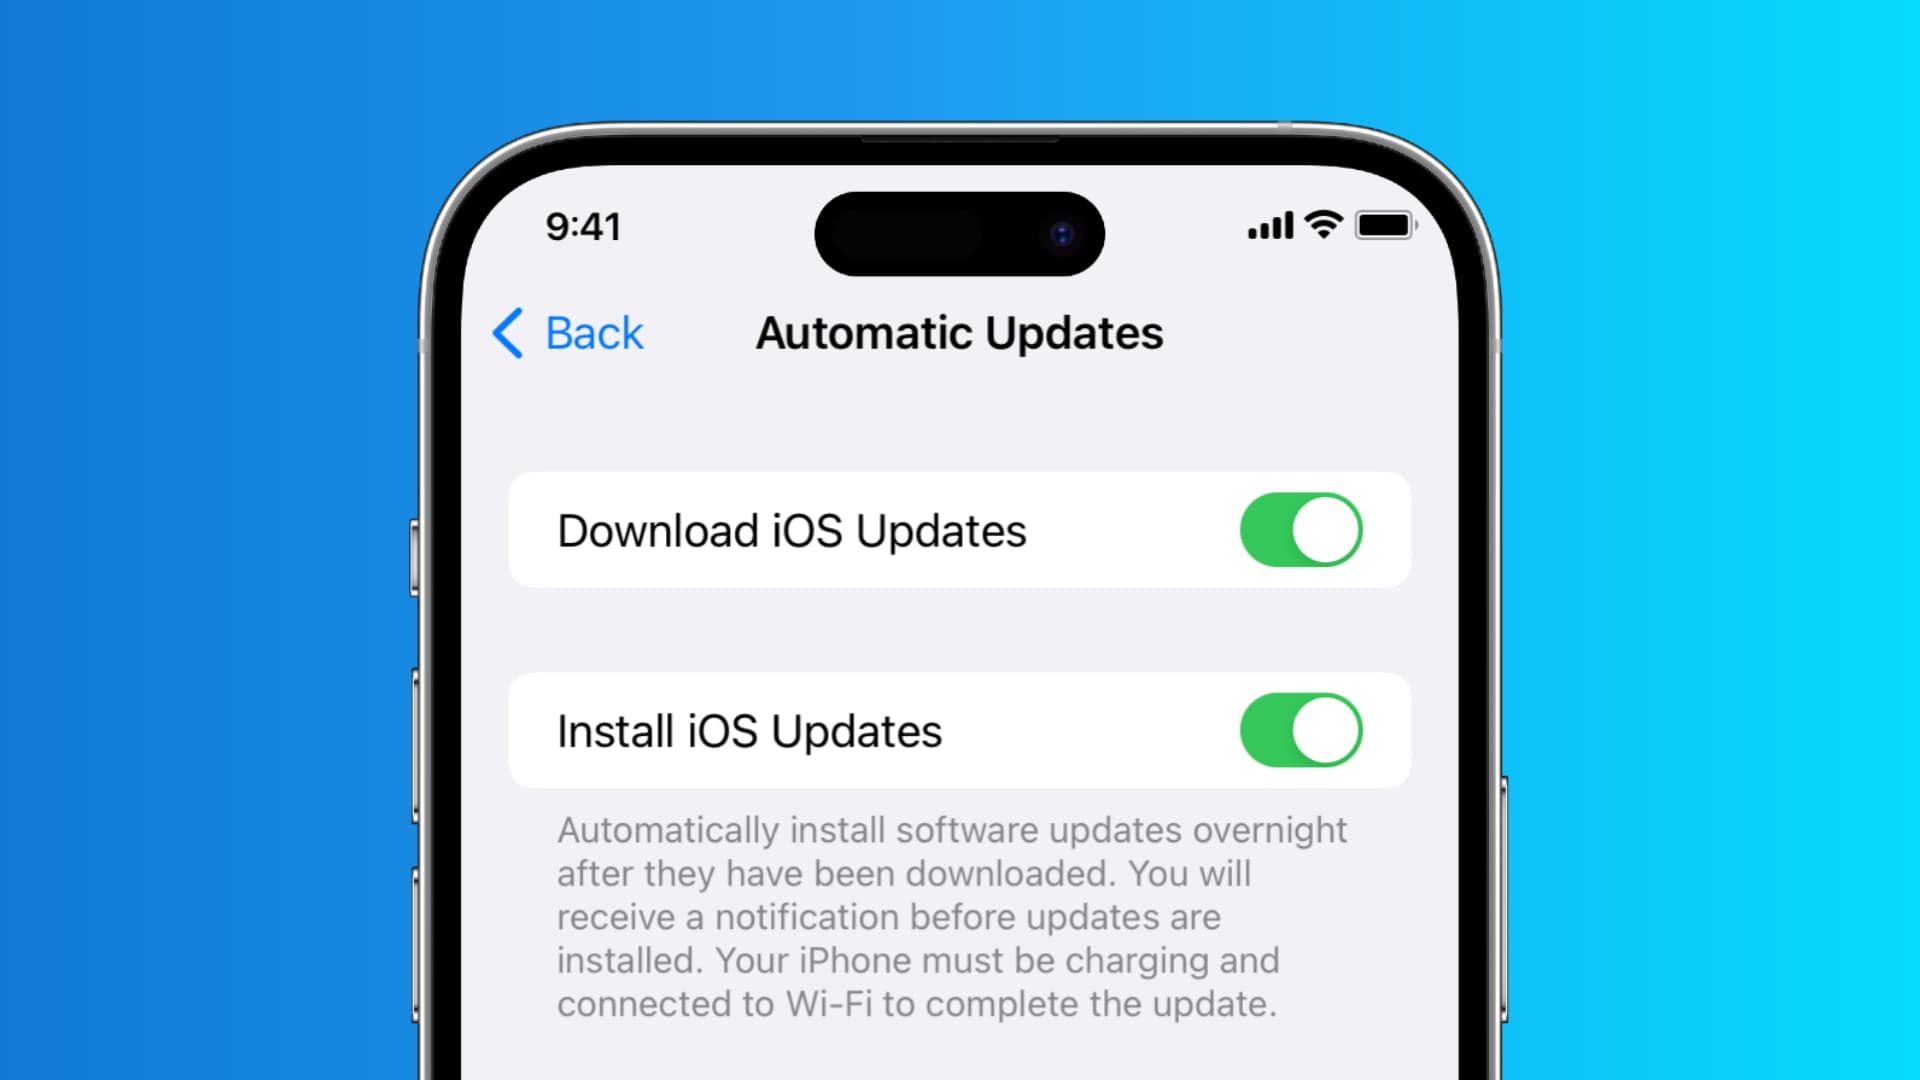
It is advisable to have at least 50% battery level before proceeding with the iOS update. However, if your battery level is below 50%, it is recommended to connect your device to a power source or charger during the update process. This will ensure that your device remains powered and avoids any potential issues that may arise due to low battery levels.
Keeping your device connected to a power source during the update process is particularly important for major iOS updates, which can take a significant amount of time to download and install. Updating your device with a low battery is not recommended as it may lead to unexpected shutdowns or incomplete installations, potentially causing data loss or other issues.
If your battery level is low and you do not have access to a power source or charger, it is advisable to wait until your device is adequately charged before initiating the update. This will help prevent any complications that may arise from updating with insufficient battery power.
Checking your battery level and ensuring it is sufficient before updating your device is a precautionary measure that can save you from potential problems and ensure a successful update process. By maintaining an adequate battery level or connecting your device to a power source, you can confidently proceed with the iOS update and enjoy the latest features and improvements on your device.
Download the Update
Once you have confirmed that your device is compatible, backed up your data, connected to a stable Wi-Fi network, and checked the battery level, you are ready to download the latest iOS update. Apple releases iOS updates periodically to introduce new features, fix bugs, and enhance the overall performance of your device.
To download the iOS update on your device, follow these steps:
- Ensure that your device is connected to a reliable Wi-Fi network and that you have sufficient battery power or a power source.
- Go to the ‘Settings’ app on your device.
- Scroll down and tap on ‘General’.
- Select ‘Software Update’.
- Your device will now check for any available updates. If an update is available, you will see a notification indicating its availability.
- Tap on ‘Download and Install’ to initiate the download process.
The download process may take some time, depending on the size of the update and the speed of your internet connection. It is recommended to remain connected to Wi-Fi and keep your device plugged into a power source to ensure a stable and uninterrupted download.
During the download process, keep in mind that you may experience occasional pauses or delays as the update is being fetched and applied. Do not interrupt the download or turn off your device while the update is in progress, as this can lead to data corruption or other issues.
If the download process is interrupted or you encounter any errors, ensure that you are connected to a stable internet connection and try again. In some cases, restarting your device or resetting your Wi-Fi router may resolve any temporary connectivity issues.
Downloading the latest iOS update allows you to take advantage of new features, improvements, and security enhancements introduced by Apple. It is a crucial step in keeping your device up to date and ensuring its optimal performance. Once the download is complete, you can proceed to install the update on your device.
Install the Update
After successfully downloading the latest iOS update, the next step is to install it on your device. Installing the update will bring the new features, bug fixes, and performance improvements to your device, ensuring a better user experience. Follow the steps below to install the update:
- Ensure that your device is still connected to a stable Wi-Fi network and that you have sufficient battery power or a power source.
- Open the ‘Settings’ app on your device.
- Scroll down and tap on ‘General’.
- Select ‘Software Update’.
- You will see a notification indicating that the update is ready to be installed. Tap on ‘Install Now’.
The device will now begin the installation process. The installation time may vary depending on the size of the update and the performance of your device. It is important to note that your device may restart multiple times during the installation process, and you may experience temporary screen blackouts or progress bars.
While the update is being installed, it is crucial not to interrupt the process or turn off your device. Doing so can cause software corruption or other issues, potentially resulting in data loss or a non-functional device. Patience is key during the installation process, as it may take several minutes to complete.
If you are prompted to enter your passcode during the installation, enter it as required. This is a security measure to ensure that only authorized users can update the device.
Once the installation is complete, your device will restart, and you will be greeted with the updated iOS version. Take some time to explore the new features and improvements that the update brings.
If you encounter any issues during the installation process, such as an error message or a frozen screen, try restarting your device and attempting the installation again. If the problem persists, you can refer to Apple’s support resources or contact Apple Support for further assistance.
Installing the latest iOS update ensures that your device stays up to date with the latest features, security patches, and bug fixes. It is an essential step in maintaining the optimal performance, functionality, and security of your device.
Set Up the New iOS Update
Once you have successfully installed the latest iOS update on your device, the next step is to set it up and personalize it according to your preferences. Follow the steps below to complete the setup process:
- After your device restarts, you will be prompted with a ‘Hello’ screen welcoming you to the updated iOS version. Swipe up or press the home button to begin the setup process.
- Select your preferred language and region.
- Connect to a Wi-Fi network by selecting one from the available list or entering the network name and password.
- If you have an iCloud or Apple ID, sign in with your credentials. This will allow you to access your previous settings, apps, and data.
- Agree to the terms and conditions and set up Face ID, Touch ID, or a passcode to secure your device.
- Choose whether to enable or disable Location Services, which allows apps and services to access your device’s location.
- If prompted, decide whether to set up Apple Pay, Siri, and other optional features.
- Follow the on-screen instructions to set up features such as screen time, app permissions, and privacy settings according to your preferences.
- You may also be prompted to customize your device’s appearance by choosing a wallpaper, enabling dark mode, or adjusting display settings.
During the setup process, you will have the option to restore your device from a previous backup, either from iCloud or iTunes. If you backed up your device before updating, selecting the restore option will transfer your apps, settings, and data to the updated iOS version, ensuring a smooth transition from your previous version.
Once you have completed the setup process, take some time to explore the newly updated iOS version and its features. Update your apps from the App Store to ensure compatibility and access the latest functionalities. Customize your device according to your preferences by rearranging your home screen, adding widgets, and organizing your apps in folders.
If you encounter any issues during the setup process or have questions about specific features, you can refer to Apple’s user guides or support resources. These resources provide step-by-step instructions, tips, and troubleshooting information to help you make the most out of your updated iOS device.
Setting up the new iOS update allows you to personalize your device, access new features, and enjoy an enhanced user experience. By tailoring your device to your liking, you can maximize productivity, efficiency, and enjoyment in using your iOS device.
Restore from a Backup (Optional)
If you have previously backed up your device before updating to the latest iOS version, you have the option to restore your data, settings, and apps from that backup. Restoring from a backup can save you time and effort in reconfiguring your device to your preferences. Follow these steps to restore your device from a backup:
- During the setup process or after completing the initial device setup, you will be prompted with the option to restore from a backup. Select the ‘Restore from iCloud Backup’ or ‘Restore from iTunes Backup’ option, depending on where your backup is stored.
- If you choose to restore from an iCloud backup, sign in with your Apple ID and password, and select the desired backup from the available list.
- If you opt to restore from an iTunes backup, connect your device to the computer where the backup is stored and open iTunes (or Finder for macOS Catalina and later). Select your device within iTunes or Finder and click on ‘Restore Backup’. Choose the correct backup from the list.
- Follow the on-screen instructions to complete the restoration process. This may take some time depending on the size of the backup and the speed of your internet connection (for iCloud backups) or computer (for iTunes backups).
Restoring from a backup allows you to bring back your apps, settings, and data from a previous iOS version, ensuring a smooth transition to the updated firmware. This includes your app layout, wallpaper, contacts, messages, photos, and more.
It is important to note that restoring from a backup will overwrite any existing data on your device. Therefore, ensure that you have backed up any new data or changes made since the backup was created.
If you encounter any issues during the restoration process, ensure that you have a stable internet connection (for iCloud backups) or a reliable connection between your device and computer (for iTunes backups). Make sure that you have signed in with the correct Apple ID or connected your device to the correct computer where the backup is stored.
Restoring from a backup is an optional step that allows you to seamlessly transfer your previous data and settings to the updated iOS version. By restoring from a backup, you can quickly regain access to your apps, personalizations, and important information on your device, saving you time and effort in setting up your device from scratch.