
Dimming Philips Hue Lights: A Step-by-Step Guide
Philips Hue lights offer a convenient and customizable way to light up your home. With the ability to dim these smart lights, you can effortlessly create the perfect ambiance for any occasion. Whether you want to relax in a soft glow or set the mood for a party, Philips Hue makes it easy to adjust the brightness levels to suit your needs. In this step-by-step guide, we’ll walk you through the process of dimming your Philips Hue lights, so you can enjoy the perfect lighting in your space.
To begin, you’ll need a few tools and equipment, including Philips Hue lights, a Philips Hue Bridge, and a compatible smartphone or tablet. The Hue Bridge is the central hub that connects your lights to the Philips Hue system. Make sure all your lights are properly installed and turned on before proceeding with the dimming setup.
Next, connect the Philips Hue Bridge to your home network by following the instructions provided. Once connected, download and install the Philips Hue app on your smartphone or tablet. This app will serve as your control center for dimming and customizing your lights.
With the app installed, it’s time to create zones or rooms. This allows you to group your lights together and control them simultaneously. You can name these zones based on the location or purpose of the lights, such as “Living Room” or “Bedroom”. This organization feature makes it easier to dim multiple lights at once.
Now, it’s time to use the Philips Hue Dimmer Switch. This handy device can be mounted on the wall or used as a portable remote. It allows you to dim your lights with just a few taps. Simply pair the Dimmer Switch with your Philips Hue system through the app, and you’re ready to start adjusting the brightness levels of your lights.
To dim your Philips Hue lights, open the Philips Hue app and select the zone or room you want to adjust. Then, navigate to the brightness control and slide your finger to decrease or increase the brightness. You’ll instantly see the lights respond to your adjustments, creating the desired ambiance in your space.
If you want to automate the dimming process, you can create schedules within the Philips Hue app. This allows you to set specific dimming levels at different times of the day. For example, you can schedule the lights in your bedroom to gradually dim in the evening, creating a relaxing atmosphere for a good night’s sleep.
Finally, if you have a voice assistant like Amazon Alexa or Google Assistant, you can integrate your Philips Hue lights with them for even more convenience. This allows you to control your lights and adjust the dimming levels using voice commands, making it effortless to set the mood with just your voice.
In rare cases where you encounter issues with dimming your Philips Hue lights, troubleshooting tips are available from the Philips Hue support website. They provide solutions for common issues like connectivity problems or dimming inconsistencies, ensuring you can enjoy the full benefits of your smart lighting system.
With this step-by-step guide, you can now easily dim your Philips Hue lights to create the perfect lighting atmosphere in your home. Enjoy the convenience and versatility of adjustable smart lighting, and transform your living space into a haven of relaxation or a vibrant party venue with just a few taps.
Tools and Equipment Needed
Before you can start dimming your Philips Hue lights, there are a few tools and equipment you’ll need to have on hand. These items are essential for setting up and controlling your smart lighting system. Here’s what you’ll need:
1. Philips Hue lights: Make sure you have the Philips Hue lights that are compatible with dimming. These lights come in various forms, including bulbs, lightstrips, and lamps. Choose the ones that suit your preferences and the specific areas you want to illuminate.
2. Philips Hue Bridge: The Philips Hue Bridge serves as the central hub that connects your smart lights to the rest of the system. It allows you to control and customize your lights using the Philips Hue app on your smartphone or tablet. The Bridge should be connected to your home network to ensure seamless communication between the app and your lights.
3. Smartphone or tablet: To control your Philips Hue lights, you’ll need a compatible smartphone or tablet. Make sure your device is capable of running the Philips Hue app, which is available for both iOS and Android platforms. This will serve as your control center, allowing you to adjust the dimming levels and customize the lighting in your space.
4. Philips Hue Dimmer Switch: The Philips Hue Dimmer Switch is an optional accessory that provides a convenient way to control and dim your lights. It can be mounted on the wall or used as a portable remote, allowing you to adjust the brightness levels with ease. The Dimmer Switch is compatible with the Philips Hue system and can be paired with your lights through the app.
5. Mounting hardware (if needed): If you choose to mount the Dimmer Switch on the wall, you may need some additional mounting hardware. This can include screws, wall anchors, or adhesive strips, depending on the type of wall surface and the mounting method you prefer.
It’s important to ensure that you have all the necessary tools and equipment before beginning the setup process. This will ensure a smooth and hassle-free experience as you delve into the world of dimming your Philips Hue lights. With these tools at your disposal, you’ll be able to create the perfect lighting ambiance in your home, tailored to your preferences and mood.
Understanding Philips Hue Dimming
Philips Hue dimming allows you to adjust the brightness levels of your smart lights to create the perfect lighting atmosphere in your home. By dimming your Philips Hue lights, you can customize the light intensity to suit different activities, moods, and occasions. Whether you want a cozy and relaxing glow or a bright and vibrant illumination, Philips Hue dimming gives you full control over your lighting experience.
The dimming capability of Philips Hue lights is made possible by the use of LED technology. LED lights are designed to be highly energy-efficient and versatile, making them perfect for dimming purposes. Unlike traditional incandescent bulbs that emit a fixed amount of light, LED lights can be adjusted to produce different levels of brightness without affecting their lifespan or energy consumption.
To dim your Philips Hue lights, you’ll use the Philips Hue app, which serves as the control center for your smart lighting system. Through the app, you can easily adjust the brightness levels of individual lights or groups of lights. This flexibility allows you to create different lighting zones or rooms in your home, each with its own customized dimming settings.
The Philips Hue Dimmer Switch is another tool that enhances the dimming experience. This optional accessory can be used to control the brightness levels of your lights with a simple tap. Whether you mount it on the wall or use it as a portable remote, the Dimmer Switch provides a convenient way to adjust the lighting ambiance without needing to rely solely on the app.
In addition to manual dimming, the Philips Hue system also offers automation options. You can create schedules within the app to automatically adjust the dimming levels at different times of the day. This is especially useful for creating a gradual dimming effect in the evening to promote relaxation and prepare your space for sleep.
As with any technology, it’s important to keep in mind a few considerations when it comes to Philips Hue dimming. Firstly, it’s essential to use Philips Hue-compatible lights for optimal dimming performance. While many LED lights are compatible with Philips Hue, not all of them are designed specifically for dimming. Using non-compatible lights may result in limited dimming capabilities or inconsistent performance.
Another factor to consider is the maximum and minimum dimming levels of your lights. Each light may have its own range of dimming options, and it’s important to familiarize yourself with these limits to achieve the desired lighting effect. Some lights may have a higher maximum brightness or a lower minimum brightness, giving you more flexibility in adjusting the dimming levels.
By understanding how Philips Hue dimming works and utilizing the tools and features available, you can fully unleash the potential of your smart lighting system. Whether you want to create a cozy and intimate setting or a bright and energizing atmosphere, Philips Hue dimming gives you the versatility to transform your home’s lighting with ease.
Step 1: Setting up Your Philips Hue Lights
Before you can start dimming your Philips Hue lights, it’s important to ensure that they are properly set up in your home. This involves installing the lights and making sure they are connected to a power source. Here’s a step-by-step guide to help you set up your Philips Hue lights:
1. Unpack and inspect the lights: Start by unpacking your Philips Hue lights and inspecting them for any damage. Check that all the components, such as bulbs or lightstrips, are included and in good condition.
2. Turn off the power: Before installing the lights, make sure to turn off the power supply to the area where you will be working. This will ensure your safety and prevent any electrical mishaps.
3. Install the lights: Follow the specific instructions provided with your Philips Hue lights to install them in the desired locations. This may involve screwing in bulbs, attaching lightstrips to surfaces, or placing lamps in the desired positions.
4. Connect to a power source: Once the lights are installed, you’ll need to connect them to a power source. This can be done by plugging the lights into a standard electrical outlet or using the appropriate method for your specific type of light, such as connecting lightstrips to a power adapter.
5. Turn on the lights: After the lights are properly connected to the power source, turn on the lights to ensure they are functioning correctly. You should see the lights illuminate, indicating that they are ready to be set up in the Philips Hue system.
6. Repeat for multiple lights: If you have multiple Philips Hue lights that you want to set up, repeat the installation and connection process for each light. Make sure to place the lights in the desired locations and connect them to power individually.
Once you have completed the setup process for your Philips Hue lights, you’re ready to move on to the next steps in the dimming process. Properly setting up your lights ensures that they are ready to be connected to the Philips Hue Bridge and controlled through the Philips Hue app. With your lights properly installed and connected, you can now start customizing the brightness levels to create the perfect lighting atmosphere in your home.
Step 2: Connecting the Philips Hue Bridge
Connecting the Philips Hue Bridge is a crucial step in setting up your Philips Hue lights for dimming. The Bridge serves as the central hub that connects your lights to the Philips Hue system, allowing you to control them through the app. Follow these steps to connect the Philips Hue Bridge:
1. Choose a suitable location: Select a central location in your home to place the Philips Hue Bridge. It should be within a reasonable range of your lights to ensure a strong and stable connection. Avoid placing the Bridge inside a closed cabinet or behind large objects that may interfere with the signal.
2. Connect the Bridge to power: Plug the power adapter included with the Philips Hue Bridge into an electrical outlet. Then, connect the other end of the adapter to the Bridge, ensuring a secure connection.
3. Connect the Bridge to your internet router: Use an Ethernet cable to connect one end of the cable to the Ethernet port on your internet router. Connect the other end to the Ethernet port on the Philips Hue Bridge. Make sure the cable is inserted securely into both ports.
4. Power on the Bridge: Once the Bridge is connected to both power and the internet router, power it on by flipping the switch or pressing the power button, if applicable. The Bridge will begin the startup process, indicated by the LED lights on the front panel.
5. Wait for the lights to stabilize: Allow a few moments for the LED lights on the Bridge to stabilize. Initially, the lights may go through various colors and patterns. Once the lights settle into a steady state or turn solid, it indicates that the Bridge is ready for the next step.
6. Download and open the Philips Hue app: On your smartphone or tablet, download the Philips Hue app from the app store. Once downloaded, open the app to begin the setup process.
7. Follow the in-app instructions: The Philips Hue app will guide you through the process of connecting the Bridge to your lights. Follow the on-screen instructions carefully, as they may involve pressing the physical button on the Bridge and allowing the app to discover and connect to the Bridge.
8. Wait for connection confirmation: After following the instructions, the app will attempt to connect to the Bridge. Once the connection is established, you will receive a confirmation message or notification within the app. This indicates that the Bridge is successfully connected, and you’re now ready to control your Philips Hue lights through the app.
Connecting the Philips Hue Bridge is an essential step in creating a seamless and efficient dimming experience for your smart lights. Once the Bridge is successfully connected, you’ll have full control over your lights’ brightness levels, enabling you to create the desired lighting atmosphere in your home. With your Bridge connected, you can now proceed to the next steps of installing the Philips Hue app and customizing your dimming settings.
Step 3: Installing the Philips Hue App
Installing the Philips Hue app is essential to control your Philips Hue lights and customize their dimming settings. The app acts as a control center, allowing you to adjust the brightness levels, create lighting schedules, and explore various lighting features. Follow these steps to install the Philips Hue app on your smartphone or tablet:
1. Open the app store: Depending on your device’s operating system, open either the Apple App Store (for iOS devices) or the Google Play Store (for Android devices).
2. Search for “Philips Hue”: In the app store’s search bar, enter “Philips Hue” and tap the search icon. The search results will display the official Philips Hue app.
3. Select the Philips Hue app: Tap on the Philips Hue app from the search results to access its app listing page.
4. Download the app: On the app listing page, tap the “Download” or “Get” button to initiate the app’s download and installation process. The app will begin downloading to your device, and you can monitor the progress through an on-screen indicator.
5. Install the app: After the download is complete, the app will automatically install on your device. Depending on your device’s settings, you may be prompted to enter your Apple ID or Google account information to verify the installation.
6. Open the Philips Hue app: Once the installation is finished, locate the Philips Hue app on your device’s home screen or app drawer and tap on its icon to open the app.
7. Grant necessary permissions: When you first open the Philips Hue app, it may request certain permissions to access features like your device’s location or Bluetooth functionality. Allow these permissions as needed to ensure the app can fully interact with your Philips Hue lights.
8. Create an account (if required): In some cases, the Philips Hue app may prompt you to create an account. Follow the on-screen instructions to provide the necessary information and set up your account. This account will allow you to access additional features and services provided by Philips Hue.
Once the Philips Hue app is successfully installed on your device, you’ll have the necessary tool to control and customize your Philips Hue lights’ dimming settings. It will serve as your central hub, enabling you to create lighting zones, adjust brightness levels, set schedules, and explore various features to enhance your lighting experience. With the app ready to use, you can now move on to the next steps of creating zones or rooms and utilizing the Philips Hue Dimmer Switch for easy dimming control.
Step 4: Creating Zones or Rooms
Creating zones or rooms in the Philips Hue app allows you to group your lights together, making it easier to control and adjust their dimming settings. By organizing your lights into specific zones or rooms, you can customize the lighting ambiance in different areas of your home. Follow these steps to create zones or rooms in the Philips Hue app:
1. Open the Philips Hue app: Locate the Philips Hue app on your smartphone or tablet and tap on its icon to open it.
2. Ensure the Philips Hue Bridge is connected: Make sure that your Philips Hue Bridge is properly set up and connected to the app. The app should detect the Bridge and establish a connection automatically.
3. Navigate to the settings: Look for the settings section of the app, typically accessible through a menu icon or a gear-shaped icon. Tap on it to access the app’s settings.
4. Select “Room setup” or “Zones”: Within the settings, you should find an option labeled “Room setup” or “Zones.” Tap on this option to proceed.
5. Choose “Add room” or “Add zone”: Once inside the room or zone setup, you’ll have the option to add a new room or zone. Tap on “Add room” or “Add zone” to create a new grouping.
6. Name the room or zone: Give the room or zone a name that represents the area or purpose of the lights. For example, you could name a zone “Living Room” or a room “Bedroom.” This will help you easily identify and control the lights within that space.
7. Assign lights to the room or zone: Next, you’ll need to assign the specific lights to the room or zone you just created. Tap on each light you want to include in the grouping, and it will be added to the room or zone selection.
8. Adjust settings (optional): Depending on the app’s features, you may have additional settings and customization options for each room or zone. These can include adjusting brightness levels, setting default colors, or enabling specific lighting scenes.
9. Save the room or zone: Once you’ve assigned the necessary lights and adjusted any desired settings, save the room or zone in the app. This will finalize the creation process, and you’ll see the newly created room or zone displayed in the app’s interface.
Repeat these steps to create additional rooms or zones as needed. By creating rooms or zones in the Philips Hue app, you can effectively group and control your lights for easy dimming adjustments. This feature enables you to customize the lighting atmosphere in specific areas of your home, enhancing the overall ambiance and creating a tailored lighting experience for each room or zone. With your rooms or zones created, you’re now ready to utilize the Philips Hue Dimmer Switch and adjust the dimming levels for your lights.
Step 5: Using the Philips Hue Dimmer Switch
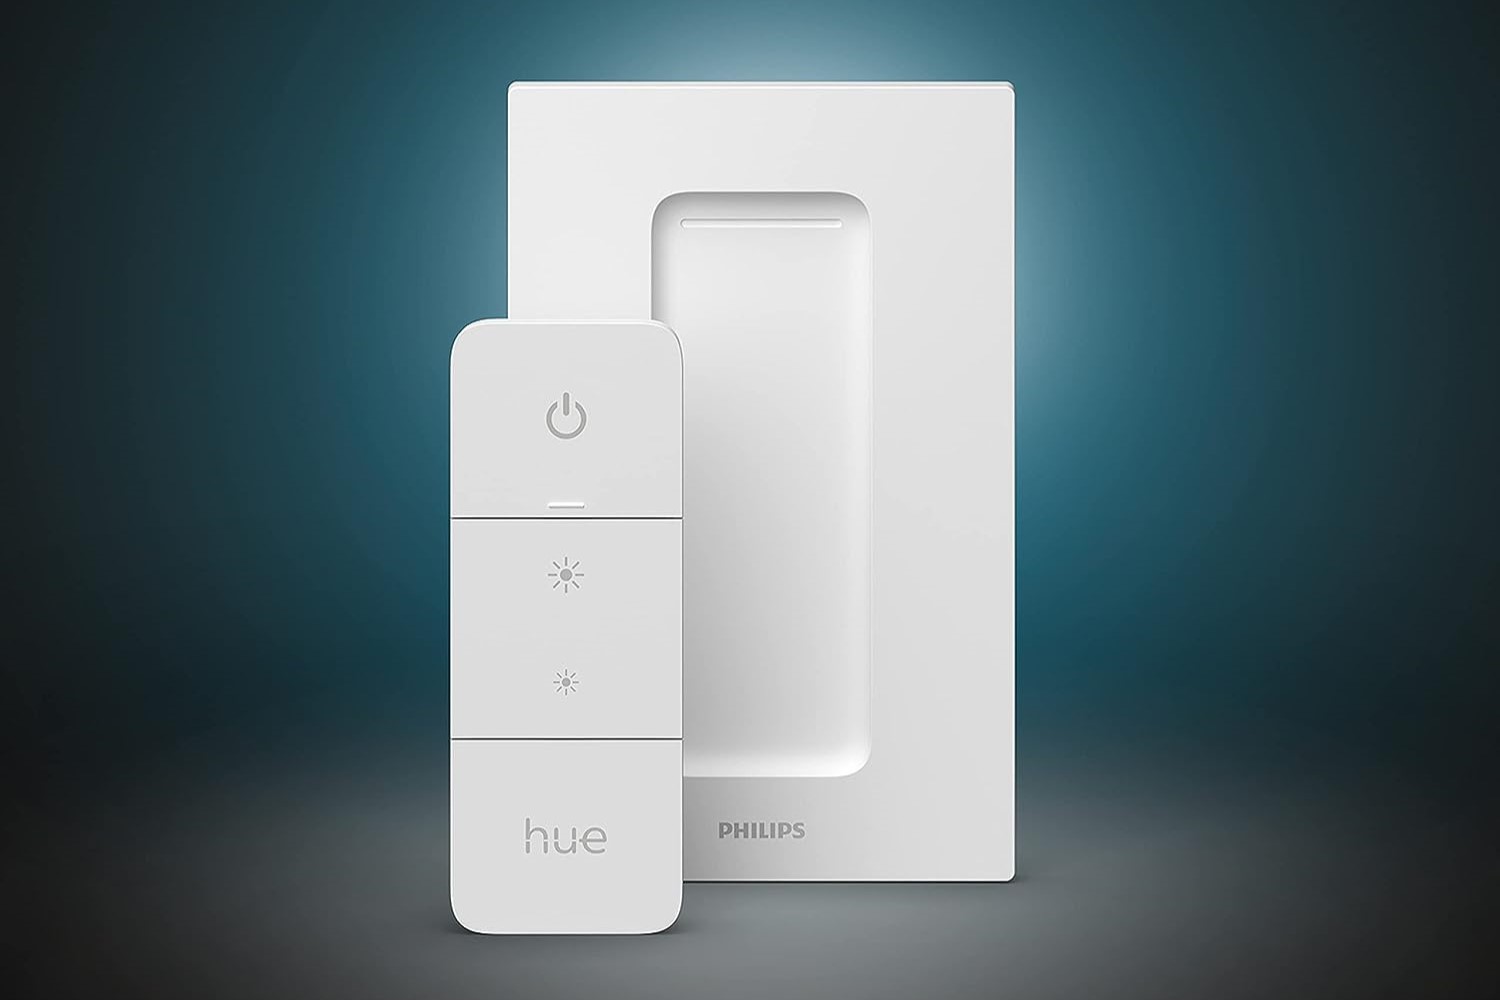
The Philips Hue Dimmer Switch is a convenient accessory that allows you to control and adjust the brightness levels of your Philips Hue lights. This versatile device can be mounted on the wall or used as a portable remote, offering a tactile and convenient way to dim your lights. Here’s how to use the Philips Hue Dimmer Switch:
1. Pair the Dimmer Switch with your Philips Hue system: Start by pairing the Dimmer Switch with your Philips Hue lights and Bridge. Open the Philips Hue app on your smartphone or tablet and follow the instructions to add the Dimmer Switch to your system. This typically involves pressing and holding the setup button on the Dimmer Switch until the app detects and connects to it.
2. Mount the Dimmer Switch (optional): If you prefer a permanent fixture, you can mount the Dimmer Switch on the wall using the included mounting bracket and screws. Choose a convenient location within reach, such as near a light switch or in a central area of the room. Alternatively, if you prefer a portable option, skip this step.
3. Control the lights: Once the Dimmer Switch is paired and installed, you can start controlling your Philips Hue lights. The Dimmer Switch has four buttons: On, Off, and two brightness adjustment buttons. Simply press the On button to turn on the lights, and the Off button to turn them off. To adjust the brightness levels, use the up and down buttons. Each press of the up button increases the brightness, while each press of the down button decreases it. Release the button when you reach the desired brightness level.
4. Customize the buttons (optional): The Philips Hue app allows you to customize the functionality of each button on the Dimmer Switch. You can assign different actions to the buttons, such as adjusting specific lights, activating lighting scenes, or setting up a favorite dimming level. Explore the app’s settings to customize the Dimmer Switch according to your preferences.
5. Use the Dimmer Switch as a portable remote: If you choose not to mount the Dimmer Switch, you can utilize it as a portable remote. Simply carry it with you around the house, using it to control the lights in different rooms. The Dimmer Switch maintains its connection with the Philips Hue system, allowing you to dim and control the lights from anywhere within range.
The Philips Hue Dimmer Switch provides a convenient and straightforward way to control the brightness levels of your Philips Hue lights. Whether mounted on the wall or used as a portable remote, the Dimmer Switch allows you to adjust the lighting ambiance effortlessly, creating the perfect mood and atmosphere in your home. With the Dimmer Switch in hand, you can now easily dim your lights to your desired brightness levels, enhancing the overall lighting experience in your space.
Step 6: Adjusting Dimming Levels
Adjusting the dimming levels of your Philips Hue lights is a simple process that allows you to customize the brightness and create the desired lighting atmosphere in your home. By fine-tuning the dimming levels, you can achieve anything from a cozy and intimate glow to a bright and vibrant illumination. Here’s how to adjust the dimming levels of your Philips Hue lights:
1. Open the Philips Hue app: Launch the Philips Hue app on your smartphone or tablet. Ensure that the app is connected to your Philips Hue Bridge and the lights you want to adjust.
2. Select the room or zone: Navigate to the tab or section within the app that displays the room or zone where the lights you want to dim are located. Tap on the corresponding room or zone to access its control interface.
3. Locate the dimming controls: Within the room or zone control interface, you should see a brightness or dimming control panel. This panel typically includes a slider or similar control element that allows you to adjust the brightness levels.
4. Slide to adjust dimming: Use your finger to slide the control element to the left or right to decrease or increase the brightness, respectively. As you adjust the dimming levels, the lights associated with the room or zone will respond accordingly, growing dimmer or brighter in real-time.
5. Fine-tune the dimming levels: Experiment with different positions on the dimming control panel to achieve the desired lighting ambiance. You can slide the control element slowly or make larger adjustments to quickly change the brightness levels. Pause and observe the effect on the lights with each adjustment to ensure the desired outcome.
6. Save the dimming settings (optional): Some apps may allow you to save specific dimming settings as presets or scenes. If desired, you can capture the ideal dimming levels and other lighting parameters as a preset for quick access in the future. This is particularly useful if you have specific lighting setups for different occasions or moods.
7. Repeat for other rooms or zones: If you have multiple rooms or zones with Philips Hue lights, repeat the process for each space. Adjust the dimming levels accordingly for each room or zone to create the perfect lighting ambiance throughout your home.
With the ability to easily adjust the dimming levels, you can create the ideal lighting atmosphere for any situation or mood. From relaxing evenings to productive work sessions, having control over the brightness allows you to tailor the lighting to your needs. By following these steps, you can fine-tune the dimming levels of your Philips Hue lights and experience the full flexibility of your smart lighting system.
Step 7: Automating Dimming with Schedules
Automating the dimming of your Philips Hue lights with schedules is a convenient way to create a consistent and personalized lighting experience. By setting up schedules, you can have your lights automatically adjust their dimming levels at different times of the day or night. This allows you to seamlessly transition between lighting scenes and create the desired ambiance without having to manually adjust the dimming levels. Follow these steps to automate the dimming of your Philips Hue lights with schedules:
1. Open the Philips Hue app: Launch the Philips Hue app on your smartphone or tablet. Ensure that the app is connected to your Philips Hue Bridge and the lights you want to automate.
2. Access the scheduling feature: Within the app, navigate to the section or tab that displays the scheduling feature. This may be called “Schedules,” “Automation,” or something similar, depending on the app version or layout.
3. Create a new schedule: In the scheduling interface, look for an option to create a new schedule. Tap on this option to begin the process of setting up a new lighting schedule.
4. Set the desired time: Specify the time at which you want the dimming changes to occur. This can be a specific time of day or night or a relative time based on sunrise or sunset.
5. Choose the lights and dimming levels: Select the lights you want to include in the schedule and set the desired dimming levels for each light. You may have options to choose specific rooms, zones, or individual lights, depending on the capabilities of the app.
6. Repeat for multiple times or days: If you want to have different dimming levels at various times or on specific days, repeat the process for each desired time slot or day. This allows you to create a personalized schedule that fits your lifestyle and lighting needs.
7. Save the schedule: Once you’ve set the time, lights, and dimming levels for your schedule, save it within the app. This will activate the automation and ensure that the dimming changes take place according to the specified schedule.
8. Edit or delete schedules as needed: If you want to make changes to an existing schedule or remove it entirely, access the scheduling interface in the app and look for options to edit or delete schedules. This allows you to fine-tune your automated dimming settings or make adjustments based on evolving needs.
By automating the dimming of your Philips Hue lights with schedules, you can effortlessly create the perfect lighting atmosphere throughout the day and night. Whether you desire a gradual dimming in the evening to promote relaxation or a brightening effect in the morning to help you wake up, setting up schedules enables you to tailor the lighting to your preferences. With the schedules in place, you can enjoy a consistent and personalized lighting experience without the need for manual adjustments.
Step 8: Integrating with Voice Assistants
Integrating your Philips Hue lights with voice assistants like Amazon Alexa or Google Assistant adds another layer of convenience and hands-free control to your smart lighting system. With voice commands, you can easily adjust the dimming levels of your lights without needing to physically interact with the Philips Hue app or any other control devices. Follow these steps to integrate your Philips Hue lights with voice assistants:
1. Set up your voice assistant device: Ensure that your voice assistant device, such as an Amazon Echo or Google Nest speaker, is properly set up and connected to your home network. Follow the manufacturer’s instructions to complete the setup process.
2. Add the Philips Hue skill or action: Open the accompanying app for your voice assistant (such as the Alexa app for Amazon devices or the Google Home app for Google devices) and search for the Philips Hue skill or action. Enable or add the skill/action to your device to gain compatibility with your Philips Hue lights.
3. Link your Philips Hue account: Follow the prompts within the voice assistant app to link your Philips Hue account. This typically involves signing in with your Philips Hue account credentials. This step is necessary to establish a connection between your voice assistant device and the Philips Hue system.
4. Discover devices: Once your accounts are linked, use the voice assistant app to discover the Philips Hue lights in your home. This process allows your voice assistant to recognize and communicate with your lights.
5. Assign lights to rooms (optional): If you have already created rooms or zones in the Philips Hue app, you may need to assign the discovered lights to these rooms within the voice assistant app. This step ensures that you can control the lights using the designated room names.
6. Test the voice commands: With the integration complete, you can now test the voice commands to adjust the dimming levels of your Philips Hue lights. Use phrases like “Alexa, dim the lights in the living room to 50%” or “Hey Google, set the bedroom lights to 75%.” The voice assistant will send the command to the Philips Hue system, and the designated lights will adjust their dimming levels accordingly.
7. Explore additional voice-controlled features: Voice assistants offer various additional features that you can explore with your Philips Hue lights. These may include activating lighting scenes, controlling lights in specific zones, or scheduling automated dimming changes using voice commands. Refer to the documentation and support resources for your specific voice assistant to learn more about the available features.
By integrating your Philips Hue lights with voice assistants, you can effortlessly control and adjust the dimming levels of your lights using simple voice commands. This hands-free control enhances the accessibility and convenience of your smart lighting system, allowing you to create the desired lighting atmosphere without having to reach for a physical control device or interact with an app. With the integration complete, enjoy the ease and flexibility of adjusting the dimming levels of your Philips Hue lights with just your voice.
Troubleshooting Tips for Dimming Issues
While Philips Hue lights are designed to provide smooth and reliable dimming functionality, you may encounter occasional issues that affect the performance of your lights. Here are some troubleshooting tips to help you resolve common dimming issues:
1. Check the compatibility: Ensure that you are using Philips Hue-compatible LED lights. Not all LED lights are designed for dimming, and using non-compatible lights may result in limited dimming capabilities or flickering.
2. Verify the firmware: Check for any firmware updates for your Philips Hue Bridge, light bulbs, or other components. Keeping the firmware up to date can address known compatibility issues and improve overall performance, including dimming capabilities.
3. Check the power supply: Verify that the power supply to your Philips Hue lights is stable and consistent. Voltage fluctuations or insufficient power may affect the dimming functionality. Ensure that the power connections are secure and that there are no loose or damaged wires.
4. Reset the lights: If you are experiencing dimming issues with specific lights, try resetting them. This can be done by turning the lights off and on multiple times in quick succession or following the specific reset instructions provided by Philips Hue.
5. Check for interference: Examine the surroundings of your Philips Hue lights for potential sources of interference. Electrical devices such as microwaves, baby monitors, or poorly shielded cables can interfere with the signals between the lights and the Philips Hue Bridge, affecting the dimming capabilities. Move or eliminate any sources of interference to improve performance.
6. Distance from the Bridge: If the dimming issues persist, consider the distance between your Philips Hue lights and the Bridge. If the lights are far from the Bridge or there are multiple obstacles in between, the signal may be weaker, affecting dimming performance. Try moving the Bridge closer to the lights or adding a Philips Hue range extender to enhance the signal strength.
7. Reconnect the Bridge: If you are experiencing dimming issues with all your Philips Hue lights, try disconnecting and reconnecting the Bridge. This can refresh the connection and resolve any temporary communication issues between the Bridge and the lights.
8. Contact Philips Hue support: If the troubleshooting steps do not resolve the dimming issues, reach out to the Philips Hue support team. They can provide additional guidance and specific troubleshooting steps to address your concerns.
By following these troubleshooting tips, you can identify and resolve common dimming issues with your Philips Hue lights. Remember to always double-check compatibility, update firmware, and ensure stable power supply. By addressing any potential sources of interference and optimizing the distance between the lights and the Bridge, you can enhance the dimming performance of your Philips Hue lights and enjoy a seamless and customizable lighting experience.