
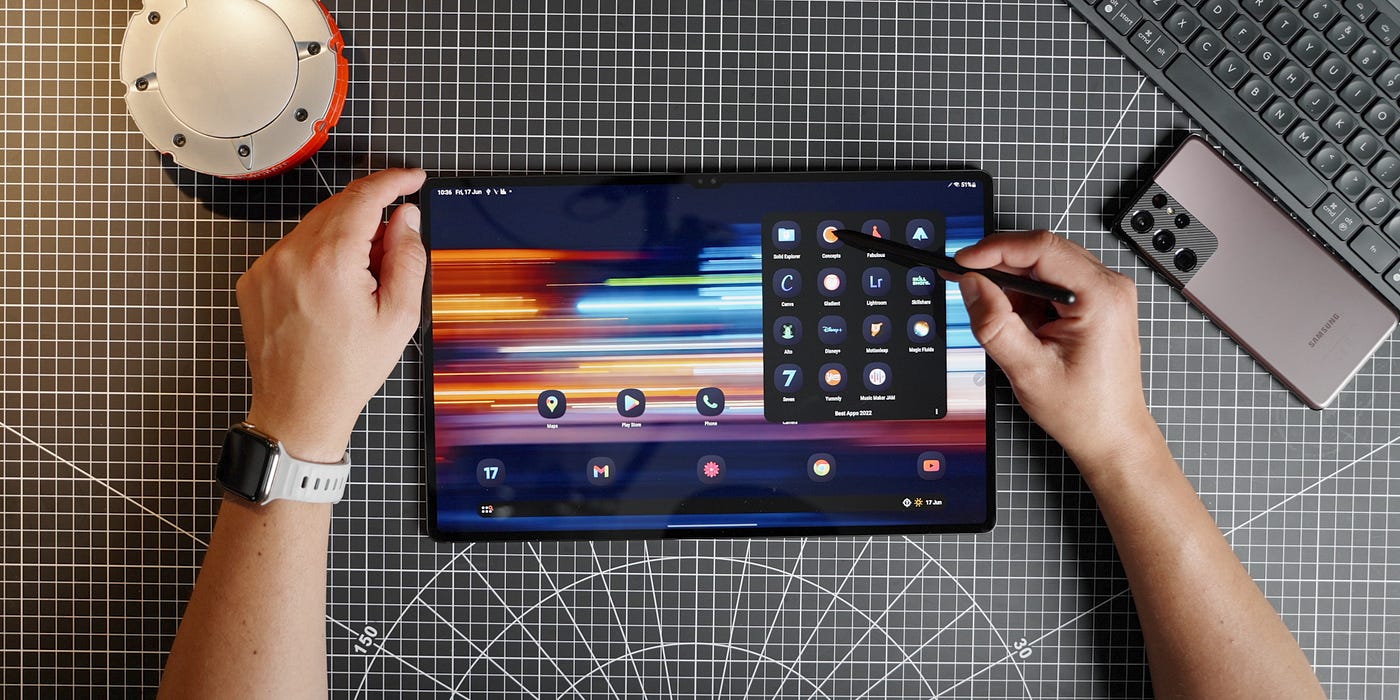
Checking The Apps List
Before you can delete any apps on your Samsung tablet, it’s essential to have a comprehensive understanding of the apps installed on your device. Here are a few simple steps to help you check your apps list:
- Start by navigating to the home screen of your Samsung tablet. This is typically done by pressing the home button or swiping up from the bottom of the screen.
- Locate the “Apps” icon on your home screen or in the app drawer. It is usually represented by a grid of dots or a square made up of smaller squares.
- Tap on the “Apps” icon to open the app drawer, where you will find a complete list of all the applications installed on your Samsung tablet.
- You can scroll through the list to browse all the apps or use the search bar at the top of the screen to quickly find a specific app.
- Take your time to review the apps and identify the ones you wish to delete. Pay attention to the app names, icons, and any other relevant information. This will help you select the correct app for deletion.
By checking the apps list, you have now familiarized yourself with the applications installed on your Samsung tablet. This step is crucial as it ensures you can confidently proceed with deleting the unwanted apps, without mistakenly removing any necessary ones.
Selecting The App to Delete
Once you have reviewed the apps list on your Samsung tablet, the next step is to select the app you want to delete. Here’s how you can do it:
- Open the “Apps” section on your device, either from the home screen or the app drawer.
- Scroll through the apps list or use the search bar to find the specific app you wish to delete. Take your time to ensure you are selecting the correct app.
- Once you have located the app, press and hold its icon until a menu appears.
- In the menu that appears, you will find various options related to the app. Look for an option that says “Uninstall” or something similar. Tap on it to initiate the app deletion process.
- You may be prompted to confirm the deletion action. Read the confirmation message carefully and tap “OK” or “Uninstall” to proceed with deleting the app.
It’s important to note that not all apps can be deleted from your Samsung tablet. Some pre-installed or system apps may be restricted from deletion. However, you can often disable these apps to prevent them from running or taking up storage space.
By selecting the app you want to delete, you are now ready to proceed with uninstalling it from your Samsung tablet. Make sure to double-check your selection to avoid accidentally removing any necessary apps.
Uninstalling Apps
To free up storage space or remove unwanted apps from your Samsung tablet, you can simply uninstall them. The process of uninstalling apps from your device is straightforward:
- Open the “Apps” section on your Samsung tablet.
- Scroll through the apps list or use the search bar to find the app you wish to uninstall.
- Press and hold the app icon until a menu appears.
- Look for the “Uninstall” option in the menu and tap on it to initiate the uninstallation process.
- A confirmation message will appear, asking if you want to uninstall the app. Read the message carefully, as some apps may have associated data that will be erased. Tap “OK” to proceed.
- The app will be uninstalled from your Samsung tablet, freeing up the storage space it occupied.
It’s worth noting that some apps may have a slight variation in the uninstallation process. For example, instead of an “Uninstall” option, you might see a “Delete” option or an “X” symbol. The overall procedure remains similar.
If you later decide that you need the uninstalled app again, you can always reinstall it from the Google Play Store or the Samsung Galaxy Store.
By uninstalling apps that you no longer need, you can optimize your Samsung tablet’s performance, declutter your device, and create more space for new apps and data.
Disabling Apps
In some cases, you may not be able to uninstall certain pre-installed or system apps from your Samsung tablet. However, you can disable these apps, preventing them from running and taking up unnecessary space. Here’s how to disable apps on your device:
- Access the “Apps” section on your Samsung tablet.
- Scroll through the apps list or use the search bar to find the app you want to disable.
- Press and hold the app icon until a menu appears.
- Select the “Disable” or “Turn off” option from the menu.
- A confirmation message may appear, stating that disabling the app may affect other functions. Read the message carefully before proceeding.
- Tap “Disable” or “Turn off” to confirm the action.
Once disabled, the app will be greyed out and no longer accessible. Disabling an app not only prevents it from running in the background but also removes its icon from the home screen and app drawer, giving your Samsung tablet a cleaner and more organized appearance.
It’s important to note that disabling certain system apps may cause other apps or features to lose functionality. If you experience any issues after disabling an app, you can easily re-enable it following the same steps.
By disabling unnecessary apps, you can effectively manage and optimize the performance of your Samsung tablet while maintaining control over which apps are active on your device.
Removing Apps From Home Screen
If you have apps on your Samsung tablet’s home screen that you no longer need quick access to, you can easily remove them to declutter your device. Here’s how to remove apps from the home screen:
- Locate the app icon on your tablet’s home screen that you want to remove.
- Tap and hold the app icon until a menu appears.
- In the menu, look for the “Remove” or “Delete” option. Drag the app icon towards that option.
- Release the app icon over the “Remove” or “Delete” option.
- The app icon will be removed from the home screen, but it will still be accessible through the app drawer.
Repeat these steps for any other apps you want to remove from the home screen.
Removing apps from the home screen helps in organizing your Samsung tablet and providing a cleaner interface. It can also prevent accidental launches of apps and make it easier to find the apps you use frequently.
If you change your mind and decide to bring back an app to the home screen, you can easily do so by finding it in the app drawer and tapping and holding the icon. Then, drag it back to the desired location on the home screen.
By removing apps from the home screen that you don’t regularly use, you can personalize and streamline the user experience on your Samsung tablet.
Clearing App Data and Cache
Over time, apps on your Samsung tablet accumulate temporary files and data, which can take up valuable storage space and potentially impact their performance. Clearing app data and cache can help resolve issues related to app crashes, freezing, or excessive storage usage. Here’s how you can do it:
- Go to the “Settings” on your Samsung tablet, usually represented by a gear icon in the app drawer or quick settings panel.
- Scroll down and find the “Apps” or “Applications” option and tap on it.
- You’ll see a list of all the apps installed on your device. Choose the app that you want to clear the data and cache for.
- Once you’ve selected the app, you’ll be taken to its app settings page. Look for options like “Storage” or “Storage & cache”.
- Tap on the “Clear cache” button to remove the temporary files associated with the app. This will not delete any personal data or custom settings.
- If you want to clear all the data associated with the app, including personal settings or login credentials, you can tap on the “Clear data” or “Clear storage” button. Keep in mind that this will reset the app to its default state.
- Confirm your action when prompted. Depending on the app and the amount of data it holds, the process may take a few moments.
It’s important to note that clearing app data and cache can have consequences. For example, you may need to log back into the app or reconfigure your preferences. However, it can also help improve the app’s performance and resolve any issues it may be facing.
By regularly clearing app data and cache, you can optimize the storage space and ensure smooth, efficient operation of your apps on your Samsung tablet.
Managing App Permissions
When you install apps on your Samsung tablet, they may request certain permissions to access various features or information on your device. Managing app permissions allows you to control what information an app can access and enhance your privacy and security. Here’s how you can manage app permissions on your Samsung tablet:
- Open the “Settings” app on your Samsung tablet.
- Scroll down and find the “Apps” or “Applications” option and tap on it.
- Select the app for which you want to manage permissions.
- On the app’s settings page, look for the “Permissions” or “App permissions” option.
- Tap on it to view the list of permissions that the app has requested.
- Review the list of permissions and toggle on or off the switches next to each permission to allow or deny access.
- You can also tap on a specific permission to see more details and customize it further.
- Repeat the process for other apps to manage their permissions as well.
It’s important to consider the permissions an app is requesting before granting or denying access. Some permissions, such as access to the camera or microphone, may be necessary for the app’s proper functioning. However, granting unnecessary permissions can pose privacy risks.
Keep in mind that denying certain permissions may affect the functionality or usability of the app. For example, a photo editing app may require access to your photo library to save edited images. Denying this permission would limit its capabilities.
By managing app permissions on your Samsung tablet, you can have greater control over the information apps can access, ensuring your privacy and security while using your device.
Restoring Default Apps
If you have previously disabled or removed default apps on your Samsung tablet and wish to restore them, you can easily do so. Restoring default apps brings back the apps that originally came with your device. Here’s how you can restore default apps:
- Go to the “Settings” on your Samsung tablet.
- Scroll down and find the “Apps” or “Applications” option and tap on it.
- Look for the three-dot menu icon or the “More” option on the top-right corner of the screen and tap on it.
- In the menu that appears, select “Reset app preferences” or a similar option. This will reset app settings and preferences to their defaults.
- Confirm your action when prompted. This may vary depending on your device model and Android version.
- Once you have reset app preferences, the default apps that were previously disabled or removed will be restored.
Keep in mind that restoring default apps will not undo any other changes you have made to your Samsung tablet, such as removing non-default apps or modifying system settings.
If you only want to restore specific default apps, you can individually enable or re-download them from the Google Play Store or the Samsung Galaxy Store. Simply search for the app in the respective store and install it as you would with any other app.
By restoring default apps, you can regain access to the original applications that came with your Samsung tablet, ensuring that you have all the necessary tools and features at your fingertips.
Dealing with Pre-installed Apps
Pre-installed apps on your Samsung tablet come with the device and cannot be uninstalled like regular apps. However, you have a few options for dealing with these pre-installed apps:
- Disable: If you don’t use or want certain pre-installed apps, you can disable them. Disabling an app removes it from your app drawer and prevents it from running in the background. To disable a pre-installed app, go to “Settings”, then “Apps”, select the app, and tap on the “Disable” button.
- Hide: Another option is to hide pre-installed apps from your home screen. This can help declutter your device and create a cleaner interface. To hide an app, tap and hold its icon on the home screen, then drag it to the “Remove” or “Hide” option.
- Folders: You can create folders on your home screen to group pre-installed apps together. This way, you can organize them and access them with ease. To create a folder, tap and hold one app icon, then drag it on top of another app icon. This will create a folder containing both apps.
- Custom Launcher: If you want more flexibility in dealing with pre-installed apps, you can install a custom launcher from the Google Play Store. Custom launchers allow you to customize the appearance and behavior of your home screen, including hiding pre-installed apps or using alternative app drawers.
While pre-installed apps cannot be completely removed like regular apps, disabling, hiding, or organizing them can help you personalize your Samsung tablet’s interface and reclaim valuable screen space.
It’s worth mentioning that some pre-installed apps may be essential for the proper functioning of your device or have dependencies with the system. Disabling or altering certain pre-installed apps may affect the stability or functionality of your Samsung tablet. Therefore, exercise caution and only make changes to pre-installed apps if you are confident in their non-essential nature.
By utilizing these strategies, you can effectively manage pre-installed apps on your Samsung tablet and create a more streamlined and customized user experience.
Troubleshooting App Deletion Issues
If you encounter issues while trying to delete apps on your Samsung tablet, there are several troubleshooting steps you can take to resolve the problem. Here are some common solutions to app deletion issues:
- Restart Your Device: Sometimes, a simple restart can resolve temporary glitches that may hinder app deletion. Press and hold the power button on your Samsung tablet, then tap “Restart” or “Reboot” when the options appear.
- Check for Device Updates: Ensure that your Samsung tablet is running the latest software version. Go to “Settings”, then “Software Update”, and select “Download and Install” if an update is available.
- Clear App Data: If an app is not uninstalling properly, you can try clearing its data and cache first. Go to “Settings”, then “Apps”, select the app, and tap on “Clear cache” and “Clear data”. Afterward, try uninstalling the app again.
- Remove Device Administrator Access: Some apps require administrator access to your device, which can prevent them from being uninstalled. Go to “Settings”, then “Security”, select “Device administrators”, and disable any app that might be causing issues.
- Boot into Safe Mode: Booting your Samsung tablet into safe mode can help identify if a third-party app is causing the deletion issues. Press and hold the power button to bring up the power menu, then press and hold “Power off” until the safe mode option appears. Tap “Safe Mode” and check if you can uninstall apps in this mode. If you can, the issue is likely caused by a third-party app.
- Factory Reset: As a last resort, you can perform a factory reset on your Samsung tablet. Keep in mind that this will erase all data on your device, so make sure to back up important files and information beforehand. Go to “Settings”, then “General management”, select “Reset”, and choose “Factory data reset”. Follow the on-screen instructions to complete the process.
If none of these troubleshooting steps resolve the app deletion issues on your Samsung tablet, you may want to reach out to Samsung support or the app developer for further assistance. They can provide specific guidance tailored to your situation.
By following these troubleshooting steps, you can overcome app deletion issues and effectively manage the apps on your Samsung tablet.