
Why Create Custom Folders in the iOS Mail App?
Managing a cluttered inbox can be a challenging task, especially if you receive a large number of emails on a daily basis. Luckily, the iOS Mail app offers a convenient solution – creating custom folders. These folders allow you to categorize and organize your emails in a way that suits your specific needs. Whether you want to separate work emails from personal ones or sort messages from different clients, custom folders provide a streamlined approach to stay organized and efficient.
By creating custom folders in the iOS Mail app, you can easily locate and access specific emails without wasting valuable time searching through your entire inbox. This enhanced organization system ensures that important messages are not overlooked or lost, allowing you to prioritize your tasks and respond promptly to urgent matters.
Custom folders also provide a way to declutter your main inbox and reduce visual noise. Instead of scrolling through a seemingly endless list of emails, you can segregate them into relevant folders for easy reference later. This decluttering not only improves productivity but also reduces stress and helps create a more pleasant email management experience.
Another compelling reason to create custom folders is the ability to establish a personalized email organization system that aligns with your unique workflow. Everyone has different preferences and priorities when it comes to email management, and the iOS Mail app’s custom folders allow you to tailor your inbox structure to match your requirements. You can create folders based on projects, clients, specific topics, or any other criteria that make sense for your particular circumstances.
Furthermore, custom folders make it easier to maintain a clear distinction between different types of messages. By separating your work emails from personal ones, you can maintain a better work-life balance and ensure that personal matters don’t get lost or overlooked among professional communication. This separation can also be advantageous if you use your iOS device for both personal and business purposes, as it allows you to switch between modes and focus on the relevant emails at any given time.
Step 1: Open the Mail App
To begin creating custom folders in the iOS Mail app, the first step is to open the app on your device. Locate the Mail app icon on your home screen, which resembles a white envelope on a blue background. Tap on the icon to launch the Mail app.
Opening the Mail app will take you to your mailbox, where you can view your incoming and existing emails. The app provides a user-friendly interface that allows for easy navigation and quick access to various features and functionality.
Once you have opened the Mail app, you will be able to see your inbox, which displays all the emails you have received. The inbox will include all the default folders, such as Inbox, Sent, Drafts, and Trash. These folders are part of the preconfigured folder structure in the iOS Mail app. However, if you want to create custom folders to suit your specific needs, you can follow the subsequent steps.
It is important to note that the Mail app may vary slightly depending on the version of iOS you are using. However, the process of creating custom folders remains relatively consistent across different versions.
Now that you have opened the Mail app, you are ready to proceed to the next step and start creating your custom folders. The ability to organize your emails in a way that makes sense to you is just a few steps away, ensuring a more efficient and personalized email management experience.
Step 2: Tap “Mailboxes”
After opening the Mail app in iOS, the next step in creating custom folders is to tap on the “Mailboxes” option. This option is located at the bottom center of the screen, represented by an icon with four squares overlapping each other.
By tapping “Mailboxes,” you will be directed to a screen that displays all the different mailboxes and folders in your iOS Mail app. These include default folders such as Inbox, Sent, Drafts, and Trash, as well as any custom folders you may have previously created.
On this screen, you will also find other available features, such as VIP, Flagged, and Archive, which help you filter and manage your emails with ease. These additional folders and options offer further organizational capabilities to enhance your email management experience.
By tapping “Mailboxes,” you gain access to the full range of folders in the Mail app, allowing you to view, manage, and organize your emails efficiently. This screen also provides a quick glance at the number of unread emails in each folder, helping you prioritize and stay on top of your inbox.
Within the “Mailboxes” screen, custom folders are typically displayed under the “On My iPhone” or “On My iPad” section, depending on the device you are using. To access and work with your custom folders, simply tap on the relevant section to expand it and reveal the folders within.
If you have not created any custom folders yet, this section may be empty. However, don’t worry – you will have the opportunity to create your own folders in the following steps.
Once you have tapped on “Mailboxes” and accessed the folder screen, you are now ready to move on to the next step and start creating your custom folders in the iOS Mail app.
Step 3: Tap “Edit” and “New Mailbox”
To create a custom folder in the iOS Mail app, you need to first tap on the “Edit” button, which is located in the top-right corner of the “Mailboxes” screen. This button allows you to enter the edit mode, enabling you to make changes to your mailbox structure.
After tapping on “Edit,” you will notice that several additional options become available. One of these options is “New Mailbox.” Tap on “New Mailbox” to initiate the process of creating a custom folder. This action will prompt a pop-up window to appear, where you can provide the necessary details for your new folder.
On the “New Mailbox” pop-up window, you will be required to choose the location for your custom folder. The options typically include either the “On My iPhone” or “On My iPad” section, depending on the device you are using. Select the location that suits your preferences and helps you maintain an organized mailbox.
Once you have selected the location, you will need to give your custom folder a name. This name should be descriptive and reflect the purpose or category of the emails you plan to store within the folder. For instance, if you want to create a folder for work-related emails, you might name it “Work” or “Projects.”
While naming your custom folder, it is essential to keep it concise and easily understandable. This clarity ensures that you can quickly identify and locate the desired folder when managing your emails.
Once you have provided a name for your custom folder and selected the appropriate location, tap on the “Save” button to finalize the creation of your new mailbox or custom folder. The Mail app will then generate your folder and add it to the designated location, making it available for use in organizing and storing your emails.
Now that you have successfully tapped on “Edit” and created a new mailbox, it’s time to move on to the next step and explore how to effectively utilize your custom folder in the iOS Mail app.
Step 4: Name Your Custom Folder
After selecting the location for your custom folder in the iOS Mail app, the next step is to give it a name. A well-chosen name will not only help you easily identify the folder but also provide a clear indication of its contents or purpose.
To name your custom folder, you will see a text field or an option to enter the desired name. Take a moment to consider the purpose of the folder and determine the most appropriate name. For example, if you are creating a folder for personal finance-related emails, you might name it “Finance” or “Personal Expenses.”
It is essential to choose a name that is concise, descriptive, and relevant to the emails you plan to store in the folder. Avoid using overly generic names that may cause confusion or make it difficult to locate specific emails in the future. Additionally, consider using consistent naming conventions for your custom folders, especially if you plan to create multiple folders for different categories.
When selecting a name for your custom folder, it can be helpful to think about how you would naturally refer to that category of emails in conversation. This approach ensures that the folder’s name reflects its purpose in a way that is intuitive and easy to understand.
After finalizing the name for your custom folder, ensure that it is accurately spelled and free of typos. Double-checking the name can prevent any confusion or difficulty when searching for the folder later on.
Once you are satisfied with the chosen name, proceed to save it by tapping the appropriate button or icon. The Mail app will then create the custom folder with the given name and add it to the specified location in your mailbox structure.
Now that you have named your custom folder, you are ready to move on to the next step, where you will learn how to choose the location for your custom folder in the iOS Mail app.
Step 5: Choose the Location for Your Custom Folder
Once you have given your custom folder a name in the iOS Mail app, the next step is to choose its location within your mailbox structure. The location determines where the folder will be placed and how it will be organized alongside other existing folders.
When you create a custom folder, you typically have the option to select either the “On My iPhone” or “On My iPad” section, depending on the device you are using. The choice of location depends on your preferences and how you want to organize your emails.
If you plan to use the custom folder for emails related to a specific account, such as a work email or a personal email, you might consider placing it within the corresponding account section. This arrangement ensures that all relevant emails are conveniently grouped together, making it easier to access and manage them.
On the other hand, if you wish to create a folder that spans across multiple email accounts, you can place it in the “On My iPhone” or “On My iPad” section. This location allows you to keep all related emails in one centralized folder, regardless of the email account they belong to.
The location you choose for your custom folder should align with your email management needs and preferences. Consider how you want to navigate and organize your emails, as well as the convenience and efficiency of accessing specific folders.
It’s important to note that the Mail app allows you to create multiple custom folders in different locations, allowing for a highly tailored and adaptable mailbox structure. You can create as many folders as needed, organizing them in a way that makes the most sense to you.
Once you have decided on the location for your custom folder, tap the appropriate option to save your selection. The Mail app will then place your custom folder in the chosen location, making it readily accessible for organizing and storing relevant emails.
With the location chosen, you are now ready to proceed to the next step, where you will learn how to save your custom folder and complete the creation process in the iOS Mail app.
Step 6: Tap “Save”
After naming your custom folder and selecting its location in the iOS Mail app, the final step in creating the folder is to simply tap the “Save” button. This action ensures that your custom folder is saved and added to your mailbox structure, ready for you to start organizing and storing emails within it.
Once you tap the “Save” button, the Mail app will generate your custom folder according to the specified name and location. You will then be directed back to the “Mailboxes” screen, where you can see your newly created folder listed among the other mailboxes and folders.
It is important to note that after tapping “Save,” any subsequent changes or refinements you wish to make to the folder’s name or location can be done through the “Edit” option on the “Mailboxes” screen. This flexibility allows you to fine-tune your mailbox structure as needed, ensuring an effective and personalized organization system tailored to your preferences.
With your custom folder saved, you are now ready to fully utilize its capabilities in managing your emails. You can start moving emails into the folder, sorting them according to their respective categories or priorities. This organization process brings enhanced efficiency and ease of access to your mailbox, making it easier to find and manage specific emails.
Remember, you can create multiple custom folders within your mailbox, based on different criteria or categories that make sense to your workflow. This flexibility allows you to optimize your email management and keep your inbox organized based on your unique needs.
By tapping “Save” and creating your custom folder, you have taken an important step towards achieving a more streamlined and efficient email management process. The iOS Mail app offers a user-friendly interface that facilitates intuitive navigation and smooth organization, ensuring a seamless experience for staying on top of your emails.
Now that your custom folder is saved, it’s time to move on to the next step and learn how to move emails into your newly created folder.
Step 7: Move Emails to Your Custom Folder
Once you have created a custom folder in the iOS Mail app, the next step is to start moving emails into this folder. By organizing your emails within the custom folder, you can keep your inbox clutter-free and easily locate specific messages whenever needed.
To move an email to your custom folder, follow these simple steps:
- Open the Mail app and navigate to your inbox or the folder where the email is currently located.
- Select the email you want to move by tapping on it. You can also select multiple emails at once by tapping the circular checkbox next to each email.
- Once the email(s) is selected, tap the “Move” button located at the bottom center of the screen. The Move button is represented by a square icon with an arrow pointing towards a folder.
- In the Move screen, you will see a list of available folders. Scroll through the list or use the search bar to find your custom folder.
- Tap on your custom folder to select it as the destination for the selected email(s).
- To complete the move, tap the “Move Message” button located in the top-right corner of the screen.
After following these steps, the selected email(s) will be moved from their original location to your custom folder. You can repeat these steps for each email you want to organize within the folder.
Moving emails to your custom folder offers several advantages. It helps you categorize your messages based on specific projects, clients, or topics, making it easier to find relevant information at a later time. It also declutters your main inbox, keeping it clean and organized.
Organizing your emails within custom folders is a dynamic process. You can always move emails between folders or create subfolders within your custom folder to further categorize your messages. This flexibility allows you to maintain an efficient email management system that adapts to your evolving needs.
Now that you have learned how to move emails to your custom folder, it’s time to explore the next step – accessing your custom folders from the sidebar.
Step 8: Access Your Custom Folders from the Sidebar
Once you have created custom folders in the iOS Mail app and organized your emails within them, it’s important to know how to access these folders easily. The Mail app provides a convenient sidebar that allows you to view and access your custom folders with just a few taps.
To access your custom folders from the sidebar, follow these steps:
- Open the Mail app on your iOS device.
- In the Mailboxes screen, located at the bottom center of the app, tap on the “Mailboxes” icon. This icon resembles four overlapping squares.
- In the Mailboxes screen, you will see a list of all the available folders and mailboxes. Scroll through the list to find the section where your custom folders are located; typically, they are listed under the “On My iPhone” or “On My iPad” section.
- Tap on the arrow icon located to the left of the section name. This will expand the section and reveal all the folders within it, including your custom folders.
- Tap on the name of the custom folder you want to access. The folder will expand, showing the list of emails contained within it.
By following these steps, you can easily access your custom folders and view the emails stored within them. This quick and convenient access allows you to stay organized and navigate through your mailbox structure with ease.
From the sidebar, you can perform various actions within your custom folders, such as reading, replying to, or deleting emails. You can also move emails between folders or mark them as important or unread, depending on your needs and preferences.
In addition to custom folders, the sidebar also provides access to other important sections, such as the Inbox, Sent, Drafts, and Trash folders. This allows for seamless navigation and efficient email management across different mailbox sections.
Now that you know how to access your custom folders from the sidebar, you can enjoy the benefits of a well-organized mailbox and easily find the emails you need, whenever you need them.
Step 9: Delete or Rename Custom Folders
While custom folders in the iOS Mail app can be incredibly useful for organizing your emails, there may come a time when you need to delete or rename a folder. Whether you no longer need a certain category or want to update the name of a folder to better reflect its contents, the Mail app allows you to manage your custom folders easily.
To delete or rename a custom folder, follow these steps:
- Open the Mail app on your iOS device.
- In the Mailboxes screen, locate the section where your custom folder is located. Typically, they are listed under the “On My iPhone” or “On My iPad” section.
- Tap on the arrow icon located to the left of the section name to expand the section and reveal all the folders within it.
- Find the custom folder you want to delete or rename and swipe left on the folder name.
- Two options will appear: “Delete” and “Rename.” Choose the desired action.
- If you choose “Delete,” confirm the action by tapping “Delete” in the confirmation prompt that appears. The custom folder and its contents will be permanently deleted.
- If you choose “Rename,” enter the new desired name for the folder in the text field that appears. Once you have entered the new name, tap “Done” to save the changes.
By following these steps, you can easily delete or rename your custom folders to maintain an organized and up-to-date mailbox structure.
However, it’s important to exercise caution when deleting a custom folder, as this action will permanently remove the folder and all emails within it. Make sure you have safely backed up any important emails before deleting a folder to avoid the accidental loss of critical information.
Renaming a custom folder can help you keep your mailbox structure organized and efficient. By updating folder names to accurately reflect the contents or purpose, you ensure a better understanding of your mailbox organization at a glance.
Now that you know how to delete or rename custom folders in the iOS Mail app, you can make adjustments as needed to maintain a well-organized and streamlined email management system.
Step 10: Enjoy Your Organized Mailbox
Congratulations! You have successfully created custom folders and organized your emails in the iOS Mail app. By following the steps outlined in this guide, you have taken control of your mailbox and created a system that suits your unique needs and preferences.
Now that your mailbox is organized, you can enjoy the benefits of a streamlined and efficient email management experience. Here are some reasons to celebrate your organized mailbox:
- Easier Email Navigation: With your emails neatly categorized into custom folders, you can quickly find and access specific messages with just a few taps.
- Reduced Clutter: Your main inbox is now decluttered, creating a cleaner and more visually appealing email experience.
- Improved Productivity: Organizing your emails allows you to prioritize tasks, respond promptly to important messages, and stay focused on what matters most.
- Better Work-Life Balance: By separating work-related emails from personal ones, you can maintain a clear distinction and avoid unnecessary distractions during personal time.
- Easier Email Archiving: Keeping your emails organized makes archiving important conversations or records simple and efficient.
Remember to regularly maintain your organized mailbox by moving emails to the appropriate folders and deleting unnecessary messages. This proactive approach will help keep your mailbox clutter-free and ensure continued efficiency in your email management.
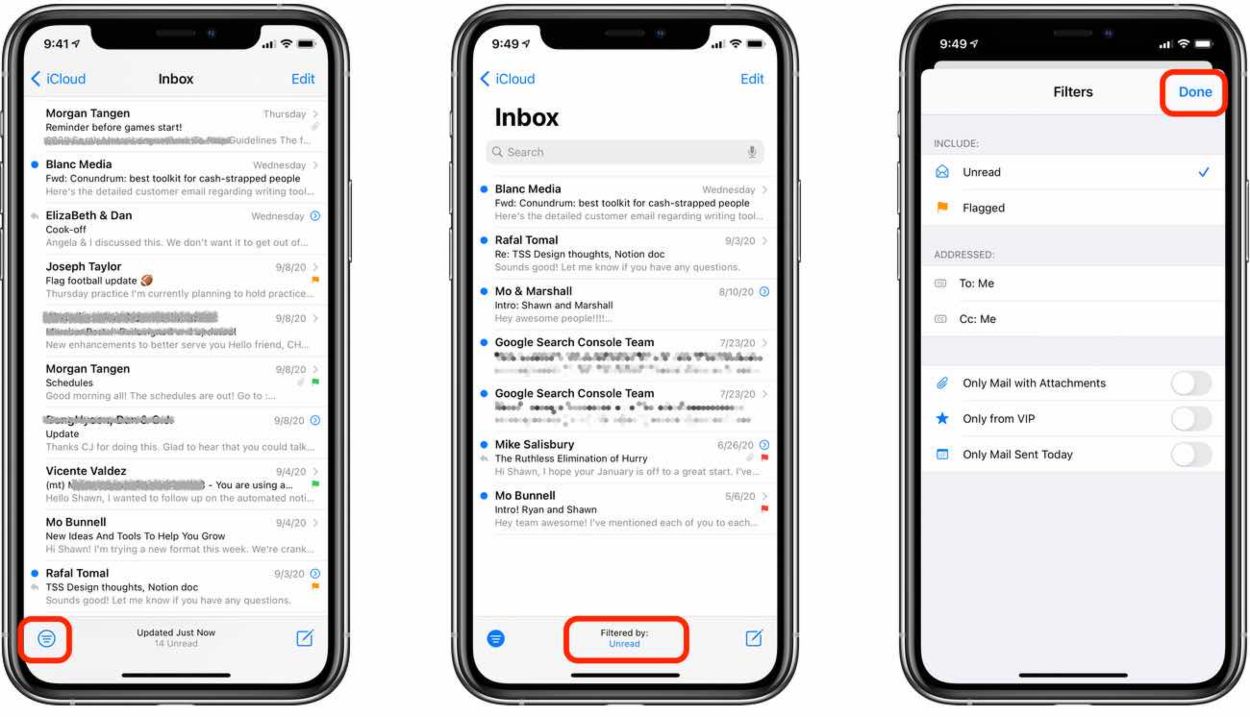
In addition to the steps outlined in this guide, you may also explore other features and functionalities within the Mail app that can further enhance your email organization. For instance, you can utilize email filters, create rules, or set up VIP notifications to further streamline your workflow.
Enjoy the benefits of your organized mailbox and take pride in being in control of your emails. With a customized and efficient email management system, staying organized and on top of your inbox has never been easier.
Now that you have completed all the necessary steps, it’s time to put your organized mailbox to use and enjoy a smoother, more productive email experience.