
Why Does My Desktop Computer Overheat?
Overheating is a common problem that desktop computer users may encounter. It occurs when the internal components of the computer generate excessive heat, which can lead to performance issues, system crashes, and even permanent damage. Understanding why your desktop computer overheats is crucial in order to effectively address the issue. Let’s explore some of the main reasons why this happens:
1. Poor Ventilation: One of the primary reasons for desktop computer overheating is poor ventilation. If the computer is placed in a cramped space or its air vents are clogged with dust and debris, it restricts the flow of cool air and causes the internal components to heat up rapidly.
2. Dusty Environment: Dust is a major contributor to overheating. When it accumulates on the internal components of your desktop computer, it acts as an insulator, trapping heat and preventing efficient cooling.
3. Inadequate Cooling Systems: If your computer’s cooling system, specifically the fans and heat sinks, are not functioning properly or are insufficient for the power requirements of your components, it can result in overheating. This is especially common in gaming or high-performance computers.
4. Overclocking: Overclocking refers to running your computer’s components, like the CPU or GPU, at higher frequencies or voltages than their default settings. While it can enhance performance, it also generates more heat, pushing your computer’s cooling system to its limits.
5. Unoptimized Fan Settings: Sometimes, the default settings of your computer’s internal fans may not be optimal for your specific usage or environment. Insufficient fan speeds or incorrect fan configurations can result in inadequate cooling and increased heat buildup.
Understanding the reasons behind your desktop computer overheating is the first step in mitigating the issue. In the following sections, we will explore some effective strategies to prevent and manage overheating, ensuring optimal performance and longevity of your system.
Signs of Overheating in a Desktop Computer
Recognizing the signs of overheating in your desktop computer is crucial for taking prompt action to prevent potential damage. Here are some common indicators that your computer may be experiencing overheating issues:
1. Loud and Constant Fan Noise: If your computer’s internal fans are producing unusually loud and continuous noise, it may indicate that they are working harder to dissipate excess heat. This is an early warning sign of potential overheating.
2. Random System Crashes: Overheating can cause your desktop computer to shut down abruptly or freeze during operation. If you experience frequent crashes, particularly when running resource-intensive tasks, it may be due to overheating.
3. Sudden Drop in Performance: Excessive heat can lead to a decline in overall system performance. If you notice sluggishness, lag, or unresponsiveness, especially when engaging in demanding activities, it could be a symptom of overheating.
4. Unusual Error Messages or Blue Screens of Death (BSOD): Overheating can cause your computer to display error messages or encounter the dreaded blue screen of death. These occurrences are often accompanied by system instability and indicate potential overheating problems.
5. Hot External Surfaces: While it may seem obvious, feeling excessive heat on the external surfaces of your desktop computer, such as the casing or keyboard, is a clear indication of heat buildup within the system.
6. Unresponsive or Noisy Hard Drive: Overheating can affect the performance and lifespan of your hard drive. If you hear strange noises coming from your hard drive or experience difficulty accessing data, it may be a result of excessive heat.
If you notice any of these signs, it is essential to address the issue promptly to prevent irreversible damage to your desktop computer. In the next sections, we will explore effective strategies to keep your computer cool and prevent overheating.
The Importance of Proper Ventilation for Your Desktop Computer
Proper ventilation is essential for maintaining optimal performance and preventing overheating in your desktop computer. Good airflow within the system helps to dissipate heat generated by the internal components. Understanding the importance of proper ventilation can help you take necessary measures to ensure your computer remains cool. Here’s why ventilation is crucial:
1. Heat Dissipation: When your computer’s internal components, such as the CPU and GPU, are in operation, they generate heat. Without adequate ventilation, this heat becomes trapped, leading to a rapid increase in temperature. Proper ventilation allows for the efficient dissipation of heat, preventing overheating and potential damage.
2. Component Longevity: Excessive heat can significantly reduce the lifespan of your computer’s components. Over time, prolonged exposure to high temperatures can cause damage to sensitive electronic parts, such as capacitors and transistors. With proper ventilation, you can help prolong the life of your components and avoid costly repairs or replacements.
3. Optimal Performance: High temperatures can negatively impact your computer’s performance. When components overheat, they may throttle or automatically reduce their processing speed to prevent further damage. This can result in decreased overall performance and slow down tasks that require more processing power. Proper ventilation ensures that your components can operate at their full potential without interruptions due to overheating.
4. Noise Reduction: Inadequate ventilation can lead to increased fan noise as they run at higher speeds to compensate for heat buildup. With proper ventilation, your computer’s fans can operate more efficiently, reducing noise levels and creating a quieter and more pleasant computing experience.
To ensure proper ventilation for your desktop computer, follow these tips:
- Clean the air vents regularly to remove dust and debris.
- Ensure that the computer is placed in a well-ventilated area with sufficient clearance on all sides.
- Avoid blocking or covering the air vents and fan intakes with objects.
- Consider using a cooling stand or pad to elevate the computer and improve airflow.
- Use cable management techniques to keep cables organized and prevent blocking air circulation.
- Regularly check and clean your computer’s internal fans and heat sinks.
By prioritizing proper ventilation, you can significantly reduce the risk of overheating and maintain a cool and efficient desktop computer. In the following sections, we will explore additional measures to help prevent overheating and keep your computer running smoothly.
Cleaning Your Desktop Computer to Prevent Overheating
Regular cleaning of your desktop computer is essential for preventing overheating and maintaining optimal performance. Dust and debris can accumulate over time, clogging air vents and obstructing the flow of cool air, leading to increased heat buildup. By following proper cleaning practices, you can ensure that your computer remains free from obstructions and operates at its best. Here are some steps to clean your desktop computer effectively:
1. Gather the necessary tools: Before starting the cleaning process, gather a soft cloth, compressed air can, a small brush, and some isopropyl alcohol.
2. Power off and unplug your computer: Ensure that your computer is completely shut down and unplugged from the power source to avoid any risk of electric shock.
3. Remove external dust and debris: Use the soft cloth to gently wipe down the exterior surfaces of your computer, including the casing, keyboard, and monitor. This will remove any loose dust or debris.
4. Clean the air vents: Air vents are critical for proper airflow. Use the compressed air can to blow out any dust or debris accumulated in the vents. Be sure to hold the can upright and at a safe distance from the computer to prevent any moisture or damage.
5. Clean the keyboard and other peripherals: Use the small brush to remove any dust or debris trapped between the keys of your keyboard. You can also use compressed air to blow out any stubborn dirt particles. Clean other peripherals, such as the mouse or speakers, following the manufacturers’ instructions.
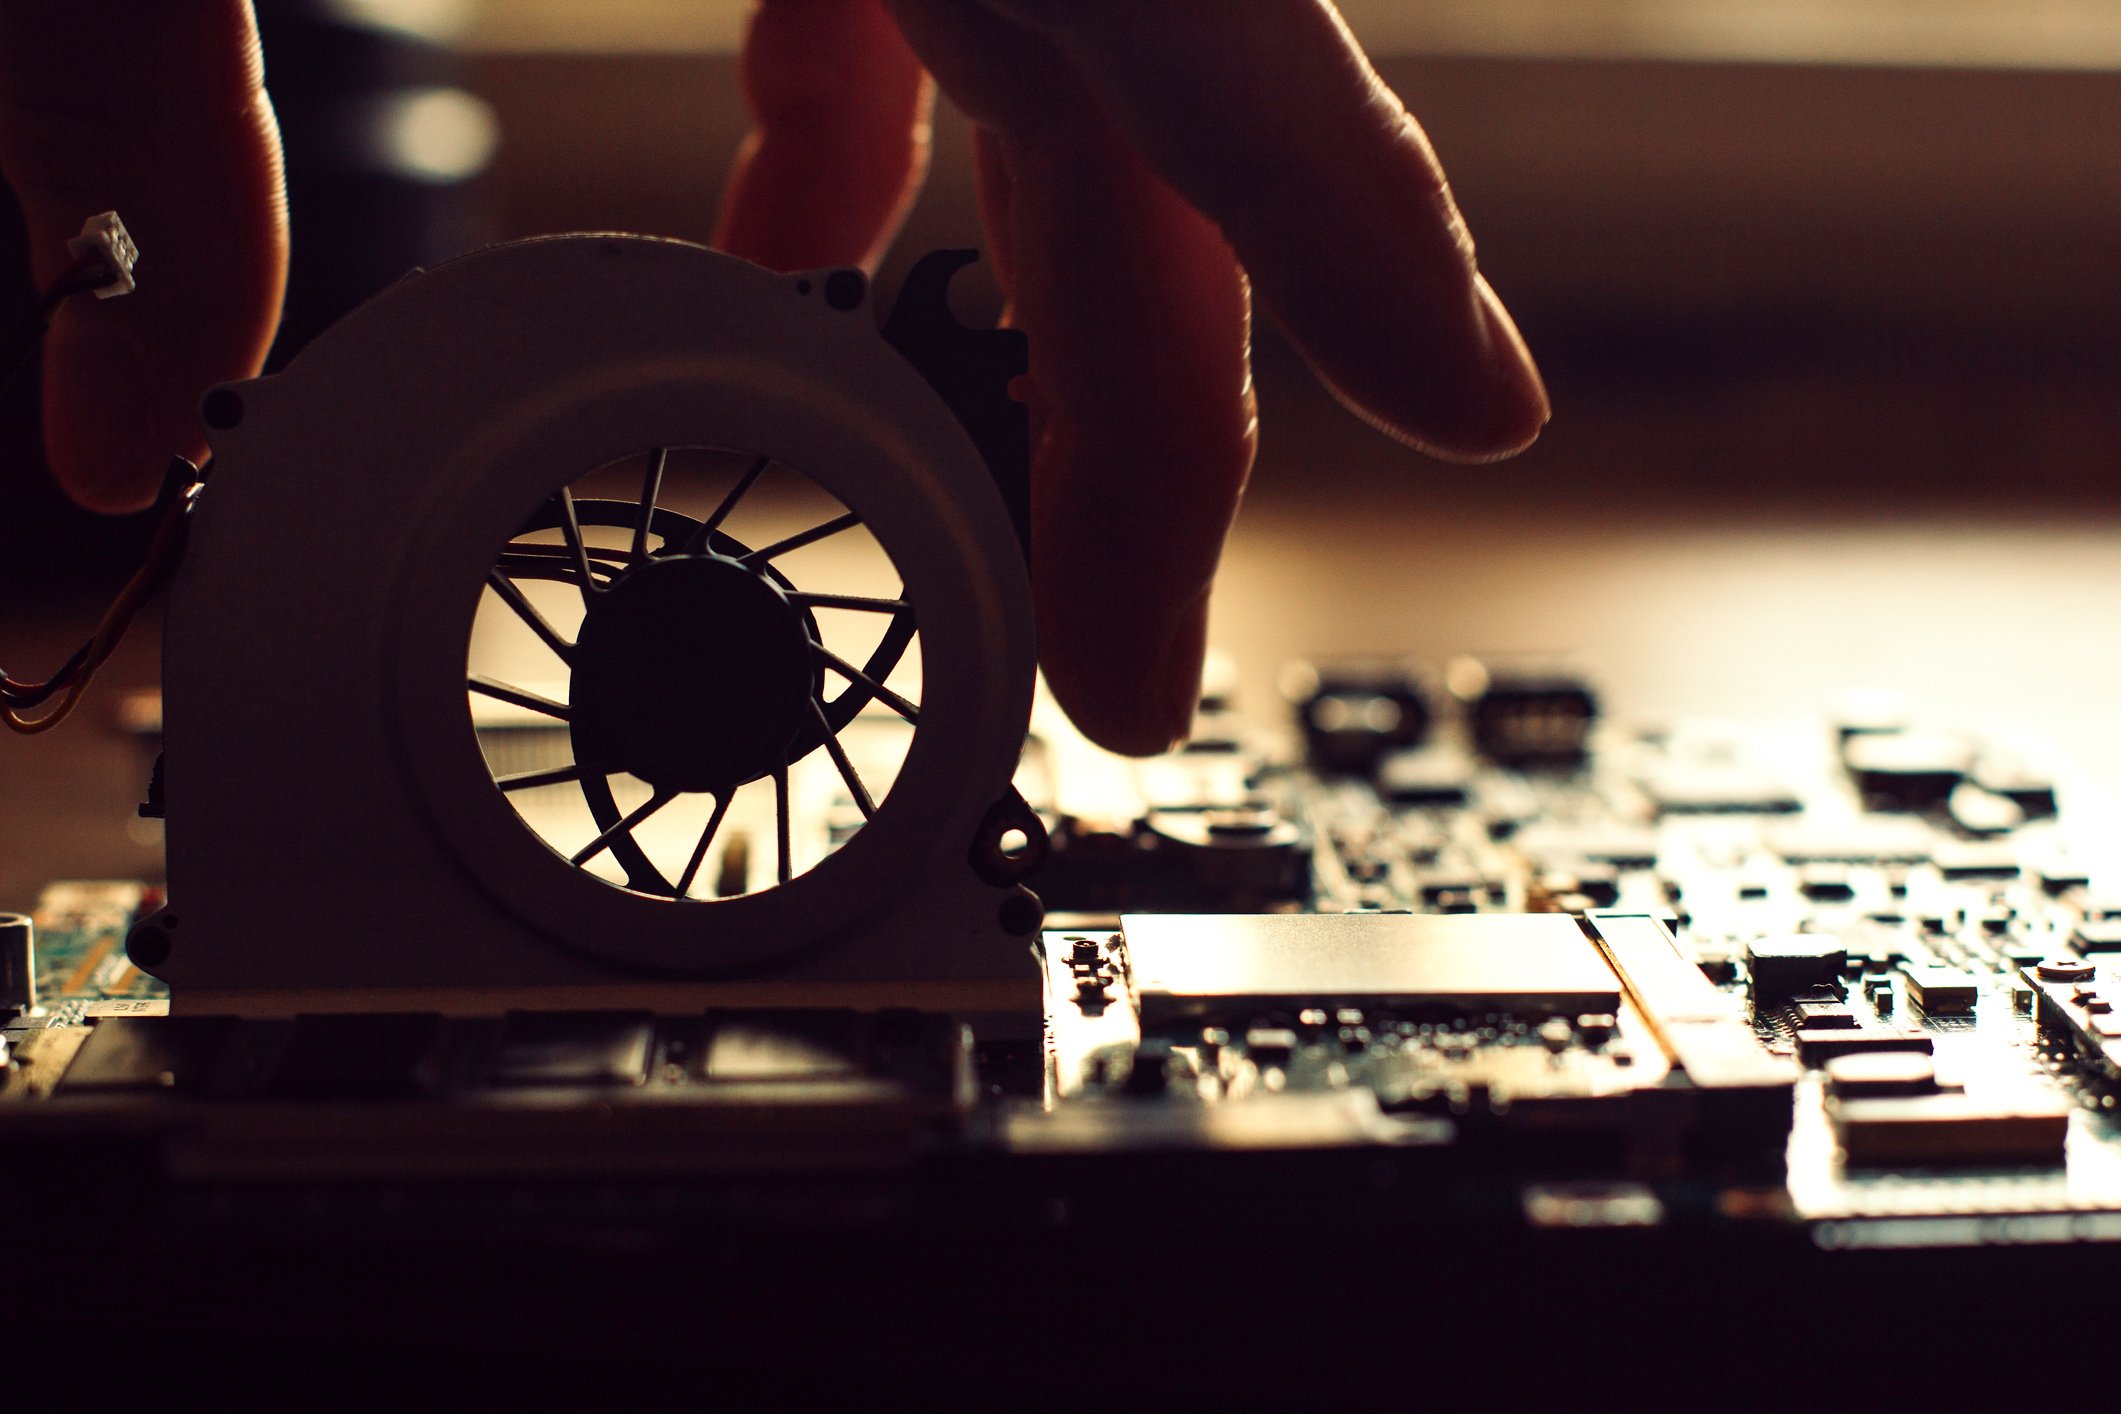
6. Clean the internal components: If you are comfortable and confident in doing so, you can carefully open the computer’s casing to access the internal components. Before touching any components, however, make sure to ground yourself by touching a metal surface to discharge any static electricity. Use the compressed air can to blow out any dust or debris from the fans, heat sinks, and other components. If necessary, use a small brush or cotton swabs dipped in isopropyl alcohol to remove stubborn dirt. Be cautious and gentle to avoid damaging any components.
7. Reassemble and test: Once you have finished cleaning, carefully reassemble the computer, ensuring that all connections are secure. Plug in the power source and turn on the computer to check if the fans are running smoothly and the temperatures are within the normal range.
Regularly cleaning your desktop computer will help prevent overheating and ensure efficient operation. It is a good practice to clean your computer every three to six months or more frequently if you are in a dusty environment. By maintaining a clean and dust-free computer, you can extend the lifespan of your components and enjoy optimal performance.
Optimizing Internal Fan Settings to Keep Your Desktop Computer Cool
Properly managing the internal fan settings of your desktop computer is vital for maintaining optimal airflow and preventing overheating. By optimizing fan settings, you can ensure that your components receive adequate cooling and operate at safe temperatures. Here are some tips to help you keep your desktop computer cool through fan optimization:
1. Access the BIOS or UEFI: To adjust fan settings, you will need to access the computer’s BIOS or UEFI (Unified Extensible Firmware Interface) settings. Restart your computer and press the designated key (often Del, F2, or F10) during the boot process to enter the BIOS or UEFI.
2. Locate the fan settings: Once inside the BIOS or UEFI, navigate to the section that controls fan settings. The location and options may vary depending on your computer’s manufacturer and model. Look for terms like “Fan Control,” “Fan Speed,” or “Hardware Monitor.”
3. Enable automatic fan control: Most modern computers offer the option to enable automatic fan control. This setting allows the system to adjust the fan speeds based on the temperature of the components. Enable this setting to ensure that fans ramp up when the system gets hotter and slow down when the temperature decreases.
4. Set temperature thresholds: Some BIOS or UEFI settings allow you to set temperature thresholds for the fans. This means that you can define the point at which the fans start spinning faster to provide more cooling. Set the thresholds to values that are appropriate for your hardware, but be cautious to avoid setting them too high or too low, as it can result in overheating or excessive noise.
5. Consider third-party software: If your computer’s BIOS or UEFI does not offer extensive fan control options, you may consider using third-party software. There are various software solutions available that allow you to monitor and control fan speeds manually. However, exercise caution and use reputable software from trusted sources.
6. Monitor temperatures: After adjusting the fan settings, monitor the temperatures of your computer’s components using software tools like HWMonitor or SpeedFan. Keep an eye on the temperatures during different activities, such as gaming or heavy multitasking, to ensure that they stay within safe limits.
7. Inspect and clean fans regularly: Even with optimized settings, fans can become less effective if they are clogged with dust or obstructed by debris. Regularly inspect and clean your computer’s fans using compressed air or a small brush to maintain optimal airflow.
By optimizing your desktop computer’s internal fan settings, you can ensure that your components stay cool and prevent overheating. Remember to monitor temperatures and clean the fans regularly to maintain effective cooling performance. In the next section, we will explore the use of cooling pads or stands to further enhance the cooling capabilities of your desktop computer.
Using Cooling Pads or Stands to Cool Down Your Desktop Computer
Cooling pads or stands are effective accessories that can help cool down your desktop computer by improving airflow and dissipating heat. They are especially useful for laptops but can also be beneficial for desktop computers. By using a cooling pad or stand, you can enhance the cooling capabilities of your system and prevent overheating. Here’s how they work and how to choose the right one for your needs:
1. Improved Airflow: Cooling pads or stands feature built-in fans or vents that help to increase airflow around your desktop computer. By elevating the computer and providing additional space underneath, these accessories promote better ventilation and allow cool air to reach the components more effectively.
2. Heat Dissipation: The built-in fans in cooling pads or stands help to dissipate heat generated by the internal components of your desktop computer. The increased airflow carries away the heat, reducing the risk of overheating and ensuring optimal performance.
3. Ergonomic Benefits: Cooling pads or stands often come with adjustable height and angle options, which can provide ergonomic benefits during long hours of computer use. These accessories help maintain a comfortable and healthy working posture by ensuring that the screen is at eye level and the keyboard is at a comfortable typing angle.
4. Choosing the Right Cooling Pad or Stand: When selecting a cooling pad or stand, consider the size, weight, and design of your desktop computer. Ensure that the cooling pad or stand can accommodate your computer and provide a stable and secure platform. Look for features such as adjustable fan speeds, USB-powered fans for convenient installation, and durable construction. Additionally, consider the noise level of the cooling pad or stand, as excessive fan noise can be distracting during work or gaming sessions.
5. Using the Cooling Pad or Stand: To use a cooling pad or stand, simply place your desktop computer on top of it. Make sure to align the computer with the cooling pad’s built-in fans or vents. If the cooling pad has adjustable fan speeds, set them to a comfortable level. Allow the cooling pad or stand to provide adequate airflow and keep your computer elevated for optimal cooling.
6. Regular Maintenance: Like any other accessory, cooling pads or stands require regular maintenance to ensure optimal performance. Clean the fans and vents periodically to remove any dust or debris that may accumulate and obstruct airflow. This will help maintain the cooling effectiveness of the accessory and prevent any potential issues.
By using a cooling pad or stand, you can enhance the cooling capabilities of your desktop computer and prevent overheating. Choose the right accessory that suits your computer’s needs and keep it well-maintained. In the next section, we will explore the importance of monitoring your desktop computer’s temperature to prevent overheating.
Monitoring Your Desktop Computer’s Temperature
Monitoring your desktop computer’s temperature is a critical practice in preventing overheating and ensuring optimal performance. By keeping track of the temperature of your computer’s components, you can identify any potential issues or excessive heat buildup before they cause damage. Here’s why monitoring temperature is important and how to effectively do it:
1. Preventing Overheating: Monitoring your computer’s temperature allows you to identify if it is running hotter than normal. With this information, you can take necessary action to prevent overheating, such as adjusting fan settings or cleaning the internal components for better airflow.
2. Finding Cooling System Inefficiencies: Monitoring temperature helps you determine if your computer’s cooling system is functioning optimally. If temperatures consistently reach unsafe levels, it may indicate that the fans or heat sinks are not providing adequate cooling. This allows you to address the issue promptly and prevent potential damage.
3. Optimizing Fan Speeds: By monitoring temperature, you can identify if your computer’s fans are running at appropriate speeds. If temperatures are high, you may need to increase fan speeds to boost cooling. Conversely, if temperatures are consistently low, you can reduce fan speeds to reduce noise levels while still maintaining adequate cooling.
4. Choosing Monitoring Software: There are various software programs available for monitoring your computer’s temperature. These programs provide real-time temperature readings for your CPU, GPU, and other components. Some popular monitoring software options include HWMonitor, SpeedFan, and Core Temp. Choose a software that is compatible with your computer’s hardware and provides accurate temperature readings.
5. Monitoring Temperatures: Install the chosen monitoring software and let it run in the background while you use your computer. Keep an eye on the temperature readings and compare them to the recommended operating temperatures specified by the component manufacturers. If any temperatures consistently exceed these recommendations, it may indicate an issue that needs attention.
6. Identifying Hotspots: Monitoring software often provides temperature readings for different components of your computer. Pay attention to any specific components that consistently show higher temperatures than others. This can help you identify potential hotspots and take targeted action to improve cooling for those areas.
7. Regular Monitoring: Make monitoring temperature a regular practice, especially during intensive tasks such as gaming or running resource-intensive programs. This allows you to stay informed about your computer’s temperature behavior and take preventive measures when necessary.
By monitoring your desktop computer’s temperature, you can proactively manage cooling and prevent overheating. Regularly check temperature readings and address any issues promptly to ensure your computer operates within safe temperature ranges. In the next section, we will explore additional measures you can take to enhance cooling, such as installing additional fans in your desktop computer.
Installing Additional Cooling Fans in Your Desktop Computer
If you find that your desktop computer is still experiencing overheating issues despite optimizing fan settings and maintaining proper ventilation, installing additional cooling fans can be an effective solution. Extra fans can enhance airflow within your system, improve heat dissipation, and help keep your components cool. Here’s how to go about installing additional cooling fans in your desktop computer:
1. Evaluate your computer’s internal space: Take a look inside your computer’s case and assess available space for installing additional fans. Consider factors such as the size and layout of your motherboard, the number of expansion slots, and the clearance around existing components.
2. Choose fan sizes and types: Cooling fans come in various sizes, typically measured in millimeters (mm), such as 80mm, 120mm, or 140mm. Choose fans that fit well within the available space and match your computer’s requirements. Additionally, fans can have different airflow capacities, measured in cubic feet per minute (CFM). Higher CFM ratings indicate better airflow performance.
3. Determine fan placement: Identify optimal locations for installing additional fans. Common areas include the front, back, top, or side panels of the computer case. Consider installing fans in a way that creates a pathway for cool air to enter and hot air to exit, promoting efficient airflow throughout the system.
4. Secure the fans: Carefully mount the additional fans in the designated locations. Use screws or mounting brackets provided with the fans to ensure a secure fit. Pay attention to the fan orientation, ensuring that the airflow aligns with the desired cooling direction.
5. Connect the fans: Each fan will have a power connector, typically a three- or four-pin connector. Connect the fans’ power cables to the corresponding fan headers on the motherboard or a fan controller, if available. Ensure proper cable management to keep the inside of your case tidy and prevent obstructions to airflow.
6. Configure fan speeds: Once the additional fans are installed and connected, access your computer’s BIOS or use fan control software to adjust the fan speeds. Experiment with different settings to find a balance between cooling performance and noise levels that suits your preferences.
7. Monitor temperatures and airflow: After installing the additional fans, monitor temperature readings and airflow within your computer using monitoring software. Ensure that the temperatures remain within safe limits and that the additional fans contribute to improved cooling performance.
Installing additional cooling fans in your desktop computer can significantly enhance airflow and cooling, preventing overheating and extending the life of your components. However, be cautious not to overcrowd your computer with too many fans, as it can disrupt airflow or create a noisy environment. Regularly maintain and clean the fans to ensure they operate at their best. In the following section, we will explore the option of upgrading your desktop computer’s cooling system further.
Upgrading Your Desktop Computer’s Cooling System
If your desktop computer is still experiencing overheating issues even after implementing various cooling strategies, it may be time to consider upgrading your cooling system. Upgrading the cooling system can provide enhanced cooling performance, improved airflow, and better heat dissipation. Here are some options to consider when upgrading your desktop computer’s cooling system:
1. Invest in a High-Performance CPU Cooler: The CPU is one of the main sources of heat in a computer. Upgrading to a high-performance CPU cooler, such as a liquid-cooling solution or a larger air cooler, can significantly improve cooling for the CPU. These coolers often provide better heat dissipation and more efficient cooling, allowing your CPU to run at lower temperatures.
2. Upgrade the GPU Cooler: Graphics cards often generate a substantial amount of heat, especially during demanding tasks like gaming or graphic-intensive applications. Consider upgrading your GPU cooler to a high-performance aftermarket solution. This can help reduce the temperature of your graphics card and prevent overheating, ensuring smooth performance and longevity.
3. Install Water Cooling: Water cooling systems, also known as all-in-one (AIO) or custom loops, are advanced cooling solutions that use liquid to transfer and dissipate heat from the components. Water cooling can provide excellent cooling efficiency, especially for overclocked systems or high-performance setups. However, they require proper installation and maintenance, so consider your technical expertise and cooling needs before pursuing this option.
4. Add Case Fans: Increasing the number of case fans can help improve overall airflow and cooling within your computer. Consider adding more fans to intake cool air from the front and bottom of the case and exhaust hot air from the rear and top. Choose high-quality fans with a moderate noise level to strike a balance between cooling performance and noise reduction.
5. Reapply Thermal Paste: Over time, the thermal paste that sits between your CPU and its cooler may dry out or become less effective. Upgrading your cooling system provides an opportunity to remove the old thermal paste and apply a new, high-quality thermal compound. This ensures proper thermal conductivity between the CPU and its cooler, improving heat transfer and cooling performance.
6. Consider Custom Case Modifications: If you have advanced technical skills and are willing to go the extra mile, custom case modifications can enhance your cooling system’s performance. This can include cutting additional cooling vents, creating custom fan mounts, or even designing your own cooling solutions. However, these modifications require careful planning and expertise to avoid damaging your computer components.
When upgrading your desktop computer’s cooling system, it is crucial to consider your specific requirements, budget, and technical capabilities. Research various options, consult reputable sources, and seek advice from experienced professionals if necessary. Remember to monitor temperature readings after the upgrade to ensure that the new cooling system effectively addresses your computer’s heat issues.
Tips for Managing Desktop Computer Temperature in Hot Environments
Managing desktop computer temperature becomes even more crucial in hot environments, as high ambient temperatures can contribute to increased heat buildup and potential overheating. To keep your computer cool and running smoothly in such conditions, follow these tips:
1. Ensure Proper Ventilation: Good airflow is crucial, especially in hot environments. Make sure that your computer’s air vents are clear of dust and debris to allow for optimal airflow. Consider using a fan or air conditioning to improve overall ventilation in the room.
2. Place Your Computer in a Cooler Area: Position your desktop computer in a cooler area of the room, away from direct sunlight or other heat sources. Keep it on a stable and elevated surface that allows air to circulate freely around the system.
3. Use Additional Fans or Cooling Devices: Consider using additional fans or cooling devices to enhance airflow within your computer. Desk fans or portable USB-powered fans can help circulate cooler air and alleviate heat buildup.
4. Invest in Insulated Curtains or Blinds: If your workspace receives direct sunlight, invest in insulated curtains or blinds to reduce heat transfer. By blocking sunlight and reflecting heat away from the room, you can help lower the ambient temperature surrounding your computer.
5. Monitor and Adjust Fan Speeds: In a hot environment, your computer’s fans may need to operate at higher speeds to maintain optimal cooling. Regularly monitor temperature readings and adjust fan speeds in the BIOS or through fan control software to ensure efficient cooling while keeping noise levels under control.
6. Consider Underclocking: Underclocking, or reducing the operating frequency or voltage of your computer’s components, can help reduce heat generation in hot environments. However, this may result in decreased performance, so it should be done carefully and only when necessary.
7. Use a Laptop Cooling Pad: If you are using a desktop computer in a hot environment, consider using a laptop cooling pad underneath the computer case. Cooling pads are designed to improve airflow and dissipate heat, providing additional cooling support even for desktop setups.
8. Regularly Clean and Maintain Your Computer: Dust and debris can impede proper airflow and contribute to heat buildup. Regularly clean your computer’s air vents, fans, and internal components to ensure optimal cooling performance. Use compressed air or a small brush to remove dust and keep your computer dust-free.
9. Avoid Overclocking: Overclocking can significantly increase heat generation. In hot environments, it is advisable to avoid overclocking your computer’s components as it can lead to higher temperatures, potentially causing instability or damage.
10. Periodically Check Hardware Temperatures: Continuously monitor your computer’s hardware temperatures using monitoring software. Periodically check temperature readings to ensure that they remain within safe operating limits, especially during extended periods of use in hot environments.
By implementing these tips, you can effectively manage desktop computer temperature in hot environments, keeping your system cool, and minimizing the risk of overheating. Remember to balance cooling strategies with energy efficiency and noise considerations to create a comfortable and stable computing environment.