
What You Will Need
Before you can control your thermostat with Google Home, there are a few things you will need to get started. Here’s a list of the essential items:
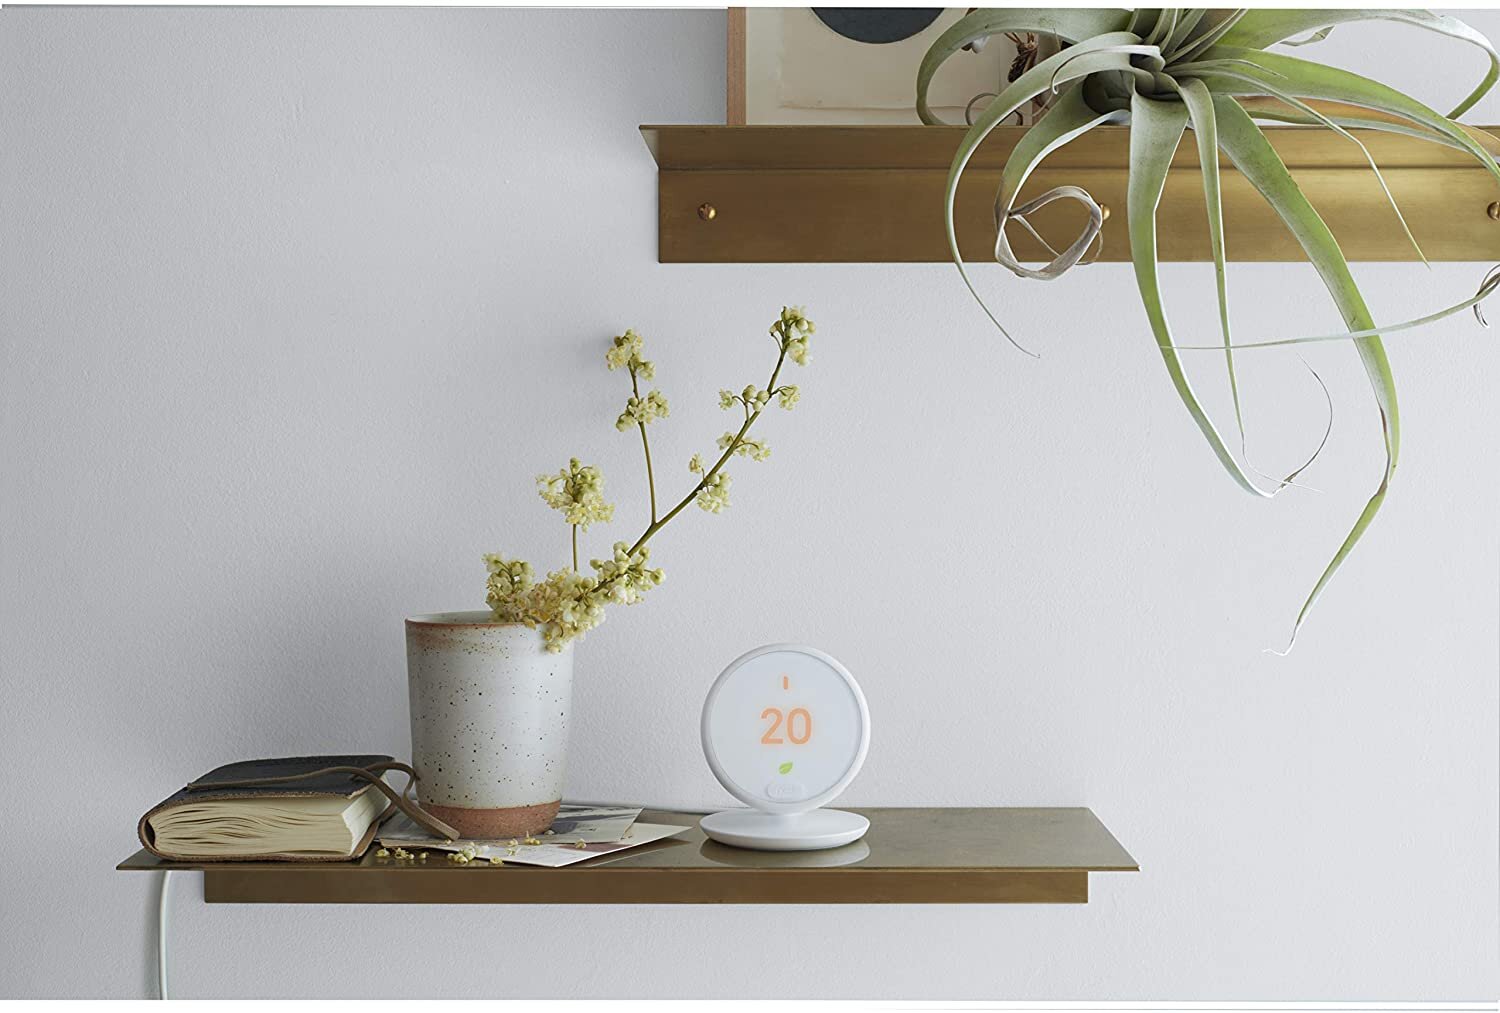
- A compatible thermostat: Make sure you have a thermostat that is compatible with Google Home. Check the manufacturer’s website or the thermostat’s packaging for compatibility information.
- A Google Home device: You will need a Google Home device, such as Google Home Mini, Google Home Hub, or any other Google Assistant-enabled smart speaker or display.
- A stable Wi-Fi connection: Ensure that you have a stable Wi-Fi connection at your home. This is necessary for both the thermostat and the Google Home device to communicate with each other.
- The respective mobile apps: Download and install the mobile apps for both the thermostat and the Google Home device on your smartphone. These apps will be used for initial setup and configuration.
Once you have gathered these essentials, you will be all set to proceed with the setup process and control your thermostat using Google Home.
Step 1: Set up the Thermostat
The first step in controlling your thermostat with Google Home is setting it up. Follow these steps to get your thermostat ready:
- Locate the thermostat: Find a suitable spot on your wall for installing the thermostat. Ensure that it is easily accessible and in a central location for optimal temperature control.
- Turn off power: Before starting the installation process, turn off the power supply to your HVAC system. This can usually be done by flipping the corresponding switch in your electrical panel.
- Remove the old thermostat: If you have an existing thermostat, carefully remove it from the wall. Take note of the wiring connections as you will need to reconnect them later.
- Prepare the wall: Clean the wall surface where the new thermostat will be installed. Remove any debris and ensure a smooth and even surface.
- Install the base plate: Attach the base plate of your new thermostat to the wall. Use screws or adhesive strips to secure it in place. Make sure it is level and stable.
- Connect the wires: Take the wires from your HVAC system and connect them to the corresponding terminals on the thermostat’s base plate. Follow the manufacturer’s instructions or refer to the labels on the wires and the thermostat.
- Attach the thermostat: Once the wires are connected, securely attach the thermostat to the base plate. It should click into place or be fastened with screws, depending on the model.
- Turn on the power: After completing the installation, restore power to your HVAC system by flipping the switch in your electrical panel.
With the thermostat now successfully set up, you can proceed to the next step of connecting it to your Wi-Fi network.
Step 2: Connect the Thermostat to Your Wi-Fi
Once your thermostat is installed, the next step is to connect it to your Wi-Fi network. Follow these instructions to ensure a successful connection:
- Open the thermostat app: Launch the mobile app for your thermostat on your smartphone.
- Select Wi-Fi setup: Look for the Wi-Fi setup option within the app’s menu or settings. Tap on it to begin the process.
- Put the thermostat in pairing mode: Place your thermostat in pairing mode. This can usually be done by pressing and holding a specific button on the device for a few seconds. Check the manufacturer’s instructions for exact details.
- Scan for Wi-Fi networks: Enable the Wi-Fi scanning feature within the app. It will scan for available networks nearby.
- Select your Wi-Fi network: From the list of available networks, choose your home Wi-Fi network. Enter the network password if prompted.
- Wait for connection: Once you have selected your Wi-Fi network, the thermostat will attempt to establish a connection. Be patient and wait for the process to complete.
- Successful connection: If the connection is successful, you will receive a confirmation message within the app. This indicates that your thermostat is now connected to your Wi-Fi network.
Now that your thermostat is connected to your Wi-Fi, it can communicate with your Google Home device. The next step is to link your Google Home to your thermostat for seamless control.
Step 3: Link Your Google Home to Your Thermostat
To enable voice control of your thermostat using Google Home, you need to link the two devices together. Here’s how you can do it:
- Open the Google Home app: Launch the Google Home app on your smartphone.
- Access the settings: Tap on the menu icon in the top-left corner of the app and select “Settings” from the list of options.
- Choose “Works with Google”: Scroll down and select the “Works with Google” option from the settings menu.
- Find your thermostat brand: Look for your thermostat brand in the list of supported devices. Tap on it to begin the linking process.
- Follow the instructions: The app will guide you through the steps to link your thermostat to Google Home. This may involve signing into your thermostat account or providing additional authorization.
- Authorize the connection: Approve the authorization requests to allow the Google Home app to access and control your thermostat.
- Successful linking: Once the linking process is complete, you will receive a confirmation message indicating that your thermostat is now linked to Google Home.
With the successful linking of your Google Home and thermostat, you can now start controlling your thermostat using voice commands through your Google Home device. The next step will guide you on how to control the thermostat with voice commands.
Step 4: Control the Thermostat with Voice Commands
Controlling your thermostat using voice commands is one of the most convenient features of integrating it with Google Home. Follow these steps to operate your thermostat hands-free:
- Wake up Google Assistant: Start by saying “Hey Google” or “Ok Google” to wake up the Google Assistant on your Google Home device.
- Command structure: Use specific voice commands to control your thermostat. For example, say “Hey Google, set the temperature to 72 degrees” or “Hey Google, increase the temperature by 2 degrees.”
- Adjusting temperature: You can change the temperature by specifying the desired temperature or by increasing/decreasing the temperature by a specific number of degrees.
- Other voice commands: Apart from adjusting the temperature, you can also use voice commands like “Hey Google, turn on the thermostat” or “Hey Google, turn off the thermostat” to control the power of your HVAC system.
- Smart home integration: If you have other smart home devices connected to Google Home, you can create routines or scenes to control multiple devices simultaneously. For instance, you can say “Hey Google, it’s bedtime,” and it will adjust the thermostat, turn off the lights, and lock the doors.
With these voice commands, you can conveniently control your thermostat and achieve the desired temperature settings without even lifting a finger.
Step 5: Adjust Temperature Settings Using Google Home
With your thermostat linked to Google Home, you can easily adjust the temperature settings using voice commands or the Google Home app. Here’s how you can do it:
- Voice commands: To change the temperature, simply say “Hey Google” or “Ok Google” to wake up the Google Assistant, followed by a command like “set the temperature to 70 degrees.”
- Temperature range: Make sure to specify the desired temperature within the range supported by your thermostat. Different models may have different temperature limits.
- Increment or decrement: You can also adjust the temperature by saying “increase the temperature by 2 degrees” or “decrease the temperature by 3 degrees.”
- Google Home app: Alternatively, you can open the Google Home app on your smartphone and navigate to the devices section. Find your thermostat and tap on it to access the temperature control options. Use the slider or input the desired temperature manually.
- Scheduling: Take advantage of the scheduling feature in the Google Home app to program temperature changes throughout the day. This allows you to set different temperatures for specific times, ensuring optimal comfort while saving energy.
- Voice control in routines: If you have routines set up on your Google Home device, you can include temperature commands as part of the routine. For example, you can create a routine named “Good Morning” that sets the temperature to your desired level when you say “Hey Google, good morning.”
With the flexibility of adjusting temperature settings using voice commands or the Google Home app, you can easily customize your home’s climate to your liking and enjoy a comfortable living space.
Step 6: Create Routines for Thermostat Control
Creating routines for thermostat control allows you to automate temperature adjustments based on specific triggers or events. Follow these steps to create customized routines:
- Open the Google Home app: Launch the Google Home app on your smartphone.
- Access the routines settings: Tap on the menu icon in the top-left corner and select “Routines” from the options.
- Create a new routine: Tap on the “+” icon to create a new routine.
- Choose the trigger: Select the trigger that will activate the routine. This can be a specific time, an event, or even a voice command.
- Select action: Tap on “Add action” to specify what should occur when the routine is triggered.
- Adjust thermostat: Choose the option to adjust the thermostat and set the desired temperature.
- Add additional actions (optional): You can add other actions to the routine, such as controlling lights, playing music, or adjusting other smart devices in your home.
- Save the routine: Once you have set all the desired actions, tap on “Save” to save the routine.
By creating routines, you can have your thermostat adjust the temperature at specific times, activate when you say a particular phrase, or coordinate with other devices for a seamless smart home experience.
Step 7: Troubleshooting Tips
While controlling your thermostat with Google Home is generally a smooth process, you might encounter some issues along the way. Here are some troubleshooting tips to help you resolve common problems:
- Check the Wi-Fi connection: Ensure that your thermostat and Google Home device are connected to the same Wi-Fi network. If there are any connectivity issues, try restarting your Wi-Fi router and reconnecting the devices.
- Update firmware and apps: Make sure that both your thermostat’s firmware and the Google Home app are up to date. Software updates often fix bugs and improve compatibility.
- Double-check compatibility: Confirm that your thermostat is compatible with Google Home. Check the manufacturer’s website or contact their support for information on compatibility requirements.
- Re-link the devices: If the connection between your thermostat and Google Home gets lost, try unlinking and re-linking the two devices following the setup instructions. This can often resolve connection issues.
- Restart devices: Turn off your thermostat, Google Home device, and Wi-Fi router. After a few moments, turn them back on again. This can help refresh the connection and resolve minor glitches.
- Reset thermostat: If other troubleshooting methods fail, you may need to perform a factory reset on your thermostat. Refer to the manufacturer’s instructions for the specific steps as they may vary depending on the model.
- Contact support: If you have tried all the troubleshooting steps and your thermostat still doesn’t work with Google Home, reach out to the manufacturer or Google Home support for further assistance.
Remember, troubleshooting steps may vary depending on your specific thermostat and Google Home setup. Always consult the user manual or reach out to customer support for accurate and detailed guidance.