
Why Syncing Your Xbox One Controller is Important
Syncing your Xbox One controller with your Xbox Series X or S is a crucial step to ensure a seamless gaming experience. While you may be excited to dive right into gaming on your new console, it is essential to connect and sync your Xbox One controller for several reasons.
First and foremost, syncing your Xbox One controller allows you to take advantage of the familiar and comfortable layout that you are accustomed to. The Xbox One controller has gained a reputation for its ergonomic design, making it a preferred choice among gamers. By syncing your controller, you can continue to enjoy the same level of comfort and control that you’ve come to appreciate.
Furthermore, syncing your Xbox One controller ensures that you have access to all the features and functionalities that the controller offers. Many games have specific controller settings and configurations optimized for the Xbox controller, and by syncing your Xbox One controller, you can take full advantage of these features without any compatibility issues.
Another significant advantage of syncing your controller is that it allows you to use it wirelessly. With the Xbox One controller synced to your Xbox Series X or S, you can enjoy gaming without the hassle of messy cables. This wireless functionality provides you with greater freedom of movement, allowing you to immerse yourself fully in the gaming experience.
Syncing your Xbox One controller is also important if you plan on using additional accessories or peripherals, such as a headset or play-and-charge kit. These accessories often require the controller to be synced with the console to function properly. By syncing your controller, you can easily connect and use these accessories, enhancing your gaming experience even further.
Checking Controller Compatibility
Before you can sync your Xbox One controller with your Xbox Series X or S, it’s essential to ensure that your controller is compatible with the new console. While most Xbox One controllers are compatible with the Xbox Series X and S, there are a few things you should check to confirm compatibility.
The first thing you need to check is the version of your Xbox One controller. The Xbox Series X and S are compatible with Xbox One controllers that have Bluetooth functionality. To determine if your controller is Bluetooth-enabled, look for the presence of a Bluetooth logo on the front. If you see the logo, you can proceed with the syncing process. However, if your controller does not have Bluetooth, you will need to use a USB cable to connect and sync it with the console.
Another important aspect to consider is the firmware version of your Xbox One controller. For optimal compatibility and performance, it is recommended to update your controller’s firmware to the latest version. To update the firmware, connect the controller to your Xbox One console and navigate to the settings menu. From there, select the “Devices & Accessories” option and choose your controller. If a firmware update is available, follow the on-screen instructions to update it. Once the firmware is updated, your controller will be ready to sync with your Xbox Series X or S.
It’s worth noting that if you own an Xbox Elite Controller or an Xbox Adaptive Controller, they are also compatible with the Xbox Series X and S. These specialized controllers offer additional features and customization options, allowing you to personalize your gaming experience even further.
By ensuring compatibility between your Xbox One controller and the Xbox Series X or S, you can avoid any potential issues during the syncing process. This will enable you to seamlessly connect your controller and start gaming without any interruptions or frustrations.
Connecting Your Xbox One Controller to Xbox Series X or S
Connecting your Xbox One controller to your Xbox Series X or S is a straightforward process. Depending on your controller’s compatibility and personal preference, there are two main methods you can use to establish the connection: wirelessly or using a USB cable.
Syncing Your Xbox One Controller Wirelessly
If your Xbox One controller has Bluetooth functionality, you have the option to sync it wirelessly with your Xbox Series X or S. Here’s how:
- On your Xbox Series X or S, navigate to the “Settings” menu.
- Select “Devices & Connections” and then choose “Controllers.”
- Press and hold the Xbox button on your Xbox One controller to power it on.
- On the front of your Xbox Series X or S, press the sync button, which is located next to the USB port.
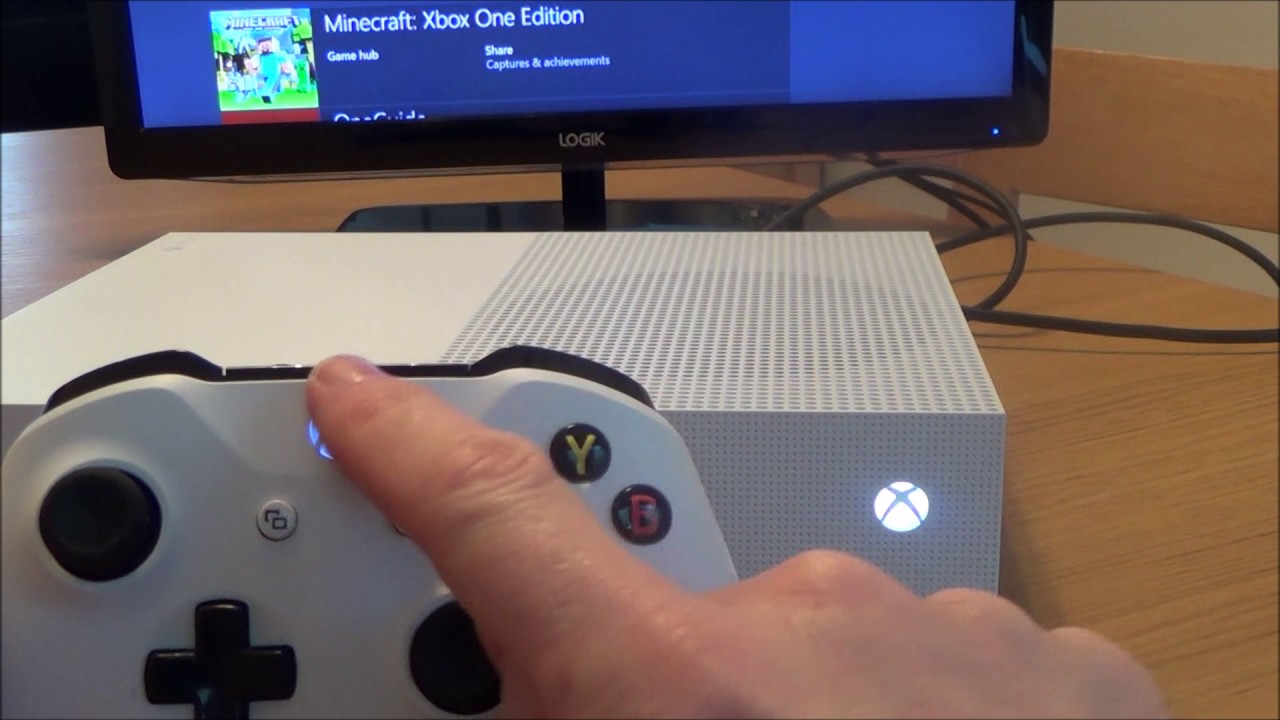
- On your Xbox One controller, press and hold the sync button located on the top of the controller, near the bumpers.
- Wait for a few seconds until the Xbox One controller’s Xbox button starts flashing, indicating that it is searching for a connection.
- Once the Xbox button stops flashing and remains lit, it means the controller is successfully connected to your Xbox Series X or S.
Syncing Your Xbox One Controller using a USB Cable
If your Xbox One controller does not have Bluetooth functionality or you prefer a wired connection, you can sync it with your Xbox Series X or S using a USB cable. Here’s how:
- Power on your Xbox Series X or S.
- Connect one end of the USB cable to the USB port on your Xbox Series X or S.
- Connect the other end of the USB cable to your Xbox One controller.
- Your Xbox One controller will automatically pair with your Xbox Series X or S, and you’re ready to start gaming.
Regardless of whether you choose a wireless or wired connection, once your Xbox One controller is synced with your Xbox Series X or S, you can enjoy all your favorite games with the familiar controls and seamless compatibility.
Syncing Your Xbox One Controller Wirelessly
Syncing your Xbox One controller wirelessly with your Xbox Series X or S is a convenient method that allows you to enjoy the freedom of movement without being tethered by cables. Here’s how you can sync your controller wirelessly:
- Make sure your Xbox Series X or S is powered on and ready to connect.
- On your Xbox Series X or S, navigate to the “Settings” menu.
- Select “Devices & Connections” and then choose “Controllers.”
- Power on your Xbox One controller by pressing and holding the Xbox button located in the middle of the controller.
- Next, locate the sync button on the front of your Xbox Series X or S. It is located next to the USB port.
- Press and hold the sync button on your Xbox Series X or S until the light around the power button starts flashing.
- On your Xbox One controller, locate the sync button. It is located at the top of the controller, near the bumpers.
- Press and hold the sync button on your Xbox One controller until the Xbox button starts flashing.
- Wait for a few seconds while the controller and console search for each other.
- Once the Xbox button on your controller stops flashing and remains lit, it means the controller is successfully connected to your Xbox Series X or S.
After completing these steps, you can start gaming with your Xbox One controller wirelessly. Enjoy the freedom of movement and immerse yourself in the excitement of your favorite games without the limitations of cables.
If you experience any issues during the syncing process, make sure to double-check that your Xbox One controller has Bluetooth functionality and that both the console and the controller are in pairing mode. Additionally, ensure that both devices have sufficient battery life to establish a stable connection.
By successfully syncing your Xbox One controller wirelessly, you can fully utilize its features and enjoy a seamless gaming experience on your Xbox Series X or S.
Syncing Your Xbox One Controller using a USB Cable
If your Xbox One controller does not have Bluetooth functionality or if you prefer a wired connection, you can still sync it with your Xbox Series X or S using a USB cable. Syncing your Xbox One controller via USB is a reliable method that ensures a stable connection. Here’s how you can do it:
- Ensure that your Xbox Series X or S is powered on and ready for connection.
- Connect one end of the USB cable to the USB port on your Xbox Series X or S.
- Connect the other end of the USB cable to your Xbox One controller.
- Wait for a moment as the console recognizes the controller.
- Once the connection establishes, your Xbox One controller is now synced with your Xbox Series X or S.
Syncing your Xbox One controller using a USB cable offers several advantages. First, it provides a reliable and stable connection, ensuring that your controller won’t experience any disconnections or delays during gameplay. Second, using a wired connection eliminates the need for battery power as your controller will draw power directly from the console, ensuring that you can continue gaming without interruptions.
It’s worth noting that when you connect your Xbox One controller via USB, the wired connection takes precedence over any other wireless Xbox connections. This means that if you have previously synced your controller to other devices, the USB connection will override those connections until you disconnect the USB cable.
If you encounter any issues during the syncing process, ensure that both ends of the USB cable are securely connected. Additionally, if the controller doesn’t sync immediately, try using a different USB port on your console or use a different USB cable to troubleshoot any potential connectivity problems.
Once your Xbox One controller is successfully synced using a USB cable, you can enjoy your favorite games on your Xbox Series X or S with reliable and responsive controls. Whether you prefer a wired or wireless connection, the choice is yours to make based on your gaming preferences and requirements.
Troubleshooting Common Syncing Issues
While syncing your Xbox One controller with your Xbox Series X or S is generally a straightforward process, you may occasionally encounter some issues. Don’t worry – here are some common syncing issues and their troubleshooting solutions:
1. Controller Not Connecting
If your Xbox One controller is not connecting to your Xbox Series X or S, try the following steps:
- Ensure that your controller has sufficient battery power or is connected to a power source if using a wired connection.
- Check that the controller is within range of the console.
- Power cycle your console by turning it off, unplugging it from the power source, waiting for a few seconds, and then plugging it back in and turning it on again.
- Reset the controller by holding down the sync button on the back for a few seconds and then try syncing it again.
2. Sync Button Issues
If you’re having trouble with the sync buttons on your controller or console, consider these solutions:
- Ensure that you’re holding down the sync button long enough for the controller or console to recognize the connection.
- Try using a different USB cable or a different USB port on the console if you’re using a wired connection.
- Check for any physical obstructions that may be interfering with the syncing process, such as debris or dust around the sync buttons.
3. Firmware Update
If you’re experiencing compatibility issues or intermittent connectivity problems, it’s recommended to update your controller’s firmware:
- Connect your controller to an Xbox One console and navigate to the settings menu.
- Select “Devices & Accessories” and then choose your controller.
- If a firmware update is available, follow the on-screen instructions to update it.
- After the update, try syncing the controller with your Xbox Series X or S again.
If the aforementioned troubleshooting steps don’t resolve your syncing issues, consider checking the Xbox support website or contacting Xbox customer support for further assistance. They have a wealth of resources and knowledgeable staff who can help you troubleshoot and resolve any persistent syncing issues you may encounter.
Remember, patience and persistence are key when troubleshooting syncing problems. With the right troubleshooting steps and resources, you’ll soon be able to enjoy your gaming experience with a properly synced Xbox One controller.
Unpairing Your Xbox One Controller from Other Devices
If you’ve previously synced your Xbox One controller with other devices, such as a PC or a mobile device, you may need to unpair it before you can connect it to your Xbox Series X or S. Unpairing your controller ensures a smooth and uninterrupted syncing process. Here’s how you can unpair your Xbox One controller from other devices:
1. Unpairing from a PC
If you’ve connected your Xbox One controller to your PC via Bluetooth, follow these steps to unpair it:
- Open the Settings menu on your PC.
- Go to “Devices” and select “Bluetooth & other devices.”
- Under “Devices,” locate your Xbox One controller and click on it.
- Select “Remove device” or “Forget device” to unpair the controller from your PC.
2. Unpairing from a Mobile Device
If you’ve connected your Xbox One controller to a mobile device, the steps to unpair it may vary depending on the operating system of your device. Here are some general steps:
- Open the Bluetooth settings on your mobile device.
- Locate your Xbox One controller from the list of paired devices.
- Select the option to unpair or forget the device.
Please note that the process of unpairing may differ slightly based on your specific PC or mobile device. Refer to the respective device’s documentation or support website for more detailed instructions.
3. Factory Resetting the Controller
If you’ve tried unpairing from other devices but still experience issues syncing with your Xbox Series X or S, you can perform a factory reset on the controller. Keep in mind that a factory reset will also remove any custom configurations or profiles. Here’s how to factory reset your Xbox One controller:
- Flip the controller over and locate the small pinhole near the left shoulder button.
- Insert a small paperclip or a pin into the pinhole and press and hold the button inside for approximately five seconds.
- Release the button, and the controller will reset to its default settings.
Once you’ve unpaired your Xbox One controller from other devices or performed a factory reset, you can now proceed with syncing it to your Xbox Series X or S following the appropriate method, whether wirelessly or using a USB cable.
By properly unpairing your Xbox One controller from other devices, you ensure a clean and hassle-free syncing experience, allowing you to fully enjoy gaming on your Xbox Series X or S.
Tips for a Smooth Controller Syncing Experience
When syncing your Xbox One controller with your Xbox Series X or S, there are some tips and best practices you can follow to ensure a smooth and hassle-free process. By keeping these tips in mind, you can maximize the efficiency of the syncing process and get straight into gaming:
1. Maintain Proximity
When syncing wirelessly, ensure that your Xbox One controller and Xbox Series X or S are within close proximity to each other. This helps to establish a strong and stable connection between the two devices. Keep them within a range of a few feet to ensure optimal syncing.
2. Charge Your Controller
Before attempting to sync your controller, make sure it has sufficient battery power. If the battery level is low, connect the controller to a power source or consider using a play-and-charge kit. A fully charged controller reduces the chances of interruption during the syncing process.
3. Update Firmware
Check for any available firmware updates for your Xbox One controller. Updating the firmware to the latest version ensures compatibility and can address any known issues. Connect your controller to an Xbox One console and follow the instructions in the settings menu to update the firmware.
4. Power Cycle the Console
If you’re experiencing difficulties syncing your controller, try power cycling your Xbox Series X or S. This involves turning off the console, unplugging it from the power source, waiting for a few seconds, and then plugging it back in and turning it on again. Power cycling can resolve minor software glitches and improve the syncing process.
5. Retry and Reset
If the initial syncing attempt fails, don’t be discouraged. Retry the syncing process, ensuring that you’re following the correct steps. If the issue persists, consider resetting your controller by performing a factory reset. This can be done by pressing the small button inside the pinhole on the back of the controller with a pin or paperclip for several seconds.
6. Check for Interference
Avoid syncing your controller near other electronic devices that may cause interference, such as routers, cordless phones, or other wireless devices. These devices can disrupt the Bluetooth signal and hinder the syncing process. Keeping a clear space around your console and controller can minimize potential interference.
By following these tips, you can optimize the syncing experience and ensure a seamless connection between your Xbox One controller and Xbox Series X or S. With a properly synced controller, you’ll be ready to dive into your games and enjoy the ultimate gaming experience.