
Connecting an iPad to a Projector using an HDMI cable
Connecting your iPad to a projector using an HDMI cable is one of the simplest and most reliable methods. Follow these steps to establish a seamless connection and start displaying your iPad’s screen on the big screen.
- Check your iPad model: Ensure that your iPad has a Lightning connector. If you have an older iPad with a 30-pin connector, you will need to use a different adapter.
- Get an HDMI adapter: Purchase an Apple Digital AV Adapter that has an HDMI output port and a Lightning connector, designed specifically for connecting your iPad to external displays. You can find this adapter at any Apple Store or authorized retailers.
- Connect the adapter to your iPad: Plug the Lightning connector of the adapter into the charging port of your iPad.
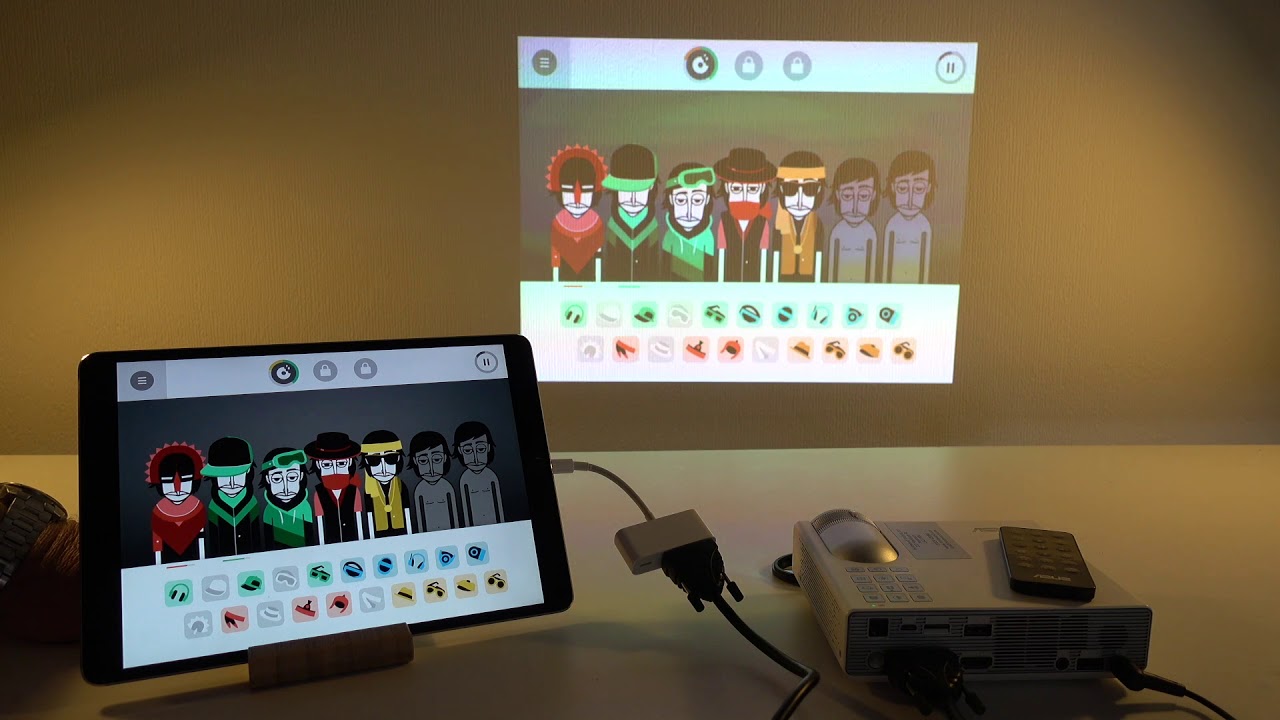
- Attach the HDMI cable: Connect one end of the HDMI cable to the HDMI port on the adapter and the other end to the HDMI input port on the projector.
- Switch to the correct input source: Use the projector’s remote control or on-screen menu to select the correct HDMI input source.
- Your iPad is now connected: Once the connection is established, your iPad’s screen will be mirrored on the projector. You can now navigate through your iPad as usual, and the content will be displayed on the big screen.
- Adjust display and resolution: If necessary, you can adjust the display settings on your iPad to optimize the resolution and aspect ratio for the projector. Go to the “Settings” app, select “Display & Brightness,” and choose the appropriate display options.
With a reliable HDMI cable connection, you can easily connect your iPad to a projector and enjoy an immersive viewing experience. This method is suitable for presentations, slideshows, videos, and other applications that require a direct connection. Ensure that you have a stable power source for your iPad and projector, and make sure to select the correct HDMI input source on the projector to avoid any issues during the connection process.
Connecting an iPad to a Projector using an Apple Digital AV Adapter
If your projector does not have an HDMI input or you prefer an alternative method, you can use an Apple Digital AV Adapter to connect your iPad to a projector. This adapter allows you to connect your iPad to the projector using a VGA, DVI, or HDMI cable. Follow these steps to establish a connection using the Apple Digital AV Adapter:
- Determine the adapter type: Before purchasing the adapter, identify the type of input ports available on your projector (VGA, DVI, or HDMI). This will determine the type of adapter you need.
- Purchase an Apple Digital AV Adapter: Visit an Apple Store or authorized retailers to purchase the appropriate Apple Digital AV Adapter based on the input ports available on your projector.
- Connect the adapter to your iPad: Plug the adapter’s connector (either VGA, DVI, or HDMI) into the corresponding port on your iPad.
- Attach the cable to the adapter: Connect one end of the VGA, DVI, or HDMI cable to the corresponding port on the adapter, and the other end to the projector’s input port, ensuring a secure connection.
- Switch to the correct input source: Use the projector’s remote control or on-screen menu to select the correct input source (VGA, DVI, or HDMI) that corresponds to the cable you’re using.
- Your iPad is now connected: The content on your iPad’s screen will be mirrored on the projector. You can start using your iPad as usual, and the display will be projected onto the big screen.
By using an Apple Digital AV Adapter, you can connect your iPad to a projector that has VGA, DVI, or HDMI inputs. This method provides flexibility and compatibility with different projector models. Ensure that you have a stable power source for your iPad and projector, and make sure to select the correct input source on the projector to establish a successful connection.
Connecting an iPad to a Projector using AirPlay and Apple TV
If you have an Apple TV and a projector with an HDMI input, you can easily connect your iPad wirelessly using AirPlay. This method allows you to stream your iPad’s screen directly to the projector without the need for cables. Here’s how to set it up:
- Set up your Apple TV: Ensure that your Apple TV is properly connected to the projector using an HDMI cable. Follow the instructions provided with your Apple TV to complete the setup process.
- Connect your iPad to the same Wi-Fi network as the Apple TV: On your iPad, go to the “Settings” app, select “Wi-Fi,” and connect to the same Wi-Fi network as your Apple TV.
- Enable AirPlay on your iPad: Swipe up from the bottom of your iPad’s screen to access the Control Center. Tap on the AirPlay icon, and select your Apple TV from the list of available devices.
- Enable mirroring: Toggle the “Mirroring” option to mirror your iPad’s screen onto the projector. You can now navigate through your iPad, and the content will be displayed on the projector in real-time.
Using AirPlay and Apple TV provides a convenient and wireless method to connect your iPad to a projector. It allows you to move around freely without being limited by cables. This method is ideal for presentations, videos, and other applications where you need to interact with your iPad while displaying content on the big screen.
Ensure that your Apple TV and iPad are connected to the same Wi-Fi network for a seamless connection. Additionally, make sure that your iPad and Apple TV are both running on the latest software versions to ensure compatibility and optimal performance.
Setting up AirPlay on the iPad and the projector
Before using AirPlay to connect your iPad to a projector, you need to ensure that AirPlay is properly set up on both your iPad and the projector. This ensures a seamless connection and enables you to wirelessly display your iPad’s screen on the projector. Follow these steps to set up AirPlay on your devices:
- Check projector compatibility: Ensure that your projector supports AirPlay. Not all projectors have built-in AirPlay functionality, so you may need to use an external device like an Apple TV or a compatible wireless adapter to enable AirPlay.
- Connect the projector to the same Wi-Fi network as your iPad: Both the projector and your iPad need to be connected to the same Wi-Fi network for AirPlay to work. If your projector has Wi-Fi capability, connect it to the Wi-Fi network. Otherwise, use an Ethernet cable to connect the projector to your Wi-Fi router.
- Enable AirPlay on the projector: If your projector has built-in AirPlay functionality, access the projector’s settings menu and enable AirPlay. Refer to the projector’s user manual for specific instructions on how to enable AirPlay.
- Enable AirPlay on your iPad: Swipe up from the bottom of your iPad’s screen to open the Control Center. Tap on the AirPlay icon, and select the name of your projector from the list of available devices.
Once you have successfully set up AirPlay on both your iPad and the projector, you can wirelessly connect your iPad to the projector and start mirroring your iPad’s screen. Make sure that both devices remain connected to the same Wi-Fi network for a stable and uninterrupted connection.
It’s worth noting that the steps to enable AirPlay on the projector may vary depending on the brand and model. Refer to the projector’s user manual or contact the manufacturer’s support for detailed instructions specific to your projector model.
Troubleshooting common connection issues
While connecting an iPad to a projector, you may encounter some common connection issues. Understanding and addressing these issues can help you establish a successful connection. Here are some troubleshooting tips for common connection problems:
- Check cables and adapters: Ensure that all cables and adapters are securely connected. Loose connections can result in a loss of signal or unreliable connectivity.
- Restart devices: Sometimes, a simple restart can resolve connectivity issues. Restart both your iPad and the projector, and then attempt the connection again.
- Check Wi-Fi connection: If using AirPlay, ensure that both your iPad and the projector are connected to the same Wi-Fi network. If the connection is unstable, try moving closer to the Wi-Fi router or resetting the network settings on your iPad.
- Update software: Make sure that your iPad, projector, and any adapters or supporting devices are running on the latest software versions. Outdated software can cause compatibility issues.
- Try a different HDMI cable or adapter: If you’re using an HDMI cable or adapter, there could be a problem with the cable or adapter itself. Try using a different cable or adapter to see if that resolves the issue.
- Disable VPN or firewall: Virtual Private Networks (VPNs) or firewall settings on your iPad or network may interfere with the connection. Temporarily disable any VPNs or firewall settings and attempt the connection again.
- Consult user manuals or support: If you’re still experiencing issues, refer to the user manual for your specific projector or contact the manufacturer’s support for further assistance. They may have specific troubleshooting steps or firmware updates to resolve connectivity problems.
By following these troubleshooting tips, you can overcome common connection issues and establish a smooth and reliable connection between your iPad and the projector. Remember to double-check all hardware connections, ensure software compatibility, and seek assistance if needed to maximize your viewing experience.
Tips for displaying content effectively from an iPad to a projector
When connecting your iPad to a projector, it’s crucial to optimize the display settings and content to ensure a visually appealing and engaging presentation or viewing experience. Here are some tips for displaying content effectively from your iPad to a projector:
- Optimize screen orientation: Before connecting to the projector, ensure that the screen orientation on your iPad is set to the desired position (landscape or portrait). Adjusting the orientation will help your content display correctly on the projector.
- Use a clean and clutter-free background: Choose a simple and non-distracting background for your presentations or slideshows. A clean background helps focus the audience’s attention on the main content.
- Adjust font size and style: Make sure the font size is large enough for easy readability by the audience. Use a font style that is clear and legible, avoiding overly decorative or complex fonts.
- Utilize contrasting colors: Ensure that the colors you choose for your content have enough contrast for visibility. Use dark text on a light background or vice versa to enhance readability.
- Consider aspect ratio: If your projector has a different aspect ratio than your iPad, adjust your content to fit the projector’s aspect ratio. This will prevent any cropping or distortion of your visuals.
- Optimize image and video quality: If you are displaying images or videos, ensure they are of high quality and optimized for the projector resolution. Poor-quality visuals can detract from the overall impact of your presentation.
- Practice and test beforehand: Always practice your presentation on the projector before the actual event. This will allow you to familiarize yourself with the setup and make any necessary adjustments in advance.
- Use multimedia features: Take advantage of the iPad’s multimedia capabilities. Incorporate videos, animations, and interactive elements to engage and captivate your audience.
- Consider compatibility with presentation software: If you are using presentation software on your iPad, ensure compatibility with the projector. Check if the software supports the required file formats and features to ensure a smooth presentation.
By following these tips, you can enhance the visual impact and overall effectiveness of your content when displaying from an iPad to a projector. Remember to consider aspects like screen orientation, font size, color, and image quality to deliver a professional and engaging presentation.
Alternatives to connecting an iPad to a projector
While connecting an iPad to a projector using cables or wireless methods is the most common approach, there are alternative options available. These alternatives can be useful in situations where a direct connection is not possible or preferred. Here are a few alternatives to connecting an iPad to a projector:
- Use a document camera: If you need to display physical documents or objects, a document camera can be a great alternative. Connect the document camera to the projector and place your document or object under the camera. The live feed from the camera will be projected onto the screen.
- Utilize a portable projector with built-in Wi-Fi or screen mirroring capabilities: Some portable projectors have built-in Wi-Fi or screen mirroring functionality, allowing you to connect your iPad directly to the projector wirelessly. This eliminates the need for additional adapters or cables.
- Utilize a smart TV with screen mirroring: If you have a smart TV with screen mirroring capabilities, you can wirelessly mirror your iPad’s screen to the TV. Simply enable screen mirroring on both devices, and the iPad’s screen will be displayed on the TV.
- Use a casting device: Casting devices such as Chromecast or Miracast allow you to mirror your iPad’s screen onto a TV or projector. Connect the casting device to the HDMI input of the projector, install the corresponding app on your iPad, and follow the instructions to establish the connection.
- Utilize video conferencing software: If you need to present remotely or collaborate with others, video conferencing platforms like Zoom or Microsoft Teams allow screen sharing capabilities. Install the corresponding app on your iPad, join a meeting, and share your iPad screen with the participants.
These alternative methods offer flexibility and convenience for connecting your iPad to a projector in various scenarios. Depending on your specific requirements and the equipment available to you, choose the method that best suits your needs. Experiment with different options to find the most suitable one for your situation.