
Choosing the Right Mini Projector
When it comes to connecting an Android phone to a mini projector, the first step is to choose the right mini projector that suits your needs. With a wide range of options available in the market, it’s important to consider a few key factors before making a decision.
1. Brightness: The brightness of the mini projector is an essential factor to consider, especially if you plan to use it in well-lit environments or for outdoor screenings. Look for a projector with a higher lumen rating for better visibility in various lighting conditions.
2. Resolution: The resolution determines the clarity and sharpness of the projected image. For a better viewing experience, opt for a mini projector with a resolution of at least 720p or higher. This will ensure that the images and videos displayed from your Android phone are crisp and vibrant.
3. Connectivity Options: Check the connectivity options available on the mini projector. Look for a projector that offers multiple input ports, such as HDMI, USB, and wireless connectivity options like Bluetooth or Wi-Fi. This will ensure compatibility with your Android phone and provide flexibility in connecting your devices.
4. Portability: If you plan to use the mini projector on the go or in different locations, consider its size, weight, and ease of setup. Look for a compact and lightweight projector that is easy to carry and doesn’t require complex installation procedures.
5. Battery Life: If you prefer a wireless setup or need to use the mini projector without a power source, check the battery life of the device. A longer battery life ensures uninterrupted projector usage, allowing you to enjoy movies, presentations, or games without worrying about running out of power.
6. Customer Reviews: Before making a purchase, read customer reviews and ratings of different mini projectors. This will give you insights into the performance, reliability, and overall user experience of the product. Look for projectors with positive reviews and high ratings to ensure you’re investing in a quality device.
By considering these factors, you can choose a mini projector that fits your requirements and provides a seamless connection with your Android phone. Remember to compare features, prices, and warranties to make an informed decision. Once you’ve selected the right mini projector, you’ll be ready to connect it to your Android phone and enjoy a larger-than-life viewing experience.
Preparing Your Android Phone
Before connecting your Android phone to a mini projector, there are a few steps you need to take to ensure a smooth and hassle-free setup. Follow these preparations to get your Android phone ready for projection:
1. Check Compatibility: Make sure that your Android phone is compatible with the mini projector and supports video output functionality. Most modern Android devices have built-in support for video output via HDMI or USB-C, but it’s essential to verify this in your device’s specifications or user manual.
2. Update System Software: Ensure that your Android phone is running on the latest software version. Regular software updates often include improvements and bug fixes that can enhance compatibility with external devices like projectors. Check for any available updates in the phone’s settings and install them if necessary.
3. Clean the Phone’s Display: Before connecting your Android phone to the mini projector, clean the display to remove any fingerprints, smudges, or dust particles. A clean screen will ensure better visibility and image quality during projection.
4. Adjust Display Settings: Access the display settings on your Android phone and adjust them according to your preferences. You can modify the screen brightness, aspect ratio, and screen timeout to optimize the projection for your specific needs.
5. Close Unnecessary Apps and Services: To avoid any interruptions or distractions during the projection, close any unnecessary apps or services running in the background. This will free up system resources and ensure a smoother experience.
6. Prepare Your Media: If you plan to stream videos or other media from your Android phone to the mini projector, make sure you have the content ready. Download or sync the desired files or apps beforehand so that they are readily accessible and can be projected without any delays or buffering.
By following these preparation steps, you can ensure that your Android phone is primed for connecting to a mini projector. Taking the time to check compatibility, update your device’s software, and optimize display settings will result in a seamless connection and an enjoyable projection experience.
Connecting the Mini Projector to a Power Source
Before you can connect your Android phone to a mini projector, it’s essential to ensure that the projector is properly connected to a power source. Here’s how you can do it:
1. Locate the Power Input: Identify the power input port on the mini projector. This is usually located on the back or side of the device. It may be labeled as “Power,” “DC In,” or something similar.
2. Check the Power Cable: Ensure that the power cable provided with the mini projector is in good condition and compatible with the power source. It should have the appropriate connectors for both the projector and the power outlet.
3. Connect the Power Cable: Plug one end of the power cable into the power input port of the mini projector. Make sure it is firmly inserted and secured.
4. Connect to the Power Outlet: Insert the other end of the power cable into a nearby power outlet. Ensure that the outlet is working properly before connecting. If necessary, use a surge protector or an extension cord to reach the closest power source.
5. Power on the Mini Projector: Once the power cable is securely connected, press the power button on the mini projector or use the remote control to turn it on. Wait for the projector to boot up and stabilize, which may take a few seconds or minutes depending on the model.
6. Check the Power Indicator: Look for a power indicator light on the mini projector. It should illuminate to indicate that the device is receiving power. If the light doesn’t turn on, check the power connection and ensure that the outlet is functioning properly.
By following these steps, you can successfully connect your mini projector to a power source. It’s important to ensure a stable power supply to ensure uninterrupted projection. Once the projector is powered on and connected to a power source, you can proceed to connect it to your Android phone for a complete setup.
Connecting the Mini Projector to your Android Phone using an HDMI Cable
To connect your Android phone to a mini projector using an HDMI cable, follow these steps:
- Check the Ports: Confirm that your Android phone has an HDMI output port. Not all Android phones have this feature, so refer to your device’s specifications or user manual to verify.
- Get an HDMI Adapter: If your Android phone does not have an HDMI output port, you will need an HDMI adapter that is compatible with your phone’s specific port, such as USB-C or micro USB. Purchase the appropriate adapter if necessary.
- Connect the HDMI Cable: Plug one end of the HDMI cable into the HDMI output port of your Android phone or the HDMI adapter, if required. Make sure it is securely inserted.
- Connect the Other End: Plug the other end of the HDMI cable into the HDMI input port of the mini projector. Ensure a firm connection to avoid any signal loss.
- Switch to the HDMI Input: On the mini projector, navigate through the on-screen menu or use the remote control to switch to the HDMI input. This may be labeled as “HDMI,” “Input,” or something similar.
- Adjust Settings: On your Android phone, go to the display settings and ensure that the HDMI output is enabled. You may need to adjust the screen resolution or mirroring settings to optimize the display on the mini projector.
- Start the Projection: Once everything is connected and the settings are adjusted, you should see your Android phone’s screen projected onto the mini projector. You can now enjoy videos, photos, presentations, or any other content on a larger display.
Remember to keep the HDMI cable and the connections clean to prevent any interference or signal loss. Additionally, make sure that both your Android phone and the mini projector are powered on throughout the projection.
Note that some Android phones may require additional steps or settings configurations to establish the HDMI connection. Refer to your device’s user manual or online resources for specific instructions if needed.
Connecting the Mini Projector to your Android Phone using a USB-C Cable
If your Android phone has a USB-C port, you can connect it to a mini projector using a USB-C cable. Follow the steps below to establish the connection:
- Confirm USB-C Port: Check if your Android phone has a USB-C port. It is a small, reversible connector that is becoming more common on newer devices. Refer to your phone’s specifications or user manual for confirmation.
- Get a USB-C to HDMI Adapter (if needed): If your mini projector only has an HDMI input and your Android phone has a USB-C port, you will need a USB-C to HDMI adapter. Purchase a reputable adapter that is compatible with your phone’s specific port.
- Connect the USB-C Cable: Plug one end of the USB-C cable into the USB-C port on your Android phone. Ensure that it is securely inserted to establish a stable connection.
- Connect the Other End: Connect the other end of the USB-C cable (or the adapter if needed) to the HDMI input port of the mini projector. Make sure the connection is firm to avoid any signal interruptions.
- Set the Mini Projector to HDMI Input: Use the mini projector’s on-screen menu or remote control to switch to the HDMI input mode. Look for an option that says “HDMI,” “Input,” or something similar.
- Adjust the Display Settings: On your Android phone, go to the display settings and ensure that the HDMI output is enabled. You may need to adjust the screen resolution or mirroring settings to optimize the display on the mini projector.
- Initiate the Projection: Once the USB-C cable is connected and the settings are adjusted, your Android phone’s screen should start displaying on the mini projector. You can now enjoy your favorite content on a larger screen.
Remember to keep the USB-C cable and the connections clean to avoid any signal disruptions. Also, ensure that both your Android phone and the mini projector are powered on throughout the projection.
It is important to note that not all Android phones support video output through the USB-C port. Refer to your device’s user manual or online resources for specific information on video output capabilities if you are unsure whether your phone supports this feature.
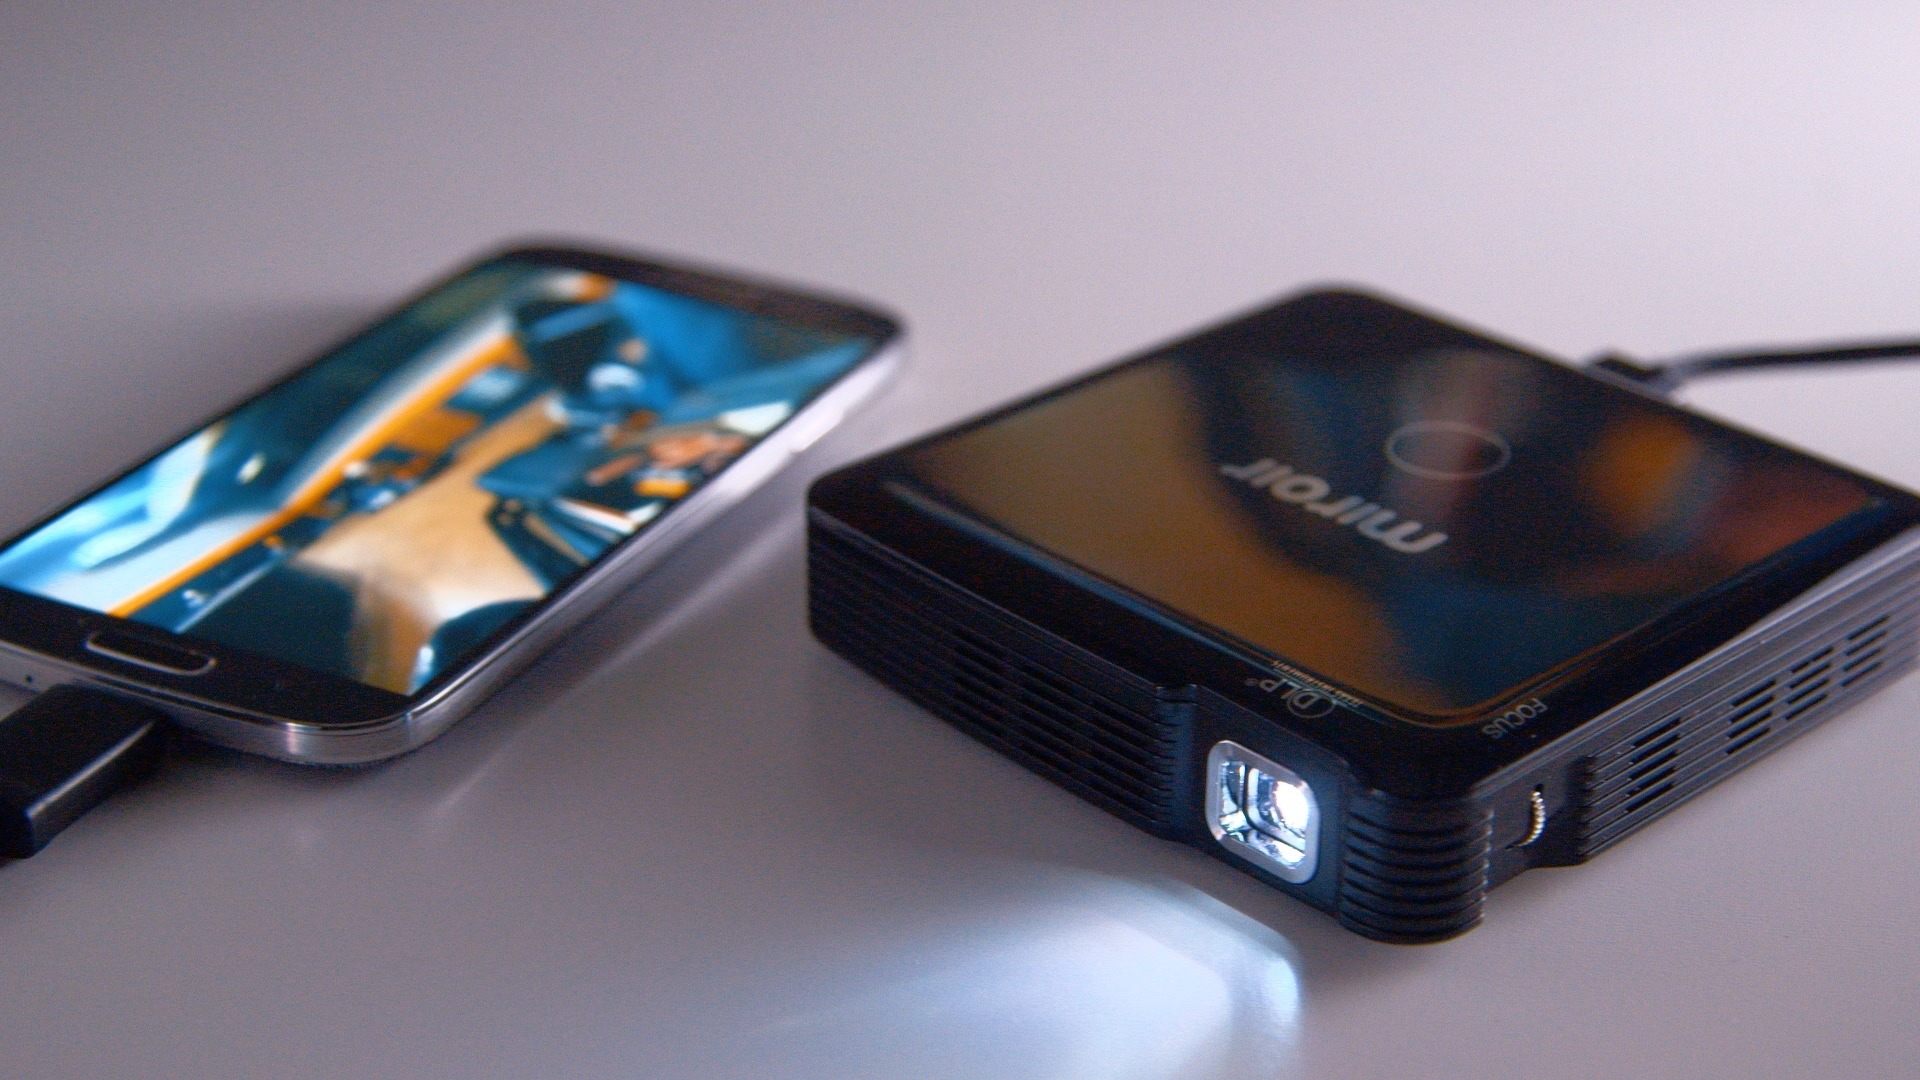
Connecting the Mini Projector to your Android Phone using a Wireless Connection
If you prefer a wireless setup, you can connect your Android phone to a mini projector using a wireless connection. Follow the steps below to establish the wireless connection:
- Check Wireless Connectivity: Ensure that both your Android phone and the mini projector are equipped with wireless connectivity options like Bluetooth or Wi-Fi. Refer to the device specifications or user manuals to confirm.
- Enable Wireless Connection: On the mini projector, access the wireless settings and enable the appropriate wireless functionality, such as Wi-Fi or Bluetooth. Follow the manufacturer’s instructions for enabling wireless connectivity on your specific model.
- Enable Wireless Display: On your Android phone, go to the settings and enable the wireless display or screen mirroring feature. The naming and location may vary depending on the phone’s manufacturer and operating system version. Look for options like “Cast,” “Screen Mirroring,” or “Wireless Display.”
- Scan for Wireless Displays: Once the wireless display feature is enabled on your phone, it will scan for available wireless displays. Select the name of your mini projector from the list of available devices displayed on your phone’s screen.
- Confirm Connection: After selecting the mini projector, your Android phone will attempt to establish a wireless connection. Follow any on-screen prompts or enter a PIN if required to complete the pairing process.
- Start the Projection: Once the wireless connection is established, you will see your Android phone’s screen projected onto the mini projector. You can now enjoy your favorite media, presentations, or any other content wirelessly.
Keep in mind that the steps and specific terminology may vary depending on the mini projector brand and model, as well as your Android phone’s manufacturer and operating system version. Consult the product’s user manual or online resources for detailed instructions tailored to your devices.
With a wireless connection, you can experience the convenience and flexibility of projecting your Android phone’s screen without the need for cables, making it ideal for presentations or sharing multimedia content in various settings.
Adjusting the Display Settings on your Android Phone
Before you start projecting your Android phone’s screen onto a mini projector, it’s important to adjust the display settings to optimize the projection. Follow these steps to ensure the best possible viewing experience:
- Access Display Settings: Open the settings menu on your Android phone. Depending on your phone’s manufacturer and operating system version, the display settings may be located in different sections, such as “Display,” “Screen,” or “Display & Brightness.”
- Adjust the Screen Brightness: Calibrate the screen brightness to suit the projection environment. Increase the brightness for well-lit environments or decrease it for darker settings. This will improve visibility and reduce eye strain during projection.
- Set the Screen Timeout: Adjust the screen timeout duration to prevent the screen from turning off while you’re using the mini projector. Choose a longer duration to ensure uninterrupted projection.
- Configure Display Orientation: Check the display orientation settings and ensure that it is set to auto-rotate. This allows the screen to adjust its orientation automatically when you connect it to the mini projector.
- Modify Screen Resolution: If your Android phone allows it, adjust the screen resolution to match the capabilities of the mini projector. Higher resolutions provide sharper and more detailed projections.
- Activate Screen Mirroring: Enable the screen mirroring or wireless display feature in the display settings. This will allow you to wirelessly transmit your Android phone’s screen to the mini projector if you’re using a wireless connection.
- Configure Aspect Ratio: Adjust the aspect ratio settings to match the aspect ratio supported by the mini projector. This ensures that the projection fills the screen properly without distortion or black borders.
- Test the Projection: After adjusting the display settings, test the projection on the mini projector to ensure that it appears correctly and is easily visible. Make any necessary adjustments if needed.
Remember to consult your phone’s user manual or online resources for specific instructions on adjusting display settings, as they may vary depending on your Android phone’s manufacturer and operating system version.
By optimizing the display settings on your Android phone, you can ensure that the projected images or videos appear vivid, sharp, and accurately represented on the screen of the mini projector.
Adjusting the Display Settings on the Mini Projector
After connecting your Android phone to a mini projector, it’s important to adjust the display settings on the projector itself to optimize the projection. Here are the steps to adjust the display settings on the mini projector:
- Access the On-Screen Menu: Use the remote control or the buttons on the mini projector to access the on-screen menu. Look for a menu or settings button that provides access to the projector’s settings.
- Navigate to Display Settings: Once you’re in the on-screen menu, navigate to the display settings section. This may be labeled as “Display,” “Image,” or “Picture,” depending on the projector’s manufacturer and model.
- Adjust Brightness and Contrast: Use the settings within the display settings menu to adjust the brightness and contrast levels. Increase or decrease these settings to achieve the desired visual quality and clarity.
- Set Aspect Ratio: Select the appropriate aspect ratio option in the display settings to match the aspect ratio of your content. Most projectors offer options like 16:9, 4:3, or auto, depending on your needs.
- Configure Keystone Correction: Look for the keystone correction feature in the display settings. This allows you to correct any distortion caused by the projector being placed at an angle. Adjust the keystone correction until the projected image appears straight and properly aligned.
- Choose Color Settings: Some projectors provide color settings to adjust the saturation, hue, and temperature of the projected image. Experiment with these settings to achieve accurate and vibrant colors.
- Enable Advanced Features: Explore the display settings for any advanced features that the mini projector may offer, such as noise reduction, gamma correction, or image enhancement. Enable or adjust these features to further enhance the projection quality.
- Save and Apply Changes: Once you have adjusted the display settings to your preferences, save the changes and apply them. This will ensure that the projector accurately reproduces the projected content.
It’s important to note that the options and settings available in the display settings menu may vary depending on the mini projector’s brand and model. Consult the projector’s user manual or online resources for specific instructions tailored to your device.
By adjusting the display settings on the mini projector, you can fine-tune the image quality, correct any distortions, and ensure that the projected content appears vibrant and well-defined on the screen.
Streaming Media from your Android Phone to the Mini Projector
Streaming media from your Android phone to a mini projector allows you to enjoy your favorite movies, videos, or TV shows on a larger screen. Here’s how you can easily stream media content:
- Select a Media Streaming App: Install a media streaming app on your Android phone that supports screen mirroring or casting. Popular options include Google Chromecast, AllCast, or Miracast.
- Connect the Android Phone to the Mini Projector: Follow the appropriate connectivity method, either using an HDMI cable or a wireless connection, as mentioned in the previous sections.
- Open the Media Streaming App: Launch the media streaming app on your Android phone and ensure that the mini projector is selected as the streaming device.
- Select the Desired Media: Choose the media that you want to stream on the mini projector. This can be a video from your phone’s gallery, a movie or TV show from a streaming service app, or even a live video stream from a social media platform.
- Start the Streaming: Once you’ve selected your desired media, initiate the streaming process within the media streaming app. You will see the content playing on your Android phone’s screen as well as being projected onto the mini projector.
- Control the Playback: Use the controls within the media streaming app on your phone to pause, play, adjust the volume, or skip to different parts of the content. The changes will be reflected on both your phone’s screen and the mini projector.
- Enjoy the Media on the Mini Projector: Sit back, relax, and enjoy your chosen media on the larger screen provided by the mini projector. Experience immersive visuals and enhanced audio output for an engaging entertainment experience.
It’s important to note that the specific steps may vary depending on the media streaming app you use. Refer to the app’s instructions or online resources for more detailed guidance if needed.
By streaming media from your Android phone to the mini projector, you can transform your living room, outdoor spaces, or any other area into a cinematic experience, allowing you to enjoy your favorite content on a bigger and more immersive screen.
Troubleshooting Common Issues
While connecting an Android phone to a mini projector is usually a straightforward process, you may encounter some common issues along the way. Here are some troubleshooting steps to help you overcome these challenges:
1. No Signal: If the mini projector does not display any signal from your Android phone, double-check the cable connections. Ensure that the HDMI or USB-C cable is securely inserted into both the phone and the projector. Also, confirm that the mini projector is set to the correct input source.
2. Poor Image Quality: If the projected image appears fuzzy or distorted, check the resolution settings on both your Android phone and the mini projector. Ensure that the settings are configured correctly and match the capabilities of the mini projector. Adjusting the display settings, such as brightness and contrast, may also help improve the image quality.
3. Audio Issues: If you’re experiencing audio problems, ensure that the audio output settings on your Android phone are correctly configured. Check the volume levels on both your phone and the mini projector. If using an HDMI connection, confirm that the audio is set to play through the projector’s speakers or external audio system if connected.
4. Limited Wireless Range: If you’re using a wireless connection, ensure that your Android phone and the mini projector are within the recommended range for stable connectivity. Check for any potential sources of interference, such as other wireless devices or walls blocking the signal. Consider moving closer to the projector or using a Wi-Fi extender for better signal strength.
5. Incompatibility Issues: If you’re experiencing compatibility issues between your Android phone and the mini projector, ensure that both devices are compatible with each other’s connection methods and formats. Check the user manuals or online resources for compatibility information or firmware updates that could address any compatibility gaps.
6. Software Updates: Ensure that both your Android phone and the mini projector have the latest firmware or software updates installed. Regular updates often include bug fixes, performance enhancements, and improved compatibility with external devices.
7. Power-related Issues: If the mini projector is not powering on or experiences intermittent power loss, check the power cable connections and ensure that the power source is stable. Try using a different power outlet or test the power cable with another device to rule out any power-related issues.
If you continue to experience issues, consult the user manuals for your Android phone and mini projector or reach out to the manufacturer’s support for further assistance. Troubleshooting steps may vary depending on the specific devices you’re using.
By troubleshooting these common issues, you can overcome technical obstacles and ensure a smooth and enjoyable experience connecting your Android phone to a mini projector.