
Checking the ports on your Chromebook
Before you can connect your Chromebook to a projector, it’s crucial to ensure that your device has the necessary ports. Most Chromebooks come equipped with at least one HDMI port and a USB-C port that supports video output, while some older models may have a VGA port instead of HDMI. By checking the available ports on your Chromebook, you can determine the suitable connection method for your projector.
To identify the ports on your Chromebook, start by examining the sides and back of your device. Look for small rectangular slots labeled with symbols or names. Here’s a quick overview of the common ports you might find:
- HDMI: If your Chromebook has an HDMI port, it typically looks like a small, rectangular slot with a narrow opening at the top. HDMI ports are commonly used for connecting devices such as projectors, monitors, and televisions.
- USB-C: USB-C ports are becoming increasingly popular on newer Chromebooks. They are small, oval-shaped ports that support video output in addition to various data transfers and charging capabilities. If your Chromebook has USB-C ports, you can connect it to a projector using a USB-C to HDMI or USB-C to VGA adapter.
- VGA: Older Chromebook models may feature a VGA port, which is a 15-pin connector with three rows of five pins each. VGA ports are used for analog video connections and can connect your Chromebook to a VGA-enabled projector using a VGA cable.
Once you have identified the available ports on your Chromebook, you can proceed with connecting it to your projector. In the next sections, we will explore the different methods you can use to connect your Chromebook to a projector via HDMI, VGA, or wirelessly.
Connecting a Chromebook to a projector via HDMI
Connecting your Chromebook to a projector via HDMI is one of the easiest and most common methods. Follow the steps below to establish the connection:
- Gather the necessary equipment: You will need an HDMI cable and a projector with an HDMI port. Make sure the projector is turned off before proceeding.
- Locate the HDMI port: On your Chromebook, find the HDMI port, which is usually located on the side of the device. It resembles a small, rectangular slot with a narrow opening at the top.
- Connect the HDMI cable: Insert one end of the HDMI cable into the HDMI port on your Chromebook and the other end into the HDMI port on the projector.
- Turn on the projector: Power on the projector and wait for it to display the appropriate input source on the screen. This step may vary depending on your projector model.
- Select the correct input source: On your Chromebook, press the “Search” key or open the App Launcher, then type “Display Settings” and select the corresponding option.
- Adjust the display settings: In the Display Settings window, locate the “Device” section and select the connected projector from the list of available devices. You may also need to adjust other settings, such as resolution and orientation, to optimize the display.
- Test the connection: Display a test image or open a presentation to ensure that the output is correctly displayed on the projector. You can use the arrow keys or a mouse to navigate through the content.
Connecting your Chromebook to a projector via HDMI provides a high-quality digital connection, allowing for sharp and vibrant visuals during presentations, videos, or any other content you want to share.
Connecting a Chromebook to a projector via VGA
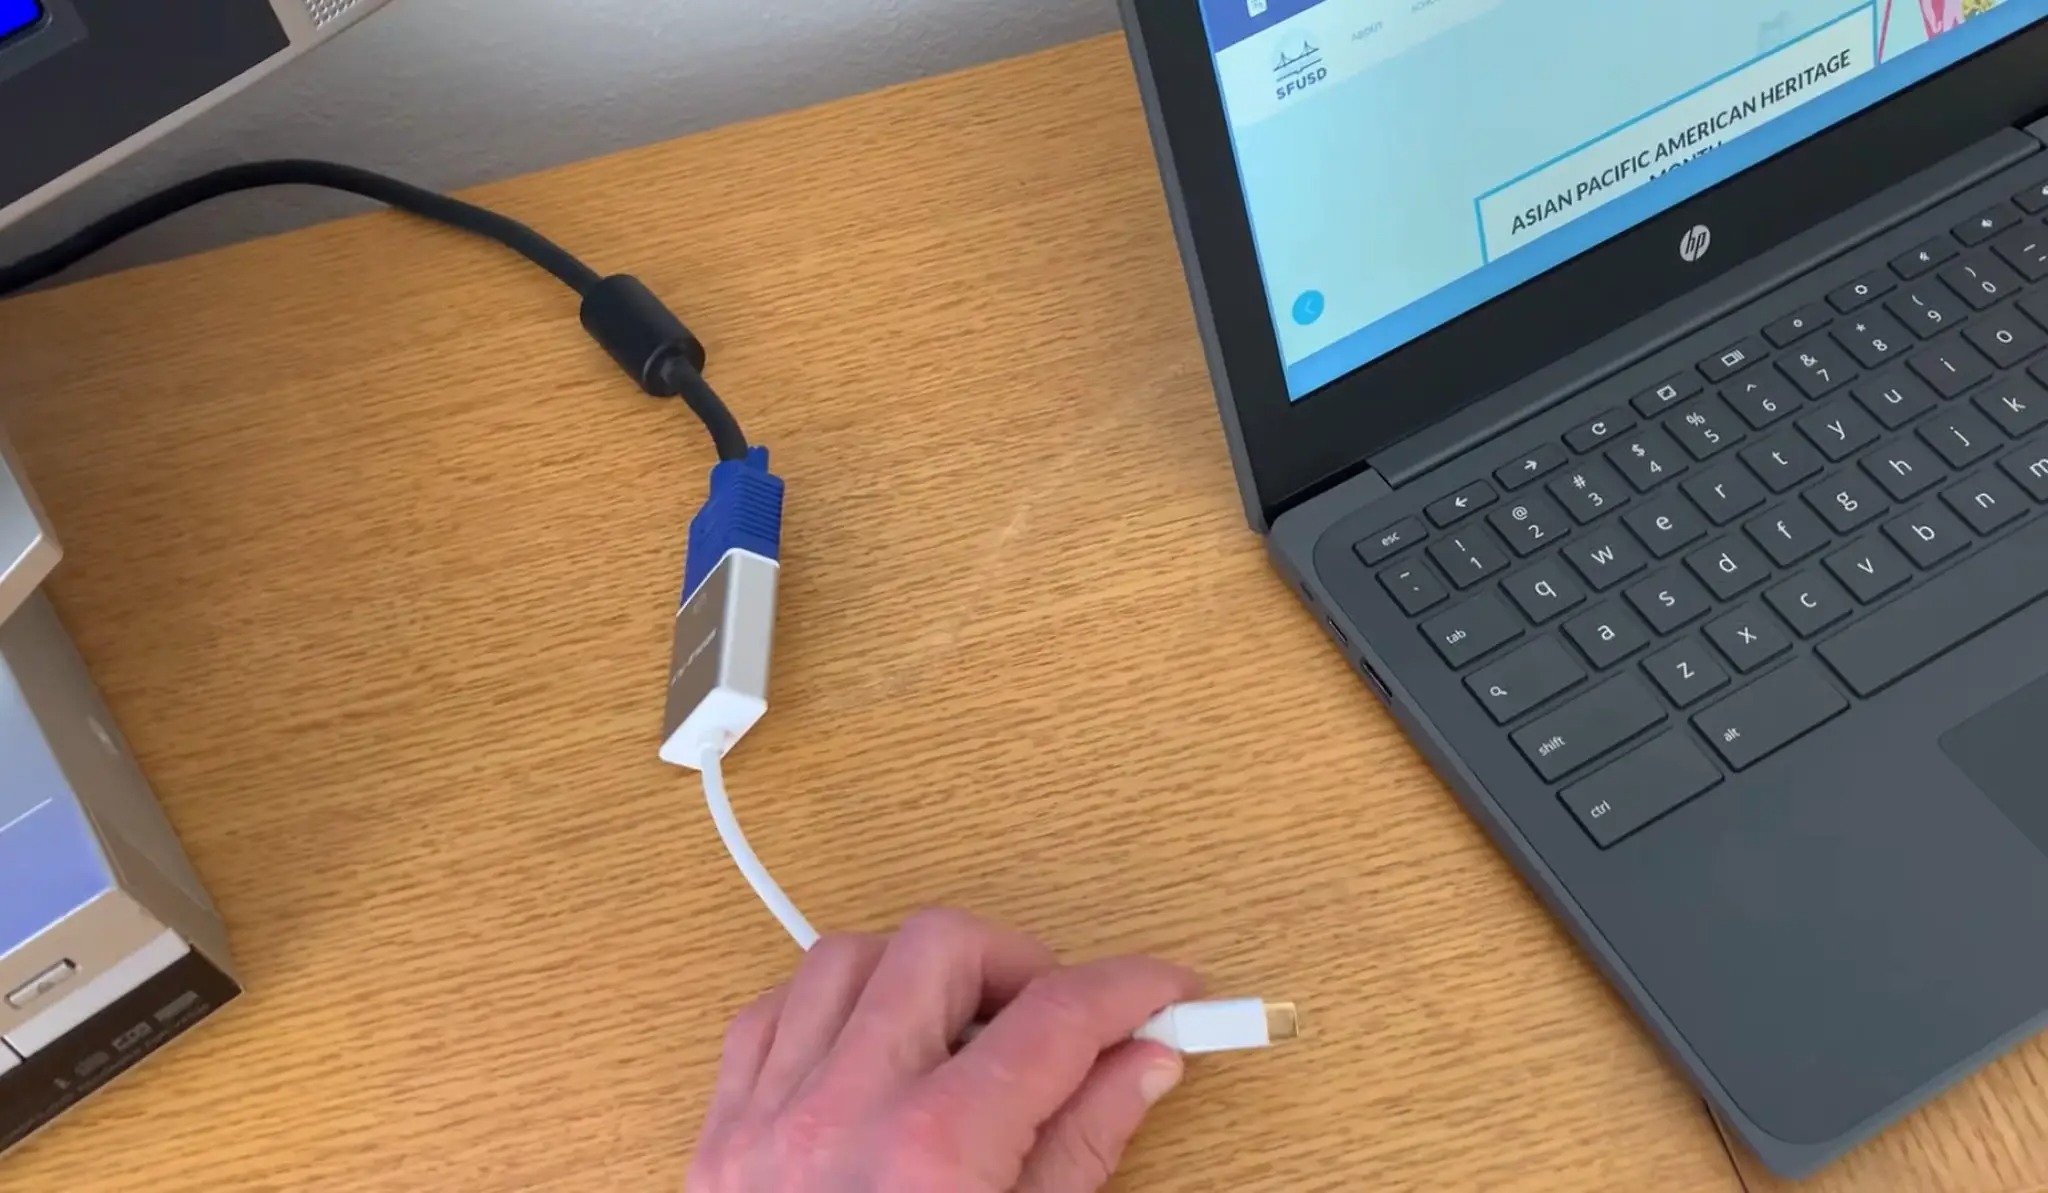
If your Chromebook doesn’t have an HDMI port, or if you’re working with an older projector that only supports VGA connections, you can still connect the two devices using a VGA cable. Here’s how to do it:
- Get the necessary equipment: You will need a VGA cable and a projector with a VGA port. Ensure that the projector is turned off before proceeding.
- Locate the VGA port: Look for the VGA port on your Chromebook. It is a 15-pin connector with three rows of five pins each. Older Chromebook models often have this port.
- Connect the VGA cable: Plug one end of the VGA cable into the VGA port on your Chromebook, and the other end into the VGA port on the projector.
- Turn on the projector: Power on the projector and wait for it to display the appropriate input source on the screen. The steps for this may vary depending on your projector model.
- Select the correct input source: On your Chromebook, press the “Search” key or open the App Launcher, then type “Display Settings” and select the corresponding option.
- Adjust the display settings: In the Display Settings window, locate the “Device” section and select the connected projector from the list of available devices. You may also need to adjust other settings, such as resolution and orientation, to optimize the display.
- Test the connection: Display a test image or open a presentation to ensure that the output is correctly displayed on the projector. Use the arrow keys or a mouse to navigate through the content.
Connecting your Chromebook to a projector via VGA might not provide the same level of image quality as HDMI, but it is still a reliable method, especially when dealing with older projectors that lack HDMI functionality. Ensure that you have the VGA cable and appropriate adapters, if needed, for a successful connection.
Connecting a Chromebook to a projector wirelessly
Wirelessly connecting your Chromebook to a projector offers convenience and flexibility, allowing you to move around the room freely without the hassle of cables. Follow the steps below to connect your Chromebook to a wireless projector:
- Check for compatibility: Ensure that both your Chromebook and the projector support wireless connectivity. Look for Wi-Fi or Bluetooth capabilities in the device specifications.
- Enable wireless display: On your Chromebook, click on the clock in the bottom-right corner, and select the “Settings” gear icon. From there, click on the “Displays” option and toggle the “Enable wireless display” setting to ON.
- Turn on the projector: Power on the wireless projector and make sure it is connected to the same Wi-Fi network as your Chromebook.
- Connect to the wireless projector: On your Chromebook, click on the clock again, and select the “Cast devices available” option. A list of available wireless displays will appear. Select your projector from the list.
- Confirm the connection: After selecting the wireless projector, your Chromebook will attempt to establish a connection. Once connected, the projector will display the screen of your Chromebook.
- Adjust the display settings: If needed, go to the Chromebook’s “Display Settings” and make any necessary adjustments, such as resolution or orientation, to optimize the display on the wireless projector.
- Test the connection: Open a test image or a presentation to ensure that the content is correctly displayed on the wireless projector. Navigate through the content using the arrow keys or a mouse.
Wirelessly connecting your Chromebook to a projector offers flexibility and convenience, allowing you to seamlessly share your screen without the need for cables. Make sure both devices are compatible and connected to the same Wi-Fi network for a successful wireless connection.
Adjusting the display settings on your Chromebook
After connecting your Chromebook to a projector, it’s essential to adjust the display settings to ensure optimal viewing. By making a few adjustments, you can enhance the visual quality and make sure the content is accurately displayed on the projector. Follow the steps below to adjust the display settings on your Chromebook:
- Access the display settings: Click on the clock in the bottom-right corner of your Chromebook screen and select the “Settings” gear icon. From there, click on the “Displays” option.
- Select the projector: In the Display Settings window, you should see a list of connected displays. Choose the name or model of the projector from the list.
- Adjust the resolution: Under the “Resolution” section, choose the resolution that is compatible with your projector. Higher resolutions may provide sharper visuals, but make sure the projector supports the selected resolution.
- Set the display mode: Chromebooks offer different display modes, such as mirroring or extending the display. Select the desired mode based on your presentation needs. Mirroring replicates the Chromebook screen on the projector, while extending the display provides separate screens for your Chromebook and projector.
- Orientation and rotation: If needed, you can adjust the screen orientation and rotation. Select either landscape or portrait mode, and set the rotation to 0, 90, 180, or 270 degrees.
- Enable or disable overscan: Overscan adjusts the display to fit the edges of the projector screen. Depending on your projector’s capabilities, you can enable or disable overscan to ensure the entire screen is visible.
- Test the display: Open a test image or a presentation to check how the adjustments look on the projector screen. Make any additional tweaks as necessary to optimize the display.
By adjusting the display settings on your Chromebook, you can fine-tune the visual presentation, ensuring that your content appears clear and visually appealing on the connected projector.
Troubleshooting common connection issues
While connecting your Chromebook to a projector is generally a straightforward process, you may occasionally encounter some common connection issues. Here are a few troubleshooting steps you can follow to resolve these problems:
- No signal: If the projector isn’t receiving any signal from your Chromebook, ensure that both devices are powered on and properly connected. Double-check the cable connections and try reconnecting them. You may also need to toggle the input source on the projector or adjust the display settings on your Chromebook.
- Poor image quality: If the image quality on the projector appears blurry or distorted, check the resolution settings on your Chromebook. Make sure the resolution is compatible with the projector’s capabilities. Adjusting the resolution to match the projector’s native resolution can often improve the image quality.
- No sound: If there is no sound coming from the projector, ensure that the audio settings on your Chromebook are correctly configured. Check if the volume is not muted and that the audio output is set to the correct device. Additionally, verify that the projector’s audio output is not muted or set to a very low volume.
- Incompatible adapters or cables: If you’re using adapters or cables to connect your Chromebook to the projector, make sure they are compatible and in good working condition. Faulty or incompatible adapters can lead to connection issues. Try using different adapters or cables if necessary.
- Technical compatibility: Ensure that your Chromebook and the projector are technically compatible. Refer to the device specifications and documentation to verify compatibility regarding output ports, resolution support, and wireless connectivity.
- Restart or update: Sometimes, simply restarting both your Chromebook and the projector can resolve connection issues. Additionally, ensure that your Chromebook’s operating system and the projector’s firmware are up to date to avoid any compatibility issues.
If you’re still experiencing connection problems after troubleshooting, consult the user manuals for both your Chromebook and the projector for specific troubleshooting steps. You may also consider contacting the manufacturer’s support for further assistance.
Tips for a successful presentation using a Chromebook and projector
When delivering a presentation using your Chromebook and a projector, it’s important to ensure a smooth and effective experience for yourself and your audience. Here are some helpful tips to maximize the impact of your presentation:
- Practice beforehand: Familiarize yourself with the presentation and practice it prior to the actual event. This will help you feel more confident and ensure a smoother delivery.
- Prepare a backup: Always have a backup plan in case of technical difficulties. Save a copy of your presentation on a USB drive or cloud storage as a backup option in case your Chromebook or the projector encounters any issues.
- Optimize your visuals: Create visually appealing slides with clear and concise content. Use high-quality images and legible fonts to enhance readability on the projector screen.
- Keep your Chromebook charged: Make sure your Chromebook is fully charged before your presentation. If possible, connect it to a power source during your presentation to avoid any unexpected power interruptions.
- Minimize distractions: Close any unnecessary applications or browser tabs on your Chromebook to prevent pop-ups or notifications from disrupting your presentation. Set your device to “Do Not Disturb” mode if available.
- Engage with your audience: Maintain eye contact, use gestures, and speak clearly to keep your audience engaged and focused on your presentation. Utilize the space provided by the projector screen to enhance your delivery.
- Use a remote control: Consider using a wireless presenter or remote control to navigate through your slides. This allows you to move around the room and interact with your audience more effectively.
- Interact with the projected content: Utilize the interactive features of your presentation software, if applicable. Engage your audience by highlighting key points, zooming in on specific areas, or demonstrating live content on your Chromebook.
- Practice screen sharing: If you need to share content directly from your Chromebook, such as videos or websites, practice screen sharing beforehand to ensure a smooth transition between slides and multimedia.
- Collect feedback: After your presentation, encourage audience feedback and ask for any questions or comments. This will help you assess the effectiveness of your presentation and gather valuable insights for future improvements.
By following these tips, you can deliver a successful presentation using your Chromebook and projector, leaving a positive impression on your audience and effectively conveying your message.