
Why is it important to clean the scanner feeder?
The scanner feeder is an essential component of any scanner device and plays a crucial role in ensuring smooth and accurate document scanning. Over time, the scanner feeder can accumulate dust, debris, and even small particles of paper or ink. This build-up can cause several issues that may significantly impact the scanner’s performance and the quality of scanned documents.
First and foremost, a dirty scanner feeder can lead to misfeeds and paper jams. When dust or debris accumulate on the feeder’s rollers, they can lose their grip on the paper, causing it to slide or get stuck during the scanning process. This not only disrupts the scanning workflow but also increases the risk of damaging the documents being scanned.
Additionally, a dirty scanner feeder can result in poor image quality. Dust, ink smudges, or other particles on the feeder’s glass or scanning surface can leave marks or streaks on the scanned documents. These unwanted artifacts can make the text or images appear blurry, smudged, or distorted, making the scanned files less legible and professional-looking.
Furthermore, neglecting to clean the scanner feeder can lead to a decline in overall scanner performance. The build-up of dust and debris can gradually impede the movement of the feeder’s components, affecting the scanning speed and accuracy. This can result in slower scanning times, frequent error messages, and even potential damage to the scanner’s internal mechanisms.
Regularly cleaning the scanner feeder is crucial not only for maintaining optimal scanning performance but also for prolonging the lifespan of the scanner itself. By keeping the feeder clean and free of obstructions, you can ensure smooth operation and minimize the risk of costly repairs or the need for a replacement scanner.
Tools you will need to clean the scanner feeder
Before you begin cleaning the scanner feeder, it’s important to gather the necessary tools to ensure an effective and thorough cleaning process. Here are the tools you will need:
- Clean, lint-free cloth: This is essential for wiping away dust, smudges, and debris from the scanner feeder. Choose a cloth that is soft and gentle to prevent scratching the glass or other surfaces.
- Mild cleaning solution: To remove stubborn dirt or ink stains, you may need a mild cleaning solution. Make sure to choose a cleaner that is specifically designed for use on scanner components. Avoid using harsh chemicals or abrasive cleaners that could damage the feeder.
- Cotton swabs: These are useful for reaching small, tight areas of the scanner feeder, such as crevices or corners. They can be used to remove dirt or dust that may be difficult to reach with a cloth.
- Compressed air: A can of compressed air can be helpful for blowing away loose dust or particles from the scanner feeder. This is particularly useful for cleaning hard-to-reach areas where wiping may not be sufficient.
- Isopropyl alcohol: If there are stubborn stains or sticky residue on the scanner feeder, isopropyl alcohol can be used to dissolve and remove them. However, make sure to use it sparingly and avoid getting it on sensitive parts of the scanner.
Having these tools ready will ensure that you have everything you need to clean the scanner feeder thoroughly and effectively. It’s important to note that different scanner models may require specific tools, so it’s always a good idea to consult the scanner’s user manual for any additional recommendations or precautions.
Step-by-step guide to cleaning the scanner feeder
Cleaning the scanner feeder is a simple process that can help maintain the performance and longevity of your scanner. Follow these step-by-step instructions to clean the scanner feeder effectively:
- Power off the scanner: Before starting the cleaning process, ensure that the scanner is turned off and disconnected from the power source. This prevents any accidental movement of the feeder during the cleaning process.
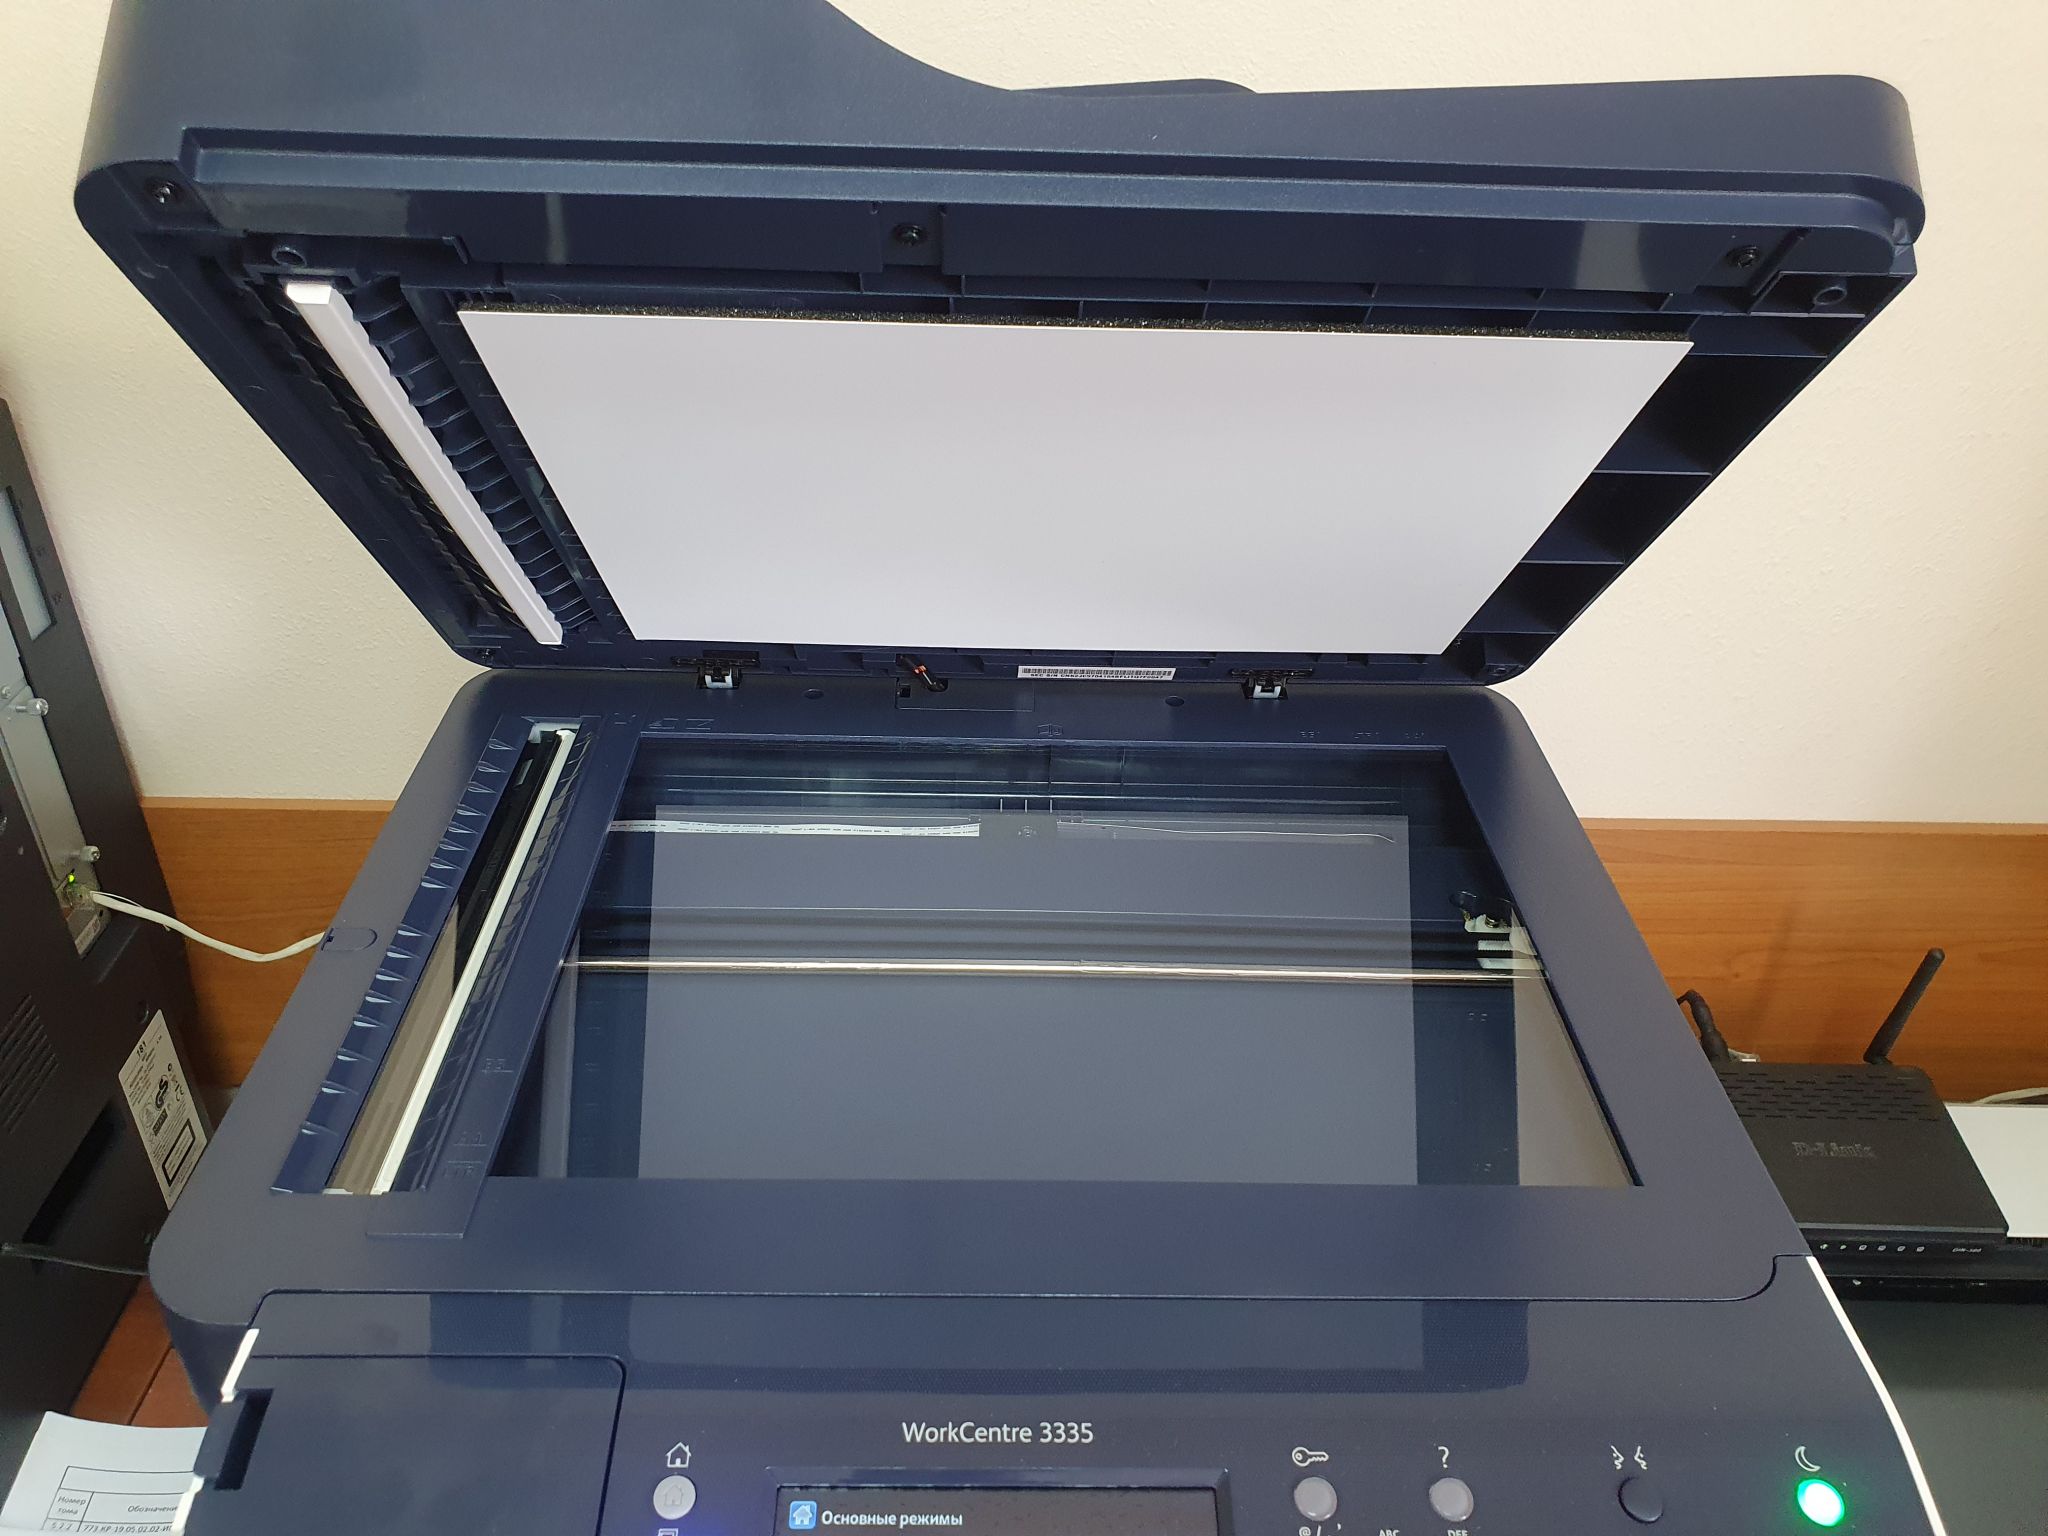
- Open the scanner feeder: Locate the scanner feeder and check for any latches or buttons that may allow you to open it. Once opened, you will have access to the rollers and glass surface that need to be cleaned.
- Clean the rollers: Take a lint-free cloth and dampen it slightly with a mild cleaning solution or isopropyl alcohol. Gently wipe the rollers, applying light pressure to remove any dust, debris, or ink residue that may have accumulated. Use cotton swabs for hard-to-reach areas, if necessary.
- Clean the scanner feeder glass: Using the same lint-free cloth or a separate one, dampen it with a mild cleaning solution and carefully wipe the glass surface of the scanner feeder. Ensure that you remove any fingerprints, smudges, or dirt that may be on the glass, as these can affect the quality of scanned documents.
- Remove dust and debris: Utilize a can of compressed air to blow away any loose dust or particles that may be present in the scanner feeder. Pay particular attention to corners, crevices, and other hard-to-reach areas that may be difficult to clean with a cloth or swab.
- Check for residue: Once you have completed the cleaning process, carefully inspect the scanner feeder for any remaining residue or moisture. If necessary, use a dry, lint-free cloth to wipe away any excess cleaning solution or moisture.
- Close the scanner feeder: After ensuring that the scanner feeder is completely dry, close it securely and make sure that any latches or buttons are properly fastened. This will protect the feeder from dust and dirt when it is not in use.
Following these steps on a regular basis, ideally every few weeks or when noticeable build-up occurs, will help keep your scanner feeder clean and in optimal condition. Remember to consult the user manual for your specific scanner model for any additional instructions or recommendations regarding cleaning procedures.
How to remove the scanner feeder for cleaning
If you want to perform a thorough cleaning of your scanner feeder, you may need to remove it from the scanner device. Here are the steps to follow to safely remove the scanner feeder:
- Power off the scanner: Before you begin, make sure that the scanner is turned off and disconnected from the power source. This is a crucial safety precaution to avoid any accidents during the removal process.
- Locate the release buttons/levers: Look for the release buttons or levers that are responsible for securing the scanner feeder in place. These buttons/levers are typically located on the sides or underneath the scanner feeder.
- Press or slide the release buttons/levers: Depending on the design of your scanner, you may need to press or slide the release buttons/levers to disengage the scanner feeder. Refer to your scanner’s user manual for specific instructions on how to operate the release mechanism.
- Gently lift or slide out the scanner feeder: Once the release buttons/levers have been activated, carefully lift or slide the scanner feeder out of its slot or track. Be mindful of any attached cables or connectors and ensure that they are disconnected properly to avoid damage.
- Place the scanner feeder on a clean, flat surface: Upon successfully removing the scanner feeder, place it on a clean and stable surface. This will allow you to clean it thoroughly without the risk of damaging the feeder or surrounding components.
It’s important to note that not all scanner models allow for the removal of the scanner feeder. Some scanners may have a fixed feeder that cannot be detached. In such cases, you can still clean the scanner feeder by following the guidelines provided by the manufacturer in the user manual.
When you have finished cleaning the scanner feeder and it is completely dry, follow the reverse process to reattach it securely to the scanner. Make sure to align it properly with the slots or tracks and activate any locking mechanisms to ensure a secure fit.
By removing the scanner feeder for cleaning, you can access hard-to-reach areas more easily and perform a more thorough cleaning, resulting in improved scanning performance and longevity of your scanner.
Cleaning the scanner feeder rollers
One of the key components of the scanner feeder that requires regular cleaning is the rollers. The rollers are responsible for gripping and feeding the paper through the scanner. Over time, they can accumulate dust, debris, and ink residue, which can cause misfeeds and affect the scanning quality. Here’s how you can clean the scanner feeder rollers:
- Power off the scanner: Before you start cleaning the rollers, ensure that the scanner is turned off and disconnected from the power source. This will prevent any accidental movement of the rollers during the cleaning process.
- Open the scanner feeder: Locate the scanner feeder and check for any latches, buttons, or release mechanisms that allow you to open it. Once opened, you will have access to the rollers that need to be cleaned.
- Inspect the rollers: Take a close look at the rollers to identify any visible dirt, dust, or debris. If there are any large or stubborn particles, gently remove them using your fingers or tweezers. Exercise caution to avoid damaging the rollers.
- Clean the rollers with a lint-free cloth: Take a clean, lint-free cloth and dampen it slightly with a mild cleaning solution or isopropyl alcohol. Gently press the dampened cloth against the rollers and roll them back and forth to remove any remaining dirt or residue. Apply light pressure to ensure thorough cleaning, but be careful not to push too hard as it could damage the rollers.
- Use cotton swabs for hard-to-reach areas: If there are any crevices or smaller areas that are difficult to clean with a cloth, use cotton swabs moistened with cleaning solution or alcohol to reach those spots. Wipe gently and ensure that all surfaces of the rollers are properly cleaned.
- Dry the rollers: Once you have cleaned the rollers, use a dry, lint-free cloth to remove any excess moisture. It’s important to ensure that the rollers are completely dry before closing the scanner feeder.
- Close the scanner feeder: After confirming that the rollers are dry, close the scanner feeder securely. Make sure that any latches or buttons are properly fastened to protect the rollers from dust and debris when not in use.
Regularly cleaning the scanner feeder rollers will help maintain optimal scanning performance and prevent paper jams. By removing built-up debris and ensuring smooth operation, you can enjoy high-quality scans and prolong the lifespan of your scanner.
Cleaning the scanner feeder glass
The scanner feeder glass is a critical component that directly affects the quality of scanned documents. Dust, smudges, and other residues can accumulate on the glass surface over time, resulting in blurry or distorted scans. To maintain optimal scanning performance, it is important to regularly clean the scanner feeder glass. Here’s how you can effectively clean it:
- Power off the scanner: Before you begin cleaning the scanner feeder glass, ensure that the scanner is turned off and disconnected from the power source. This precautionary step will prevent any mishaps during the cleaning process.
- Access the scanner feeder glass: Open the scanner feeder to access the glass surface that needs to be cleaned. Depending on the scanner model, you may need to lift a lid or remove a protective cover to reach the glass.
- Wipe the glass with a lint-free cloth: Take a clean, lint-free cloth and dampen it slightly with a mild cleaning solution specifically formulated for use on scanner glass. Avoid using harsh chemicals or abrasive cleaners that could damage the glass. Gently wipe the glass surface in straight lines, applying light pressure to remove any dirt, smudges, or fingerprints.
- Pay attention to corners and edges: While cleaning the glass, pay special attention to the corners and edges as these areas tend to accumulate more debris. Use a cotton swab moistened with the cleaning solution to clean these hard-to-reach spots thoroughly.
- Remove stubborn stains or sticky residue: If there are stubborn stains or sticky residue on the scanner feeder glass, use a small amount of the mild cleaning solution directly on the cloth or a cotton swab to dissolve and remove them. Be cautious not to oversaturate the glass with the cleaning solution.
- Dry the glass: Once you have completed the cleaning process, use a dry, lint-free cloth to remove any excess moisture from the scanner feeder glass. Ensure that the glass is completely dry before closing the scanner feeder.
- Close the scanner feeder: After confirming that the glass is dry, close the scanner feeder securely. Ensure that any latches or protective covers are properly fastened to prevent dust and debris from accumulating on the glass.
By regularly cleaning the scanner feeder glass, you can ensure that your scanned documents are clear, sharp, and free from unwanted marks. This simple maintenance practice will help you achieve optimal scanning results and extend the lifespan of your scanner.
Cleaning dust and debris from the scanner feeder
Dust and debris can accumulate in the scanner feeder over time, leading to paper jams, misfeeds, and decreased scanning performance. To maintain the optimal functionality of your scanner, it is important to regularly clean the dust and debris from the scanner feeder. Here’s how you can effectively remove it:
- Power off the scanner and disconnect it: Before you begin cleaning the scanner feeder, ensure that the scanner is turned off and disconnected from the power source. This precautionary step will prevent any mishaps during the cleaning process.
- Open the scanner feeder: Locate the scanner feeder and check for any latches, buttons, or release mechanisms that allow you to open it. Once opened, you will have access to the interior where dust and debris may have accumulated.
- Remove loose particles with compressed air: Use a can of compressed air to blow away any loose dust or debris from the scanner feeder. Direct the nozzle towards the areas where dust and debris are visible or likely to accumulate. This will help dislodge and remove the loose particles.
- Wipe away remaining dust: After using compressed air, take a clean, lint-free cloth and gently wipe the surfaces of the scanner feeder to remove any remaining dust. Pay attention to grooves, corners, and crevices where dust may be trapped. Be careful not to apply excessive force to avoid damaging fragile components.
- Clean hard-to-reach areas with cotton swabs: If there are hard-to-reach areas or stubborn dust buildup, use a cotton swab slightly moistened with a mild cleaning solution to carefully clean those spots. Be cautious and gentle to avoid damaging delicate components or spreading the dust further.
- Inspect for any remaining debris: After completing the cleaning process, inspect the scanner feeder for any remaining debris or particles. If you notice any, use a small brush or another cotton swab to remove them carefully.
- Close the scanner feeder: Once you have cleared the dust and debris, securely close the scanner feeder using any latches or buttons that are available. This will prevent further accumulation of dust and debris when the scanner is not in use.
Regularly cleaning the dust and debris from the scanner feeder will improve scanning efficiency, reduce the risk of paper jams, and maintain the overall performance of your scanner. By following these steps, you can ensure that your scanner operates smoothly, resulting in high-quality scans without any interruptions.
Tips for preventing future buildup in the scanner feeder
Preventing the buildup of dust and debris in the scanner feeder is essential for maintaining optimal scanning performance. By following these tips, you can minimize the risk of future buildup and ensure the longevity of your scanner:
- Keep the scanning area clean: Regularly clean the area surrounding the scanner to minimize the amount of dust and debris that can enter the feeder. Dust and particles from the surrounding environment can easily find their way into the scanner, causing buildup over time.
- Handle documents carefully: When placing documents into the scanner feeder, handle them carefully to prevent tearing or leaving behind small fragments of paper. These fragments can accumulate and cause paper jams or affect the performance of the feeder.
- Avoid scanning damaged or wet documents: Do not scan documents that are damaged, wrinkled, or wet. These documents can leave residue on the feeder’s rollers or glass, potentially causing issues with scanning accuracy and image quality. Repair the documents before scanning or wait until they are in a suitable condition.
- Store scanner in a clean, dust-free area: When the scanner is not in use, store it in a clean, dust-free area to minimize the amount of dust and debris that can settle on the feeder. Consider using dust covers or cases to provide additional protection.
- Regularly clean the scanner environment: Aside from cleaning the scanner feeder itself, regularly clean the scanner’s exterior, including the control panel, buttons, and any vents or openings. This will help prevent dust and debris from entering the scanner and accumulating in the feeder.
- Follow proper maintenance procedures: Consult the user manual for your scanner model and follow the manufacturer’s recommended maintenance procedures. This may include periodic cleaning, lubrication of moving parts, or other maintenance tasks to ensure the scanner operates optimally.
- Use high-quality paper: Choose high-quality, clean, and dry paper for scanning to minimize the risk of releasing particles or leaving residue on the feeder’s rollers or glass. Inferior quality or dusty paper can contribute to build-up and affect scanning performance.
- Keep the scanner feeder closed when not in use: When the scanner is not in use, make sure to keep the feeder closed and protected. This will help prevent dust and debris from settling on the feeder and reduce the need for frequent cleaning.
By incorporating these preventive measures into your scanner maintenance routine, you can significantly reduce the risk of future buildup in the scanner feeder. Regular cleaning and proper care will not only enhance scanning performance but also extend the lifespan of your scanner.
Frequently asked questions about cleaning scanner feeders
Here are some commonly asked questions about cleaning scanner feeders, along with their answers:
- How often should I clean the scanner feeder?
- Can I use household cleaning products to clean the scanner feeder?
- Do I need to disconnect the scanner from the power source before cleaning the feeder?
- Is it necessary to remove the scanner feeder to clean it?
- Can I use alcohol to clean the scanner feeder?
- What do I do if I accidentally damage the scanner feeder while cleaning?
- Can I use compressed air to clean the scanner feeder?
The frequency of cleaning will depend on the usage and the environment in which the scanner is used. As a general rule, it is recommended to clean the scanner feeder every few weeks or when noticeable build-up occurs.
No, it is not advisable to use household cleaning products on the scanner feeder. They may contain harsh chemicals or abrasive agents that can damage the feeder or leave residue. It is best to use mild cleaning solutions specifically designed for cleaning scanner components.
Yes, it is crucial to power off the scanner and disconnect it from the power source before cleaning the feeder. This is a safety precaution to avoid any accidental movement or damage to the scanner during the cleaning process.
Not always. Many scanner models allow for the cleaning of the feeder without removing it from the scanner. However, in some cases, removing the feeder may provide better access to clean hard-to-reach areas and ensure a more thorough cleaning.
Yes, isopropyl alcohol can be used to clean certain components of the scanner feeder, such as the glass surface or stubborn stains. However, use it sparingly and avoid getting it on sensitive parts or electronics. Always refer to the scanner’s user manual for specific guidelines.
If you accidentally damage the scanner feeder while cleaning, it is recommended to consult the manufacturer’s customer support or seek professional assistance. They can guide you on the best course of action for repair or replacement options.
Yes, compressed air is an effective tool for removing loose dust and debris from the scanner feeder. However, be cautious not to spray the air too close or too forcefully, as it may cause damage. Follow the instructions provided with the can of compressed air.
These frequently asked questions provide valuable information and solutions to common concerns about cleaning scanner feeders. If you have any additional questions or specific queries regarding your scanner model, it is recommended to refer to the scanner’s user manual or contact the manufacturer for assistance.