
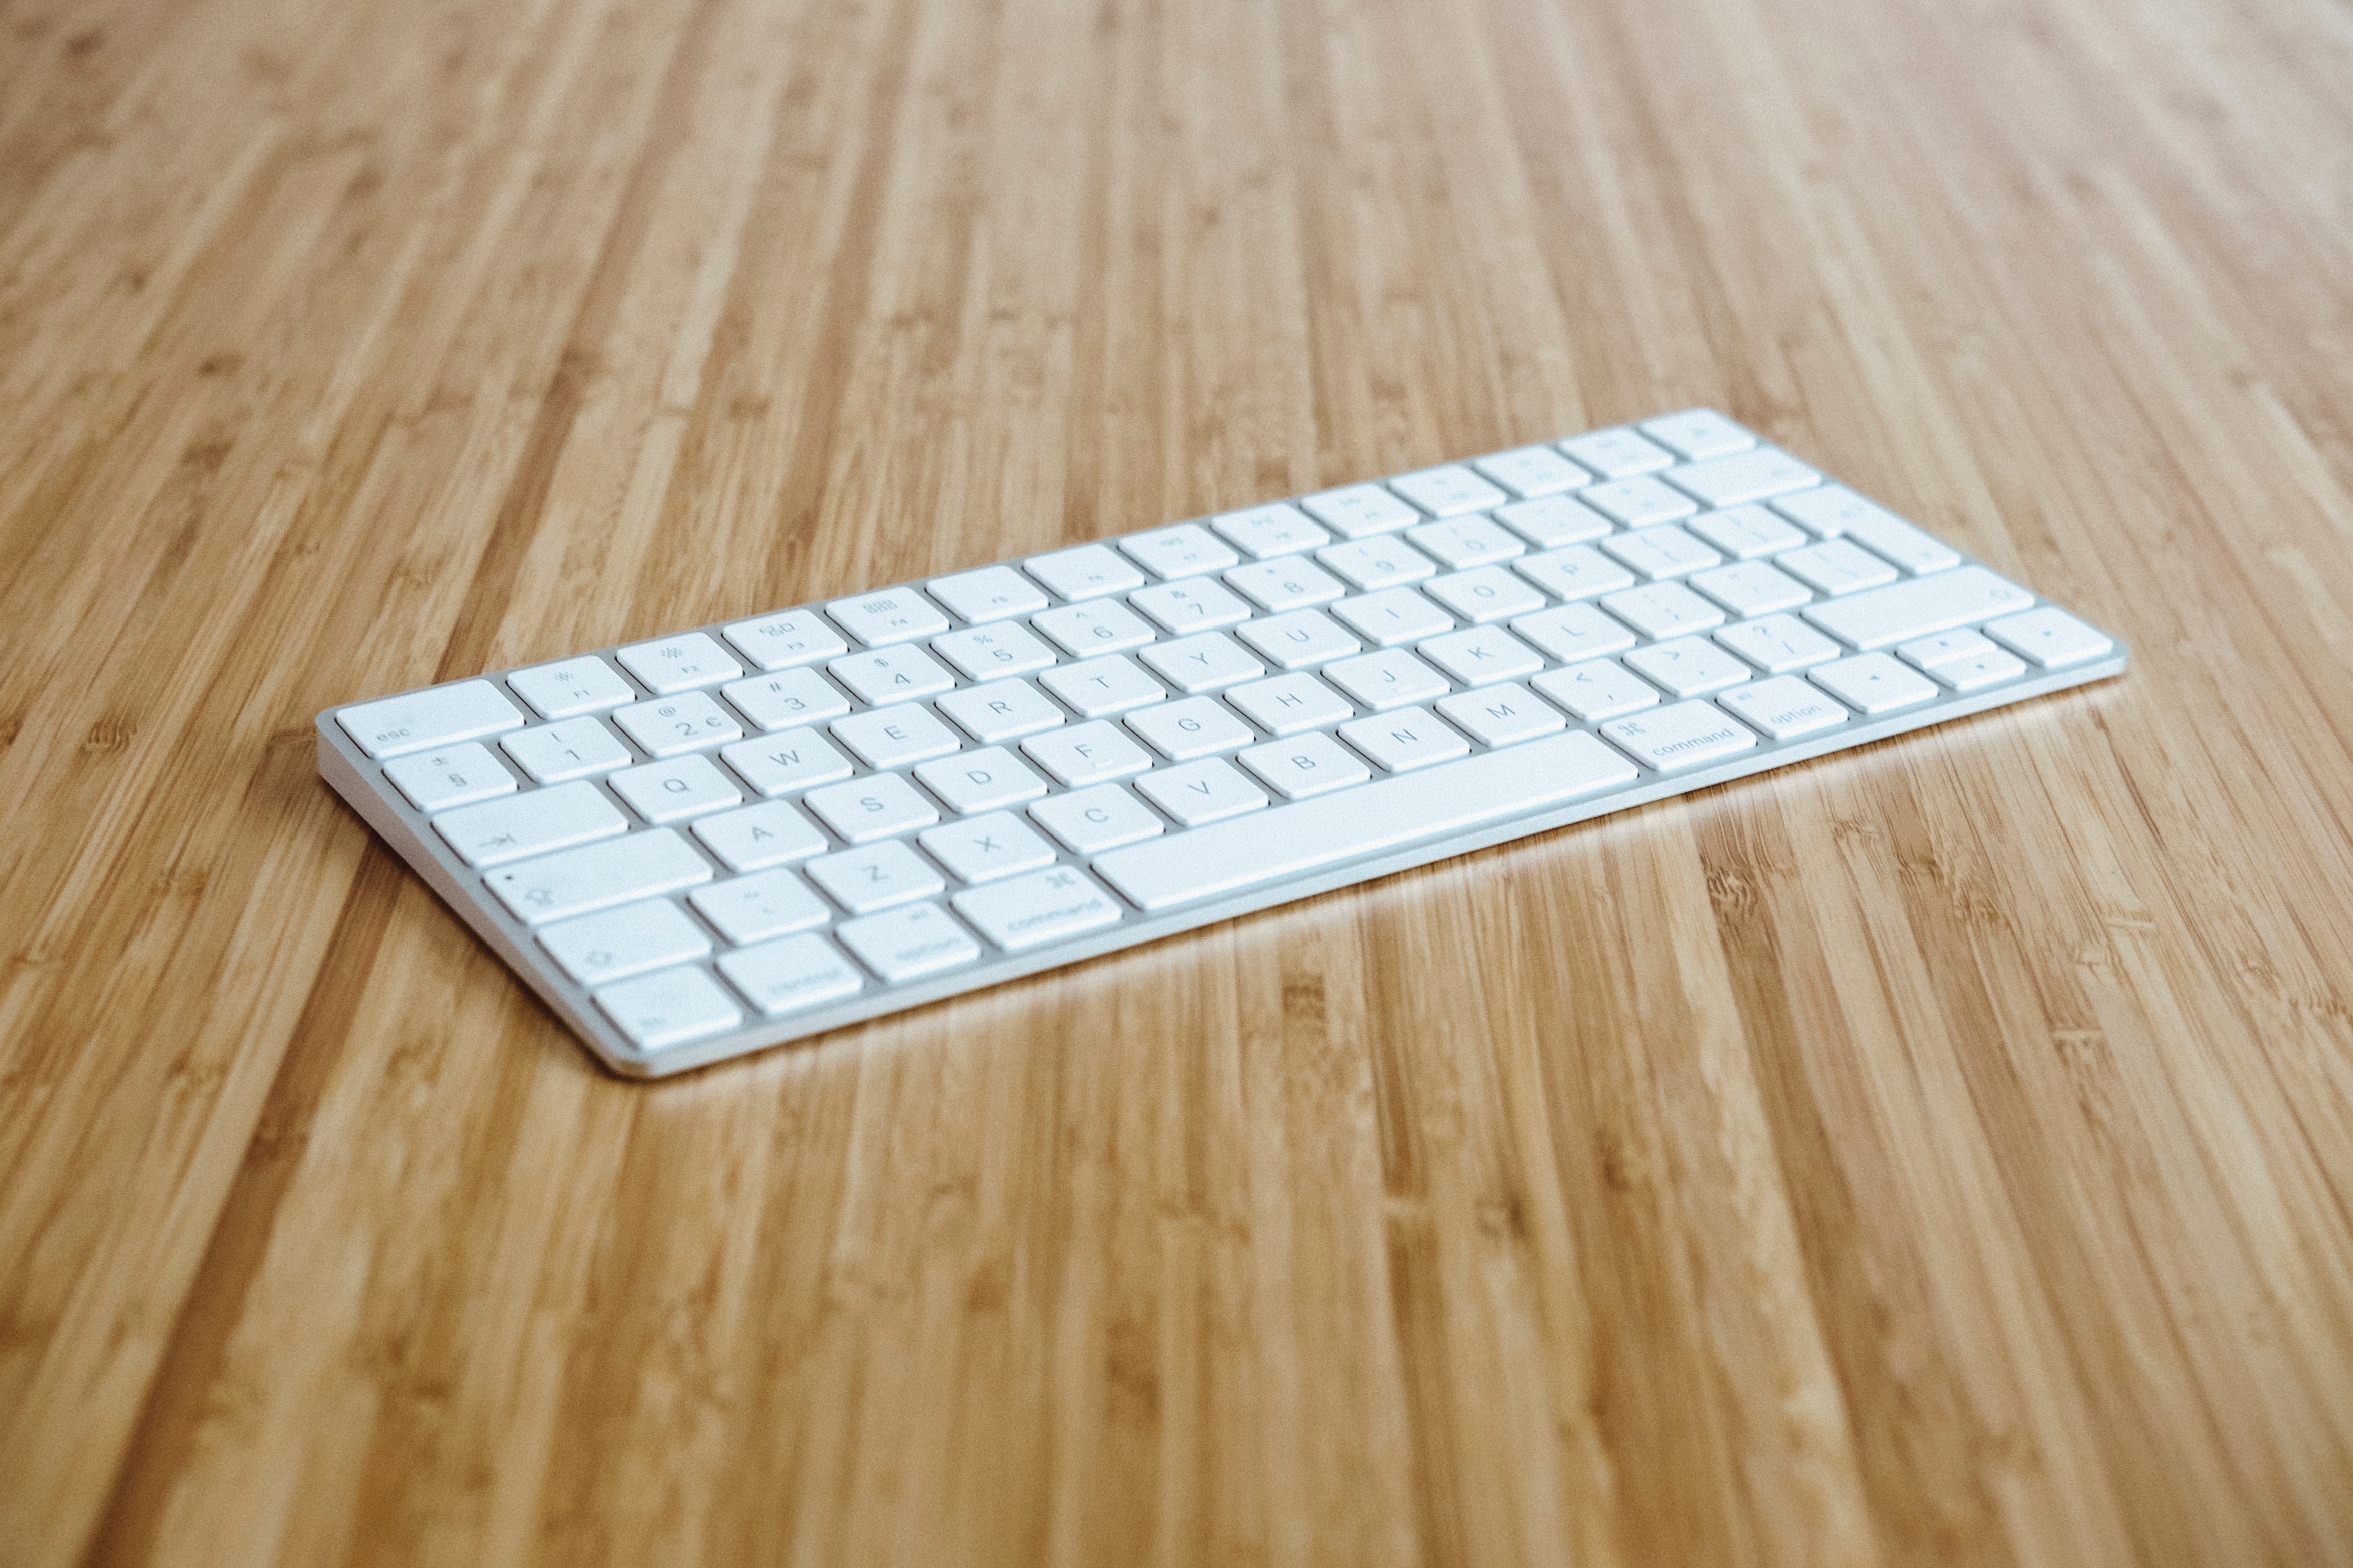
Cleaning Tools Needed
Before you begin cleaning your Magic Keyboard, gather the following tools:
- Mild dish soap
- Warm water
- Microfiber cloth
- Cotton swabs
- Isopropyl alcohol
- Compressed air canister
These tools are essential for effectively cleaning and maintaining your Magic Keyboard. Make sure to have them all handy before you start the cleaning process.
The mild dish soap and warm water will be used to clean the keyboard’s surface and remove any dirt or debris. The microfiber cloth is perfect for gentle wiping and polishing without scratching the keyboard. Cotton swabs come in handy for cleaning hard-to-reach areas and corners. Isopropyl alcohol can be used for disinfecting and removing stubborn stains. Lastly, a compressed air canister is useful for blowing away dust and crumbs from underneath the keys.
Having these cleaning tools readily available will ensure that you can clean your Magic Keyboard thoroughly and efficiently. Now that you’re equipped with the necessary tools, let’s move on to the step-by-step cleaning methods.
Method 1: Cleaning the Keyboard Surface
The first step to cleaning your Magic Keyboard is to clean the keyboard surface. Follow these steps:
- Turn off your Magic Keyboard and unplug it from your computer.
- Dampen a microfiber cloth with a mixture of mild dish soap and warm water. Make sure the cloth is not dripping wet.
- Gently wipe the entire surface of the keyboard, paying attention to the areas that are commonly touched, such as the keys and palm rest.
- For stubborn stains or sticky residue, use a cotton swab dipped in isopropyl alcohol to gently scrub the affected areas.
- Once you’ve cleaned all the surfaces, use a dry microfiber cloth to wipe away any excess moisture.
Remember to avoid using excessive water or cleaning solutions directly on the keyboard, as this can damage the electronics. It’s important to use a gentle touch and be mindful of the materials you’re using to clean the keyboard surface.
By regularly cleaning the keyboard surface, you’ll not only keep it looking fresh but also prevent the buildup of dirt and grime that can affect the keyboard’s performance.
Now that the keyboard surface is clean, let’s move on to the next cleaning method.
Method 2: Cleaning the Keys
To ensure that your Magic Keyboard remains in optimal condition, it’s important to clean the keys regularly. Here’s how to clean the keys effectively:
- Start by turning off your Magic Keyboard and disconnecting it from your computer.
- Gently lift the keys using a flat-edged tool, such as a butter knife or a keycap puller. Be careful not to apply too much force to avoid damaging the keys.
- Prepare a mixture of mild dish soap and warm water.
- Dampen a microfiber cloth or a cotton swab with the soapy solution.
- Wipe each key individually, ensuring that you clean both the top and sides.
- For stubborn stains or sticky residue, use a cotton swab dipped in isopropyl alcohol to gently scrub the affected keys.
- Dry the keys thoroughly with a clean and dry microfiber cloth.
- Before reattaching the keys, make sure they are completely dry to avoid trapping moisture underneath.
- Carefully reattach the keys to their respective positions, ensuring that they align correctly.
By regularly cleaning the keys, you can maintain their appearance and ensure smooth functionality. It’s essential to be gentle when removing the keys to prevent any accidental damage. Taking the time to clean each key individually will ensure that no dirt or debris is left behind.
Now that the keys are clean, let’s move on to the next method for cleaning your Magic Keyboard.
Method 3: Removing Stubborn Stains
Sometimes, your Magic Keyboard may have stubborn stains that require a bit of extra effort to remove. Here’s how you can tackle those tough stains:
- Turn off and unplug your Magic Keyboard to prevent any accidental damage.
- Prepare a mixture of isopropyl alcohol and warm water.
- Dampen a microfiber cloth or a cotton swab with the alcohol solution.
- Gently rub the cloth or swab over the stained areas, applying slight pressure.
- If the stain persists, use a soft-bristled toothbrush dipped in the alcohol solution to scrub the surface gently.
- Continue scrubbing until the stain is removed. Be careful not to brush too hard to avoid damaging the keys.
- Once the stain is gone, wipe the area with a clean, damp cloth to remove any residue.
- Dry the keyboard thoroughly with a microfiber cloth before reusing.
When dealing with stubborn stains, patience is key. Take your time to gently scrub the stained areas, and avoid using excessive force as it can damage the keyboard surface.
If the stains are particularly stubborn or difficult to remove, you can also try using a specialized keyboard cleaner or a cleaning gel specifically designed for electronics.
Now that you’ve learned how to tackle stubborn stains, let’s move on to the next method for cleaning your Magic Keyboard.
Method 4: Cleaning the Underneath
While cleaning the visible surfaces of your Magic Keyboard is important, don’t forget to clean underneath the keys as well. Dust, hair, and other particles can accumulate in these hard-to-reach areas. Follow these steps to clean the underneath of your keyboard:
- Disconnect your Magic Keyboard from your computer and turn it off.
- Hold the keyboard upside down over a clean surface, gently tapping the back to dislodge any loose debris.
- Use a can of compressed air to blow away any remaining dust and particles. Hold the can upright and use short bursts to avoid damaging the keyboard.
- If there are still stubborn particles, use a small, soft-bristled brush (e.g., a clean makeup brush or a toothbrush) to gently sweep away the debris.
- Once the area is clear of debris, use the can of compressed air again to remove any loose bristles or particles.
It’s important to be gentle when cleaning underneath the keys to prevent any accidental damage. Avoid using excessive force or sharp objects that could scratch or dislodge the keys.
Cleaning the underneath of your Magic Keyboard will help maintain its performance and prevent any keys from sticking or malfunctioning due to debris buildup.
Now that you’ve cleaned underneath the keys, let’s move on to the next method for cleaning your Magic Keyboard.
Method 5: Cleaning the Battery Compartment
Keeping the battery compartment of your Magic Keyboard clean is essential for maintaining its functionality and preventing any issues. Follow these steps to clean the battery compartment:
- Turn off your Magic Keyboard and remove the batteries.
- Inspect the battery compartment for any dust, debris, or corrosion.
- If there is visible debris, gently use a cotton swab dipped in isopropyl alcohol to clean the compartment.
- For any stubborn residue or corrosion, use a toothpick or a small brush (e.g., a soft-bristled toothbrush) to carefully remove it.
- Once the compartment is clean, allow it to dry completely before reinserting the batteries.
Regularly cleaning the battery compartment not only ensures proper battery contact but also prevents any potential damage from corrosion.
If you notice severe corrosion or damage in the battery compartment, it’s advisable to seek professional assistance or contact the manufacturer for further guidance.
Now that you’ve cleaned the battery compartment, let’s move on to the final method for cleaning your Magic Keyboard.
Method 6: Drying and Reassembling the Keyboard
Once you have cleaned all the components of your Magic Keyboard, it’s crucial to dry them thoroughly and reassemble the keyboard correctly. Follow these steps:
- Using a clean microfiber cloth, gently pat dry all the cleaned surfaces of the keyboard. Ensure that there is no moisture remaining.
- Allow the keyboard to air dry for some time to ensure complete drying, especially for hard-to-reach areas.
- When reassembling the keys, make sure they are aligned correctly with their respective positions on the keyboard.
- Press down firmly on each key to ensure a secure and proper fit.
- Insert fresh batteries into the battery compartment, ensuring they are oriented correctly.
- Connect the Magic Keyboard to your computer, and turn it on.
Ensuring that the keyboard is completely dry before reassembling and using it is essential to prevent any damage or malfunctions.
After reassembling the keyboard, test its functionality by typing on each key to ensure that they are responsive and functioning properly.
Congratulations! You have successfully cleaned and reassembled your Magic Keyboard, ready for continued use.