
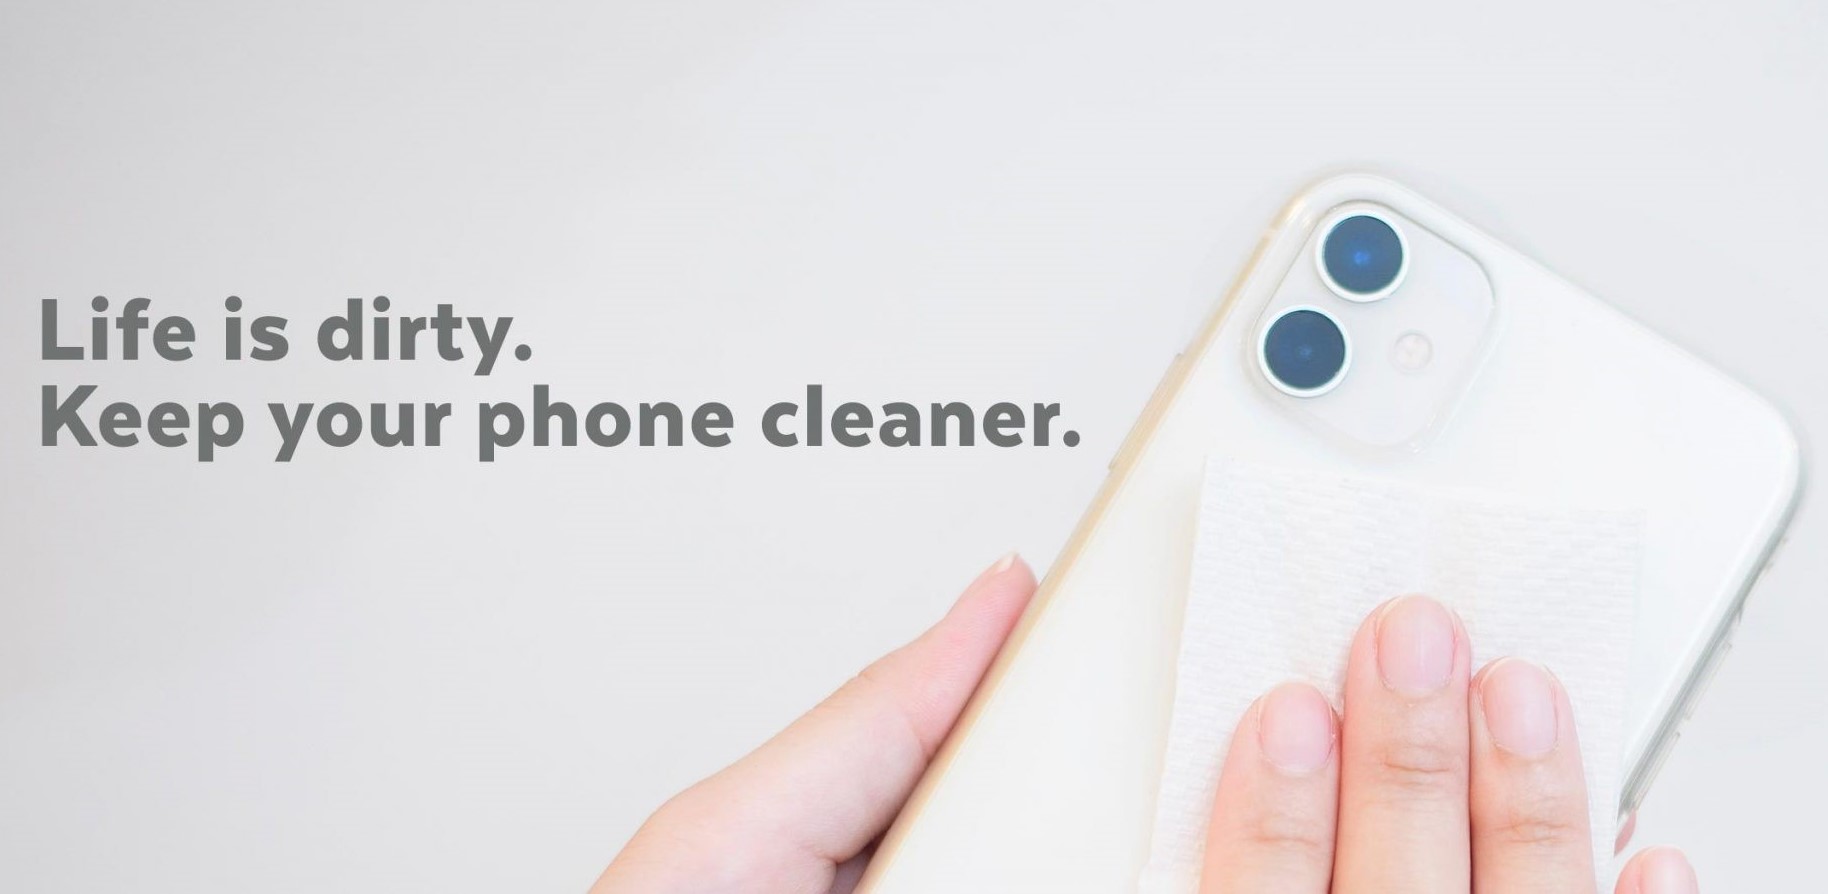
Why Should You Clean Your Clear Phone Case?
Your clear phone case is not just a stylish accessory for your device, it also plays a vital role in protecting your phone from scratches, dirt, and accidental drops. However, over time, your phone case can accumulate dirt, grime, and bacteria, which can affect its appearance and potentially expose you to harmful germs. Regularly cleaning your clear phone case is essential to maintain its functionality, extend its lifespan, and keep it looking pristine.
Here are a few reasons why you should make it a habit to clean your clear phone case:
- Prolong the lifespan of your phone case: Cleaning your clear phone case helps remove debris, oils, and other substances that may accumulate on its surface. This prevents the buildup of residue that can cause discoloration or deterioration over time. By regularly cleaning your phone case, you can ensure that it remains in good condition and lasts longer.
- Maintain a hygienic surface: Your phone case is exposed to various environments throughout the day, and it can become a breeding ground for bacteria and germs. By regularly cleaning your clear phone case, you can reduce the risk of bacteria transfer from your hands to your phone and vice versa. This is especially important considering the current emphasis on maintaining personal hygiene.
- Preserve the aesthetic appeal: Clear phone cases are popular because they showcase the original design of your device. However, dirt, fingerprints, and smudges can diminish the clarity and transparency of the case, detracting from its sleek appearance. Regular cleaning prevents the accumulation of these unsightly marks, allowing your clear phone case to maintain its pristine look.
By taking a few minutes to clean your clear phone case regularly, you can ensure that it remains functional, visually appealing, and free from potentially harmful germs. It’s a simple step that helps protect your investment and keep your phone case looking as good as new.
What You Will Need
To effectively clean your clear phone case, you will need a few simple items that you may already have around the house. Here are the things you will need:
- Mild soap or dish detergent: Look for a gentle soap or dish detergent that is free from harsh chemicals. Avoid using strong cleaning agents or abrasive cleaners as they can damage the surface of your phone case.
- Soft-bristled brush or toothbrush: A soft-bristled brush or toothbrush will help you scrub away any dirt or grime without scratching the surface of your clear phone case.
- Warm water: Warm water is ideal for rinsing and cleaning your phone case. It helps to loosen dirt and debris for easier removal.
- Clean microfiber cloth: A clean microfiber cloth is perfect for drying your phone case without leaving lint or residue. Avoid using rough materials like paper towels or tissues that can potentially scratch the surface.
- Optional: Isopropyl alcohol or disinfectant wipes: If you want to go the extra mile to sanitize your clear phone case, you can use isopropyl alcohol or disinfectant wipes. Make sure the wipes are safe for use on electronics and follow the instructions on the packaging.
With these simple items in hand, you’ll be fully prepared to clean and maintain the cleanliness of your clear phone case. Remember, using gentle cleaning solutions and materials is key to preserving the integrity and appearance of your phone case.
Step 1: Remove the Phone Case
Before you begin cleaning your clear phone case, the first step is to carefully remove it from your device. This allows you to have full access to the case and ensures a thorough cleaning process. Follow these simple steps to remove your phone case:
- Power off your device: To avoid any accidental button presses or potential damage, it’s always a good idea to power off your phone before removing the case.
- Locate the opening or edges: Clear phone cases typically have openings or edges that allow you to easily remove them. Gently inspect the case and find the opening or edges where you can begin the removal process.
- Start from one corner: Once you’ve identified the opening or edges, start by gently pushing or lifting one corner of the case. Be careful not to apply too much force as you don’t want to risk damaging your phone or the case itself.
- Work your way around: After lifting one corner, slowly work your way around the edges, gradually separating the phone case from the device. Take your time and be gentle to prevent any accidental slips or cracks.
- Remove the case completely: Once you’ve gone around all the edges and corners, the phone case should come off easily. Carefully lift it off your device and set it aside for the cleaning process.
Removing your phone case properly ensures that you can clean every surface of the case effectively. It also prevents any accidental damage to both your device and the case itself. Once your phone case is detached, you’re ready to move on to the next step of the cleaning process.
Step 2: Rinse the Phone Case
After removing your clear phone case, the next step is to give it a thorough rinse to remove any loose dirt or debris. Rinsing the case helps prepare it for the cleaning process and ensures that you start with a clean surface. Follow these simple steps to rinse your phone case:
- Find a sink or basin with running water: Look for a sink or basin with running water that you can use for rinsing your phone case. Ensure that the water is at a moderate temperature, neither too hot nor too cold.
- Hold the phone case under the running water: Take your clear phone case and hold it under the running water. Allow the water to flow over the entire surface of the case, ensuring that all sides are thoroughly rinsed.
- Gently rub the case with your fingers: While rinsing, use your fingers to gently rub the case and help dislodge any stubborn dirt or grime. Be careful not to apply too much pressure to avoid scratching the case.
- Continue rinsing until the water runs clear: Keep rinsing your clear phone case until the water runs clear and there are no visible traces of dirt or residue. This ensures that you have removed any loose particles from the case’s surface.
- Shake off excess water: Once you’re satisfied with the rinsing, gently shake off any excess water from the phone case. Be cautious and avoid any sudden movements that could lead to accidental drops or damage.
- Pat dry with a clean microfiber cloth: Finally, use a clean microfiber cloth to pat dry the phone case. Ensure that you dry all sides and corners to prevent any water spots or marks from forming on the surface.
Rinsing your clear phone case is an important step as it removes loose particles and prepares the case for the subsequent cleaning process. Once the phone case is thoroughly rinsed and dried, you can move on to the next step of creating a cleaning solution.
Step 3: Create a Cleaning Solution
Creating a cleaning solution is a crucial step in effectively cleaning your clear phone case. This solution will help remove stubborn marks, oils, and other debris that may have accumulated on the surface of the case. Follow these steps to create a simple and effective cleaning solution:
- Choose a mild soap or dish detergent: Select a mild soap or dish detergent that is gentle on surfaces and free from harsh chemicals. Avoid using strong cleaning agents or abrasive cleaners, as they can potentially damage the clear phone case.
- Fill a small container with warm water: Take a small container, such as a bowl or basin, and fill it with warm water. Ensure the water is at a moderate temperature, as extreme hot or cold water can affect the integrity of the phone case.
- Add a small amount of soap or dish detergent: Add a small amount of the mild soap or dish detergent to the warm water. Start with a teaspoon or less, as you don’t need much to create an effective cleaning solution.
- Mix the solution gently: Gently stir the water and soap mixture, ensuring that the soap is dissolved but avoiding excessive agitation that could create excessive suds or bubbles.
- Test the solution on a small area: Before applying the cleaning solution to the entire phone case, it is always a good idea to test it on a small, inconspicuous area. This helps ensure that the solution doesn’t cause any adverse reactions or damage to the case.
With your cleaning solution prepared, you’re ready to move on to the next step of the cleaning process. The gentle and effective solution will help remove dirt, oils, and other particles, leaving your clear phone case looking clean and refreshed.
Step 4: Scrub the Phone Case
Now that you have your cleaning solution ready, it’s time to scrub your clear phone case to remove any stubborn stains, grime, or residue. This step will help ensure a deep and thorough clean. Follow these steps to effectively scrub your phone case:
- Dip a soft-bristled brush or toothbrush into the cleaning solution: Take your soft-bristled brush or toothbrush and dip it into the cleaning solution. Make sure the bristles are damp but not dripping with excess liquid.
- Gently scrub the phone case: With the brush or toothbrush, start gently scrubbing the surface of the clear phone case. Use circular or back-and-forth motions to target any specific areas where dirt or stains are more noticeable.
- Pay attention to corners and edges: Don’t forget to pay special attention to the corners and edges of the phone case, as these areas can accumulate more dirt and grime. Use the bristles of the brush to get into those hard-to-reach spots.
- Continue scrubbing until the case is clean: Keep scrubbing until you’re satisfied with the cleanliness of the phone case. If necessary, you can add a little more of the cleaning solution to the brush to tackle tougher stains or marks.
- Rinse the phone case: Once you’ve finished scrubbing, rinse the phone case under running water to remove any residue from the cleaning solution and loosened dirt particles.
- Inspect for any remaining dirt: After rinsing, inspect the phone case to ensure there are no remaining dirt or stains. If needed, you can repeat the scrubbing process in specific areas to further clean the case.
- Gently shake off excess water: Shake off any excess water from the phone case and prepare it for the next step of the cleaning process.
Scrubbing your clear phone case helps remove stubborn dirt and stains, leaving it looking clean and refreshed. Take your time during this step and be gentle to avoid scratching or damaging the case’s surface. Once you’re satisfied with the cleanliness of the phone case, it’s time to move on to the next step of the cleaning process.
Step 5: Rinse and Dry
After scrubbing your clear phone case, it’s important to thoroughly rinse it and then properly dry it to ensure no water spots or residue are left behind. Follow these steps to rinse and dry your phone case:
- Rinse the phone case under running water: Hold the phone case under running water, ensuring that all cleaning solution and loosened dirt are washed away. Make sure to rinse every surface of the case, including corners and edges.
- Gently rub the case with your fingers: While rinsing, use your fingers to gently rub the case and remove any remaining debris. This step helps ensure a complete rinse and leaves the case fresh and clean.
- Shake off excess water: Once the case is thoroughly rinsed, gently shake it off to remove excess water. Be cautious and avoid any sudden movements that could cause accidental drops or damage.
- Pat dry with a clean microfiber cloth: Take a clean microfiber cloth and gently pat dry the phone case. Make sure to dry all sides and corners, paying extra attention to any crevices where water may still be trapped.
- Allow the case to air dry: After patting dry, allow the phone case to air dry completely before reattaching it to your device. This helps ensure that no moisture is trapped inside the case, preventing the growth of mold or mildew.
- Inspect for any water spots or residues: Once the case is dry, inspect it for any water spots or residues. If you notice any, you can repeat the rinsing and drying process to ensure the case is completely clean and free from any marks.
Rinsing and drying your clear phone case is essential to remove any cleaning solution and ensure a spotless finish. Taking the time to correctly rinse and dry the case helps maintain its clarity and ensures that no unwanted residue is left behind. Once your phone case is rinsed, dried, and inspected, it’s ready for the next step of the cleaning process.
Step 6: Disinfect the Phone Case
Disinfecting your clear phone case is an important step to ensure that it is free from harmful bacteria and germs. This step is particularly crucial for maintaining cleanliness and hygiene. Follow these steps to effectively disinfect your phone case:
- Prepare a disinfectant solution: You can use isopropyl alcohol or disinfectant wipes to create a disinfectant solution. If using isopropyl alcohol, mix it with water in a 1:1 ratio to create a diluted solution.
- Dampen a clean cloth or disinfectant wipe: Dip a clean cloth into the disinfectant solution or use a disinfectant wipe to dampen it. Ensure that the cloth or wipe is not dripping with excess liquid.
- Wipe down the entire surface of the phone case: Thoroughly wipe down the entire surface of your clear phone case using the dampened cloth or disinfectant wipe. Pay close attention to corners, edges, and any textured areas to ensure thorough disinfection.
- Allow the disinfectant to sit for the recommended time: Check the instructions on the disinfectant product you are using to determine how long the solution should remain on the surface of the phone case. This allows the disinfectant to effectively kill any bacteria or germs present.
- Gently dry the phone case: After the recommended disinfection time, use a clean, dry cloth to gently dry the phone case. Make sure to remove any excess disinfectant solution and ensure that the case is completely dry before reattaching it to your device.
Disinfecting your clear phone case regularly helps to eliminate harmful bacteria and germs that may accumulate on its surface. This step is particularly important to maintain hygiene, especially in times when personal cleanliness is of utmost importance. By following these steps, you can ensure that your phone case is thoroughly disinfected and ready for use.
Step 7: Dry and Reattach the Phone Case
After disinfecting your clear phone case, it’s time to dry it completely and safely reattach it to your device. Proper drying ensures that no moisture remains trapped inside the case and helps prevent any potential damage. Follow these steps to dry and reattach your phone case:
- Use a clean, dry cloth: Take a clean, dry cloth or microfiber cloth and gently pat dry the phone case. Ensure that you dry all sides and corners thoroughly to eliminate any remaining moisture.
- Air dry: After patting dry, allow the phone case to air dry for a few minutes. This allows any hidden or hard-to-reach areas to dry completely.
- Inspect for any moisture: Once the phone case is dry, inspect it closely for any signs of moisture. Ensure that there are no damp spots or lingering water droplets before reattaching the case to your device.
- Align and secure the case: Carefully align the openings and edges of the phone case with your device. Start by attaching one corner or side, then gradually press down on the rest of the case to secure it in place.
- Ensure a snug fit: Make sure the phone case is securely attached and fits snugly around your device. Ensure all buttons, ports, and camera cutouts align properly for easy access and functionality.
- Test functionality: Once the phone case is reattached, test the functionality of your device. Ensure that all buttons, switches, and functions work as intended with the case on.
Drying your clear phone case thoroughly and reattaching it correctly is vital to prevent any potential damage or water-related issues. By following these steps, you can ensure that your phone case is dry, secure, and ready to protect your device while maintaining its visual appeal.
Tips for Maintaining a Clean Phone Case
Keeping your clear phone case clean is essential for its longevity and overall appearance. Here are some useful tips to help you maintain a clean and well-kept phone case:
- Regularly wipe down the case: Take a few moments each day to wipe down your phone case with a clean, dry microfiber cloth. This helps remove fingerprints, smudges, and surface dust that may accumulate throughout the day.
- Avoid using abrasive materials: When cleaning your phone case, avoid using harsh or abrasive materials that can scratch the surface. Stick to gentle cleaning solutions and soft cloths to preserve the clarity and integrity of the case.
- Remove the case periodically: It’s a good idea to remove your phone case every few weeks and give it a thorough cleaning. This allows you to remove any deep-seated dirt or grime that may have accumulated over time.
- Avoid exposing the case to extreme heat or chemicals: Clear phone cases can be sensitive to extreme heat or exposure to harsh chemicals. Keep your phone case away from direct sunlight for long periods and avoid contact with chemicals such as solvents or cleaning agents.
- Keep the phone case away from sharp objects: To prevent scratches or damage, be mindful of where you place your phone case. Avoid contact with sharp objects or abrasive surfaces that can potentially scratch or mar the case’s surface.
- Consider using a protective film or screen protector: To provide an extra layer of protection, consider using a clear protective film or screen protector on your device. This can help minimize scratches and reduce the risk of damage to both the phone and the case.
- Regularly wash your hands: Clean hands are essential to maintaining a clean phone case. Wash your hands frequently, especially before handling your phone or using the case, to minimize the transfer of dirt, oils, and germs.
- Avoid contact with liquids: While many clear phone cases are water-resistant, it’s still best to avoid prolonged exposure to liquids. Keep your phone case away from spills, moisture, and excessive humidity to prevent any potential damage.
- Replace the case if damaged: If your phone case becomes significantly damaged, cracked, or discolored, it’s a good idea to replace it. A damaged case not only compromises its appearance but may also provide less effective protection for your device.
By following these tips, you can keep your clear phone case in excellent condition, prolong its lifespan, and enjoy a clean and well-protected device. Regular maintenance and care will ensure that your phone case looks great and provides reliable protection for your phone.