
Check the Language Settings
Changing the language on your Android device can be a simple process that allows you to personalize your device and cater to your language preferences. Whether you’re looking to switch to your native language or explore new languages for learning purposes, Android offers a user-friendly interface to make the language change effortless. In this section, we will guide you through the steps to check the language settings on your Android device.
1. Open the ‘Settings’ app on your Android device. You can usually find it in your app drawer or by swiping down from the top of the screen and tapping on the gear icon.
2. Scroll down and look for the ‘System’ or ‘General Management’ option, depending on your device model. Tap on it to access the system settings.
3. In the system settings, find and select the ‘Language & input’ or similar option. This section allows you to manage various language-related settings on your device.
4. Under the ‘Language & input’ section, you will find the ‘Language’ option. Tap on it to view the current language settings on your device.
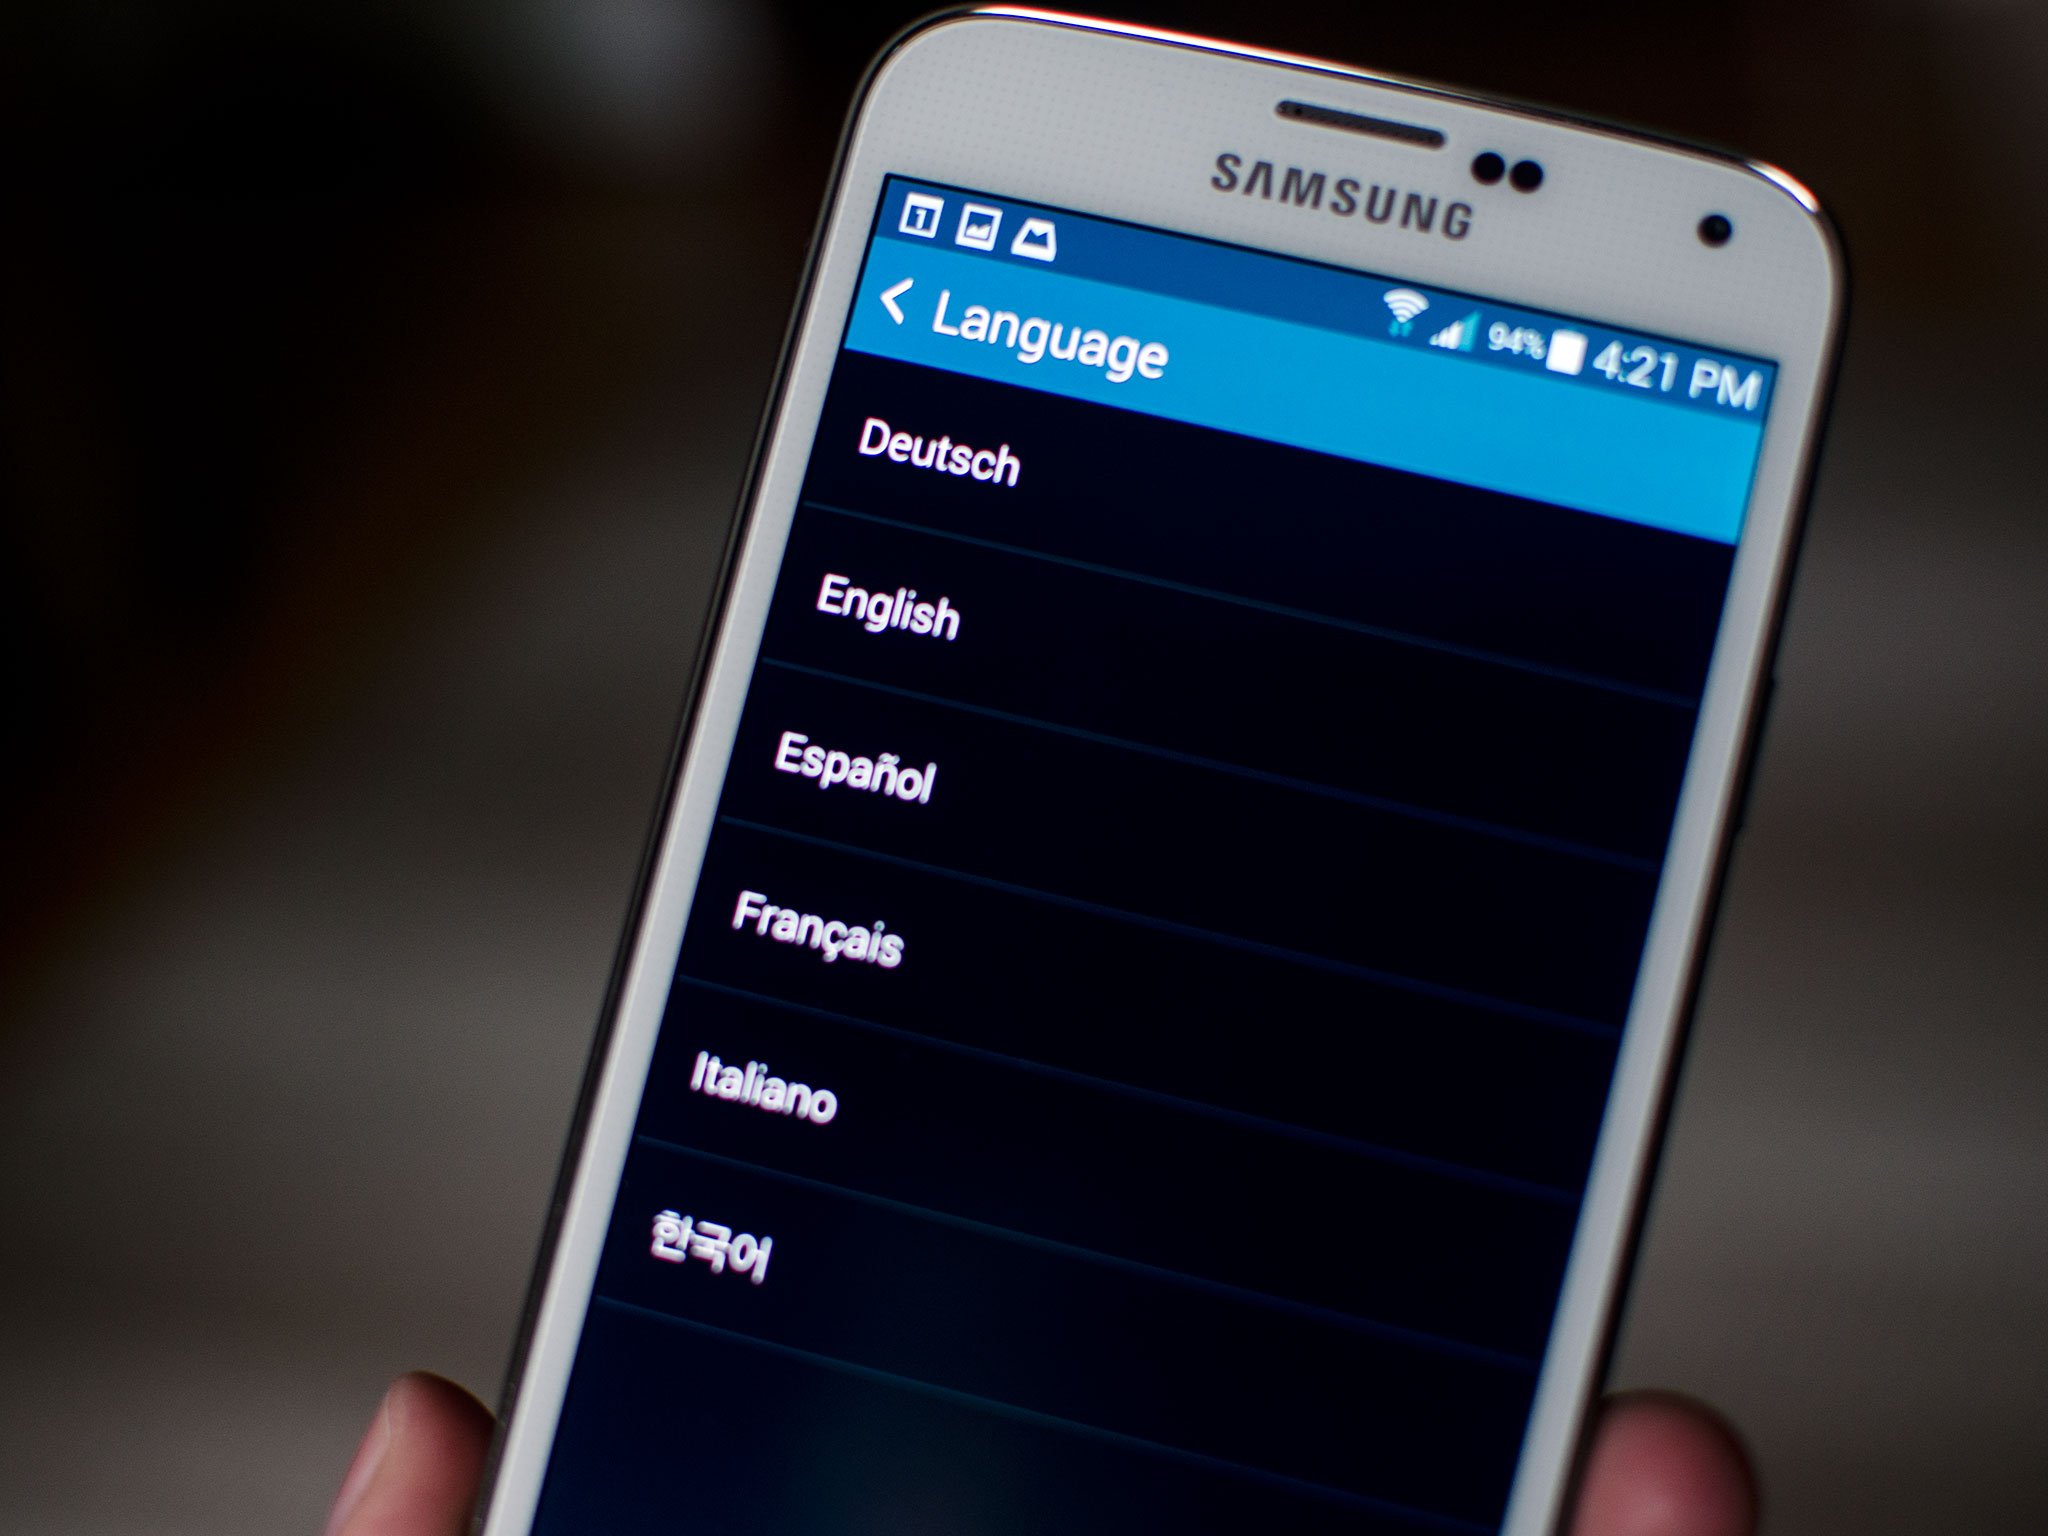
5. Here, you will see a list of available languages. The topmost language is the one currently set as the default language on your device.
6. To change the language, tap on the ‘Language’ option, and you will be presented with a list of available languages.
7. Scroll through the list and find the desired language you want to switch to. Tap on it to select it as the new language for your device.
8. Once you’ve selected the new language, your device might prompt you to confirm the change. Follow the on-screen instructions to proceed with the language change.
9. After confirming the language change, your device will set the new language as the default. You will notice that the system menus, notifications, and other interface elements are now displayed in the selected language.
By following these steps, you can easily check and change the language settings on your Android device. Remember that the available language options may vary depending on your device model and Android version. Now, let’s move on to the next section and learn how to access the language and input settings on your device.
Access the Language and Input Settings
Accessing the language and input settings on your Android device allows you to customize the language preferences for not only the system interface but also the keyboard input. This section will guide you through the steps to access the language and input settings on your Android device, providing you with the flexibility to choose the language and input methods that suit your needs.
1. Open the ‘Settings’ app on your Android device. You can usually find it in your app drawer or by swiping down from the top of the screen and tapping on the gear icon.
2. Scroll down and look for the ‘System’ or ‘General Management’ option, depending on your device model. Tap on it to access the system settings.
3. In the system settings, find and select the ‘Language & input’ or similar option. This section allows you to manage various language-related settings on your device.
4. Upon entering the ‘Language & input’ menu, you will find several options to customize your language and input preferences.
5. To change the system language, tap on the ‘Language’ option. You will be presented with a list of available languages. Scroll through the list and select the desired language to set it as the default language for your device.
6. To configure the keyboard input language, tap on the ‘Virtual Keyboard’ or ‘On-screen Keyboard’ option. This will display a list of installed keyboards on your device.
7. Choose the keyboard you are currently using or wish to modify the language settings for. You will be directed to the keyboard settings.
8. Within the keyboard settings, you will find the ‘Languages’ or ‘Input Languages’ option. Tap on it to access the language selection menu for the keyboard.
9. Here, you can add new languages by tapping on the plus (+) icon or select from the existing installed languages. You can also rearrange the order of the languages to prioritize their usage.
10. After selecting the desired language(s) for the keyboard, you can go back to the previous menu and make additional adjustments to the keyboard settings if necessary.
By following these steps, you can access the language and input settings on your Android device and make the necessary adjustments to suit your language preferences. These settings allow you to switch system languages and customize keyboard input languages, making your device more convenient and user-friendly. Now that you know how to access the language and input settings, let’s move on to the next section and explore how to tap into language preferences.
Tap on Language Preferences
When it comes to language preferences on your Android device, you have the ability to prioritize and manage multiple languages. By tapping on the language preferences, you can control the order in which languages are used for system menus, keyboard input, and more. In this section, we will guide you through the steps to access and customize language preferences on your Android device.
1. Open the ‘Settings’ app on your Android device. You can usually find it in your app drawer or by swiping down from the top of the screen and tapping on the gear icon.
2. Scroll down and look for the ‘System’ or ‘General Management’ option, depending on your device model. Tap on it to access the system settings.
3. In the system settings, find and select the ‘Language & input’ or similar option. This section allows you to manage various language-related settings on your device.
4. Within the ‘Language & input’ menu, you will find the ‘Language preferences’ or ‘Language order’ option. Tap on it to access the language preference settings.
5. On the language preference settings page, you will see a list of installed languages on your device. The topmost language indicates the current default language.
6. To customize the language preferences, tap and hold on a language in the list and drag it to your desired position. This will change the order in which languages are used for system menus, keyboard input, and other language-dependent features.
7. You can also tap on the more options icon (usually represented by three dots) next to a language to access additional language-specific settings and options.
8. In this section, you may have the option to download additional language packs, configure regional variations, or adjust language-specific settings.
9. Make any necessary changes to the language preferences and order according to your preferences and requirements.
10. Once you have customized the language preferences, go back to the main settings menu or exit the settings app.
By tapping on the language preferences, you have the flexibility to prioritize certain languages and manage their usage on your Android device. Whether you frequently switch between languages or prefer to have a primary language for system menus, this feature allows you to tailor the language experience to your liking. Now that you know how to tap into language preferences, let’s move on to the next section and explore how to select the desired language.
Select the Desired Language
Choosing the desired language on your Android device allows you to experience the interface and content in a language of your preference. Whether you want to switch to your native language or explore a new language for learning purposes, Android provides you with a wide range of language options to choose from. In this section, we will walk you through the steps to select the desired language on your Android device.
1. Open the ‘Settings’ app on your Android device. You can usually find it in your app drawer or by swiping down from the top of the screen and tapping on the gear icon.
2. Scroll down and look for the ‘System’ or ‘General Management’ option, depending on your device model. Tap on it to access the system settings.
3. In the system settings, find and select the ‘Language & input’ or similar option. This section allows you to manage various language-related settings on your device.
4. Within the ‘Language & input’ menu, you will find the ‘Language’ option. Tap on it to view the current language settings on your device.
5. In the language settings, you will see a list of available languages. The topmost language is the currently set default language.
6. Scroll through the list and look for the desired language you want to switch to. If you don’t find the language in the list, tap on the ‘Add a language’ or similar option to access a wider range of language options.
7. Once you have found the desired language, tap on it to select it as the new language for your device.
8. Your device may prompt you to confirm the language change. Follow the on-screen instructions, if any, to complete the process.
9. After confirming the language change, your device will set the newly selected language as the default. You will notice that the system menus, notifications, and other interface elements are now displayed in the selected language.
By following these steps, you can easily select the desired language on your Android device. Whether you want to switch to a language you’re comfortable with or explore a new language for a different experience, Android provides you with the flexibility to personalize your language settings. Now that you know how to select the desired language, let’s move on to the next section and confirm the language change.
Confirm the Language Change
After selecting the desired language on your Android device, it’s important to confirm the language change to ensure that the new language is set as the default language for your system. Android offers a straightforward process to confirm the language change and ensure that the interface and content are displayed in the selected language. In this section, we will guide you through the steps to confirm the language change on your Android device.
1. Once you have selected the desired language in the language settings, your device may prompt you with a confirmation message or a pop-up window.
2. Read the confirmation message carefully to ensure that it mentions the correct language you have selected.
3. If the confirmation message or pop-up window displays the correct language, tap on the ‘OK’ or ‘Confirm’ button to proceed with the language change.
4. If you accidentally selected the wrong language or changed your mind, you can tap on the ‘Cancel’ or ‘Back’ button to go back to the language selection menu and make the necessary adjustments.
5. If prompted, your device may take a moment to apply the language change. During this process, it may restart certain system services or update language-related settings.
6. Once the language change has been confirmed, your Android device will set the newly selected language as the default. You will notice that the system menus, notifications, and other interface elements are now displayed in the selected language.
7. To verify the language change, navigate through various system menus and settings on your device. Ensure that everything is displayed in the selected language.
By following these steps, you can confidently confirm the language change on your Android device. It’s crucial to verify the language settings to ensure that the interface and content are displayed in the language you desire. Now that you have successfully confirmed the language change, let’s move on to the next section and explore how to change the keyboard language on your Android device.
Change the Keyboard Language
Changing the keyboard language on your Android device allows you to type in different languages, making it easier to communicate and express yourself in various contexts. Android provides a seamless process to change the keyboard language, giving you the flexibility to switch between different language input methods. In this section, we will guide you through the steps to change the keyboard language on your Android device.
1. Open any app or text field where you can access the keyboard on your Android device.
2. Tap on the keyboard icon on the bottom right corner of the screen or locate the keyboard settings icon on the toolbar of your keyboard app. This may vary slightly depending on the keyboard app you are using.
3. In the keyboard settings, look for the ‘Language’ or ‘Input Language’ option. Tap on it to access the language selection menu for the keyboard.
4. You will be presented with a list of installed languages or language input methods.
5. Scroll through the list and find the desired language you want to switch to for your keyboard input.
6. If the desired language is not installed, you may need to tap on the ‘Add a language’ or similar option to download and install the language pack for the keyboard input.
7. Once you have selected the desired language, your keyboard will switch to the new language input method.
8. To ensure that the language change takes effect, go back to the app or text field where you accessed the keyboard and start typing. You will notice that the keyboard is now using the selected language input method.
9. If you want to switch back to the previous language input method or select a different language, you can follow the same steps and choose the desired language from the keyboard settings menu.
By following these steps, you can easily change the keyboard language on your Android device. This allows you to type and communicate in different languages, enhancing your flexibility and productivity. Now that you know how to change the keyboard language, let’s move on to the next section and explore additional options for language management on your device.
Use Google Translate for Instant Translation
Google Translate is a powerful tool that can help you instantly translate text, phrases, and even entire sentences from one language to another. Whether you’re traveling to a foreign country or communicating with someone who speaks a different language, Google Translate can be a handy companion on your Android device. In this section, we will explore how to use Google Translate for instant translation.
1. Open the Google Translate app on your Android device. If you don’t have it installed, you can download it from the Google Play Store.
2. On the app’s main screen, you will see two text boxes. The box on the left is for the source language, while the box on the right is for the target language.
3. Tap on the source language box and select the language of the text you want to translate. You can type or speak the text directly into the source language box, or you can also use the camera feature to capture and translate text from images.
4. Once you have inputted the text, Google Translate will automatically detect the language and display the translation in the target language box.
5. If you want to change the target language, tap on the target language box and select the desired language for the translation.
6. You can also use the conversation mode feature by tapping on the microphone icon. This allows you to have a back-and-forth conversation with someone who speaks a different language. Simply speak into the microphone, and Google Translate will transcribe and translate your speech in real time.
7. Google Translate also provides additional features such as offline translation, phrasebook, and handwriting input, which can be accessed from the main menu of the app.
8. To make the translation process even more convenient, you can add the Google Translate widget to your home screen. This allows you to access the app quickly without having to open it separately.
By using Google Translate on your Android device, you can easily overcome language barriers and communicate effectively with people from around the world. It’s a powerful tool for travelers, language learners, and anyone who needs instant translation on the go. Now that you know how to use Google Translate, let’s explore another option for language management on your Android device in the next section.
Utilize Third-Party Language Apps
In addition to the built-in language features on your Android device, there are various third-party language apps available on the Google Play Store that can help you with language learning, translation, and other language-related tasks. These apps provide additional resources, tools, and interactive features to enhance your language experience. In this section, we will explore how to utilize third-party language apps on your Android device.
1. Open the Google Play Store app on your Android device.
2. Tap on the search bar at the top and enter keywords related to the specific language or language-related app you are looking for. For example, if you’re learning Spanish, you can search for “Spanish language learning app.”
3. Browse through the search results and read the app descriptions, reviews, and ratings to find the best app for your needs. Pay attention to features such as language learning exercises, flashcards, pronunciation guides, and offline access.
4. Once you’ve found a suitable app, tap on the “Install” or “Get” button to download and install it on your device. Make sure to grant any necessary permissions during the installation process.
5. After the app is installed, you can find it in your app drawer or on your home screen. Tap on the app icon to open it.
6. Follow the on-screen instructions to set up the app and customize the language settings according to your preferences. This may involve selecting the target language, setting your proficiency level, and choosing specific learning modules or exercises to focus on.
7. Explore the various features and resources within the app. This could include vocabulary lists, grammar lessons, interactive quizzes, speaking practice, cultural insights, and more.
8. Many language apps offer gamified learning experiences, progress tracking, and social features that allow you to connect with fellow language learners or native speakers for practice and conversation.
9. Make use of the app’s notification settings to receive reminders, daily language challenges, and other helpful prompts to keep you engaged and motivated.
10. Regularly use the app as part of your language learning routine, incorporating it into your daily practice and setting goals to track your progress over time.
By utilizing third-party language apps on your Android device, you can enhance your language learning journey and access a wide range of resources and interactive tools. These apps can supplement your language skills and provide a more immersive and engaging learning experience. Now that you know how to utilize third-party language apps, let’s move on to the next section and discover how to change the language in specific apps.
Change the Language in Specific Apps
While your Android device has a system-wide language setting, you may also want to change the language specifically for certain apps. This can be helpful if you prefer to use different languages for different apps, or if you want to access content in a specific language. In this section, we will explore how to change the language in specific apps on your Android device.
1. Open the app for which you want to change the language on your Android device.
2. Access the app’s settings menu. This is typically done by tapping on the three-line menu icon (also known as the hamburger icon) or by looking for a gear or settings icon within the app.
3. Once in the settings menu, look for an option related to language or localization. The wording may vary depending on the app, but it should be something that refers to language preferences.
4. Tap on the language or localization option to access the language settings for that particular app.
5. In the language settings, you may see a list of available languages or a drop-down menu. Select the desired language from the list or menu to change the language for that specific app.
6. Save or apply the changes, if prompted, and exit the settings menu.
7. The app will now display content, menus, and text in the language you have selected.
8. Repeat these steps for other apps where you want to change the language. Each app may have its own language settings that you can customize independently of the system-wide language settings.
It’s worth noting that not all apps may support changing the language, especially if they are specifically designed for a particular language or region. In such cases, the app may automatically adjust its language based on the system-wide language settings on your device.
By changing the language in specific apps, you can have a personalized experience and better engage with content in your preferred language. Whether it’s for a social media app, a news app, or any other app you use frequently, adjusting the language settings can enhance your overall user experience. Now that you know how to change the language in specific apps, let’s move on to the next section and explore how to reset the device to the default language.
Reset the Device to Default Language
If you’ve made various language changes on your Android device and want to revert to the default language, you can reset the device’s language settings. This can be useful if you’ve experimented with different languages or encountered difficulties with the current language settings. In this section, we will guide you through the process of resetting your Android device to the default language.
1. Open the ‘Settings’ app on your Android device. You can usually find it in your app drawer or by swiping down from the top of the screen and tapping on the gear icon.
2. Scroll down and look for the ‘System’ or ‘General Management’ option, depending on your device model. Tap on it to access the system settings.
3. In the system settings, find and select the ‘Language & input’ or similar option. This section allows you to manage various language-related settings on your device.
4. Within the ‘Language & input’ menu, you will find the ‘Language’ option. Tap on it to view the current language settings on your device.
5. Tap on the ‘Reset’ or ‘Reset to default’ option, which is usually located at the bottom of the language settings.
6. Your device may prompt you with a confirmation message about resetting the language settings. Read the message carefully and confirm the reset if you wish to proceed.
7. After confirming the reset, your Android device will revert to the default language. This means that the system menus, notifications, and other interface elements will be displayed in the default language.
8. You may need to restart your device for the language changes to take effect. Follow any further instructions that are displayed on your screen.
By resetting your Android device to the default language, you can ensure a fresh start and revert any language changes made on your device. This can be helpful if you want to return to the original language settings or troubleshoot any language-related issues. Now that you know how to reset the device to the default language, you have the ability to easily manage and customize the language settings on your Android device.