
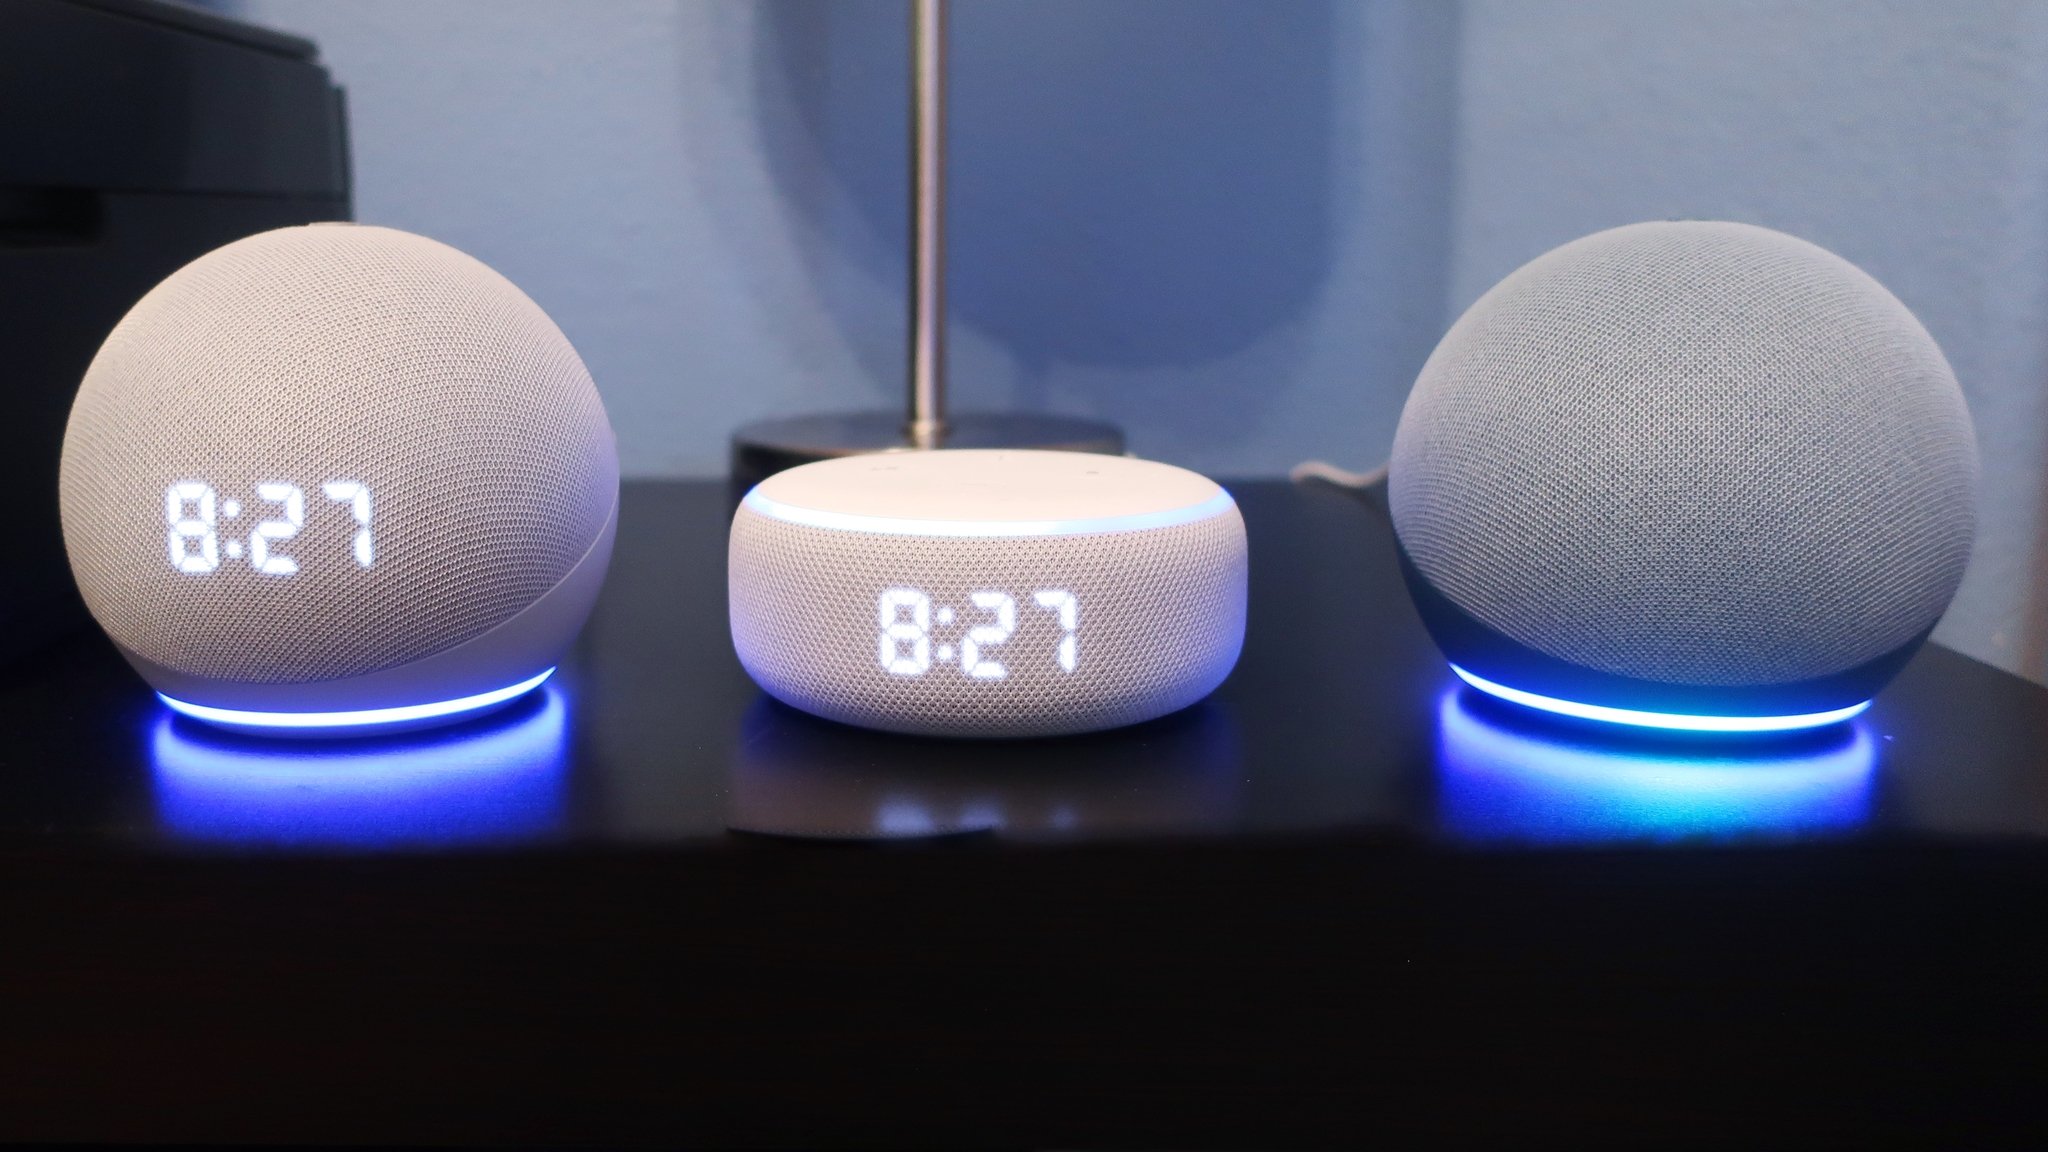
Why change the clock brightness on Echo Dot?
When it comes to our smart devices, customization is key. The ability to adjust settings and personalize our devices to suit our preferences enhances the overall user experience. The Echo Dot, with its compact design and versatile functionality, is no exception. One such customizable feature is the ability to change the clock brightness on the Echo Dot.
Why would you want to change the clock brightness, you may ask? Well, there are several reasons. First and foremost, adjusting the clock brightness allows you to optimize visibility according to the lighting conditions in your room. Whether it’s too bright or too dim, being able to set the clock brightness to a comfortable level ensures that you can easily read the time without straining your eyes.
Furthermore, changing the clock brightness on your Echo Dot can help create the desired ambiance in your living space. For instance, if you prefer a dimly lit room during the night, lowering the clock brightness on your Echo Dot can contribute to a more relaxing environment. On the other hand, if you prefer a brighter room during the day, increasing the clock brightness can assist in achieving the desired level of illumination.
Personalization is another significant advantage of being able to adjust the clock brightness. Each individual has their own preferences and aesthetics when it comes to their living space. Being able to customize the clock brightness on the Echo Dot allows you to align it with your personal style and create a cohesive look and feel.
Ultimately, being able to change the clock brightness on your Echo Dot provides you with flexibility, comfort, and the opportunity to create the ideal ambiance in your living space. So, let’s explore how you can go about adjusting the clock brightness on your Echo Dot.
Step 1: Locate the brightness settings
Locating the brightness settings on your Echo Dot is the first step towards customizing the clock brightness. Here’s how you can find them:
- Start by opening the Alexa app on your smartphone or tablet.
- In the app, tap on the menu icon located at the top left corner of the screen. This will open the side menu.
- From the side menu, select “Settings.”
- Within the settings, choose the device you want to adjust the brightness for. In this case, select your Echo Dot.
- Once you’ve selected your Echo Dot, scroll down to find the “Device Settings” section.
- In the “Device Settings,” look for the “Display” option. Tap on it to access the display settings.
- Within the display settings, you should find the option to adjust the clock brightness. It might be listed as “Clock Brightness” or “Brightness Level.”
Keep in mind that the exact location and labeling of the brightness settings may vary depending on the version of the Alexa app you’re using. However, by following these general steps, you should be able to locate the brightness settings for your Echo Dot.
Once you’ve successfully found the brightness settings, you’re ready to move on to the next step: adjusting the clock brightness manually.
Step 2: Adjust the clock brightness manually
Now that you’ve located the brightness settings for your Echo Dot, it’s time to manually adjust the clock brightness. Follow these steps:
- Access the “Display” settings for your Echo Dot using the instructions provided in Step 1.
- Look for the option to adjust the clock brightness. It may be a slider or a set of predefined brightness levels.
- If you see a slider, drag it left or right to decrease or increase the brightness, respectively. Preview the changes on your Echo Dot’s display to find your preferred level.
- If there are predefined brightness levels, select the level that best suits your needs. Experiment with different levels until you find the one that provides optimal visibility and matches the ambiance of your room.
- Once you’ve adjusted the clock brightness to your liking, exit the settings by tapping the back or home button on the Alexa app.
- Take a moment to observe the updated clock brightness on your Echo Dot’s display. If you’re satisfied with the changes, you can move on to the next step.
Remember that you can always revisit the brightness settings and make further adjustments if needed. Play around with different brightness levels until you find the one that suits your preferences and enhances your Echo Dot experience.
Now that you’ve successfully adjusted the clock brightness manually, let’s explore another method to change the brightness using adaptive settings.
Step 3: Enable adaptive brightness
Another way to adjust the clock brightness on your Echo Dot is by enabling adaptive brightness. This feature allows your Echo Dot to automatically adjust the brightness based on the ambient lighting conditions in the room. Here’s how you can enable adaptive brightness:
- Access the “Display” settings for your Echo Dot using the steps provided in Step 1.
- Look for the option to enable adaptive brightness. It may be labeled as “Adaptive Brightness” or “Auto Brightness.”
- If the option is disabled, toggle the switch to enable adaptive brightness.
- Once enabled, your Echo Dot will use its built-in light sensor to detect the surrounding light levels and adjust the clock brightness accordingly.
- Observe the changes on your Echo Dot’s display and verify if the adaptive brightness is maintaining the desired level of brightness in different lighting conditions.
- If you’re satisfied with the adaptive brightness feature, you can proceed to the next step. However, if you prefer manual control over the clock brightness, you can disable the adaptive brightness option.
The adaptive brightness feature can be particularly useful if you have varying lighting conditions throughout the day. It ensures that the clock on your Echo Dot remains comfortably visible without being too bright or dim.
Now that you’ve learned how to enable adaptive brightness, let’s explore another method to change the clock brightness on your Echo Dot using voice commands.
Step 4: Change the brightness using voice commands
Did you know that you can change the clock brightness on your Echo Dot using voice commands? It’s a convenient and hands-free way to adjust the brightness without having to navigate through settings manually. Follow these steps to change the brightness using voice commands:
- Activate your Echo Dot by saying the wake word, followed by a command such as, “Alexa, change clock brightness.
- Alexa will respond and ask you to specify the desired brightness level. You can say something like, “Set clock brightness to 50%,” or “Increase clock brightness.”
- Alexa will adjust the clock brightness on your Echo Dot according to your command.
- Take a moment to view the updated clock brightness on your Echo Dot’s display. If it’s to your liking, you can continue using voice commands to make further adjustments.
Using voice commands to change the clock brightness not only provides convenience but also allows for quick adjustments without the need to physically interact with the device.
Keep in mind that the voice commands for adjusting the clock brightness may vary slightly depending on the specific Echo Dot model and the firmware it’s running. Nevertheless, by using similar phrases and variations, you should be able to control the brightness effectively using voice commands.
Now that you’ve learned how to change the brightness using voice commands, let’s explore another method to schedule the clock brightness on your Echo Dot.
Step 5: Schedule the clock brightness
If you want your Echo Dot’s clock brightness to automatically adjust at specific times of the day, you can schedule it. This allows you to have different brightness levels throughout the day without manual intervention. Follow these steps to schedule the clock brightness:
- Open the Alexa app on your smartphone or tablet.
- Tap on the menu icon, located at the top left corner of the screen, to access the side menu.
- Select “Routines” from the menu options.
- Tap on the “+” symbol to create a new routine.
- Give your routine a name, such as “Clock Brightness Schedule.”
- Under “When this happens,” choose a trigger that suits your preference. For example, you can select a specific time of the day or a recurring event.
- Next, under “Add action,” choose “Adjust device settings.”
- Select your Echo Dot device and then choose the option to adjust the clock brightness.
- Set the desired brightness level for that specific time or event. Repeat this step if you want to schedule multiple brightness changes throughout the day.
- Once you’ve set all the desired actions, tap on “Create” to save the routine.
Your Echo Dot will now automatically adjust the clock brightness according to the schedule you’ve set. This allows you to have different brightness levels during different periods of the day, ensuring optimal visibility without any manual intervention.
Keep in mind that you can edit or delete the scheduled routines at any time using the Alexa app, giving you the flexibility to modify the brightness schedule to fit your changing needs.
Now that you’ve learned how to schedule the clock brightness, let’s explore the final step: changing the display timeout.
Step 6: Change the display timeout
By default, the display on your Echo Dot remains on continuously. However, you have the option to change the display timeout, which determines how long the clock and other information remain visible before the screen goes to sleep. Here’s how you can change the display timeout:
- Open the Alexa app on your smartphone or tablet.
- Tap on the menu icon at the top left corner of the screen to access the side menu.
- Select “Settings” from the menu options.
- Within the settings, choose the device you want to adjust the display timeout for – your Echo Dot.
- Scroll down to find the “Device Settings” section.
- Look for the “Display” option and tap on it to access the display settings.
- Find the setting for “Display Timeout” or “Sleep Timer.”
- Select your desired display timeout duration from the available options, such as 5 minutes, 10 minutes, or 15 minutes.
- Once you’ve made the selection, exit the settings by tapping the back or home button on the Alexa app.
The display on your Echo Dot will now go to sleep after the specified period of inactivity, helping conserve energy and preventing unnecessary screen glare in your room.
Remember that changing the display timeout does not affect the clock brightness itself. It simply determines how long the display stays on before it goes to sleep.
Congratulations! You’ve successfully learned how to change the clock brightness on your Echo Dot by adjusting the brightness settings, enabling adaptive brightness, using voice commands, scheduling the clock brightness, and changing the display timeout.
With these customization options at your disposal, you can now create the perfect ambiance and visibility for your Echo Dot’s clock, ensuring an optimal user experience.