
What is Amazon Echo Clock?
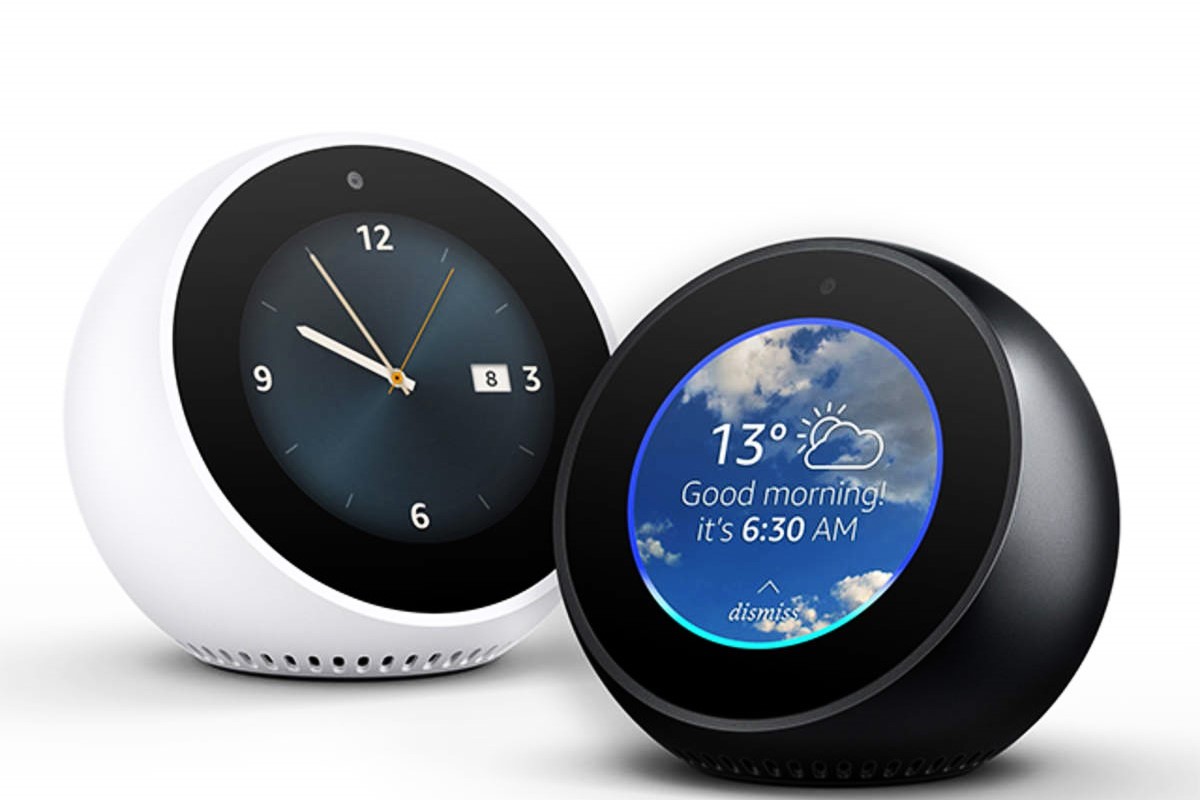
The Amazon Echo Clock is a smart device that functions as a wall clock with additional features and connectivity to the Alexa voice assistant. It is designed to enhance your overall smart home experience by providing a visible display of time, timers, alarms, and reminders.
This smart clock is a perfect companion for any Echo device, as it syncs seamlessly with Alexa, allowing you to easily manage and control your daily activities and routines. With its vibrant LED display, the Echo Clock not only tells you the time but also helps you stay organized and on schedule.
With the Echo Clock, you can set multiple timers simultaneously and keep track of important events and deadlines. It’s an excellent tool for managing your cooking time, helping you keep tabs on your workout sessions, or even reminding you of important appointments or meetings.
The Echo Clock can also be paired with other compatible Echo devices to enhance your Alexa experience. You can set up routines that trigger specific actions when the clock’s alarm goes off, such as turning on lights or playing your favorite music.
Furthermore, the Echo Clock automatically adjusts for daylight saving time, ensuring that your time is always accurate. It also has a built-in light sensor that adjusts the brightness of the display based on the ambient light in the room, allowing for easy visibility both day and night.
Setting up the Amazon Echo Clock is a straightforward process that requires minimal effort. Once properly configured, you’ll be able to enjoy the convenience and functionality that this smart clock brings to your home.
What You Need to Setup Amazon Echo Clock
Before you begin setting up your Amazon Echo Clock, make sure you have the following:
- An Echo device: To fully utilize the features of the Echo Clock, you’ll need an Echo device, such as an Echo Dot, Echo Show, or Echo Plus.
- A Wi-Fi network: The Echo Clock relies on a stable internet connection, so ensure that you have a Wi-Fi network available.
- A compatible mobile device: You’ll need a smartphone or tablet with the Alexa app installed to complete the setup process.
- A power outlet: The Echo Clock needs to be plugged into a power source using the included power adapter.
Additionally, it’s essential to ensure that your Echo device is already set up and connected to your Wi-Fi network. If you haven’t done so, follow the instructions provided with your Echo device to complete the initial setup before proceeding with the Echo Clock setup.
Once you have these basic requirements in place, you’re ready to move on to the setup process for your Amazon Echo Clock. The next steps will guide you through connecting the Echo Clock to Wi-Fi, pairing it with your Echo device, and customizing its display options.
By gathering these necessary items and having your Echo device properly set up and connected to Wi-Fi, you’ll be well-prepared to embark on a seamless setup process for your Amazon Echo Clock.
Steps to Setup Amazon Echo Clock
Setting up your Amazon Echo Clock is a simple process that can be done in a few easy steps. Follow the instructions below to get your Echo Clock up and running:
- Plug in your Echo Clock: Connect the Echo Clock to a power outlet using the provided power adapter. Ensure that it is securely plugged in.
- Open the Alexa app: On your compatible mobile device, open the Alexa app and ensure that it is connected to the same Wi-Fi network as your Echo device.
- Access the Devices tab: Tap on the menu icon in the upper left corner of the app, then select “Devices”.
- Add a new device: Tap the “+” icon in the upper right corner of the Devices screen and select “Add Device”.
- Choose Amazon Echo Clock: From the list of available devices, select “Amazon Echo Clock”.
- Follow the on-screen instructions: The app will guide you through the setup process, which includes connecting your Echo Clock to Wi-Fi and pairing it with your Echo device.
- Verify the connection: Once the setup process is complete, the app will confirm that your Echo Clock is successfully connected.
- Customize your Echo Clock settings (optional): You can personalize your Echo Clock by adjusting the brightness, display options, and other settings in the Alexa app.
After completing these steps, your Amazon Echo Clock will be ready to use. You can now enjoy the convenience and functionality it brings to your daily routine.
Should you encounter any issues during the setup process, refer to the troubleshooting section or consult the Amazon support website for further assistance.
Connect Echo Clock to Wi-Fi
Connecting your Amazon Echo Clock to Wi-Fi is an essential step in the setup process. Follow the steps below to ensure a successful Wi-Fi connection:
- Ensure Echo Clock is powered on: Make sure your Echo Clock is plugged in and powered on.
- Open the Alexa app: On your mobile device, open the Alexa app and make sure you are signed in with your Amazon account.
- Access the Devices tab: Tap on the menu icon in the upper left corner of the app, then select “Devices”.
- Select your Echo Clock: From the list of devices, find and select your Echo Clock.
- Tap “Change” next to Wi-Fi network: Under the “General” section, find the Wi-Fi network option and tap “Change”.
- Select your Wi-Fi network: Choose your desired Wi-Fi network from the list of available networks.
- Enter Wi-Fi network password: If prompted, enter the password for your Wi-Fi network.
- Wait for connection confirmation: The Echo Clock will attempt to connect to the Wi-Fi network. Wait for the app to display a confirmation message indicating a successful connection.
It’s important to ensure that your Echo Clock is within range of your Wi-Fi network during the setup process. Additionally, double-check that you are entering the correct Wi-Fi network password to avoid any connection issues.
If you encounter any problems during the Wi-Fi setup, try restarting your Echo Clock and ensure that your Wi-Fi network is functioning properly. You can also reset your Echo Clock by pressing and holding the “Action” button on the back of the device for 25 seconds until the LED lights turn off and back on.
Once your Echo Clock is successfully connected to Wi-Fi, it will be ready for the next step in the setup process: pairing it with a supported Echo device.
Pair Echo Clock with Supported Echo Device
To fully utilize the capabilities of your Amazon Echo Clock, you’ll need to pair it with a supported Echo device. Follow the steps below to complete the pairing process:
- Make sure your Echo Clock and Echo device are on and connected to the same Wi-Fi network.
- Open the Alexa app on your mobile device and navigate to the Devices tab.
- Select your Echo Clock from the list of devices.
- Under the “General” section, tap on “Pair with supported Echo Device”.
- The app will search for compatible devices. Once it finds your Echo device, tap on it to select it.
- Follow the on-screen prompts to complete the pairing process.
- Wait for the pairing confirmation message on the app, indicating a successful connection.
During the pairing process, ensure that your Echo device is within range and powered on. Keep in mind that not all Echo devices support the Echo Clock, so make sure your chosen device is compatible.
If you encounter any issues during the pairing process, ensure that both devices are updated with the latest firmware and try restarting them. You can also try resetting the devices by pressing and holding the respective “Action” buttons on the back until the LED lights turn off and back on.
Once your Echo Clock is successfully paired with a supported Echo device, you can begin utilizing its features and enjoy the synchronized functionality between the devices.
Set the Clock Time on Echo Clock
After connecting your Amazon Echo Clock to Wi-Fi and pairing it with a supported Echo device, it’s important to set the correct clock time. Follow the steps below to ensure accurate time display on your Echo Clock:
- Make sure your Echo Clock is powered on and connected to the internet.
- Ensure that your paired Echo device is powered on and connected to the same Wi-Fi network.
- Open the Alexa app on your mobile device and navigate to the Devices tab.
- Select your Echo Clock from the list of devices.
- Under the “Device Settings” section, tap on “Time Zone”.
- Choose the appropriate time zone for your location from the available options.
- Tap on “Save” to confirm the time zone selection.
- Verify the clock time: Your Echo Clock should now display the correct time based on the selected time zone.
It’s important to ensure that you choose the correct time zone to accurately display the time on your Echo Clock. This helps ensure that your clock remains synchronized and accurate.
If you find that the time displayed on your Echo Clock is incorrect, double-check that both your Echo Clock and paired Echo device have been set to the correct time zone. You can also try restarting your devices to resolve any time syncing issues.
Once the correct time is set on your Echo Clock, you can rely on it for accurate timekeeping and benefit from its additional features, such as timers, alarms, and reminders.
Customize Echo Clock Display Options
One of the great features of the Amazon Echo Clock is the ability to customize its display options according to your preferences. Here are the steps to customize the display settings:
- Ensure your Echo Clock is connected to Wi-Fi and paired with a supported Echo device.
- Open the Alexa app on your mobile device and navigate to the Devices tab.
- Select your Echo Clock from the list of devices.
- Under the “Device Settings” section, tap on “Clock Face”.
- Choose from the available clock face options to change the appearance of your Echo Clock. You can select between analog and digital display styles.
- Tap on your desired clock face to select it.
- Adjust the brightness: Under the “Device Settings” section, tap on “Brightness” to adjust the brightness level of your Echo Clock’s display. You can choose from various brightness settings to suit your preferences and the lighting conditions in the room.
- Experiment with additional settings: Depending on the model of Echo Clock you have, there may be additional display customization options available. Explore the app to see if there are any other settings you can adjust, such as choosing different colors or additional display information.
- Once you have customized the display settings to your liking, the changes will be reflected on your Echo Clock.
By personalizing the clock face and brightness settings, you can ensure that your Echo Clock seamlessly integrates with your home decor and provides optimal visibility based on your preferences.
Remember, you can always revisit the Alexa app to make further adjustments to your Echo Clock’s display settings as desired. Enjoy the flexibility and customization options that the Echo Clock offers to enhance your overall smart home experience.
Troubleshooting Common Issues with Echo Clock Setup
While setting up your Amazon Echo Clock, you may encounter some common issues. Here are some troubleshooting tips to help you address them:
- Check Wi-Fi connection: Ensure that your Echo Clock and paired Echo device are connected to the same Wi-Fi network. Verify that your Wi-Fi network is functioning properly.
- Restart devices: If you’re experiencing connectivity issues, try restarting your Echo Clock, your Echo device, and your router. This can often resolve temporary glitches.
- Reset Echo Clock: If you’re unable to establish a connection, try resetting your Echo Clock. Press and hold the “Action” button on the back of the device for 25 seconds until the LED lights turn off and back on.
- Update firmware: Make sure your Echo Clock, Echo device, and the Alexa app are running the latest firmware and software versions. Check for updates in the Alexa app or refer to the manufacturer’s instructions for updating your devices.
- Ensure proper power supply: Confirm that your Echo Clock is securely plugged into a power outlet using the included power adapter. Also, check for any power interruptions or fluctuations that may disrupt the setup process.
- Verify account information: Double-check that you are signed in to the Alexa app with the same Amazon account used to set up your Echo device and Echo Clock.
- Contact customer support: If you have tried all troubleshooting steps and are still experiencing difficulties, contact Amazon customer support for further assistance. They can provide specific guidance tailored to your situation.
It’s worth noting that setup issues can sometimes be resolved with a combination of these troubleshooting steps. Patience and persistence are key when encountering technical challenges.
Keep in mind that the setup process for the Echo Clock should be relatively straightforward, and most users can complete it without major complications. However, if you do encounter difficulties, don’t hesitate to reach out for support to ensure a smooth installation process for your Amazon Echo Clock.