
Assessing the condition of the band
The first step in changing the band on your Fitbit Charge is to assess the condition of the current band. Over time, the band may wear out or become damaged, leading to discomfort or compromising the functionality of the device. By paying close attention to the band’s condition, you can determine whether it’s time for a replacement.
Start by examining the band for any signs of wear and tear. Check for cracks, fraying, or stretching, particularly around the areas where the band attaches to the device. If you notice any significant damage, it’s likely best to replace the band to ensure optimal performance and comfort.
Next, assess the overall cleanliness of the band. Over time, sweat, dirt, and oils can build up, making the band look worn and causing it to smell unpleasant. If cleaning the band doesn’t restore its appearance and freshness, replacing it might be the best option.
Consider the band’s fit and comfort. If it feels loose or tight on your wrist, it could be a sign that the band has stretched or shrunk. A loose band can increase the risk of the device slipping off, while a tight band can cause discomfort during wear. In such cases, replacing the band with a size that fits properly is recommended.
Lastly, think about your personal style preferences. Fitbit offers various band options, including different colors, materials, and styles. If you’re looking for a change or want to match your device with different outfits, changing the band can be a great way to refresh the appearance of your Fitbit Charge.
By carefully assessing the condition of the band, including its physical state, cleanliness, fit, and personal preferences, you’ll be able to determine if it’s time for a new band. Now, let’s move on to gathering the necessary tools to replace it.
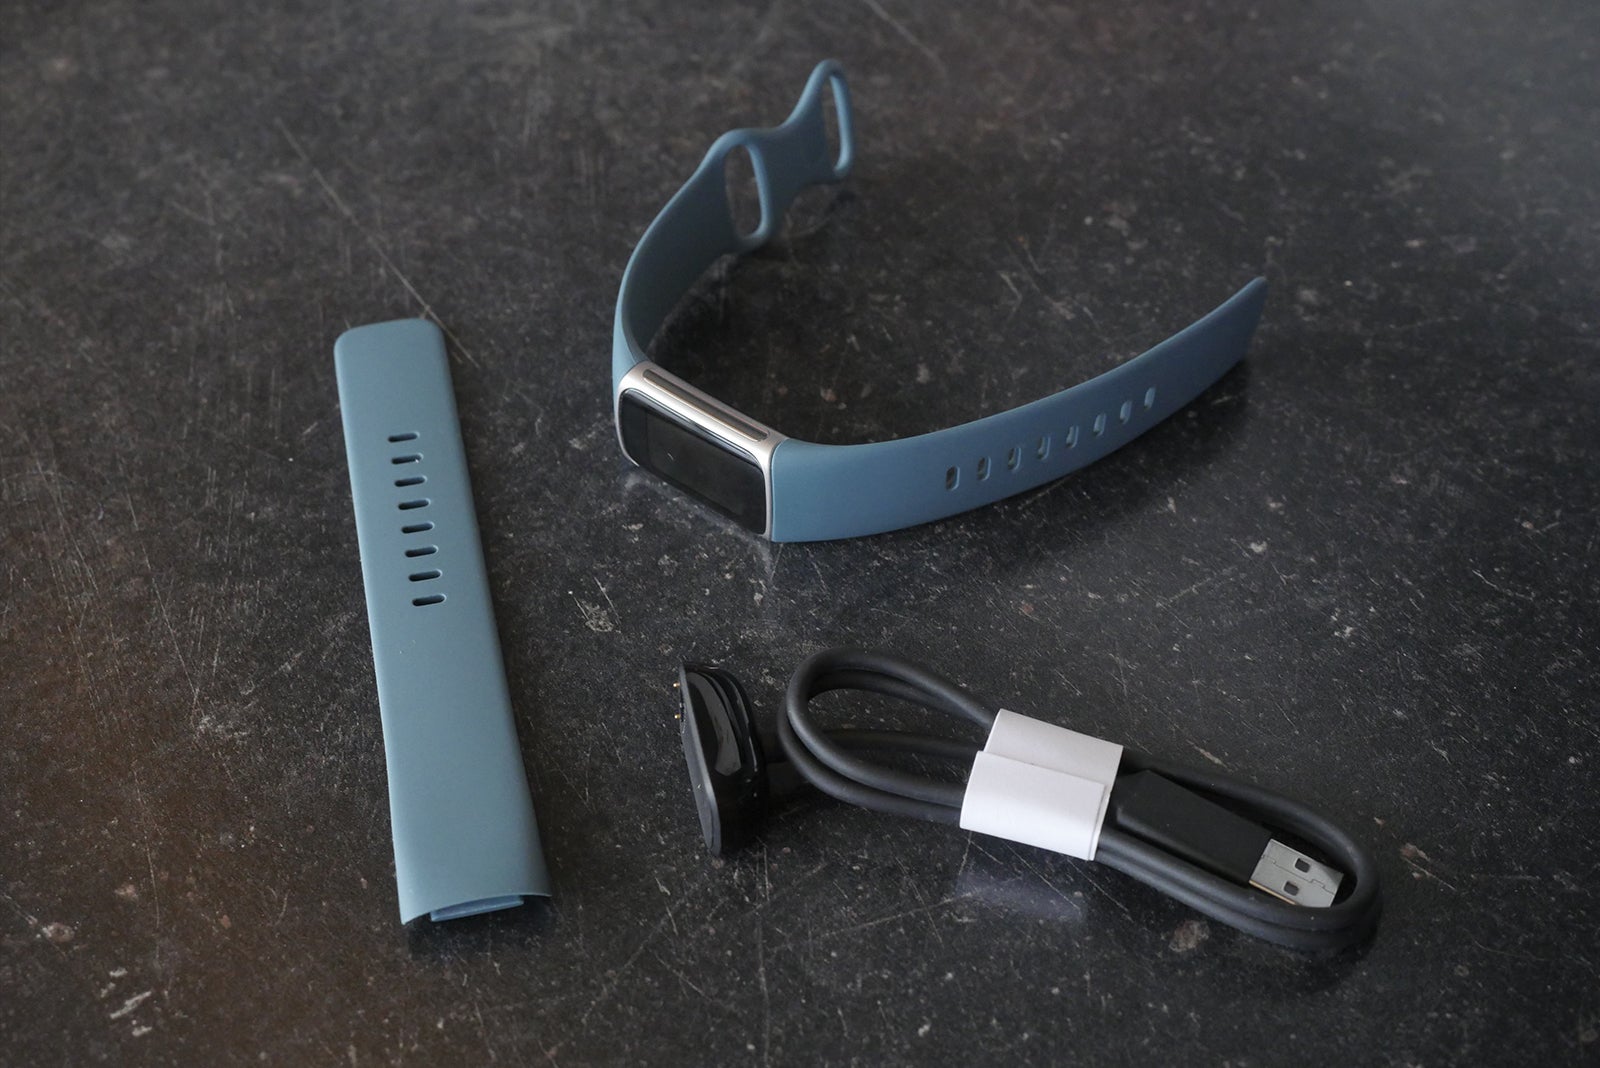
Gathering the necessary tools
Before you start changing the band on your Fitbit Charge, it’s important to gather the necessary tools. Having the right tools on hand will make the process smoother and help ensure that you can complete the task successfully.
Here are the essential tools you’ll need:
- A small flathead screwdriver or a metal spudger: This tool will be useful for removing the old band from the device. It can help you pry open the band’s clips or release the pins that hold it in place.
- A replacement band: Make sure you have a new band that is compatible with your Fitbit Charge model. Fitbit offers a wide range of bands to choose from, including different sizes, colors, and materials, allowing you to personalize your device.
- A clean cloth or towel: This will come in handy for wiping down the device and ensuring it’s free from any dirt or debris before attaching the new band.
- A clean and well-lit workspace: Find a clear space where you can comfortably work on changing the band. Make sure there’s adequate lighting so you can clearly see the details and avoid any accidental damage.
- Patience and a steady hand: Changing the band on your Fitbit Charge requires a careful hand and patience. Take your time during the process to ensure that you don’t damage the device or the new band.
Having these tools ready will help you navigate the process smoothly and ensure that you have everything you need. Now that you have gathered the necessary tools, let’s move on to the next step: removing the old band from your Fitbit Charge.
Removing the old band
Now that you have assessed the condition of the band and gathered the necessary tools, it’s time to remove the old band from your Fitbit Charge. Follow these steps carefully to ensure a smooth transition:
- Locate the band release button: Look for the small button or tab on the underside of your Fitbit Charge near the connection point of the band. This is the band release button.
- Press the band release button: Using your thumb or another small tool, press the band release button. This will release the band’s pins or clips, allowing it to be removed from the device.
- Slide the band off: With the band release button pressed, slide the band off the device. Apply gentle pressure if needed, but be careful not to force it or use excessive force as it may cause damage.
- Repeat for the other side: If your Fitbit Charge has a band on both sides, repeat the above steps to remove the band from the opposite side. Press the band release button and slide the band off.
- Set the old band aside: Once you have successfully removed the old band from your Fitbit Charge, set it aside. You can choose to discard it or keep it as a backup if it’s still in good condition.
Remember, take your time and be careful when removing the old band to avoid any accidental damage to your Fitbit Charge. Now that the old band is out of the way, it’s time to move on to inserting the new band.
Inserting the new band
With the old band removed, it’s time to insert the new band onto your Fitbit Charge. Follow these steps to ensure a proper and secure attachment:
- Align the new band: Begin by aligning the new band with the connection points on your Fitbit Charge. Make sure the pins or clips on the band match up with the openings on the device.
- Slide the band onto one side: With the new band properly aligned, slide it onto one side of your Fitbit Charge. Apply gentle pressure and make sure it sits snugly into place.
- Press the band release button: Depending on your model, you may need to press the band release button as you slide the band onto the device. This will help secure the band in the correct position.
- Repeat for the other side: If your Fitbit Charge has a band on both sides, repeat the above steps to attach the new band to the opposite side. Align it, slide it into place, and press the band release button if necessary.
- Ensure a secure fit: Once both sides of the new band are attached, give it a gentle tug to ensure it is securely connected to your Fitbit Charge. It should feel firm and stable.
As you insert the new band, be mindful of the alignment and avoid using excessive force. If the band doesn’t slide on smoothly, recheck the alignment and try again. Remember, taking your time and being careful during this step will help ensure a proper fit for your new band.
Now that the new band is securely attached to your Fitbit Charge, it’s time to move on to the next step: securing the new band in place.
Securing the new band in place
Once you have attached the new band to your Fitbit Charge, it’s important to ensure that it is securely fastened so that it stays in place during regular use. Follow these steps to properly secure the new band:
- Check the alignment: Double-check the alignment of the new band to make sure it is centered and sits properly on your wrist. Adjust it if needed to ensure a comfortable fit.
- Adjust the band to your preferred size: If your new band has an adjustable closure, such as a buckle or a clasp, adjust it to your preferred size. Make sure it is neither too tight nor too loose.
- Fasten the closure: Once you have adjusted the band to the right size, fasten the closure securely. Whether it’s a buckle, a clasp, or another type of closure, ensure it is properly closed and won’t easily come undone.
- Tug on the band: Give the new band a gentle tug to ensure that it is securely fastened. It should feel snug on your wrist without causing discomfort. If the band slides or feels loose, readjust the closure or check if it needs further tightening.
By properly securing the new band, you can prevent it from slipping off or becoming loose while wearing your Fitbit Charge. It’s important to find the right balance between a secure fit and a comfortable feel on your wrist.
Now that you have securely fastened the new band to your Fitbit Charge, it’s time to move on to the next step: testing the functionality of the new band.
Testing the functionality of the new band
After securing the new band on your Fitbit Charge, it’s crucial to test its functionality to ensure that everything is working properly. Follow these steps to test the new band:
- Power on your Fitbit Charge: If your device is not already powered on, press the side button to turn it on. Allow it to boot up completely before proceeding.
- Check for proper display: Once your Fitbit Charge is powered on, verify that the display is functioning correctly. Look for any abnormalities or inconsistencies in the screen’s appearance.
- Test the button functionality: Press the side button and other buttons on your Fitbit Charge to test their responsiveness. Ensure that each button is working as intended and registering your actions.
- Monitor the heart rate monitor (if applicable): If your Fitbit Charge has a heart rate monitor, place it on your wrist and ensure that it is accurately tracking your heart rate. Compare the reading to your pulse or another heart rate monitor if available.
- Track activity and movement: Engage in some physical activity or movements that typically activate the Fitbit sensors, such as walking, jogging, or climbing stairs. Check if the device accurately tracks your activity and records it on the screen or in the Fitbit app.
- Sync and review data: Sync your Fitbit Charge to the mobile app or computer software and review the data recorded by the device. Make sure it is accurately tracking steps, distance, calories burnt, and any other metrics you require.
By following these steps, you can ensure that the new band on your Fitbit Charge is fully functional and accurately tracks your activity. If you encounter any issues or inconsistencies, refer to the Fitbit support resources or contact the customer service for further assistance.
Now that you have tested the functionality of the new band, let’s move on to some tips for maintaining the longevity of the band.
Tips for maintaining the longevity of the new band
To ensure the longevity and optimal performance of your new Fitbit Charge band, it’s important to adopt some maintenance practices. Follow these tips to take care of your band and keep it in great condition:
- Clean the band regularly: Sweat, dirt, and oils can accumulate on the band over time, affecting its appearance and comfort. Clean the band regularly using a mild soap and water solution or a gentle cleaning wipe. Be sure to dry it thoroughly before reattaching it to your Fitbit Charge.
- Avoid exposure to chemicals: Chemicals such as lotions, perfumes, and cleaning agents can damage the band material. Remove your Fitbit Charge or cover the band before applying any substances that could potentially harm it.
- Take breaks from wearing: Give your wrist and the band some time to breathe by taking breaks from wearing your Fitbit Charge. This can prevent excessive sweating and reduce the risk of skin irritation or discomfort.
- Avoid rough handling: Handle your Fitbit Charge and its band with care to avoid unnecessary strain or damage. Avoid pulling or tugging on the band forcefully, and keep it away from sharp objects or rough surfaces that could cause scratches or tears.
- Store properly when not in use: When you’re not wearing your Fitbit Charge, store it in a safe and dry place. You can use the original packaging or a protective case to prevent dust, moisture, and accidental damage.
- Keep an eye on wear and tear: Regularly inspect the band for signs of wear and tear. Look for any cracks, fraying, or stretching that might indicate the need for a replacement. The sooner you address any issues, the longer your new band will last.
- Follow Fitbit’s care instructions: Lastly, refer to Fitbit’s official care instructions for your specific band model. They may provide additional guidelines or precautions tailored to your band’s material and design.
By following these maintenance tips, you can prolong the life of your new Fitbit Charge band and ensure that it continues to function properly. Taking care of the band will not only maintain its appearance but also enhance your overall Fitbit experience.
Now that you have learned these maintenance tips, you’re ready to enjoy your Fitbit Charge with its new band for a long time to come!