
Tools and Materials Needed
In order to change the band on your Fitbit Charge, you will need a few tools and materials to ensure a smooth and successful process. Here is a list of everything you will need:
- Replacement band for Fitbit Charge – It is important to choose a replacement band that is compatible with your specific model of Fitbit Charge. There are various types of bands available, such as silicone, leather, and metal, so choose one that suits your preference and style.
- Small screwdriver – Some Fitbit Charge models require the use of a small screwdriver to remove and attach the bands. Make sure you have the appropriate size screwdriver for your device.
- Cleaning cloth – It’s always a good idea to have a soft cleaning cloth on hand to wipe down your Fitbit Charge and the replacement band before and after installation. This will help to keep them clean and free from any dirt or debris.
- Tweezers – Depending on the design of your Fitbit Charge, you may need tweezers to carefully remove and install small components, such as springs or pins.
- Patience and steady hands – Changing the band on a Fitbit Charge requires a steady hand and patience. It’s important to take your time and not force any components to avoid damaging your device.
Having these tools and materials ready will ensure that you have everything you need to successfully change the band on your Fitbit Charge. Now, let’s move on to the step-by-step process of removing the old band.
Step 1: Removing the Old Band
Before you can attach a new band to your Fitbit Charge, you will need to remove the old one. Follow these steps to remove the old band:
- Locate the band attachment points on your Fitbit Charge. These are small metal pins or screws that secure the band to the tracker.
- If your Fitbit Charge has screws, use a small screwdriver to carefully unscrew them. Set the screws aside in a safe place as you will need them later.
- If your Fitbit Charge has pins, look for a small button or lever on the back of the device. Press or slide this button/lever to release the pins.
- Gently pull the band away from the tracker, using caution not to bend or damage the pins or screws.
- Repeat the process on the other side of the Fitbit Charge to completely remove the old band.
Once the old band has been removed, set it aside or dispose of it appropriately. Now that the old band is out of the way, you can move on to choosing the right replacement band for your Fitbit Charge.
Step 2: Choosing the Right Replacement Band
When it comes to selecting a replacement band for your Fitbit Charge, there are a few factors to consider. Here’s how you can choose the right replacement band:
- Compatibility: Ensure that the replacement band you choose is compatible with your specific model of Fitbit Charge. Check the product specifications or consult Fitbit’s official website for compatibility information.
- Material: Decide on the material you prefer for your replacement band. There are various options available, such as silicone, leather, and metal. Consider factors like comfort, durability, and style when making your choice.
- Size: Choose the appropriate size of the replacement band to ensure a proper fit on your wrist. Most replacement bands come in small, medium, and large sizes, so measure your wrist circumference or refer to Fitbit’s sizing guidelines to determine the correct size for you.
- Style: Consider your personal style and the look you want to achieve with your Fitbit Charge. Opt for a replacement band that matches your fashion preferences and complements your overall attire.
- Price: Set a budget for your replacement band and explore options within that range. There are various brands and retailers offering replacement bands at different price points, so you can find one that fits your budget without compromising on quality.
By taking these factors into account, you can choose a replacement band that not only fits your Fitbit Charge perfectly but also reflects your personal style. Once you have chosen the right band, it’s time to move on to attaching it to the tracker.
Step 3: Attaching the New Band to the Tracker
Now that you have chosen the right replacement band for your Fitbit Charge, it’s time to attach it to the tracker. Follow these steps to properly secure the new band:
- Align the new replacement band with the attachment points on your Fitbit Charge. Make sure the pins or screws line up properly.
- If your Fitbit Charge has screws, use a small screwdriver to carefully align and tighten them. Be cautious not to overtighten, as this may cause damage to the screws or the tracker.
- If your Fitbit Charge has pins, carefully insert them into the corresponding holes on the tracker. You should hear or feel a click when they are securely in place.
- Repeat the process on the other side of the Fitbit Charge to attach the new band completely.
- Give the band a gentle tug to ensure it is secure and properly attached to the tracker.
Double-check that the new replacement band is firmly in place and that there is no wobbling or movement. If everything looks good, you can move on to adjusting the fit of the new band.
Step 4: Adjusting the Fit of the New Band
After attaching the new band to your Fitbit Charge, it’s important to ensure that it fits comfortably on your wrist. Follow these steps to adjust the fit of the new band:
- Put the Fitbit Charge on your wrist and fasten the new band.
- Check the fit to see if it feels too loose or too tight. Ideally, the band should be snug but not uncomfortable.
- If the band is too loose, you can adjust the fit by either moving to a smaller band size if available or tightening the band using the adjustment holes or buckle.
- If the band is too tight, you can adjust the fit by moving to a larger band size if available or loosening the band using the adjustment holes or buckle.
- Make sure to leave enough room for your Fitbit Charge to sit comfortably on your wrist without feeling too tight or restricting blood flow.
Take your time to find the right fit that is comfortable and secure for your daily activities. Once you have adjusted the band to your liking, it’s time to move on to securing it in place.
Step 5: Securing the New Band in Place
After adjusting the fit of your new band, it’s important to secure it properly to ensure it stays in place during your activities. Follow these steps to secure the new band on your Fitbit Charge:
- Check if your Fitbit Charge has any additional security features, such as a clasp or buckle. If it does, ensure that it is properly fastened and secured.
- For bands with an adjustable strap, make sure to properly thread the strap through the loops or slots and fasten it securely.
- For bands with a clasp, align the clasp with the appropriate hole or slot and press it firmly until you hear a click or feel it snap into place.
- Give the band a gentle tug to test its security. It should feel snug and secure without any noticeable movement.
- Double-check the band and its attachment points to ensure they are properly aligned and securely connected to the Fitbit Charge.
By following these steps, you can ensure that your new band is securely fastened and will stay in place throughout your daily activities. Now, it is time to move on to the next step – testing the Fitbit Charge with the new band.
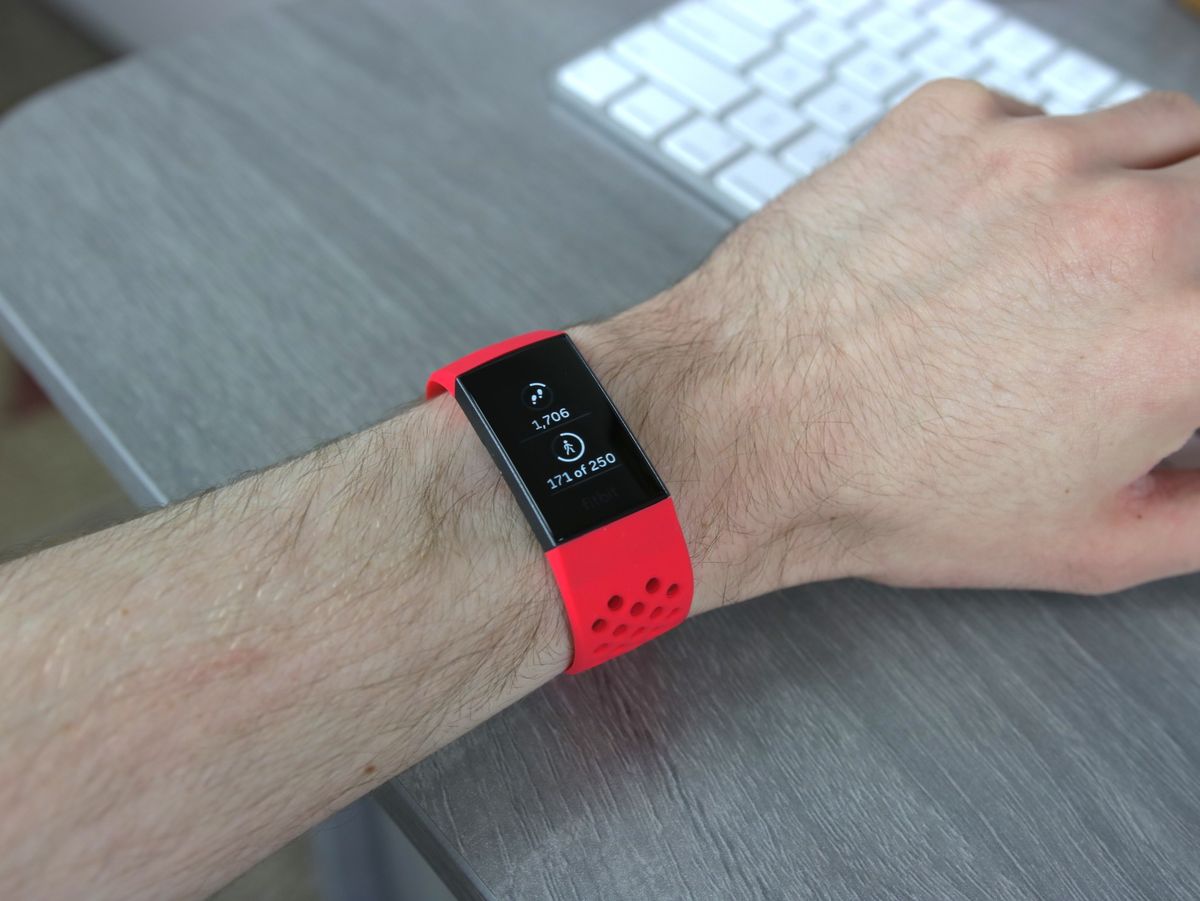
Step 6: Testing the Fitbit Charge with the New Band
Once you have secured the new band on your Fitbit Charge, it’s important to test its functionality and comfort. Follow these steps to ensure that your Fitbit Charge is working properly with the new band:
- Activate your Fitbit Charge by pressing the button or tapping the screen, depending on the model.
- Check if the tracker turns on and displays the time or any other relevant information.
- Ensure that all the buttons and features of your Fitbit Charge are functioning as intended.
- Wear the Fitbit Charge on your wrist and go about your normal activities.
- Pay attention to how the new band feels on your wrist. Make sure it remains comfortable and does not cause any irritation or discomfort.
- Monitor if the Fitbit Charge stays securely fastened on your wrist during movement and exercise.
By testing the Fitbit Charge with the new band, you can ensure that it is functioning properly and provides a comfortable fit for everyday use. If you notice any issues or discomfort, you may need to readjust the band or consider an alternative option.
Step 7: Taking Care of the Replacement Band
Proper care and maintenance of your replacement band are essential to ensure its longevity and keep it in good condition. Follow these steps to take care of your Fitbit Charge replacement band:
- Regular Cleaning: Clean the replacement band regularly to remove dirt, sweat, and oils. Use a soft cloth or dampen it with water or a mild soap solution. Gently wipe down the band and allow it to air dry.
- Avoid Moisture: Avoid exposing the replacement band to excessive moisture, such as swimming or showering with it. Moisture can damage the materials and affect the integrity of the band.
- Avoid Harsh Chemicals: Avoid using harsh chemicals, solvents, or abrasive cleaning agents on the replacement band. These can cause discoloration, damage the material, or weaken the band’s structure.
- Store Properly: When not in use, store the replacement band in a cool, dry place away from direct sunlight. Avoid storing it in a tightly wrapped or twisted position as it may lead to creases or deformations in the band.
- Alternate Bands: If you have multiple bands, consider alternating their use. This will reduce the strain on a single band and help prolong its lifespan.
- Replace as Needed: Over time, replacement bands may wear out or show signs of damage. If you notice any fraying, cracks, or significant wear on the band, it may be time to replace it with a new one to ensure proper functionality and comfort.
By following these care tips, you can prolong the life of your Fitbit Charge replacement band and keep it looking and performing its best. Taking proper care of the band will ensure that you can continue to enjoy your Fitbit Charge without any issues.