
Gathering the Materials
Building your own Amazon Echo using a Raspberry Pi involves gathering the necessary materials. Here is a list of items you will need:
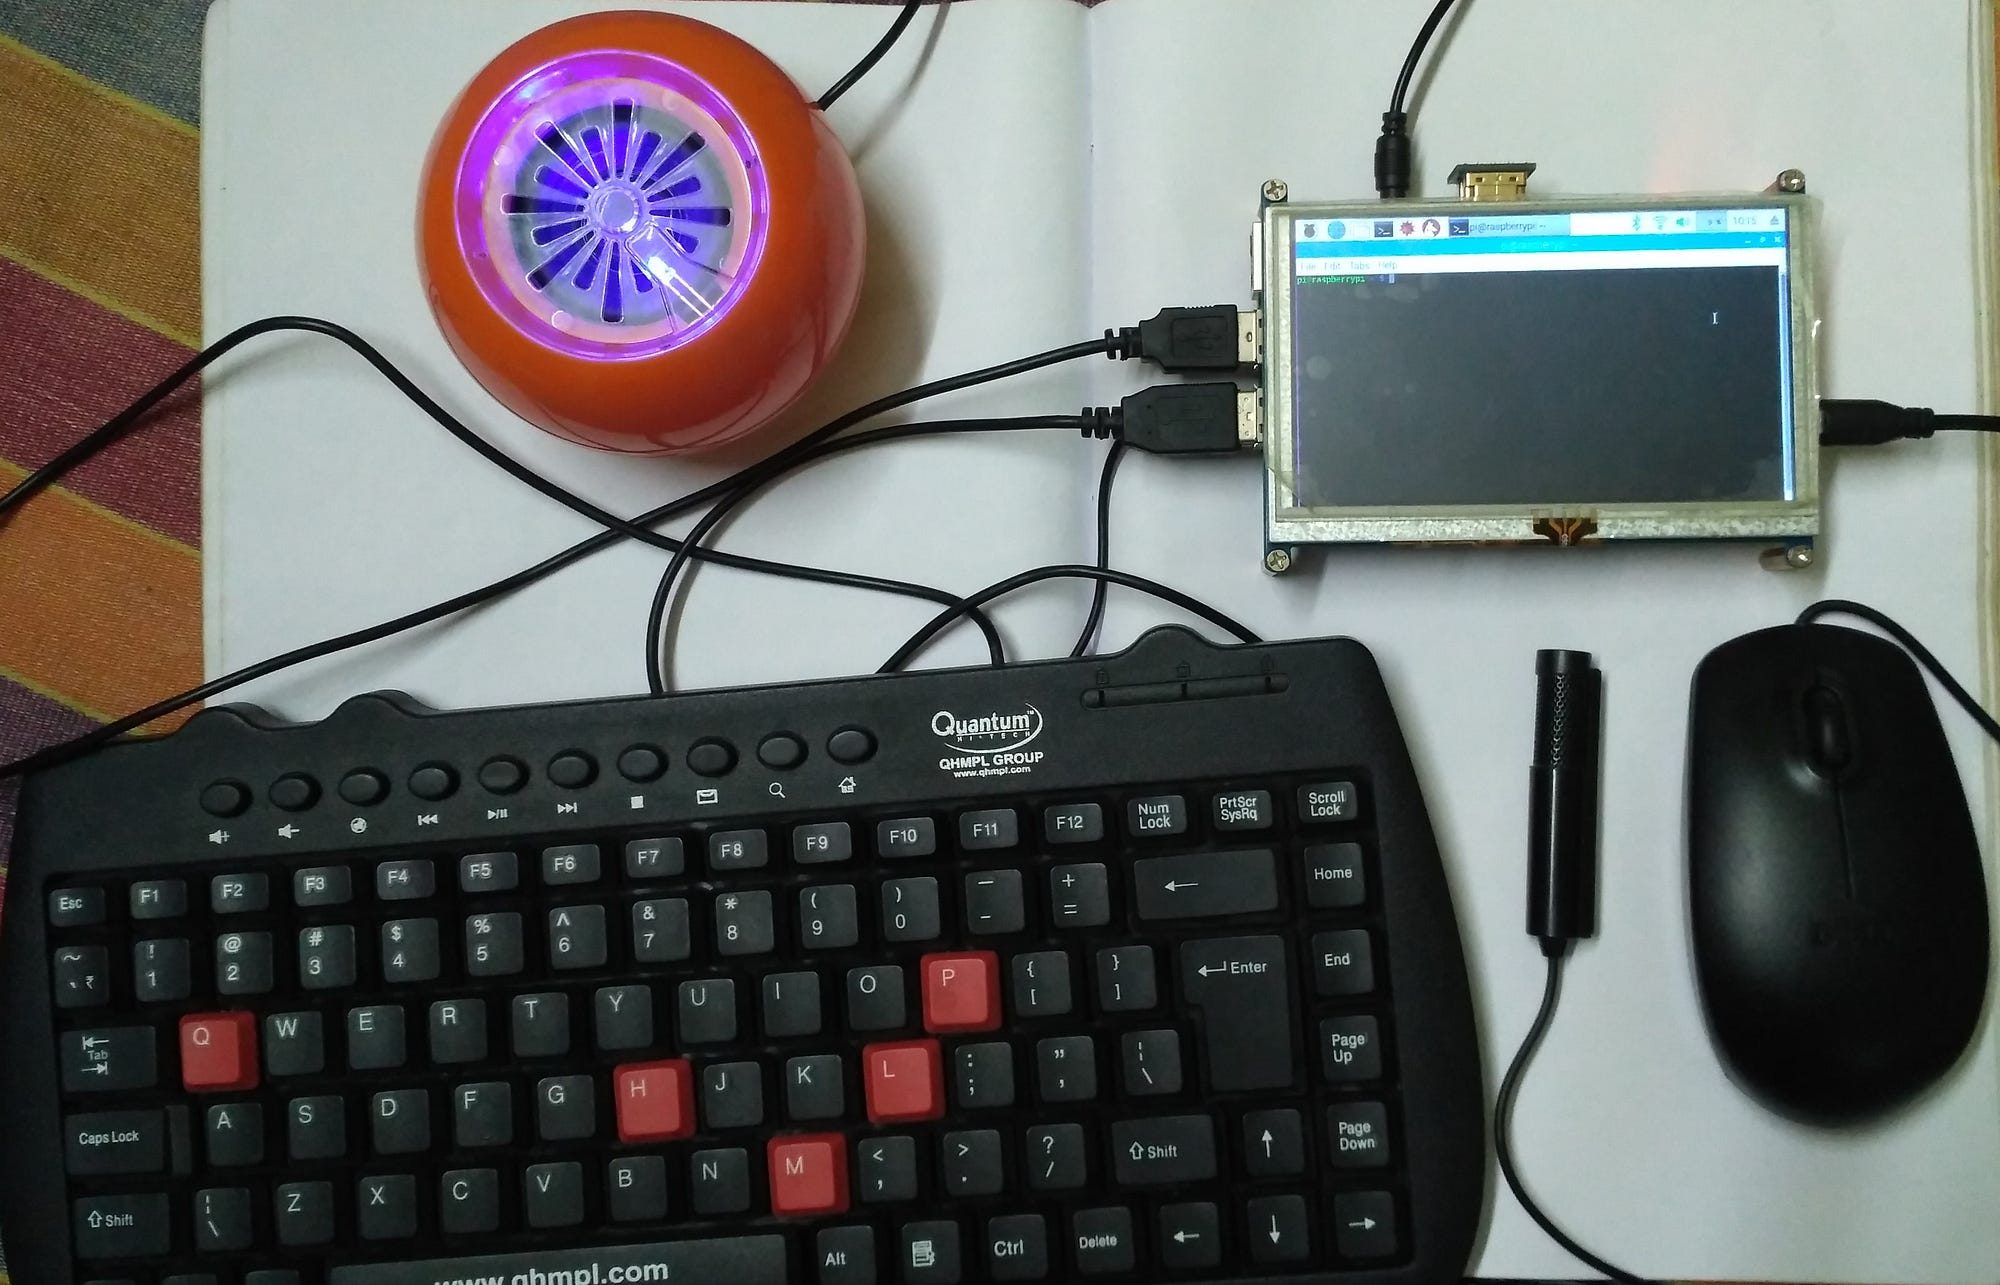
- Raspberry Pi: Start by obtaining a Raspberry Pi, a credit-card-sized computer that will serve as the brain of your Echo project. The Raspberry Pi is available in various models, so choose one that suits your requirements.
- MicroSD Card: You’ll need a microSD card with enough storage capacity to hold the operating system and other software.
- Power Supply: Make sure you have a compatible power supply for your Raspberry Pi.
- USB Microphone: Select a high-quality USB microphone that will capture your voice commands accurately. This is an essential component for speech recognition.
- Speaker: Choose a speaker that offers decent sound quality. You can connect it to the Raspberry Pi’s audio jack or use a USB speaker for better sound output.
- Ethernet Cable or Wi-Fi Dongle: You’ll need an Ethernet cable to connect your Raspberry Pi to the internet if you don’t have a Wi-Fi dongle. Alternatively, ensure your Raspberry Pi has built-in Wi-Fi capabilities.
- Keyboard, Mouse, and HDMI Cable: Initially, you’ll need a keyboard, mouse, and HDMI cable to set up and configure your Raspberry Pi. Once the setup is complete, you can access it remotely.
These are the basic materials required to start building your Amazon Echo using a Raspberry Pi. Depending on your preferences and the specific features you want to incorporate, you may need additional components. Now that you have all the necessary materials, you’re ready to move on to the next step – setting up the Raspberry Pi.
Setting up the Raspberry Pi
Once you have gathered all the necessary materials, it’s time to set up your Raspberry Pi for the Amazon Echo project. Follow these steps:
- Connect the Raspberry Pi: Plug in the power supply, keyboard, mouse, HDMI cable, and Ethernet cable/Wi-Fi dongle into the appropriate ports on the Raspberry Pi. Ensure everything is securely connected.
- Insert the microSD card: Insert the microSD card with the pre-installed operating system into the microSD card slot on the Raspberry Pi.
- Power on the Raspberry Pi: Turn on the power supply to boot up the Raspberry Pi.
- Configure the operating system: Follow the instructions on the screen to complete the initial setup of the operating system. This typically involves selecting your preferred language, keyboard layout, and network settings.
- Update the system: Open the terminal and run the appropriate commands to update the system packages. This ensures you have the latest software and security patches.
With these steps, you have successfully set up the Raspberry Pi. It is now ready to be customized with the necessary software and configurations to transform it into your own Amazon Echo device.
Next, we will install the operating system on the Raspberry Pi to provide the necessary platform for running the Echo software.
Installing the Operating System
After setting up your Raspberry Pi, the next step is to install the operating system (OS) that will enable it to run as an Amazon Echo. Follow these steps for a smooth installation process:
- Download the OS: Visit the official Raspberry Pi website and download the preferred OS image. The recommended choice is Raspbian, a free Debian-based OS optimized for the Raspberry Pi.
- Prepare the microSD card: Insert the microSD card into your computer and use an SD card formatter tool to format it. Then, use an image writing tool like balenaEtcher to write the downloaded OS image onto the microSD card.
- Insert the microSD card: Once the OS installation is complete, safely remove the microSD card from your computer and insert it into the Raspberry Pi’s microSD card slot.
- Power on the Raspberry Pi: Connect the power supply, and the Raspberry Pi will boot up with the newly installed OS.
- Complete the setup: Follow the on-screen instructions to configure the basic settings of the OS, such as language, time zone, and password. It is recommended to connect the Raspberry Pi to the internet during this setup process.
By following these steps, you have successfully installed the operating system on your Raspberry Pi. The Raspberry Pi is now ready for further configuration to turn it into an Amazon Echo.
Next, we will focus on configuring the audio and microphone settings to ensure seamless voice recognition for your DIY Amazon Echo.
Configuring the Audio and Microphone
Once you have installed the operating system on your Raspberry Pi, the next step is to configure the audio and microphone settings to ensure clear sound output and accurate voice recognition. Follow these steps:
- Access the terminal: Open the terminal on your Raspberry Pi to begin the configuration process.
- Check audio output: Execute the command
aplay -lto list the available audio devices. Make a note of the device name associated with your desired speaker output. - Configure audio output: Use the command
sudo nano /home/pi/.asoundrcto open the configuration file. Add the following lines, replacing “hw:0,0” with your desired audio device name:pcm.!default {
type hw
card 0
device 0
} - Test the audio output: Execute the command
speaker-test -t wavto verify that the audio output is working correctly. If you hear sound coming from the connected speaker, proceed to the next step. - Check microphone input: Execute the command
arecord -lto list the available audio devices. Make a note of the device name associated with your desired microphone input. - Configure microphone input: Use the command
sudo nano /home/pi/.asoundrcto open the configuration file. Add the following lines, replacing “hw:1,0” with your desired microphone device name:pcm.!default {
type hw
card 1
device 0
} - Test the microphone input: Execute the command
arecord --format=S16_LE --duration=5 --rate=16000 --file-type=raw out.rawto record a 5-second audio clip. Use the commandaplay out.rawto play back the recorded audio and verify that the microphone is working correctly.
By following these steps, you have successfully configured the audio and microphone settings on your Raspberry Pi for your DIY Amazon Echo project. The next step involves setting up an Amazon Developer account to create a new Alexa skill.
Setting up the Amazon Developer Account
In order to create a custom Alexa skill for your DIY Amazon Echo, you’ll need to set up an Amazon Developer account. Follow these steps to get started:
- Visit the Amazon Developer website: Go to the Amazon Developer website (developer.amazon.com) and sign in using your Amazon account credentials. If you don’t have an Amazon account, create one.
- Create a new developer account: If this is your first time using the Amazon Developer platform, you will be prompted to create a new developer account. Fill in the required information and complete the registration process.
- Navigate to the Alexa section: Once you’re logged in to your Amazon Developer account, navigate to the section specific to Alexa skills development.
- Create a new Alexa skill: Click on the “Create Skill” button to begin the process of creating a new Alexa skill. Provide a unique name for your skill and choose the language(s) you want to support.
- Choose a template: Select a template that best suits the functionality you want for your DIY Echo. You can start with a basic template and add customizations later.
- Configure the skill: In the skill configuration panel, specify the invocation name for your skill, which is the phrase users will say to activate it. Customize other settings such as endpoints, permissions, and interfaces as needed.
- Save and build the skill: Once you have configured the skill, save your changes and click on the “Build” button. This will initiate the process of building and testing your skill.
- Test and debug: Use the testing and debugging tools provided by Amazon Developer to test different interactions and scenarios within your skill. Ensure that it functions as expected.
- Publish the skill: Once you’re satisfied with the functionality and testing of your skill, you can proceed to the publishing stage. Follow the guidelines and requirements outlined by Amazon to prepare your skill for submission and publication.
By setting up an Amazon Developer account and creating a new Alexa skill, you have taken a significant step towards building your own Amazon Echo. Next, we will delve into writing the Python script that will power your Echo’s functionality.
Creating a New Alexa Skill
With your Amazon Developer account set up, it’s time to create a new Alexa skill that will power your DIY Amazon Echo. Follow these steps to get started:
- Navigate to the Alexa Developer Console: Visit the Alexa Developer Console (developer.amazon.com/alexa/console) and sign in using your Amazon Developer account credentials.
- Click on “Create Skill”: In the Alexa Developer Console, click on the “Create Skill” button to initiate the process of creating a new skill.
- Choose a skill model: Select the skill model that best fits the functionality you want for your DIY Echo. You can choose from options like Custom, Smart Home, Music, or Flash Briefing, among others.
- Provide skill details: Fill in the required information and details for your skill, including the name, default language, and any other specific settings relevant to the selected skill model.
- Define the interaction model: Design the interaction model for your Alexa skill by defining the intents, slots, and sample utterances. This determines how users interact with your skill using voice commands.
- Add functionality with custom code: To add custom functionality to your skill, you’ll need to write a Python script that runs on your Raspberry Pi. This script will handle the logic and responses for different intents.
- Configure the skill endpoint: Set up the endpoint URL that the Alexa service will send requests to when interacting with your skill. This endpoint will be the IP address or web address of your Raspberry Pi.
- Test and validate: Use the built-in testing tools in the Alexa Developer Console to test and validate your skill. Make sure it responds correctly to different intents and scenarios.
- Publish the skill: Once you’re satisfied with the functionality and testing of your skill, you can proceed to the publishing stage. Review the submission guidelines and requirements before submitting your skill for certification and publication.
By creating a new Alexa skill, you have laid the foundation for the customized functionality of your DIY Amazon Echo. In the next section, we will dive into writing the Python script that will power your Echo’s functionality.
Writing the Python Script
To bring your DIY Amazon Echo to life, you’ll need to write a Python script that runs on your Raspberry Pi. This script will handle the logic and responses for different intents defined in your Alexa skill. Follow these steps to write the Python script:
- Set up the development environment: Install the necessary software and dependencies for Python development on your Raspberry Pi. This includes the Python programming language and any additional libraries or packages your script may require.
- Import the required libraries: In your Python script, import the necessary libraries for interacting with the Alexa Voice Service (AVS). This includes the AVS SDK or other libraries specific to your chosen functionality.
- Define the intents and their corresponding functions: Create functions in your Python script that handle the different intents defined in your Alexa skill. Inside each function, define the logic and actions to be executed based on the user’s voice command.
- Handle the audio input and output: Implement code in your script that handles the audio input from the microphone and the audio output through the speaker. This involves capturing the user’s voice command, processing it, and generating appropriate responses.
- Connect the script to the Alexa skill: Establish a connection between your Python script and the Alexa skill by configuring your endpoint URL and ensuring your script can receive and respond to Alexa’s requests.
- Test and debug: Use logging and debugging tools to test and debug your Python script. Verify that it functions as intended and that the responses align with the defined intents and sample utterances.
By writing a Python script that interacts with the Alexa Voice Service, you have created the core functionality of your DIY Amazon Echo. In the next section, we will explore the process of generating a security profile for the Raspberry Pi.
Generating a Security Profile for the Raspberry Pi
Securing your Raspberry Pi is essential to protect it from potential threats and unauthorized access. To generate a security profile for your Raspberry Pi, follow these steps:
- Change default credentials: Start by changing the default username and password for your Raspberry Pi. This ensures that only authorized users have access to the device.
- Update the operating system: Regularly update the operating system and installed packages on your Raspberry Pi to patch any vulnerabilities or security issues that may exist.
- Enable a firewall: Configure a firewall on your Raspberry Pi to monitor and control incoming and outgoing network connections. This adds an additional layer of defense against unauthorized access.
- Secure remote access: If you plan to access your Raspberry Pi remotely, secure the remote access by using encrypted connections (such as SSH with key-based authentication) and changing default ports for services.
- Disable unnecessary services: Disable any unnecessary services or protocols running on your Raspberry Pi that may introduce security risks. Only keep the services that you absolutely require for your Amazon Echo functionality.
- Implement strong authentication: Use strong passwords and consider employing multifactor authentication to further enhance the security of your Raspberry Pi.
- Regularly back up your data: Back up important data and configurations on your Raspberry Pi to prevent data loss in case of a security breach or hardware failure.
By generating a security profile for your Raspberry Pi, you can mitigate potential risks and ensure the overall security of your DIY Amazon Echo project. In the next section, we will explore how to link the skill to the Raspberry Pi for seamless integration.
Linking the Skill to the Raspberry Pi
After creating your custom Alexa skill and setting up your Raspberry Pi, it’s time to link the skill to the Raspberry Pi in order to enable the functionality of your DIY Amazon Echo. Follow these steps to establish the link:
- Note the endpoint URL: Retrieve the endpoint URL of your Alexa skill from the skill configuration section in the Amazon Developer Console. This URL will be used to establish the connection between the skill and your Raspberry Pi.
- Access the Raspberry Pi: Using SSH or another remote access method, log in to your Raspberry Pi and navigate to the directory where your Python script is located.
- Edit the Python script: Open the Python script that you wrote to handle the functionality of your DIY Echo. Locate the section where the endpoint URL needs to be specified.
- Update the endpoint URL: Modify the script to include the endpoint URL of your Alexa skill. This step ensures that your Raspberry Pi receives the necessary commands and sends back appropriate responses.
- Save and restart the script: Save the changes made to the Python script and restart the script to apply the modifications. This ensures that the Raspberry Pi is connected to your skill and ready to respond to voice commands.
By linking your skill to the Raspberry Pi, you establish the necessary communication pathway for your DIY Amazon Echo. This allows your Raspberry Pi to receive incoming voice commands from Alexa and respond accordingly. Next, we will explore how to test the Amazon Echo functionality on your Raspberry Pi.
Testing the Amazon Echo Functionality
Once you have linked your custom skill to your Raspberry Pi, it’s crucial to test the Amazon Echo functionality to ensure that everything is working as expected. Here are the steps to test your DIY Echo:
- Wake up your Echo: Activate your DIY Echo by calling out the wake word you set during the skill configuration process. This wakes up the Echo and prepares it for your voice commands.
- Give voice commands: Speak out the sample utterances or phrases associated with the intents you defined in your skill. These voice commands should trigger the corresponding functions in your Python script on the Raspberry Pi.
- Observe the Echo’s response: Pay attention to the responses generated by your Echo. Check if the intended actions are being executed correctly and if the output matches your expectations.
- Validate multi-turn conversations: Test the Echo’s ability to hold multi-turn conversations by providing follow-up voice commands based on the prompts or questions from your skill. Make sure the responses and actions flow smoothly.
- Debug and refine: If any issues arise during testing, use debugging techniques to identify and address the problems in your Python script. Make necessary adjustments and refinements to improve the Echo’s functionality.
- Test different scenarios: Explore various scenarios and edge cases to ensure that your Echo handles different inputs and commands appropriately. This includes testing error handling and providing helpful responses when faced with unrecognized commands.
By thoroughly testing the Amazon Echo functionality on your Raspberry Pi, you can ensure a seamless user experience and identify any areas for improvement. Next, let’s explore how to customize the wake word of your DIY Echo to make it truly personalized.
Customizing the Echo’s Wake Word
One of the exciting features of building your own Amazon Echo with Raspberry Pi is the ability to customize the wake word, which activates the device and prepares it to listen for voice commands. Here’s how you can customize the wake word:
- Access the Raspberry Pi: Log in to your Raspberry Pi using a remote access tool or directly connect a keyboard and monitor.
- Modify the wake word: Open the configuration file of your voice recognition software, such as Snowboy or PocketSphinx, that detects the wake word. Look for the setting related to the wake word and change it to your desired wake word.
- Save the changes: Save the modifications made to the wake word configuration file.
- Restart the software: Restart the voice recognition software on your Raspberry Pi so that it recognizes the new wake word.
- Test the new wake word: Speak out the new wake word and observe if the device wakes up and is ready to accept voice commands. Make sure the new wake word is clear and distinct to avoid accidental activations.
- Refine and adjust if needed: If the new wake word doesn’t work as expected or if there are issues with voice recognition, fine-tune the wake word configuration, adjust microphone sensitivity, or explore other voice recognition software options.
Customizing the Echo’s wake word adds a personal touch to your DIY Amazon Echo. You can choose a wake word that suits your preferences or reflects your creativity. Experiment with different wake words until you find one that works reliably and enhances your Echo experience. In the next section, we will explore troubleshooting common issues that may arise during the setup or usage of your DIY Amazon Echo.
Troubleshooting Common Issues
While building and using your DIY Amazon Echo, you might encounter some common issues. Here are a few troubleshooting tips to help you overcome these challenges:
- No sound output: If there is no sound coming from your speaker, ensure that the audio cables are securely connected. Additionally, check the volume levels on your Raspberry Pi and make sure they are not muted or too low.
- No voice recognition: If your Echo is not responding to voice commands, first verify that the microphone is properly connected. Ensure that the microphone is not muted, and check the sensitivity settings in your voice recognition software or configuration files.
- Inconsistent wake word detection: If the wake word is not consistently recognized, double-check the configuration of your wake word detection software. Adjust the sensitivity settings if necessary, and make sure that the microphone is positioned correctly for optimal detection.
- Connectivity issues: If your Raspberry Pi is not connecting to the internet, ensure that the Ethernet cable or Wi-Fi connection is functioning properly. Check the network settings on your Raspberry Pi and restart the network services if needed.
- Script errors: If you encounter errors or unexpected behaviors in your Python script, carefully review your code for syntax errors, missing imports, or logic errors. Check the log files for any error messages that can help identify the issues.
- Software compatibility: If you are experiencing compatibility issues between different software components, ensure that you have installed the correct versions and dependencies. Consult the software’s documentation or community forums for guidance on compatibility and troubleshooting.
Remember, troubleshooting is an essential part of any DIY project. If you encounter issues that cannot be resolved with the above tips, consult online forums, communities, or relevant resources specific to your hardware and software setup. The troubleshooting process will help you identify and resolve any challenges, ensuring a smooth and enjoyable experience with your DIY Amazon Echo.
Enhancing the Functionality of Your Echo
Building your own Amazon Echo using a Raspberry Pi provides an opportunity to customize and enhance its functionality beyond the basic features. Here are some ways to expand the capabilities of your DIY Echo:
- Add new skills: Explore the Alexa Skills Store and discover a wide range of skills created by the community. Install and enable new skills that align with your interests and needs, such as smart home control, weather updates, trivia games, or music streaming.
- Integrate with smart home devices: Connect your DIY Echo to various smart home devices, such as smart lights, thermostats, or security systems. This allows you to control them using voice commands, creating a more seamless and convenient smart home experience.
- Implement additional voice commands: Customize your Python script to handle additional voice commands that go beyond the initial intent definitions. Add new functions and responses to accommodate specific actions or interactions that you desire.
- Integrate with third-party services: Utilize APIs and web services to connect your DIY Echo to external platforms or services. This opens up possibilities for retrieving data, performing actions, or accessing information from various sources.
- Expand language support: If you are multilingual or want to create a multilingual experience, consider adding support for additional languages in your skill and Python script. This allows you to interact with your Echo in different languages.
- Implement natural language processing: Enhance the conversational capabilities of your DIY Echo by incorporating natural language processing (NLP) techniques. NLP can enable your Echo to understand more complex user input and provide more contextually relevant responses.
- Integrate with other Raspberry Pi projects: Combine your Echo with other Raspberry Pi projects you have created or plan to build. This could involve creating IoT devices, home automation systems, or multimedia centers that work seamlessly with your Echo.
The possibilities for enhancing the functionality of your DIY Echo are endless. Get creative, explore new ideas, and customize your Echo to make it truly unique and tailored to your needs. Enjoy the journey of expanding and refining your Echo’s capabilities to transform it into an even more intelligent and versatile assistant.
Final Thoughts and Future Improvements
Building your own Amazon Echo using a Raspberry Pi is an exciting DIY project that combines technology and creativity. As you wrap up the initial setup and start enjoying the functionality of your DIY Echo, here are some final thoughts and future improvements to consider:
- Continuous learning and exploration: Technology and voice assistant capabilities are constantly evolving. Stay updated with the latest developments, new features, and enhancements in both the Raspberry Pi ecosystem and Alexa Skills Kit. This allows you to continually learn, explore, and implement new functionalities in your DIY Echo.
- User feedback and iteration: Encourage feedback from users who interact with your DIY Echo. Gather suggestions and insights from family, friends, or members of your community. Use this feedback to identify areas for improvement and iterate on your Python script, skills, or hardware setup.
- Expand hardware integration: Explore the possibility of integrating additional hardware components with your DIY Echo. This could involve sensors, displays, or voice recognition modules to enhance the user experience or enable new functionalities.
- Voice personalization: Implement voice personalization by using voice profiles to recognize different users of your DIY Echo. This allows for personalized experiences, such as accessing individualized playlists or delivering customized information.
- Implement machine learning: Explore the integration of machine learning techniques to improve the voice recognition accuracy and enhance the natural language understanding capabilities of your DIY Echo. This could involve training models based on user interactions and fine-tuning the speech recognition algorithms.
- Build a dedicated enclosure: Consider designing and building a custom enclosure for your Raspberry Pi-based Amazon Echo. This adds a professional and polished look to your DIY project, while also protecting the components.
- Share your project: Inspire others in the maker community by documenting and sharing your DIY Echo project. Write tutorials, share your code, or create step-by-step guides to help others replicate and build upon your work.
Your DIY Amazon Echo project is a dynamic and ever-evolving endeavor. Embrace the spirit of exploration, experimentation, and innovation to continuously improve and refine your Echo. Enjoy the journey of building and expanding upon your DIY creation, and inspire others to embark on their own creative projects. Happy hacking!