
Why blur the background on iPhone photos?
Blurring the background on iPhone photos can add a touch of professionalism and creativity to your images. It helps to draw attention to the subject and create a sense of depth and separation between the foreground and background. Whether you’re taking portraits, food shots, or even capturing everyday moments, blurring the background can elevate your photos to a whole new level.
One of the main reasons photographers choose to blur the background is to create a shallow depth of field effect. This effect makes the subject stand out by keeping it sharp and in focus while the background becomes soft and blurry. By blurring the background, you can remove distractions and direct the viewer’s attention to the main subject, allowing them to fully appreciate the details and emotions captured in the photo.
Furthermore, blurring the background can help to create a visual separation between the subject and the surroundings. This can be particularly useful in crowded or busy environments where the background may be cluttered or less appealing. By blurring the background, you can simplify the composition and make the subject more prominent, resulting in a cleaner and more visually appealing image.
Moreover, blurring the background can add a sense of depth to your photos. It creates a sense of distance and three-dimensionality, making the subject appear more three-dimensional and lifelike. This can be especially effective when capturing landscapes or scenes with multiple layers, as the blurred background can provide a sense of scale and perspective.
Additionally, blurring the background can also be used to enhance the mood and storytelling of a photo. Depending on the level of blur and the specific techniques used, you can create a dreamy and ethereal atmosphere or a more dramatic and intimate feel. This allows you to convey emotions and evoke a certain response from the viewers.
Overall, blurring the background on your iPhone photos can significantly enhance the visual impact and quality of your images. It can make the subject stand out, create a sense of depth, remove distractions, and add a touch of professionalism. So, whether you’re a seasoned photographer or just starting out, experimenting with blurring the background can take your iPhone photography to new creative heights.
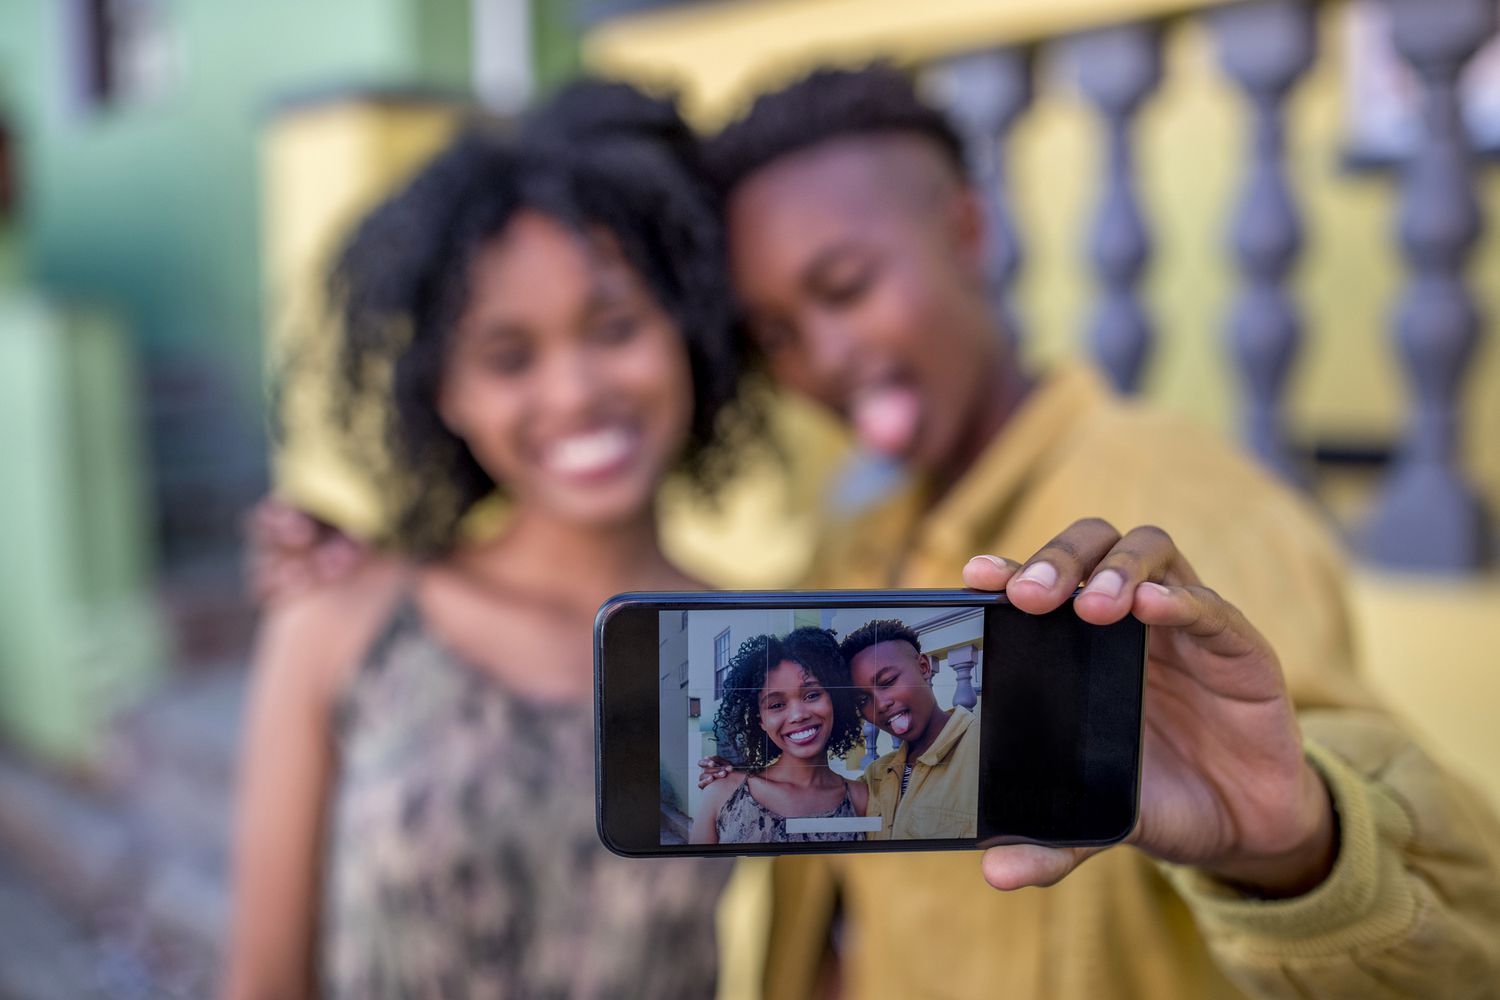
Using Portrait mode on iPhone
One of the easiest and most convenient ways to blur the background on iPhone photos is by using the Portrait mode feature. Available on certain iPhone models, such as the iPhone 7 Plus, iPhone 8 Plus, and later versions, Portrait mode utilizes the dual-camera system and depth mapping technology to create a professional-looking depth-of-field effect.
To use Portrait mode, open your iPhone’s camera app and select the mode from the options at the bottom of the screen. Once you’re in Portrait mode, the camera will automatically detect the subject and blur the background, giving you a preview of the effect in real-time.
When using Portrait mode, it’s important to keep in mind a few key factors to ensure the best results. Firstly, make sure your subject is within the recommended distance of 8 feet (2.4 meters) from the camera. This helps the iPhone’s depth sensor accurately measure the distance and create a more precise blur effect.
Additionally, take into account the lighting conditions. Portrait mode works best in well-lit environments, so try to avoid shooting in extremely low light or high-contrast situations. Adequate lighting helps the camera to capture fine details and achieve a smoother transition between the subject and the background.
In Portrait mode, you also have the option to choose different lighting effects, such as Natural Light, Studio Light, Contour Light, Stage Light, and Stage Light Mono. These lighting effects can enhance the overall look and feel of your portrait by adjusting the lighting and shadows on the subject’s face.
After capturing the photo in Portrait mode, you can further adjust the depth effect. Simply tap on the “Edit” button when viewing the photo, and you’ll see a slider that allows you to increase or decrease the intensity of the background blur. This gives you more control over the final result and allows you to fine-tune the depth effect to your preference.
Using Portrait mode on iPhone provides a quick and easy way to achieve a professional-looking background blur. It’s a great feature for capturing stunning portraits, close-up shots, and even certain still-life subjects. Experiment with different lighting conditions and depth effect adjustments to capture striking photos with beautifully blurred backgrounds.
Adjusting the depth effect in Portrait mode
When using the Portrait mode on your iPhone, you have the option to adjust the depth effect to achieve the desired level of background blur. This allows you to further customize the look of your photos and create different aesthetic effects. Here’s how you can make the most out of this feature.
After capturing a photo with Portrait mode, open the image in the Photos app and tap on the “Edit” button. This will bring up the editing tools, including the depth adjustment slider. By default, the depth effect is set to create a medium-level blur, but you can easily change it to your liking.
To adjust the depth effect, simply slide your finger left or right on the depth adjustment slider. Moving it to the left will decrease the background blur, while moving it to the right will increase it. This allows you to control the amount of separation between the subject and the background, giving you more creative freedom.
When adjusting the depth effect, it’s important to strike a balance that complements the composition and overall mood of the photo. For portraits, a moderate amount of background blur can help the subject stand out while still maintaining a natural look. On the other hand, for more artistic or creative shots, you may want to experiment with a stronger blur to create a dreamy or abstract effect.
Keep in mind that the intensity of the background blur can vary depending on the distance between the subject and the background. If there’s a significant distance, you’ll notice a more pronounced blur effect. Adjusting the depth effect can help fine-tune this effect and create a more coherent and visually appealing image.
It’s worth noting that the depth adjustment feature is available for photos taken in Portrait mode, but it may not be available for all images in your photo library. This is because the depth information required for adjusting the blur effect is captured only in certain situations where Portrait mode is used. However, you can still explore other editing tools and techniques to achieve a similar effect on non-Portrait mode photos.
By adjusting the depth effect in Portrait mode, you can take even more control over the background blur in your iPhone photos. This feature allows you to fine-tune the depth-of-field effect to your liking, giving you the freedom to create photos with varying levels of separation and visual interest.
Tips for capturing a great portrait photo on iPhone
Taking stunning portrait photos on your iPhone is easier than ever before. With a few simple tips and tricks, you can elevate your portrait photography skills and capture beautiful and professional-looking images. Here are some valuable tips to keep in mind:
- Select the right location: Choose a location that complements the subject and enhances the overall aesthetic of the portrait. Consider the lighting, background, and any elements that can add interest or tell a story.
- Pay attention to lighting: Good lighting is crucial for capturing great portraits. Natural light, such as during the golden hour or in soft overcast conditions, can produce flattering and soft illumination. Avoid harsh lighting or direct sunlight, as it can create unflattering shadows or blown-out highlights.
- Focus on the eyes: The eyes are the windows to the soul, and they should be the focal point of your portrait. Ensure that the eyes are sharp and in focus, as this adds depth and draws the viewer’s attention into the image.
- Consider composition: Composition plays a key role in portraying the subject in an appealing way. Follow the rule of thirds, use leading lines or frames within the frame, and experiment with different angles or perspectives to add visual interest.
- Engage with the subject: Establish a rapport with the person you’re photographing and make them feel comfortable in front of the camera. Encourage natural expressions and capture candid moments that showcase their personality and emotions.
- Experiment with depth-of-field: Use Portrait mode on your iPhone to create a shallow depth-of-field effect and blur the background. Adjust the depth effect to find the perfect balance between sharpness and background blur, ensuring the subject stands out.
- Utilize composition aids: Enable the gridlines on your iPhone’s camera to help you compose your shots more effectively. The gridlines follow the rule of thirds and enable you to align your subject and elements within the frame more precisely.
- Try different angles and perspectives: Explore various angles and perspectives to capture unique and interesting portraits. Experiment with low-angle shots for a more dramatic effect or capture overhead shots for a fresh and creative perspective.
- Include props or interesting elements: Incorporate props, accessories, or interesting elements that complement the subject and help tell a story. Props can add depth and visual interest to your portraits.
- Edit and enhance: Use photo editing apps available on your iPhone to fine-tune your portraits. Adjust the exposure, contrast, color balance, and other parameters to bring out the best in your images. Take care not to over-edit and maintain a natural-looking result.
By incorporating these tips into your portrait photography, you can elevate your iPhone photos to the next level. Remember to practice, experiment, and have fun capturing beautiful and evocative portraits.
Using a third-party app to blur the background on iPhone photos
While the built-in Portrait mode on iPhone can do a fantastic job of blurring the background, you also have the option to use third-party apps to achieve a similar effect and add more creative control to your photos. These apps offer additional features and customization options to enhance the background blur and create unique and artistic effects. Here’s how you can use a third-party app to blur the background on your iPhone photos:
1. Select a suitable app: There are several popular apps available that offer advanced editing and background blur features. Look for apps like Blur Photo Editor, AfterFocus, or Focos, which provide customizable options for blurring the background.
2. Import or take a photo: Open the third-party app and either import an existing photo from your iPhone’s photo library or capture a new image using the app’s camera feature. Make sure that the subject is well-lit and stands out clearly in the photo.
3. Apply the background blur effect: Once you have selected or taken a photo, look for the option to blur the background or adjust the depth effect. In most apps, you can use a brush tool or a selection tool to manually blur the background. Adjust the brush size and strength to achieve the desired level of blur.
4. Refine the blur effect: After applying the background blur, you may have options to further enhance the effect. Some apps allow you to adjust the intensity, smoothness, or feathering of the blur, giving you more creative control over the final result. Experiment with these settings to find the perfect balance for your photo.
5. Save and export the edited photo: Once you’re satisfied with the background blur effect, save the edited photo in the app or export it to your iPhone’s photo library. You can then share or further edit the image using other apps or platforms.
Using a third-party app allows you to take your background blur capabilities to the next level. These apps often offer more advanced features, such as adjusting the blur strength on specific portions of the image or applying various artistic effects to enhance the overall look and feel of your photo.
Just remember that the effectiveness of the background blur may vary depending on the quality of the original photo and the specific capabilities of the app you choose. It’s always beneficial to experiment with different apps and settings to find the one that best suits your style and creative vision.
By utilizing a third-party app to blur the background on your iPhone photos, you can expand your editing options and create stunning images with customized and artistic depth-of-field effects.
Exploring other editing techniques to blur the background on iPhone photos
Aside from utilizing the built-in Portrait mode or third-party apps, there are various other editing techniques you can explore to blur the background on your iPhone photos. These techniques allow you to create a depth-of-field effect and add a captivating blur to your images. Here are some techniques to consider:
- Using photo editing apps: Besides dedicated blur apps, many general photo editing apps offer brush or selective editing tools that allow you to manually blur the background. Apps like Snapseed, Adobe Photoshop Express, and VSCO provide such capabilities.
- Adjusting the Tilt-Shift effect: Some editing apps have a tilt-shift feature that enables you to simulate a shallow depth of field by blurring specific areas of the photo. You can select the focus area and control the size and intensity of the blur, achieving a similar effect to the one produced by a dedicated depth-of-field lens.
- Creating a bokeh effect: Bokeh refers to the aesthetic quality of the out-of-focus areas in a photo. Some editing apps offer filters or effects specifically designed to add a bokeh-like blur to the background. Experiment with different bokeh effects to achieve the desired look.
- Using the radial or graduated filter: Many photo editing apps include radial or graduated filter tools that allow you to apply selective adjustments to specific areas of the image. By applying a blur filter to the areas surrounding your subject, you can create a distinct separation and blur the background effectively.
- Applying the Gaussian blur: Gaussian blur is a popular editing technique that creates a soft, smooth blur across the entire image or specific areas. Some editing apps provide this option, enabling you to adjust the radius and intensity of the blur to achieve the desired effect.
- Layering images: Another creative technique involves layering multiple images in a photo editing app. By blending a sharp foreground image with a blurred background image, you can achieve a realistic depth-of-field effect. This technique requires precision and attention to detail but can deliver outstanding results.
- Using depth-mapping apps: There are specialized depth-mapping apps available that allow you to create a depth map based on your iPhone photo and then apply a realistic background blur. These apps analyze the depth information in your photo and generate accurate blur effects.
When experimenting with these editing techniques, it’s essential to exercise restraint and maintain a natural-looking result. Blurring the background should enhance your photo and not overpower the subject or create an artificial appearance. Take the time to fine-tune the blur effect, keeping in mind the composition and overall aesthetic of the image.
Remember, editing techniques vary across different apps, and it’s beneficial to explore and experiment with various options to find the ones that suit your style and achieve the desired look. Practice and refine your editing skills to master the art of blurring the background on your iPhone photos and create visually stunning images.