Check if your Nest Thermostat model supports multiple users
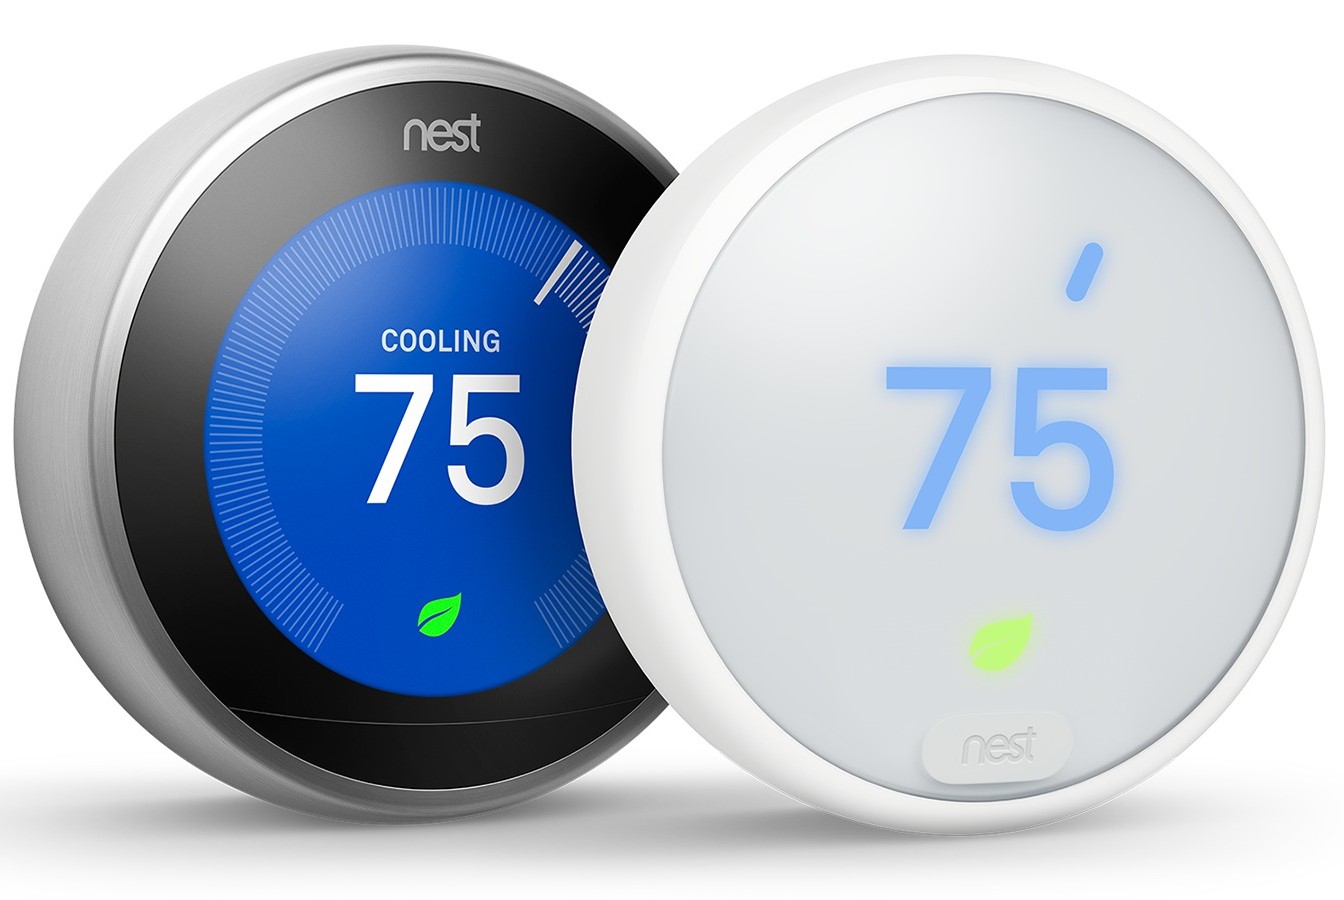
If you are wondering whether your Nest Thermostat model allows multiple users to access and control it, you can easily check this information. Nest Thermostats come in different models, and not all of them support multiple users. This feature is available on certain models and can be a convenient option if you want to allow other members of your household to have control over the thermostat settings.
To check if your Nest Thermostat model supports multiple users, you can follow these steps:
- Locate the model number: The model number of your Nest Thermostat is usually found on the back of the device or in the settings menu. It is typically a combination of letters and numbers.
- Visit the Nest website: Once you have the model number, go to the official Nest website and navigate to the support section.
- Find product information: Look for the support page specific to your Nest Thermostat model and access the product information or specifications.
- Check for multiple user support: In the product information or specifications, search for details about the ability to add multiple users. It will clearly state whether your specific model supports this feature or not.
By following these steps, you will be able to determine if your Nest Thermostat model supports multiple users. If it does, you can proceed with the next steps to add additional users to your thermostat. However, if your model does not support this feature, you may need to consider upgrading to a model that does if multiple user access is important to you.
Download the Nest app on your smartphone
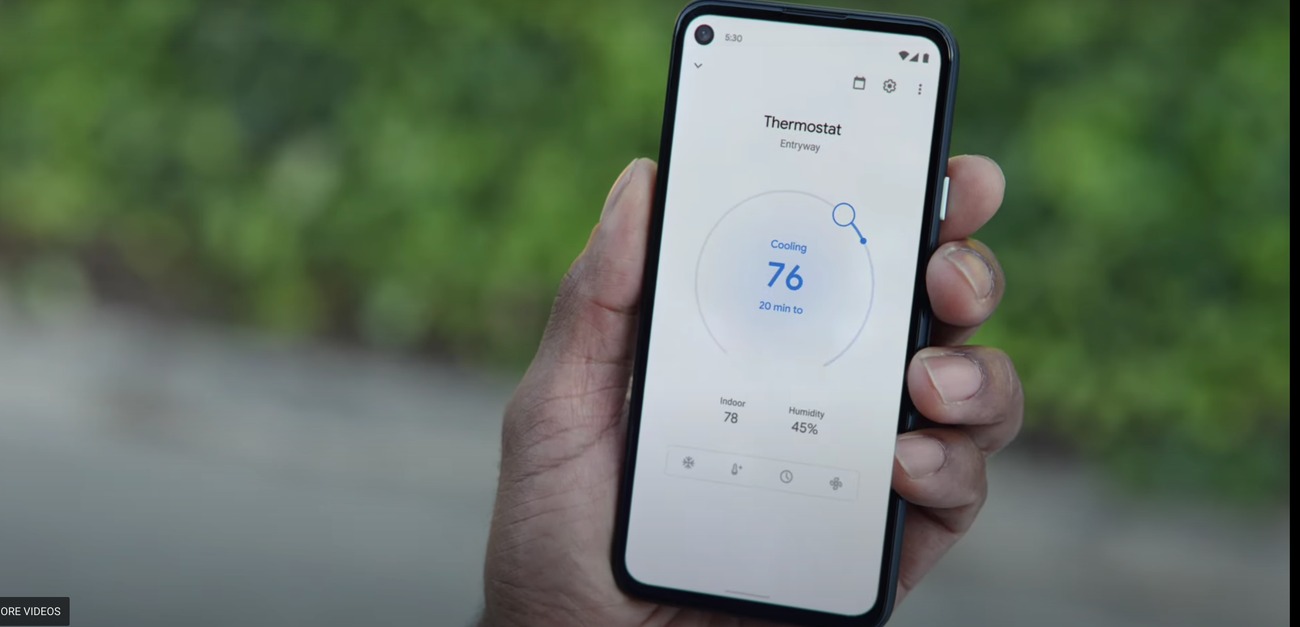
In order to add users to your Nest Thermostat, you’ll need to download the Nest app on your smartphone. The app is available for both iOS and Android devices, and it allows you to conveniently control and manage your Nest devices from the palm of your hand.
Here’s how to download the Nest app:
- Open the app store: On your smartphone, navigate to the app store that is compatible with your device’s operating system. For iOS devices, this is the App Store, while Android devices use the Google Play Store.
- Search for the Nest app: Once you’re in the app store, search for “Nest” in the search bar. The official Nest app should appear in the search results.
- Select and install the app: Tap on the Nest app to view more details. Make sure it’s the official app developed by Nest Labs. Then, click on the “Install” or “Get” button to start the download and installation process. Follow the on-screen prompts to complete the installation.
- Open the Nest app: Once the installation is complete, locate the Nest app on your smartphone’s home screen or app drawer. Tap on the app icon to open it.
- Sign in or create a Nest account: If you already have a Nest account, sign in using your credentials. If you don’t have an account, you’ll need to create one. Follow the steps provided in the app to set up your account.
After downloading the Nest app and signing in or creating an account, you’re ready to proceed with adding users to your Nest Thermostat. The app provides a user-friendly interface that makes it easy to manage and control your thermostat, as well as customize user access and settings.
Sign in to your Nest account
Before you can add a user to your Nest Thermostat, you need to sign in to your Nest account. This helps ensure the security and privacy of your thermostat settings while allowing you to manage user access and preferences.
Here’s how to sign in to your Nest account:
- Open the Nest app: On your smartphone, locate the Nest app and tap on it to open the app.
- Enter your credentials: On the login screen, enter your email address and password associated with your Nest account. If you have forgotten your password, you can click on the “Forgot password” link to reset it.
- Tap on “Sign in”: After entering your credentials, tap on the “Sign in” button to proceed.
- Two-factor authentication (optional): Depending on your account settings, you may be prompted to enter a verification code sent to your email or phone number associated with your account. This extra security step helps protect your account from unauthorized access.
- Account verification (optional): If it’s your first time signing in on a new device or after a period of inactivity, Nest may require you to verify your account ownership. This can be done by following the prompts sent to your email.
Once you have successfully signed in to your Nest account, you will have access to your thermostat settings and be able to proceed with adding a user to your Nest Thermostat. The Nest app provides a seamless and intuitive interface to manage your account and thermostat features.
Access the thermostat settings
Once you have signed in to your Nest account, the next step is to access the thermostat settings. This will allow you to make changes to your Nest Thermostat, including adding and managing users.
Here’s how to access the thermostat settings:
- Launch the Nest app: Open the Nest app on your smartphone by tapping on the app icon.
- Select your thermostat: If you have multiple Nest devices linked to your account, select the specific thermostat you want to manage from the list of devices displayed in the app.
- Tap on the settings icon: Look for the settings icon, which is usually represented by a gear or similar symbol. Tap on it to open the settings menu.
- Access the thermostat settings: Within the settings menu, you should see various options and configurations for your Nest Thermostat. Look for the section related to users or access control.
By following these steps, you will be able to access the thermostat settings on your Nest app. From here, you can proceed to the next steps to add a user to your Nest Thermostat and customize their privileges and notification preferences.
Select “Users”
Once you have accessed the thermostat settings on the Nest app, the next step is to select the “Users” option. This is where you can manage the users who have access to your Nest Thermostat and make changes to their permissions and settings.
Here’s how to select “Users” on the Nest app:
- Open the Nest app: Launch the Nest app on your smartphone by tapping on the app icon.
- Select your thermostat: If you have multiple Nest devices linked to your account, choose the specific thermostat you want to manage from the list of devices.
- Access the settings menu: Look for the settings icon, usually represented by a gear or similar symbol, and tap on it to open the settings menu.
- Navigate to the “Users” section: Within the settings menu, search for the option labeled “Users” or “Access Control.” This is where you can manage the users who have access to your Nest Thermostat.
- Tap on “Users”: Once you have located the “Users” section, tap on it to enter the user management panel.
By following these steps, you will easily find and select the “Users” option within the Nest app. This will allow you to proceed with adding a new user or editing the permissions and settings of existing users who have access to your Nest Thermostat.
Choose “Add User”
After selecting the “Users” option in the Nest app, the next step is to choose “Add User”. This will enable you to add a new user to your Nest Thermostat, granting them access to control and manage the thermostat settings.
Here’s how to choose “Add User” on the Nest app:
- Open the Nest app: Launch the Nest app on your smartphone and navigate to the thermostat settings.
- Select “Users”: Within the settings menu, locate and tap on the “Users” option. This will take you to the user management panel.
- Choose “Add User”: Look for the “Add User” button or similar option within the user management panel. Tap on it to initiate the process of adding a new user.
By following these steps, you will be prompted to provide the necessary information to add a new user to your Nest Thermostat. This can include their email address, name, and other relevant details. After selecting “Add User”, you can proceed to the next steps to set up the user privileges and notification preferences.
Enter the email address of the user you want to add
Once you have chosen “Add User” in the Nest app, the next step is to enter the email address of the user you want to add to your Nest Thermostat. This will send them an invitation to access and control the thermostat settings.
Here’s how to enter the email address of the user you want to add:
- Open the Nest app: Launch the Nest app on your smartphone and access the user management panel.
- Choose “Add User”: Within the user management panel, find and tap on the “Add User” button or similar option.
- Enter the email address: In the designated field, enter the email address of the user you want to add. Make sure to double-check the email address for accuracy.
After entering the email address, you can proceed to the next steps to set up the user privileges and notification preferences. The user will receive an invitation via email to accept and create their own Nest account, granting them access to the Nest Thermostat.
Set user privileges and notification preferences
Once you have entered the email address of the user you want to add to your Nest Thermostat, the next step is to set their user privileges and notification preferences. This allows you to customize the level of access and control they have over the thermostat settings.
Here’s how to set user privileges and notification preferences:
- Open the Nest app: Launch the Nest app on your smartphone and navigate to the user management panel.
- Select the added user: Locate the user you just added from the list of users displayed in the user management panel.
- Configure user privileges: Tap on the user’s name to access their settings. Here, you can set their privileges, such as whether they can change temperature settings or adjust the schedule.
- Adjust notification preferences: In the user’s settings, you can also customize the notifications they receive, such as temperature alerts or energy-saving tips.
By setting user privileges and notification preferences, you can tailor the experience for each user and ensure they have the appropriate level of access and information. This allows them to comfortably use and control the Nest Thermostat according to their needs and preferences.
Select “Send Invitation”
After configuring the user privileges and notification preferences, the next step is to select “Send Invitation”. This will send an invitation to the user you added, allowing them to accept the invitation and create their own Nest account.
Here’s how to select “Send Invitation” in the Nest app:
- Open the Nest app: Launch the Nest app on your smartphone and access the user management panel.
- Select the added user: Locate the user you added from the list of users displayed in the user management panel.
- Tap on “Send Invitation”: Within the user’s settings, there should be an option to send the invitation. Tap on “Send Invitation” to initiate the process.
By selecting “Send Invitation”, the user will receive an email inviting them to join and create their own Nest account. They can then accept the invitation, set up their account, and gain access to control and manage the Nest Thermostat according to the specified privileges and preferences.
Ask the user to accept the invitation and create their own Nest account
After sending the invitation to the user, the next step is to ask them to accept the invitation and create their own Nest account. This will grant them access to control and manage the Nest Thermostat as a registered user.
Here’s how to ask the user to accept the invitation and create their own Nest account:
- Send a message or communicate with the user: Reach out to the user through a preferred method of communication, such as email, text message, or in-person conversation.
- Explain the purpose of the invitation: Inform the user that you have added them as a user to the Nest Thermostat and that they need to accept the invitation to gain access.
- Provide instructions: Guide the user on how to accept the invitation and create their own Nest account. Include details such as how to access the invitation email, click on the provided link, and follow the steps to set up their account.
- Emphasize the benefits: Highlight the benefits of having their own Nest account, such as the ability to personalize temperature settings, monitor energy usage, and receive important notifications.
- Address any concerns: If the user has any concerns or questions, address them to ensure they feel comfortable accepting the invitation and creating their Nest account.
By asking the user to accept the invitation and create their own Nest account, you are ensuring that they can take full advantage of the thermostat’s features and have the ability to customize their settings to their preferences. Encourage them to complete the process promptly to start enjoying the benefits of their new Nest account.
Verify the user’s identity and grant access
After the user has accepted the invitation and created their own Nest account, the final step is to verify their identity and grant them access to control the Nest Thermostat. This step ensures the security and privacy of the thermostat settings.
Here’s how to verify the user’s identity and grant access:
- Receive confirmation of account creation: Once the user has accepted the invitation and created their Nest account, you should receive a confirmation notification indicating that they are now a registered user.
- Authorize the user: In the Nest app or web interface, navigate to the user management panel or settings section related to user access.
- Select the user: Locate the user’s name from the list of users and verify that their account is listed as “Active” or “Pending Authorization”.
- Grant access: If the user’s account status is “Pending Authorization”, select their name and change their account status to “Active” to grant them access to control the Nest Thermostat.
By verifying the user’s identity and granting them access, you are ensuring that only authorized individuals can make changes to the thermostat settings. This step adds an extra layer of security and helps protect your thermostat and its configurations.
Manage user access and settings as needed
Once you have added users to your Nest Thermostat and granted them access, it’s important to periodically review and manage their access and settings as needed. This allows you to maintain control over the thermostat and ensure that each user’s privileges and preferences align with your requirements.
Here’s how to manage user access and settings as needed:
- Access the user management panel: Open the Nest app and navigate to the user management panel or settings section related to user access.
- Review user privileges: Take the time to review the privileges of each user and ensure they are appropriate. Adjust the user’s access level if necessary, such as allowing them to adjust temperature settings or restricting access to certain settings.
- Update notification preferences: Consider reviewing and adjusting the notification preferences for each user. This allows you to customize the type and frequency of notifications they receive, such as temperature alerts or energy-saving tips.
- Remove or disable users if needed: If there are users who no longer need access to the Nest Thermostat, you can remove or disable their account. This revokes their access and ensures that only authorized individuals can control the thermostat.
- Stay vigilant with user management: Regularly monitor and manage the user access and settings to maintain the security and privacy of your Nest Thermostat.
By actively managing user access and settings, you can ensure that each user has the appropriate level of control and receive the necessary notifications. This allows you to optimize the use of your Nest Thermostat and maintain a comfortable environment while keeping your energy consumption in check.