
What is Stellar?
Stellar is a blockchain-based platform designed to facilitate fast, secure, and low-cost transactions for both fiat currencies and digital assets. Created in 2014 by Jed McCaleb, the co-founder of Ripple, Stellar has gained significant popularity as a decentralized network for cross-border payments and remittances.
The core technology behind Stellar is its native cryptocurrency called Lumens (XLM). Lumens act as a bridge currency, allowing users to convert one type of asset into another quickly and efficiently. Unlike traditional financial systems that rely on intermediaries, Stellar operates through a decentralized network of peers that validate transactions and maintain the ledger collectively.
Stellar’s mission is to enable financial inclusion by providing affordable and accessible financial services to individuals and institutions worldwide. The platform makes it possible for anyone to participate in the global economy, regardless of their location or economic status.
One of the key features that sets Stellar apart is its ability to facilitate fast transactions. Stellar’s blockchain technology enables settlement times of just a few seconds, making it an ideal solution for businesses and individuals who require quick and efficient transfers.
In addition to its fast transaction speeds, Stellar offers cost-effective solutions. Traditional cross-border transactions often involve substantial fees and multiple middlemen, resulting in delays and additional expenses. Stellar eliminates the need for intermediaries, reducing costs and making international transfers more affordable for all parties involved.
Moreover, Stellar’s network supports smart contracts, allowing for the creation of programmable agreements between parties. These contracts can be automatically executed based on predefined conditions, streamlining complex business processes and reducing the potential for human error.
Overall, Stellar is a powerful platform that harnesses blockchain technology to revolutionize the way financial transactions are conducted. Its focus on speed, affordability, and accessibility positions it as a promising solution for individuals and businesses seeking to participate in the global economy more seamlessly.
What is Ledger Nano S?
The Ledger Nano S is a popular hardware wallet that provides a secure and convenient way to store and manage various cryptocurrencies, including Stellar. Developed by Ledger, a leading company in the cryptocurrency security industry, the Ledger Nano S is trusted by millions of users worldwide.
Unlike software wallets, which store private keys on a computer or mobile device, the Ledger Nano S keeps your keys offline, away from potential online threats. This cold storage approach dramatically reduces the risk of your cryptocurrencies being compromised by hackers or malware.
The Ledger Nano S is a compact and portable device that resembles a USB drive. It features a small screen and physical buttons, which allow users to navigate through the device’s menu and confirm transactions securely. The device connects to a computer or smartphone via USB, ensuring a secure connection during the transaction signing process.
One of the primary advantages of using the Ledger Nano S for Stellar is the enhanced security it provides. The device utilizes a secure element chip to store private keys and perform cryptographic operations, adding an extra layer of protection to your assets. In addition, the Ledger Live software, which you use to interact with the device, is designed with security as a top priority.
The Ledger Nano S is also known for its user-friendly interface and straightforward setup process. Even if you’re not a technical expert, you can easily set up the device and begin managing your Stellar assets within minutes. The device supports multiple cryptocurrencies, allowing you to store and manage different assets within a single hardware wallet.
Another notable feature of the Ledger Nano S is its backup and recovery process. When setting up the device, you receive a recovery phrase, also known as a seed phrase, which acts as a backup for your wallet. In case your device is lost, damaged, or stolen, you can recover your funds by using the recovery phrase on a new Ledger device or a compatible software wallet.
Overall, the Ledger Nano S is a reliable and secure hardware wallet that offers peace of mind for Stellar and cryptocurrency holders. Its robust security features, user-friendly interface, and multi-currency support make it an excellent choice for managing your digital assets.
Benefits of using Ledger Nano S for Stellar
Using the Ledger Nano S for Stellar offers several benefits that contribute to the security, convenience, and peace of mind of users. Let’s explore some of these advantages below:
- Enhanced Security: The Ledger Nano S utilizes robust security measures to protect your Stellar assets. With its offline storage and secure element chip, your private keys remain isolated from potential online threats, such as malware or hacking attempts. This greatly reduces the risk of unauthorized access and ensures the safety of your funds.
- User-Friendly Interface: Despite its advanced security features, the Ledger Nano S is designed to be user-friendly and accessible for both beginners and experienced users. The device’s intuitive interface and physical buttons make it easy to navigate and confirm transactions, ensuring a seamless user experience.
- Multi-Currency Support: In addition to Stellar, the Ledger Nano S supports a wide range of cryptocurrencies. This means you can manage multiple digital assets within a single device, eliminating the need for separate wallets and simplifying your crypto management process.
- Backup and Recovery Options: The Ledger Nano S provides a backup and recovery process to protect your funds in case of loss or theft of the device. With the recovery phrase, you can restore your wallet and access your Stellar assets on a new Ledger device or compatible software wallet without any risk of losing your funds.
- Offline Transaction Signing: When making a transaction with the Ledger Nano S, the device signs the transaction offline before broadcasting it to the network. This adds an extra layer of security, as your private keys never leave the device during the signing process, ensuring that your transaction details remain confidential.
- Trustworthy and Established Brand: Ledger is a respected and reputable company in the cryptocurrency industry. The Ledger Nano S has been thoroughly tested and trusted by millions of users worldwide, making it a reliable choice for securely managing your Stellar assets.
By utilizing the Ledger Nano S for Stellar, you can enjoy the benefits of enhanced security, user-friendly interface, multi-currency support, backup options, offline transaction signing, and the credibility of a trusted brand. These advantages make the Ledger Nano S an excellent choice for individuals seeking a reliable and secure solution for managing their Stellar assets.
Step 1: Set up Ledger Nano S
Setting up your Ledger Nano S is the first step to securely managing your Stellar assets. Follow these steps to get started:
- Unbox the Ledger Nano S: Start by unboxing your Ledger Nano S. You will find the hardware wallet, a USB cable, and some instructions inside the box.
- Connect the Ledger Nano S: Connect one end of the USB cable to the device and the other end to a computer or laptop.
- Configure the device: Press both buttons on the Ledger Nano S simultaneously to power it on. Follow the instructions on the device’s screen to choose your preferred language and create a new wallet.
- Secure your recovery phrase: During the setup process, the Ledger Nano S will generate a recovery phrase consisting of 24 words. Write down this phrase and keep it in a safe place. This phrase is crucial for accessing your wallet in case your device is lost or damaged.
- Confirm the recovery phrase: After noting down the recovery phrase, the device will ask you to confirm it by selecting the words in the correct order. This ensures that you have accurately recorded the recovery phrase.
- Choose and set a PIN: Next, you will be prompted to set a PIN code. Use the device’s buttons to navigate and select the numbers for your PIN. Make sure to choose a secure PIN that you can easily remember but is difficult for others to guess.
- Install the Ledger Live software: To interact with the Ledger Nano S, you need to install the Ledger Live software on your computer or laptop. Visit the official Ledger website and follow the instructions to download and install the software.
- Update firmware: Once the Ledger Live software is installed, connect your Ledger Nano S to your computer and open the Ledger Live application. If there is a firmware update available for your device, the application will prompt you to install it. Follow the instructions to update the firmware.
Once you have completed these steps, your Ledger Nano S is set up and ready to be used with Stellar. In the next steps, we will explore how to install the Stellar app on your device and connect it to your Stellar account.
Step 2: Install Stellar app on Ledger Nano S
In order to manage your Stellar assets on the Ledger Nano S, you need to install the Stellar app on the device. Follow these steps to install the app:
- Launch Ledger Live: Open the Ledger Live application on your computer and make sure your Ledger Nano S is connected via the USB cable.
- Access the Manager: In the Ledger Live menu, click on the “Manager” tab. This will take you to the Ledger Manager, where you can install and uninstall apps on your device.
- Find the Stellar app: Scroll through the list of available apps in the Ledger Manager until you find the Stellar app. Click on the “Install” button next to the Stellar app.
- Follow the on-screen instructions: The Ledger Live application will guide you through the installation process. Make sure your Ledger Nano S is connected and follow the prompts on the screen.
- Verify installation: Once the installation is complete, you will see a confirmation message on the Ledger Live application. You can also check the Ledger Nano S’s screen to ensure that the Stellar app is successfully installed.
With the Stellar app installed on your Ledger Nano S, you can now securely manage your Stellar assets. The next step is to connect your Ledger Nano S to your Stellar account and start sending and receiving Stellar transactions.
Step 3: Connect Ledger Nano S to Stellar Account
After setting up your Ledger Nano S and installing the Stellar app, the next step is to connect your device to your Stellar account. Follow these instructions to establish the connection:
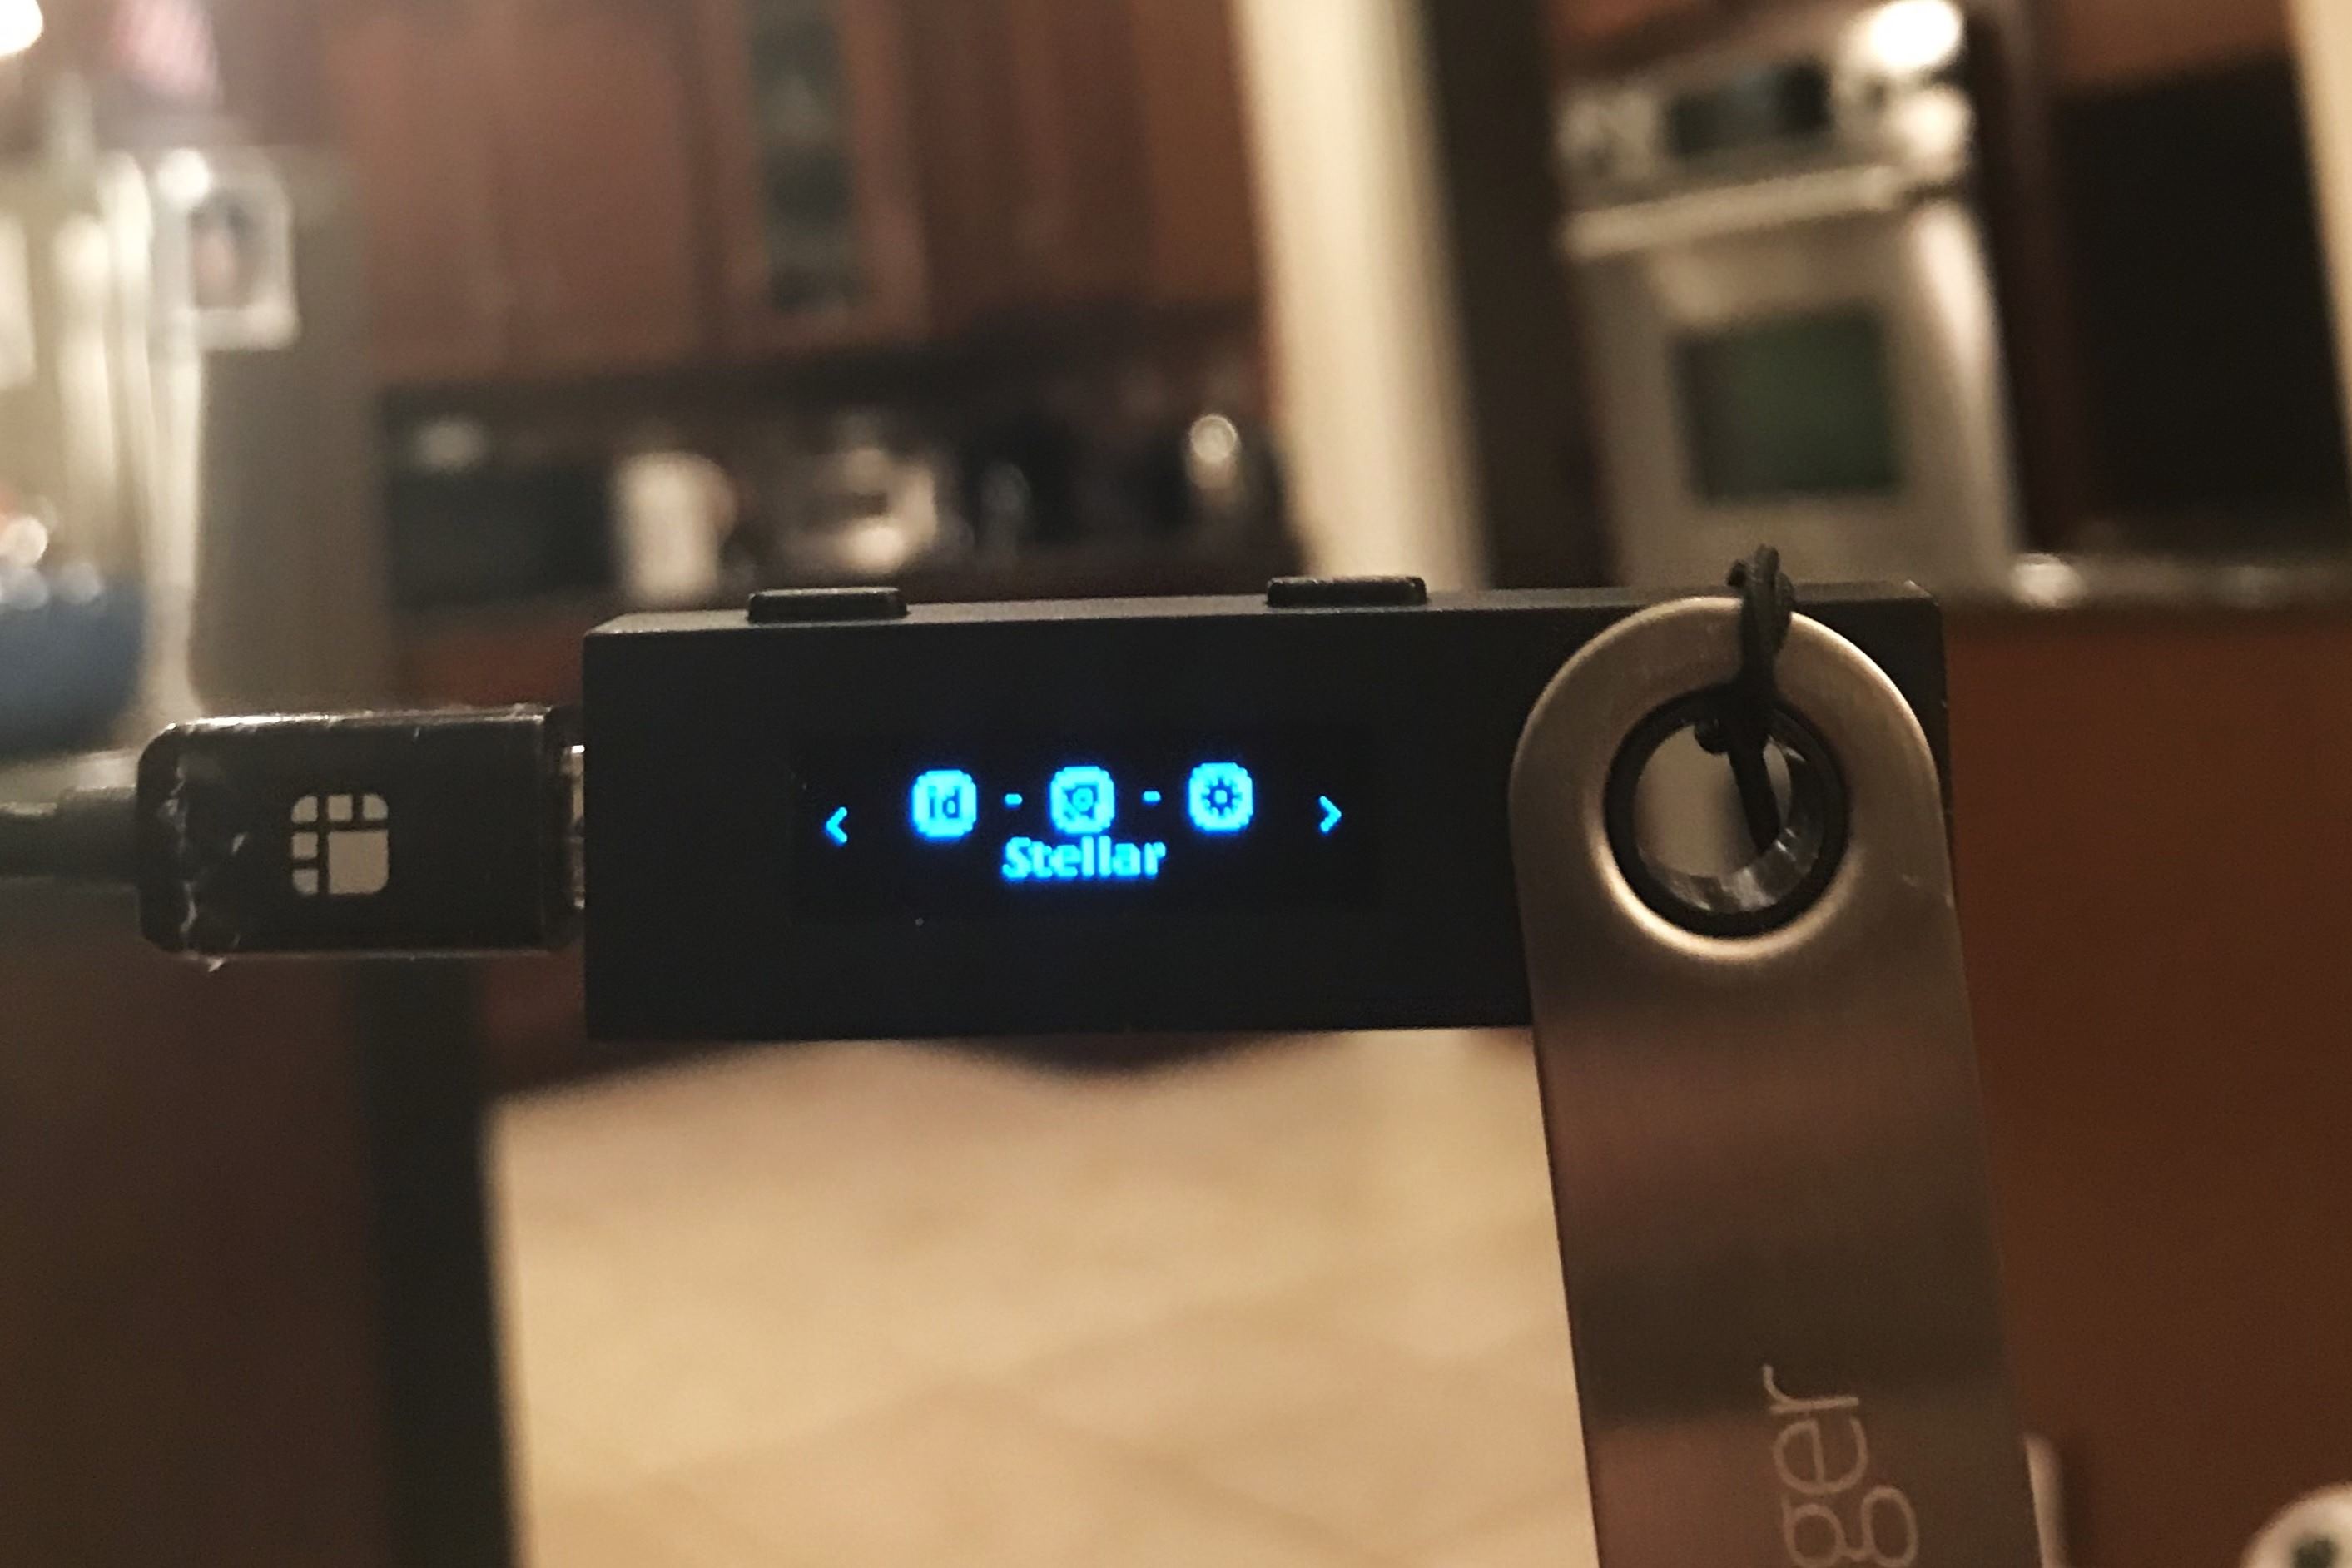
- Launch the Stellar app on Ledger Nano S: On your Ledger Nano S, navigate to the Stellar app and open it using the device’s buttons.
- Open the Stellar account viewer: On your computer or laptop, open a web browser and navigate to the Stellar Account Viewer page (https://www.stellar.org/account-viewer). This is the official web interface for accessing and managing Stellar accounts.
- Connect the Ledger Nano S: On the Stellar Account Viewer page, select the option to connect with a hardware wallet. Choose “Ledger” as the hardware wallet option.
- Verify browser support: Ensure that your web browser supports the WebUSB protocol. If prompted, grant the necessary permissions for the Stellar Account Viewer to connect with your Ledger Nano S.
- Connect the Ledger Nano S: Follow the on-screen instructions on the Stellar Account Viewer to connect your Ledger Nano S to your Stellar account. The web interface will communicate with your device and prompt you to verify the connection on the Ledger Nano S’s screen.
- Verify and confirm on Ledger Nano S: On your Ledger Nano S, verify that the address displayed on its screen matches the address shown on the Stellar Account Viewer. This ensures that you are connecting to the correct account. If the addresses match, confirm the connection on your device.
Once the connection is established, you can view your Stellar account details, including your balance, transactions, and other relevant information, on the Stellar Account Viewer. The Ledger Nano S acts as a secure gateway between your computer and your Stellar account, ensuring the privacy and integrity of your transactions.
With your Ledger Nano S connected to your Stellar account, you are now ready to send and receive Stellar transactions securely. In the next step, we will explore how to send Stellar to your Ledger Nano S for safe storage.
Step 4: Send Stellar to Ledger Nano S
To ensure the safe storage of your Stellar assets, you can send Stellar to your Ledger Nano S. Follow these steps to initiate a transaction:
- Open the Stellar account viewer: Launch the Stellar Account Viewer on your web browser by visiting the official website (https://www.stellar.org/account-viewer).
- Connect your Ledger Nano S: Connect your Ledger Nano S to your computer using the USB cable. Follow the instructions in the previous section to establish the connection between your Ledger Nano S and the Stellar Account Viewer.
- Access your Stellar account: Once connected, you will be able to access your Stellar account details on the Stellar Account Viewer. Verify that your Ledger Nano S’s address is displayed correctly.
- Navigate to the “Send” section: Within the Stellar Account Viewer, find the “Send” section or tab. This is where you can initiate a transaction from your Stellar account.
- Enter the recipient’s address: Provide the correct Stellar address of the recipient in the required field. Ensure that you double-check the address to prevent any errors.
- Specify the amount: Enter the amount of Stellar that you want to send to the recipient. Review the transaction details, including the fee charged for the transaction.
- Confirm and sign the transaction: Follow the on-screen instructions to sign the transaction using your Ledger Nano S. Verify the transaction details on the device’s screen and confirm the transaction when prompted.
- Monitor the transaction: After confirming the transaction, the Stellar network will process it. You can monitor the transaction’s progress on the Stellar Account Viewer. Once the transaction is confirmed on the network, the recipient will receive the Stellar you sent.
By sending Stellar to your Ledger Nano S, you ensure that your assets are stored securely on a hardware wallet, reducing the risk of theft or unauthorized access. Always double-check the recipient’s address and transaction details to avoid any mistakes or losses.
In the next step, we will discuss how to check your Stellar balance on your Ledger Nano S.
Step 5: Check Stellar Balance on Ledger Nano S
Once you have sent Stellar to your Ledger Nano S and completed transactions, it’s important to periodically check your balance to ensure accuracy. Follow these steps to check your Stellar balance:
- Launch the Stellar account viewer: Open the Stellar Account Viewer on your web browser by visiting the official website (https://www.stellar.org/account-viewer).
- Connect your Ledger Nano S: Connect your Ledger Nano S to your computer using the USB cable. Follow the instructions in the previous sections to establish the connection between your device and the Stellar Account Viewer.
- Access your Stellar account: Once connected, you will be able to access your Stellar account details on the Stellar Account Viewer. Ensure that the address displayed on the screen matches your Ledger Nano S’s address.
- Check your account balance: Navigate to the “Balance” section or tab on the Stellar Account Viewer. Here, you will see your current Stellar balance, including the amount you have received from transactions.
- View transaction history: To review your transaction history, select the “Transaction History” section. This will show you a list of all the transactions associated with your Stellar account, including incoming and outgoing transfers.
By regularly checking your Stellar balance, you can monitor the movement of your assets and ensure that your transactions have been successfully processed. This provides you with a clear overview of your holdings and allows you to keep track of any changes or updates in your account.
Remember to verify that your Ledger Nano S is securely connected to the Stellar Account Viewer and to always check the accuracy of the displayed address before reviewing your balance.
In the next step, we will explore how to manage Stellar transactions on Ledger Live.
Step 6: Manage Stellar Transactions on Ledger Live
Ledger Live is the official software application provided by Ledger to manage your Stellar transactions and assets. Follow these steps to manage your Stellar transactions using Ledger Live:
- Launch Ledger Live: Open the Ledger Live software on your computer. Ensure that your Ledger Nano S is connected to your computer via the USB cable.
- Access your Stellar account: On Ledger Live, select the Stellar account you want to manage. If you haven’t added your Stellar account to Ledger Live yet, you can do so by following the instructions provided.
- View your Stellar portfolio: Ledger Live will display an overview of your Stellar portfolio, including your account balance and recent transactions. You can explore your holdings and monitor the performance of your Stellar assets.
- Send Stellar: To send Stellar from your Ledger Nano S, click on the “Send” button within the Stellar account view. Enter the recipient’s address and the amount of Stellar you want to send. Follow the prompts on Ledger Live and confirm the transaction on your Ledger Nano S.
- Receive Stellar: To receive Stellar into your Ledger Nano S, click on the “Receive” button within the Stellar account view. Ledger Live will generate a unique Stellar address for you to share with the sender. Provide this address to the sender, and they can initiate the transaction to your Ledger Nano S.
- Manage account settings: Ledger Live allows you to customize and manage various account settings. You can adjust transaction fees, enable additional security features, and configure other preferences according to your needs.
- Track transaction history: Ledger Live keeps a record of all your Stellar transactions, allowing you to review your transaction history easily. You can access details such as transaction amounts, dates, and recipient addresses, giving you a comprehensive overview of your Stellar activity.
Using Ledger Live, you can conveniently manage, track, and control your Stellar transactions, ensuring that your assets remain secure and easily accessible.
Always ensure that your Ledger Nano S is securely connected to your computer and properly authenticated when performing any transaction on Ledger Live. This helps maintain the confidentiality and integrity of your transactions.
Congratulations! You now have the knowledge and steps to successfully manage your Stellar transactions using your Ledger Nano S and Ledger Live.
Troubleshooting Common Issues
While using Ledger Nano S for managing your Stellar assets, you might encounter some common issues. Here are some troubleshooting tips to help you address these issues:
- Connection Problems: If you’re facing connection issues between your Ledger Nano S and the Stellar Account Viewer or Ledger Live, try using a different USB cable or port. Ensure that your device is powered on and properly connected. If the issue persists, try restarting your computer or updating the firmware on your Ledger Nano S.
- Incorrect Address: Double-check the recipient’s address before initiating a transaction. Stellar transactions are irreversible, so sending funds to an incorrect address can result in permanent loss. Cross-reference the address with the recipient to ensure accuracy.
- Insufficient Funds: If you receive an error message indicating insufficient funds when trying to send Stellar, make sure you have enough balance in your account to cover the transaction amount and any associated fees.
- Transaction Delays: Stellar transactions usually confirm quickly. However, in rare cases, congestion on the Stellar network can cause delays. If your transaction is still pending, be patient and allow more time for it to be processed. You can track the progress of your transaction on the Stellar Account Viewer or Ledger Live.
- Forgotten PIN or Recovery Phrase: If you forget your Ledger Nano S PIN or misplace your recovery phrase, you could face difficulty accessing your Stellar funds. It’s crucial to securely store your recovery phrase and memorize your PIN. Consider using additional security measures like passphrase encryption to safeguard your account.
- Unsupported Assets: Ledger Nano S supports a wide range of cryptocurrencies, including Stellar. However, some newer or less common Stellar-based tokens might not be natively supported. In such cases, you may need to use third-party wallets or platforms that offer compatibility with these assets.
If you encounter any issues that cannot be resolved through these troubleshooting tips, consult the official Ledger Support website for further guidance. Ledger’s customer support team can assist you in resolving any technical issues or concerns specific to your Ledger Nano S device.
By staying informed and being aware of these common issues, you can overcome any challenges and enjoy a smoother experience managing your Stellar assets using the Ledger Nano S.