
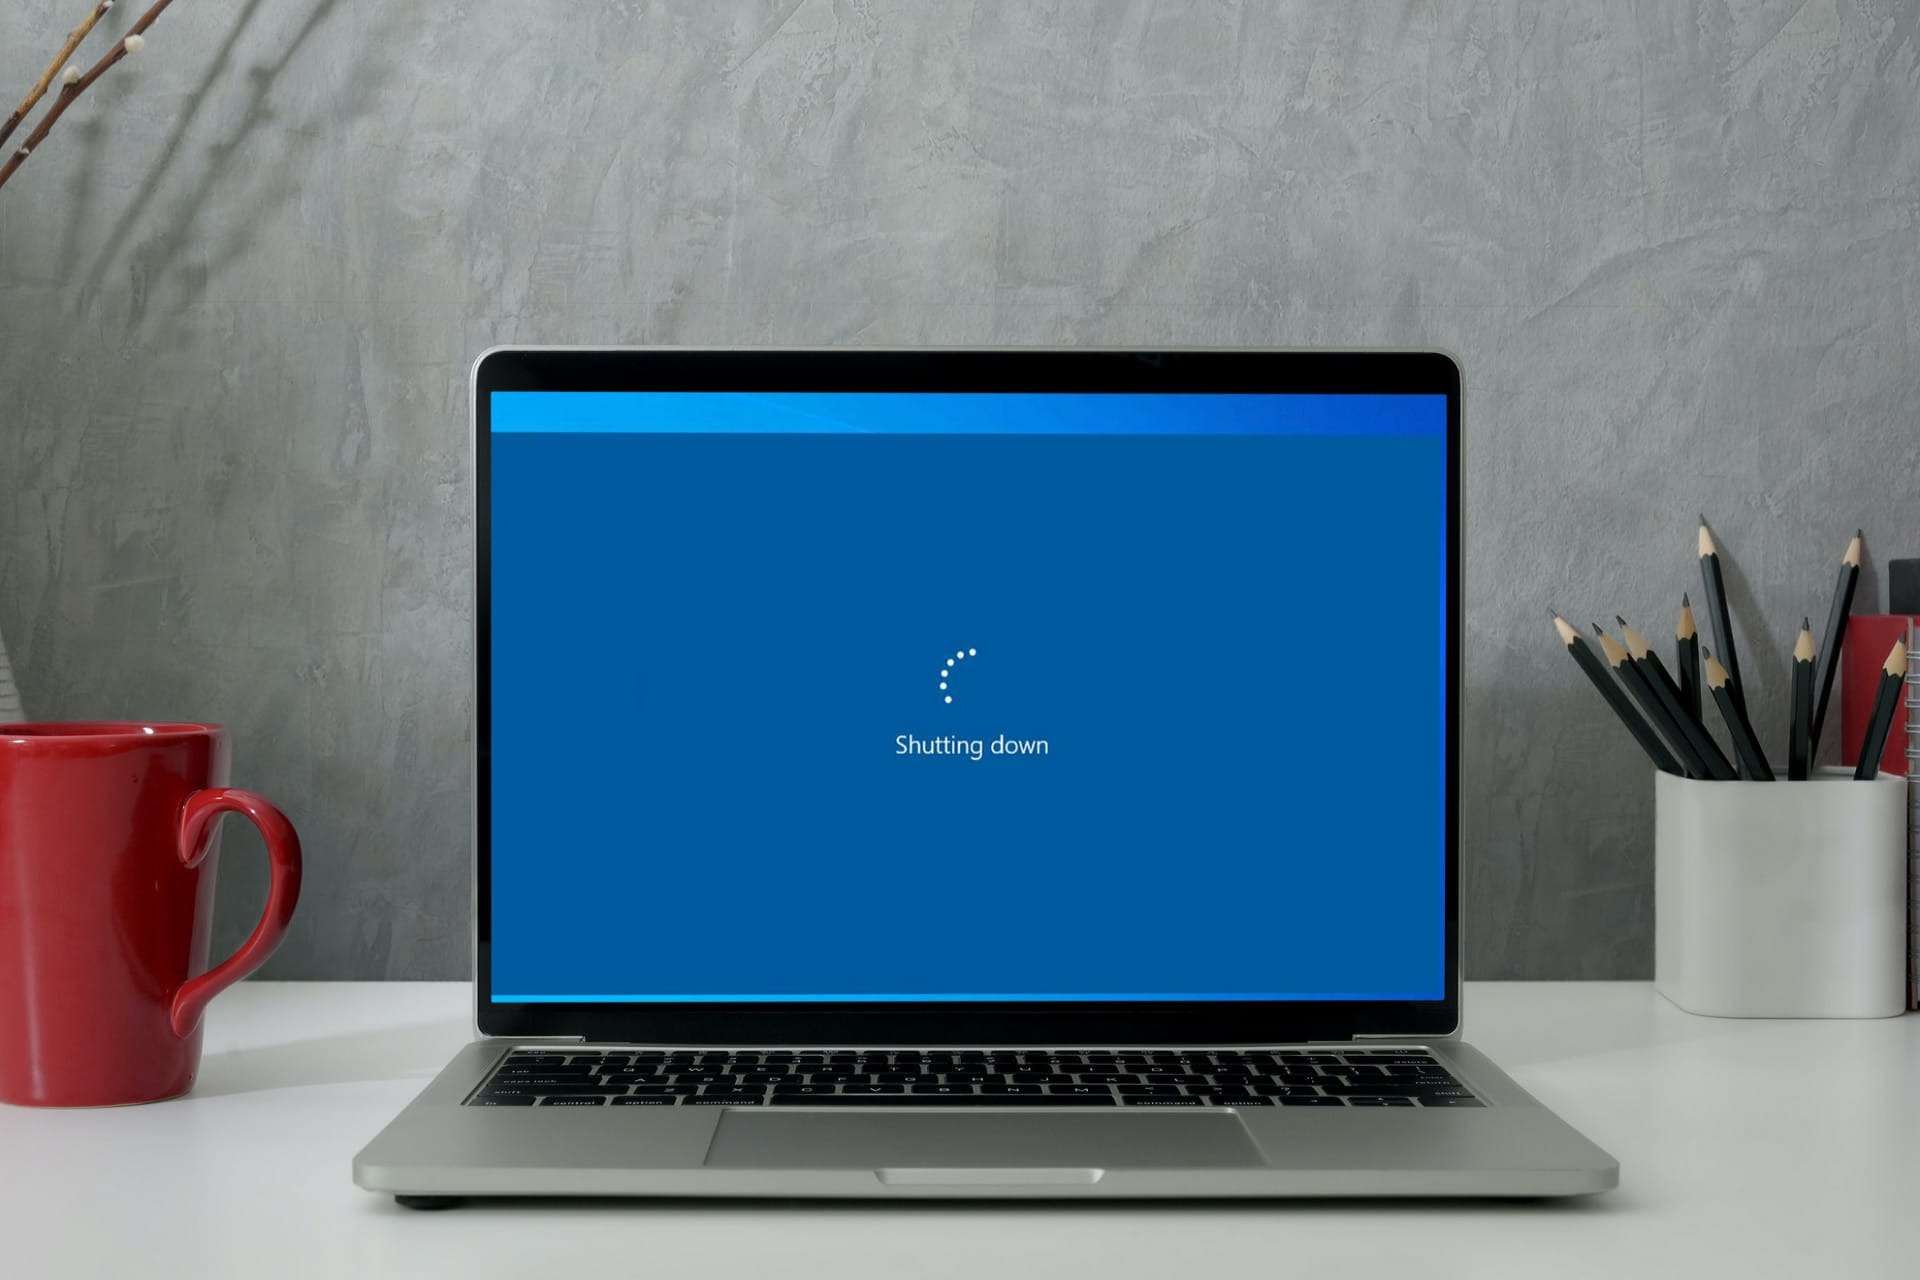
Step 1: Shutting down the laptop
Shutting down your laptop properly is the first step in restarting it. This ensures that all processes are safely terminated and any pending updates are installed.
To shut down your laptop, follow these easy steps:
- Click on the “Start” button in the bottom left corner of your screen.
- Select the “Shut down” option from the menu that appears. Alternatively, you can click on the power icon and choose the “Shut down” option from there.
- Wait for your laptop to go through the shutdown process. This may take a few moments.
- Once your laptop has completely powered off, you can proceed to the next step of restarting it.
It is important to shut down your laptop properly rather than simply closing the lid or pressing the power button. Doing so ensures that all running processes are stopped correctly, preventing any potential data loss or system errors.
Remember, shutting down your laptop completely is different from putting it into sleep or hibernate mode. While sleep and hibernate modes allow you to quickly resume your work, a complete shutdown is necessary when you want to restart the laptop or perform system maintenance.
By following these simple steps to properly shut down your laptop, you are setting the stage for a smooth and successful restart process. Now that you have shut down your laptop, you can proceed to the next step of restarting it.
Step 2: Disconnecting any external devices
When it comes to restarting your laptop, it is important to disconnect any external devices that may be connected. This ensures a clean restart and prevents any interference or conflicts with the booting process.
To disconnect the external devices from your laptop, follow these simple steps:
- Check for any devices connected to your laptop’s USB ports, such as a mouse, keyboard, printer, or external hard drive.
- Properly eject or disconnect these devices from your laptop. This can typically be done by right-clicking on the device icon in the system tray or taskbar and selecting the “Eject” or “Safely Remove Hardware” option.
- If you have any external displays connected to your laptop, make sure to disconnect them as well.
- Remove any CDs or DVDs from your laptop’s optical drive, if applicable.
Disconnecting these external devices ensures that they don’t interfere with the booting process and allows your laptop to restart smoothly. It also helps in preventing any potential damage that may occur if the devices are accidentally pulled or bumped while the laptop is restarting.
Keep in mind that some laptops have specialized docking stations or port replicators, which may require a specific process to disconnect. Refer to your laptop’s manual or manufacturer’s website for instructions on properly disconnecting these devices.
By taking the time to disconnect all external devices from your laptop before restarting it, you are reducing the chances of encountering any issues and ensuring a seamless restart process. Now that you have disconnected all external devices, you can proceed to the next step of restarting your laptop.
Step 3: Removing the battery (if applicable)
If your laptop has a removable battery, removing it while restarting can sometimes help in resolving certain issues or resetting the system. However, not all laptops have easily removable batteries, so if your laptop does not have a removable battery, you can skip this step.
To remove the battery from your laptop, follow these steps:
- Ensure that your laptop is powered off and disconnected from any power sources.
- Locate the battery compartment on the bottom or back of your laptop.
- Depending on the specific model, you may need to slide a latch, push a release button, or use a small tool to unlock the battery compartment.
- Carefully remove the battery from the compartment, using gentle pressure if necessary.
It is important to handle the battery with care and avoid pulling on it forcefully, as this can cause damage. If you encounter any difficulties in removing the battery, refer to your laptop’s manual or the manufacturer’s website for specific instructions.
Removing the battery not only helps in resolving certain hardware or software issues but also allows for a complete power cycle of the laptop. This can help in clearing any temporary data or settings that may be causing problems.
Once you have removed the battery, continue to the next step for restarting your laptop. If your laptop does not have a removable battery, simply proceed to the next step without performing this action.
Step 4: Holding down the power button
In some cases, when a laptop doesn’t respond or doesn’t restart through the normal process, holding down the power button can be a useful troubleshooting step. This helps in forcibly shutting down the laptop and ensuring a fresh start.
To hold down the power button on your laptop, follow these steps:
- Ensure that your laptop is disconnected from any power sources and turn it over so that you have access to the power button.
- Press and hold down the power button for about 10 to 15 seconds.
- Release the power button and wait for a few moments.
Holding down the power button forces the laptop to shut down abruptly. This action helps in clearing any temporary data or settings that may be causing the issue and allows for a clean restart.
After holding down the power button, wait for a few moments before proceeding to the next step. This gives the laptop’s internal components time to properly power off.
If your laptop does not respond to this step or still doesn’t restart, you may need to seek further troubleshooting or professional assistance. However, in most cases, holding down the power button is an effective step to initiate a forceful restart.
Now that you have held down the power button, continue to the next step to complete the restarting process for your laptop.
Step 5: Inserting the battery (if applicable)
If you have previously removed the battery from your laptop in Step 3, you will need to reinsert it before proceeding with the restart. This step is only applicable if your laptop has a removable battery.
To insert the battery back into your laptop, follow these steps:
- Ensure that your laptop is powered off and disconnected from any power sources.
- Locate the battery compartment on the bottom or back of your laptop.
- Align the battery with the compartment, making sure the connectors on the battery match the connectors inside the compartment.
- Gently slide the battery into place, applying light pressure until it clicks or locks securely into position.
It is important to handle the battery with care and insert it properly to avoid any damage. Make sure to align the battery correctly and avoid forcing it into the compartment.
After inserting the battery, you can proceed to the next step for restarting your laptop. If your laptop does not have a removable battery, you can skip this step and move on to the next one.
Step 6: Connecting the laptop to power source
Now that you have completed the necessary steps to prepare your laptop for a restart, it’s time to connect it to a power source. This ensures that your laptop has a stable power supply during the restart process.
To connect your laptop to a power source, follow these simple steps:
- Locate the power adapter that came with your laptop.
- Connect the power adapter to an electrical outlet.
- Insert the other end of the power adapter’s cable into the power port on your laptop.
Ensure that the power adapter is securely connected to both the electrical outlet and your laptop. This guarantees a stable power supply and prevents any interruptions during the restart process.
When connecting the power adapter, it’s essential to use the specific power adapter provided by the laptop’s manufacturer. Using an incompatible charger can cause damage to your laptop’s battery or even the entire system.
Once your laptop is properly connected to a power source, you’re ready to move on to the next step, which is powering on your laptop.
Step 7: Powering on the laptop
With your laptop properly connected to a power source, it’s time to power it on and initiate the restart process. This step allows your laptop’s operating system to boot up and resume normal functionality.
To power on your laptop, follow these simple steps:
- Locate the power button on your laptop. It is typically located above the keyboard, on the side, or on the front of the device.
- Press and release the power button to turn on your laptop.
- Observe the startup process as your laptop’s operating system loads. This may take a few moments.
- Once your laptop has fully booted up, you will be presented with the login screen or your desktop interface, depending on your setup.
It is important to allow your laptop sufficient time to complete the startup process. Depending on the specifications of your laptop and the number of installed programs, it may take a bit longer for your laptop to fully load and become operational.
If your laptop fails to power on or gets stuck during the startup process, you may need to consult your laptop’s manual or seek further assistance to resolve the issue. However, in most cases, powering on your laptop as described above should be sufficient to restart it successfully.
Congratulations! You have successfully powered on your laptop and completed the restart process. Now you can proceed to use your laptop as usual.
Step 8: Troubleshooting if the laptop doesn’t restart
If you have followed all the previous steps but your laptop still doesn’t restart, there are a few troubleshooting measures you can take to resolve the issue. Here are some possible solutions:
1. Check the power source: Ensure that the power outlet you are using is functional by plugging in another device. If the outlet is working, try using a different power adapter or charger for your laptop.
2. Disconnect external devices: Remove any peripherals or external devices connected to your laptop, such as USB drives, printers, or external monitors. Sometimes, conflicts or compatibility issues with these devices can prevent the restart process.
3. Perform a hard reset: Turn off your laptop, disconnect it from the power source, and remove the battery (if applicable). Press and hold the power button for about 30 seconds, then reinsert the battery (if applicable), connect the power, and try powering on the laptop again.
4. Check for hardware issues: If none of the previous steps resolve the problem, there may be a hardware issue with your laptop. It is recommended to seek professional assistance from a certified technician or contact the manufacturer’s support for further guidance.
5. Reinstall or update the operating system: If your laptop still doesn’t restart, you may need to consider reinstalling or updating the operating system. This should be done after backing up any important data on your laptop.
Remember, troubleshooting can vary depending on your laptop’s make and model. It is always a good idea to consult your laptop’s manual or the manufacturer’s website for specific troubleshooting steps related to your device.
By following these troubleshooting measures, you can identify and resolve any issues preventing your laptop from restarting. If the problem persists, it is best to seek professional help to ensure a proper diagnosis and solution.