
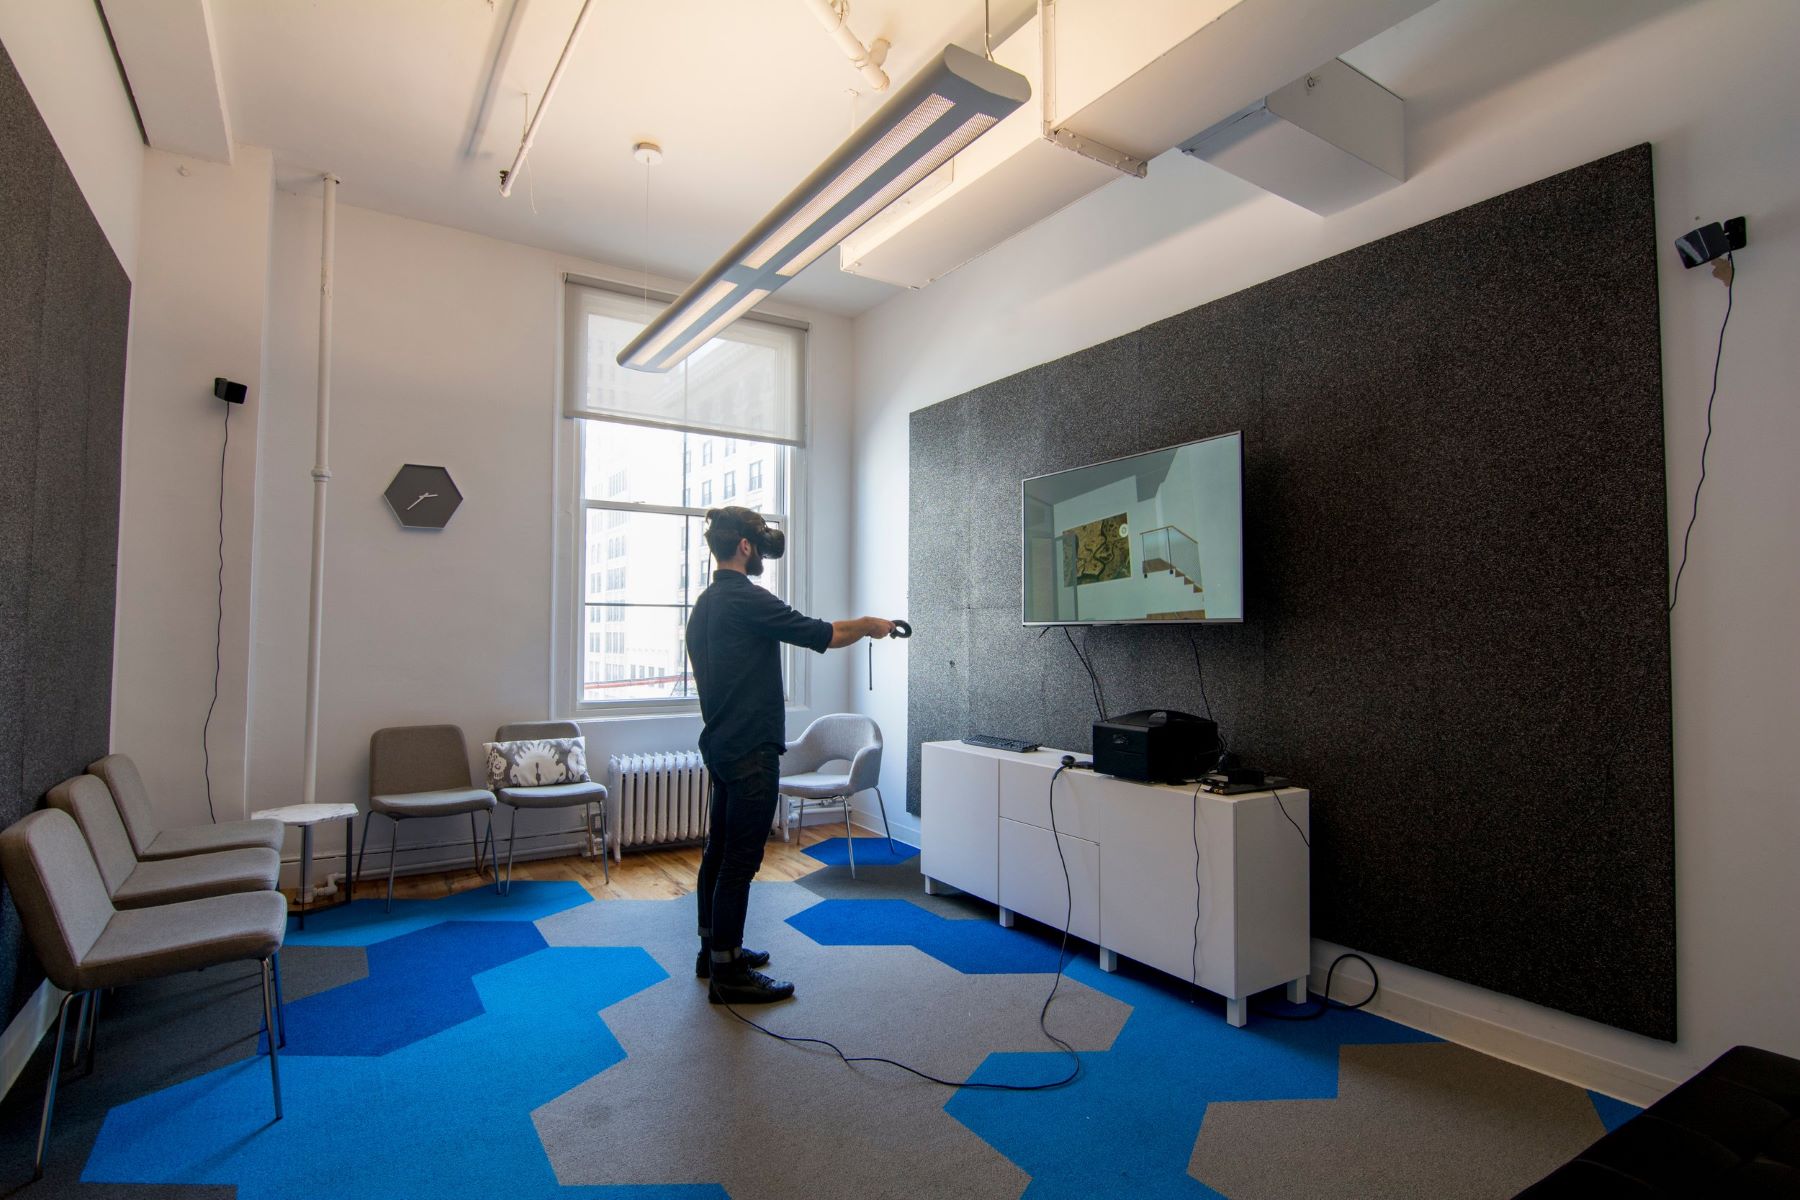
Check the Space Requirements
Before setting up your HTC Vive in another room, it’s essential to determine whether the new space meets the necessary requirements for an optimal virtual reality (VR) experience. Here are some important factors to consider:
- Room Size: Ensure that the room is large enough to accommodate the HTC Vive’s play area. The minimum recommended space is 6.5 feet by 5 feet (2m by 1.5m). However, for a better experience, a space of at least 9.8 feet by 6.5 feet (3m by 2m) is ideal. This will provide you with more freedom of movement and prevent any accidental collisions with walls or furniture.
- Clearance: Besides the room size, make sure there is enough clearance above your head and around you. Remove any hanging objects or low-hanging lights that could obstruct your movement or pose a safety hazard.
- Lighting: Consider the lighting conditions in the room. While it’s not necessary to have complete darkness, bright lights and direct sunlight can interfere with the VR tracking system. Ensure that the room is well-lit but without any harsh glares or strong backlighting.
- Furniture and Obstacles: Take a look around the room and remove any furniture or obstacles that might obstruct your movement or pose a risk to you or the equipment. Clear the space of any tripping hazards, fragile objects, or valuable items that could accidentally be knocked over or damaged during gameplay.
- Power Outlets: Verify that there are easily accessible power outlets near the play area. You will need power for the base stations, the link box, and the computer. It’s a good idea to have surge protectors to ensure stable power supply and protect your equipment from power surges.
By checking and ensuring that your chosen room meets these space requirements, you can set up your HTC Vive in the new location with confidence, ready to immerse yourself in an incredible VR experience.
Set Up the Base Stations
To properly set up your HTC Vive in another room, you need to correctly install and configure the base stations. These devices are vital for tracking your movement in the virtual space. Follow these steps to set up the base stations:
- Placement: Choose suitable locations for the base stations in the room. Ideally, position them in opposite corners at a height of around 6.5 feet (2m). Ensure that the base stations have a clear line of sight with each other and the play area. Mount them securely on walls or place them on stable surfaces.
- Secure Mounting: If you decide to mount the base stations on walls, use the provided wall-mounting brackets and anchors. Ensure that the brackets are securely attached, ensuring stability during gameplay. Alternatively, you can use tripod stands if wall mounting is not an option.
- Power Connection: Connect the base stations to a nearby power outlet using the included power cables. Make sure the power cables are properly plugged in and that the base stations are receiving power.
- Sync Cable (Optional): If you experience tracking issues or if the base stations are too far apart, you can use the included sync cable to improve synchronization between them. Connect one end of the cable to the “Sync” port on the back of one of the base stations and the other end to the “Sync” port on the second base station.
- Enable Bluetooth (Optional): If your base stations support Bluetooth connectivity, you can enable it to enhance the power management. This allows the base stations to automatically turn on when you start SteamVR and enter standby mode when not in use. Refer to the manufacturer’s instructions to enable Bluetooth, if available.
Once you have completed these steps, the base stations will be properly set up and ready for use. They will accurately track your movements, providing an immersive and responsive VR experience in your new location.
Connect the Headset and Link Box
After setting up the base stations, the next step in setting up your HTC Vive in another room is to connect the headset and the link box. The link box serves as the connection hub between the headset and your computer. Follow these steps to properly connect the headset:
- Link Box Placement: Place the link box in a convenient location within reach of the base stations, preferably close to your computer. Make sure the link box has enough space around it for ventilation and doesn’t get crowded by other cables or objects.
- Power Connection: Connect the link box to a power outlet using the included power adapter. Ensure that the power cable is securely plugged in.
- HDMI Connection: Connect one end of the HDMI cable to the HDMI port on the back of the link box and the other end to the HDMI port on your computer’s graphics card. This cable transmits the VR visuals from your computer to the headset.
- USB Connection: Connect one end of the USB cable to the USB port on the back of the link box and the other end to an available USB port on your computer. This cable allows data transfer between the headset and your computer.
- Headset Connection: Connect the end of the headset cable to the matching ports on the link box. Ensure that the connections are secure and snug.
Once you have completed these steps, the headset and link box will be properly connected. Remember to follow the manufacturer’s instructions precisely to ensure a reliable connection. This setup will allow you to fully immerse yourself in the virtual world with the HTC Vive headset in your new room.
Connect the Link Box to the Computer
After connecting the headset to the link box, the next step in setting up your HTC Vive in another room is to connect the link box to your computer. This step establishes the communication between the VR system and your computer, enabling you to interact with virtual environments. Follow these steps to properly connect the link box:
- Position the Link Box: Find a suitable location to place the link box close to your computer. Ensure that it is easily accessible and won’t get in the way during gameplay.
- Power Connection: Connect the power adapter to the link box and plug it into a nearby power outlet. Ensure that the power cable is securely connected and the link box is receiving power.
- USB Connection: Connect the USB cable from the link box to an available USB port on your computer. This connection allows the link box to communicate with your computer, transmitting data between the VR system and your PC.
- HDMI Connection (Optional): If your link box has an additional HDMI port, you can connect an HDMI cable from the link box to your monitor. This enables you to mirror the VR display on your monitor, making it easier for others to see what you are experiencing in VR.
- Audio Connection (Optional): If you prefer to use headphones or external speakers for audio, you can connect your audio device to the link box using the 3.5mm audio jack. This allows you to have an immersive audio experience while using the HTC Vive.
Once you have completed these steps, the link box will be properly connected to your computer. Double-check that all the connections are secure and snug. This setup enables the link box to establish a seamless connection between the HTC Vive headset and your computer, ensuring a smooth and immersive VR experience in your new room.
Adjust the Play Area
To optimize your VR experience with the HTC Vive in another room, it’s crucial to adjust the play area to ensure sufficient space and minimize potential hazards. Follow these steps to properly adjust the play area:
- Clear the Area: Remove any furniture, obstacles, or objects that may interfere with your movements during gameplay. Create a clear and open space to prevent accidental collisions and ensure a safe VR experience.
- Define the Boundaries: Use the Chaperone system provided by the HTC Vive to define the play area boundaries. This system helps prevent you from wandering outside the safe area and informs you about potential obstructions. Follow the instructions provided with the HTC Vive and configure the Chaperone system accordingly.
- Consider Accessibility: Ensure that you have easy access to the play area and the necessary power outlets. It’s important to have a clutter-free and accessible space that allows you to move freely without any restrictions.
- Arrange Lighting: Control the lighting in the room to create an atmosphere that enhances your VR experience. Consider using indirect lighting or dimmable lights to minimize glare and distractions. Avoid lighting conditions that may interfere with the tracking system, such as bright sunlight or harsh reflections.
- Stand and Reach: Test the play area by standing in the middle and reaching out your arms in different directions. Make sure you have enough room to move your arms freely without hitting any objects or walls. This ensures a comfortable and immersive experience, allowing you to fully engage with the VR environment.
By following these steps and adjusting the play area accordingly, you can create a safe and optimized space for your HTC Vive in the new room. Taking the time to properly set up the play area ensures an immersive and enjoyable VR experience without any interruptions or safety concerns.
Configure SteamVR
To get the most out of your HTC Vive in another room, it is essential to configure SteamVR correctly. SteamVR acts as the platform and interface for launching and managing your VR experiences. Follow these steps to properly configure SteamVR:
- Install SteamVR: If you haven’t already done so, install SteamVR on your computer. SteamVR is available for free on the Steam platform.
- Update SteamVR and Drivers: Ensure that both SteamVR and your HTC Vive firmware are up to date. Regularly check for updates to ensure compatibility and access the latest features and improvements.
- Launch SteamVR: Open the SteamVR application on your computer. Ensure that the HTC Vive is connected properly and powered on.
- Check Headset and Controller Tracking: In the SteamVR dashboard, navigate to the “Devices” tab and check the tracking status of your headset and controllers. Ensure that they are all recognized and tracking properly. If not, refer to the troubleshooting guides provided by SteamVR.
- Adjust Settings: Explore the SteamVR settings to customize your VR experience. This includes adjusting the resolution and refresh rate, enabling or disabling certain features, and configuring audio and input settings. Take the time to tailor the settings to your preferences and hardware capabilities.
- Calibration: Use the SteamVR Room Setup to calibrate your play area within the virtual space. Follow the instructions provided by SteamVR to accurately define the boundaries and optimize the tracking system for your specific room setup. This step ensures a smooth and accurate VR experience.
- Explore VR Content: SteamVR provides access to a wide range of VR content, including games, experiences, and applications. Explore the SteamVR store and choose experiences that interest you. Install and launch VR content through SteamVR and enjoy the immersive world of virtual reality.
By properly configuring SteamVR, you can maximize the capabilities of your HTC Vive in the new room. Take the time to ensure that all settings are optimized, and keep an eye out for updates and new VR content to enhance your virtual reality experience.
Calibrate the Room Setup
Calibrating the room setup is a crucial step to ensure accurate tracking and an optimal VR experience with your HTC Vive in another room. Follow these steps to calibrate the room setup:
- Launch SteamVR: Open the SteamVR application on your computer and ensure that the HTC Vive is connected and powered on.
- Access SteamVR Settings: In the SteamVR dashboard, navigate to the “Devices” tab and select the “Room Setup” option.
- Select Room Scale: Choose the “Room Scale” option to begin calibrating the room setup. This option is suitable when you have sufficient space to move around within the play area.
- Follow Instructions: Follow the on-screen instructions provided by SteamVR to set up the room boundaries accurately. Typically, this involves defining the play area by pointing the controllers at the walls or objects that mark the boundaries.
- Room Alignment: During the calibration process, SteamVR may prompt you to align the virtual and physical room boundaries. Follow the displayed instructions to align them properly for accurate tracking and interactions.
- Confirm and Test: Once you have defined the room boundaries, SteamVR will show you a overview of the room setup. Review the dimensions and make any necessary adjustments. Then, proceed with the room-scale test to ensure that the tracking system is functioning correctly and accurately.
By calibrating the room setup through SteamVR, you ensure that the virtual and physical spaces align, allowing for accurate tracking and seamless movement within the virtual environment. Take the time to follow the instructions carefully and make any necessary adjustments to optimize your room-scale VR experience with the HTC Vive in your new room.
Perform a Room-Scale Test
Once you have calibrated the room setup for your HTC Vive in another room, it is essential to perform a room-scale test to ensure that the tracking system is functioning accurately and that you have enough space to move around comfortably. Follow these steps to perform a room-scale test:
- Clear the Play Area: Make sure the play area is clear of any obstacles or hazards that may interfere with your movements during the test.
- Put on the Headset: Wear the HTC Vive headset and make sure it fits comfortably on your head.
- Pick Up the Controllers: Pick up the controllers and hold them securely in your hands.
- Start SteamVR: Launch SteamVR on your computer and ensure that the HTC Vive is connected and powered on.
- Enter the Play Area: Stand at the edge of the play area and step into the virtual environment by physically walking forward. This action should also correspond to movement within the virtual world.
- Check Tracking: Move around within the play area and check if the headset and controller movements are accurately reflected in the virtual environment. Test different actions, such as reaching out, crouching, and turning, to ensure smooth and accurate tracking.
- Observe Chaperone System: Pay attention to the Chaperone system boundaries displayed in the headset. These boundaries will appear if you get too close to the edge of the play area, helping you avoid collisions with real-world objects.
- Test Interactions: Interact with virtual objects and test the responsiveness of the controllers. Ensure that your movements and actions are accurately mirrored within the virtual environment.
- Adjust if Necessary: If you encounter any tracking or movement issues, check for potential obstructions or interference within the play area. Adjust the placement of the base stations or re-calibrate the room setup if needed.
By performing a room-scale test, you can verify that the tracking system is functioning correctly and that you have enough space to enjoy an immersive VR experience with the HTC Vive in your new room. Make any necessary adjustments to optimize the play area and ensure a seamless virtual reality experience.
Adjust the Placement of the Base Stations
After performing the room-scale test with your HTC Vive in another room, you may need to adjust the placement of the base stations to ensure optimal tracking and a seamless VR experience. Follow these steps to adjust the placement of the base stations:
- Identify Tracking Issues: Take note of any specific tracking issues or areas within the play area where the tracking may be inconsistent. This could include moments of controller loss or incorrect movement detection.
- Observe Line of Sight: Confirm that the base stations have a clear line of sight with each other and the play area. Remove any objects that may be obstructing the line of sight, such as furniture, drapes, or decorations.
- Reflective Surfaces: Be cautious of reflective surfaces, as they can interfere with the tracking. Check for any mirrors, glass surfaces, or shiny objects that may be causing unwanted reflections. Adjust or cover these surfaces if possible.
- Height and Angles: Evaluate the height and angles at which the base stations are mounted or placed. Consider adjusting the height to ensure optimal coverage of the play area. Experiment with different angles to find the best configuration for accurate tracking.
- Sync Cable: If you are experiencing tracking issues despite adjusting the base station placement, try using the sync cable provided with your HTC Vive. Connecting the base stations with the sync cable can improve synchronization and tracking performance.
- Verify Tracking: After making adjustments, repeat the room-scale test and pay close attention to the tracking accuracy. Move around the play area and test various interactions to ensure that the tracking remains consistent and precise.
By adjusting the placement of the base stations based on tracking issues and optimizing their positioning, you can significantly improve the overall performance and tracking reliability of your HTC Vive in the new room. Take the time to fine-tune their placement to enjoy a smoother and more immersive VR experience.
Test and Enjoy
Once you have completed the setup and calibration process for your HTC Vive in another room, it’s time to test and enjoy your virtual reality experience. Here are some key steps to follow:
- Launch VR Applications: Open your favorite VR applications or games through SteamVR or other VR platforms. Browse through the vast library of VR content available and choose experiences that pique your interest.
- Wear the Headset: Put on the HTC Vive headset and adjust the straps for a snug and comfortable fit. Ensure that the lenses are positioned correctly in front of your eyes for optimal visual clarity.
- Play Within the Play Area: Move and explore within the defined boundaries of the play area. Engage with virtual objects, navigate through immersive environments, and enjoy the interactive experiences VR has to offer.
- Try Different Experiences: Experiment with a variety of VR experiences, including games, simulations, educational content, and immersive stories. Embrace the diverse range of possibilities and discover what captivates you the most.
- Be Mindful of Safety: While VR provides an exhilarating experience, be mindful of your surroundings and take breaks when needed. Avoid pushing yourself too hard physically and rest if you experience any discomfort or motion sickness.
- Share the Experience: Invite friends or family members to join you in experiencing VR. Share the joy and excitement of virtual reality and explore multiplayer or cooperative experiences together.
- Continue Exploring: Keep up with new releases, updates, and community recommendations to constantly discover new VR experiences and expand your virtual horizons.
Testing and enjoying your HTC Vive in another room allows you to fully immerse yourself in the virtual world and unlock the potential of VR technology. Embrace the limitless possibilities, push the boundaries of your imagination, and embark on unforgettable adventures in virtual reality.