
Safety Precautions
When replacing a car battery connector, it’s crucial to prioritize safety to prevent accidents and injuries. Here are some essential safety precautions to keep in mind:
- Turn off the engine: Before starting any work on the car battery, ensure that the engine is turned off. This reduces the risk of electrical shocks and other accidents.
- Wear protective gear: Always use safety goggles and gloves to shield your eyes and hands from any potential battery acid or corrosion. Additionally, wearing old clothing can protect your skin from accidental spills or splashes.
- Work in a well-ventilated area: Car batteries emit potentially harmful gases, so it’s crucial to work in a well-ventilated space to prevent inhalation of toxic fumes.
- Disconnect the negative terminal first: When removing the old battery connector, always start by disconnecting the negative terminal to minimize the risk of short circuits and electrical mishaps.
- Avoid sparks and open flames: Since car batteries emit flammable gases, it’s important to keep sparks, open flames, and smoking materials far away from the work area to prevent potential explosions or fires.
- Handle the battery with care: Car batteries are heavy, so be cautious when lifting and moving them. Additionally, avoid tipping the battery to prevent acid spills.
- Dispose of the old connector properly: After removing the old battery connector, handle it with care and dispose of it according to local regulations, as it may contain hazardous materials.
By adhering to these safety precautions, you can ensure a secure and incident-free process when replacing your car’s battery connector.
Tools and Materials Needed
Before embarking on the task of replacing a car battery connector, it’s essential to gather the necessary tools and materials. Here’s a list of items you’ll need for a successful replacement:
- Safety goggles and gloves: These are crucial for protecting your eyes and hands from potential battery acid or corrosion.
- Adjustable wrench or socket set: To loosen and tighten the battery terminal clamps, an adjustable wrench or socket set is indispensable.
- Baking soda and water solution: This mixture is helpful for neutralizing any spilled battery acid and cleaning the battery terminals.
- Wire brush or battery terminal cleaner: To remove corrosion and ensure a clean connection, a wire brush or terminal cleaner is essential.
- New battery connector: Depending on the type of connector needed for your car’s battery, ensure you have the appropriate replacement part on hand.
- Protective clothing: Wearing old or protective clothing can safeguard your skin from accidental spills or splashes.
- Portable light source: Since the work may involve reaching into the car’s engine compartment, a portable light source can illuminate the area for better visibility.
- Disposable cloth or paper towels: These are handy for wiping away any dirt, grime, or spilled fluids during the replacement process.
- Battery terminal protectant spray: This can help prevent future corrosion and ensure a lasting connection.
Having these tools and materials ready before starting the replacement process will streamline the task and contribute to a successful outcome.
Identifying the Battery Connector Type
Before commencing the replacement of a car battery connector, it’s crucial to identify the type of connector used in your vehicle. There are various types of battery connectors, and understanding which one your car utilizes is essential for a seamless replacement process. Here are the common types of battery connectors:
- Top-Post Battery Connector: This type of connector is characterized by the terminals located at the top of the battery. The terminals are typically round and can be either side or top-mounted. Top-post connectors are commonly found in older vehicles.
- Side-Post Battery Connector: Side-post connectors feature terminals located on the side of the battery rather than the top. These terminals are often hexagonal or rectangular in shape. Many modern vehicles are equipped with side-post battery connectors.
- Clamp-Style Battery Connector: Some vehicles use clamp-style connectors that secure the battery cables with clamps and bolts. These connectors require additional tools for removal and installation.
- Marine-Style Battery Connector: Often found in marine and recreational vehicles, marine-style connectors feature threaded terminals and require specific hardware for replacement.
To identify the type of battery connector in your car, consult your vehicle’s manual or inspect the battery itself. Additionally, if you’re unsure about the connector type, seeking assistance from a professional or consulting an automotive expert can provide clarity and ensure the correct replacement part is obtained.
Understanding the specific battery connector type in your vehicle is the first step towards a successful replacement process.
Removing the Old Battery Connector
Once you have identified the type of battery connector in your vehicle, the next step is to remove the old connector in preparation for the replacement. Here’s a step-by-step guide to safely and effectively remove the old battery connector:
- Prepare the Work Area: Park the vehicle in a well-ventilated area, away from any open flames or sparks. Ensure the engine is turned off, and wear protective gear, including safety goggles and gloves.
- Locate the Battery: Open the hood of the car and locate the battery. Depending on the type of connector, you may need to remove any covers or protective components to access the battery terminals.
- Identify the Terminal Types: Determine whether the battery terminals are top-post, side-post, clamp-style, or marine-style connectors. This will dictate the specific removal process for your vehicle’s connector.
- Disconnect the Cables: Using an adjustable wrench or socket set, loosen and remove the bolts or clamps securing the battery cables to the terminals. Always start with the negative terminal to minimize the risk of electrical mishaps.
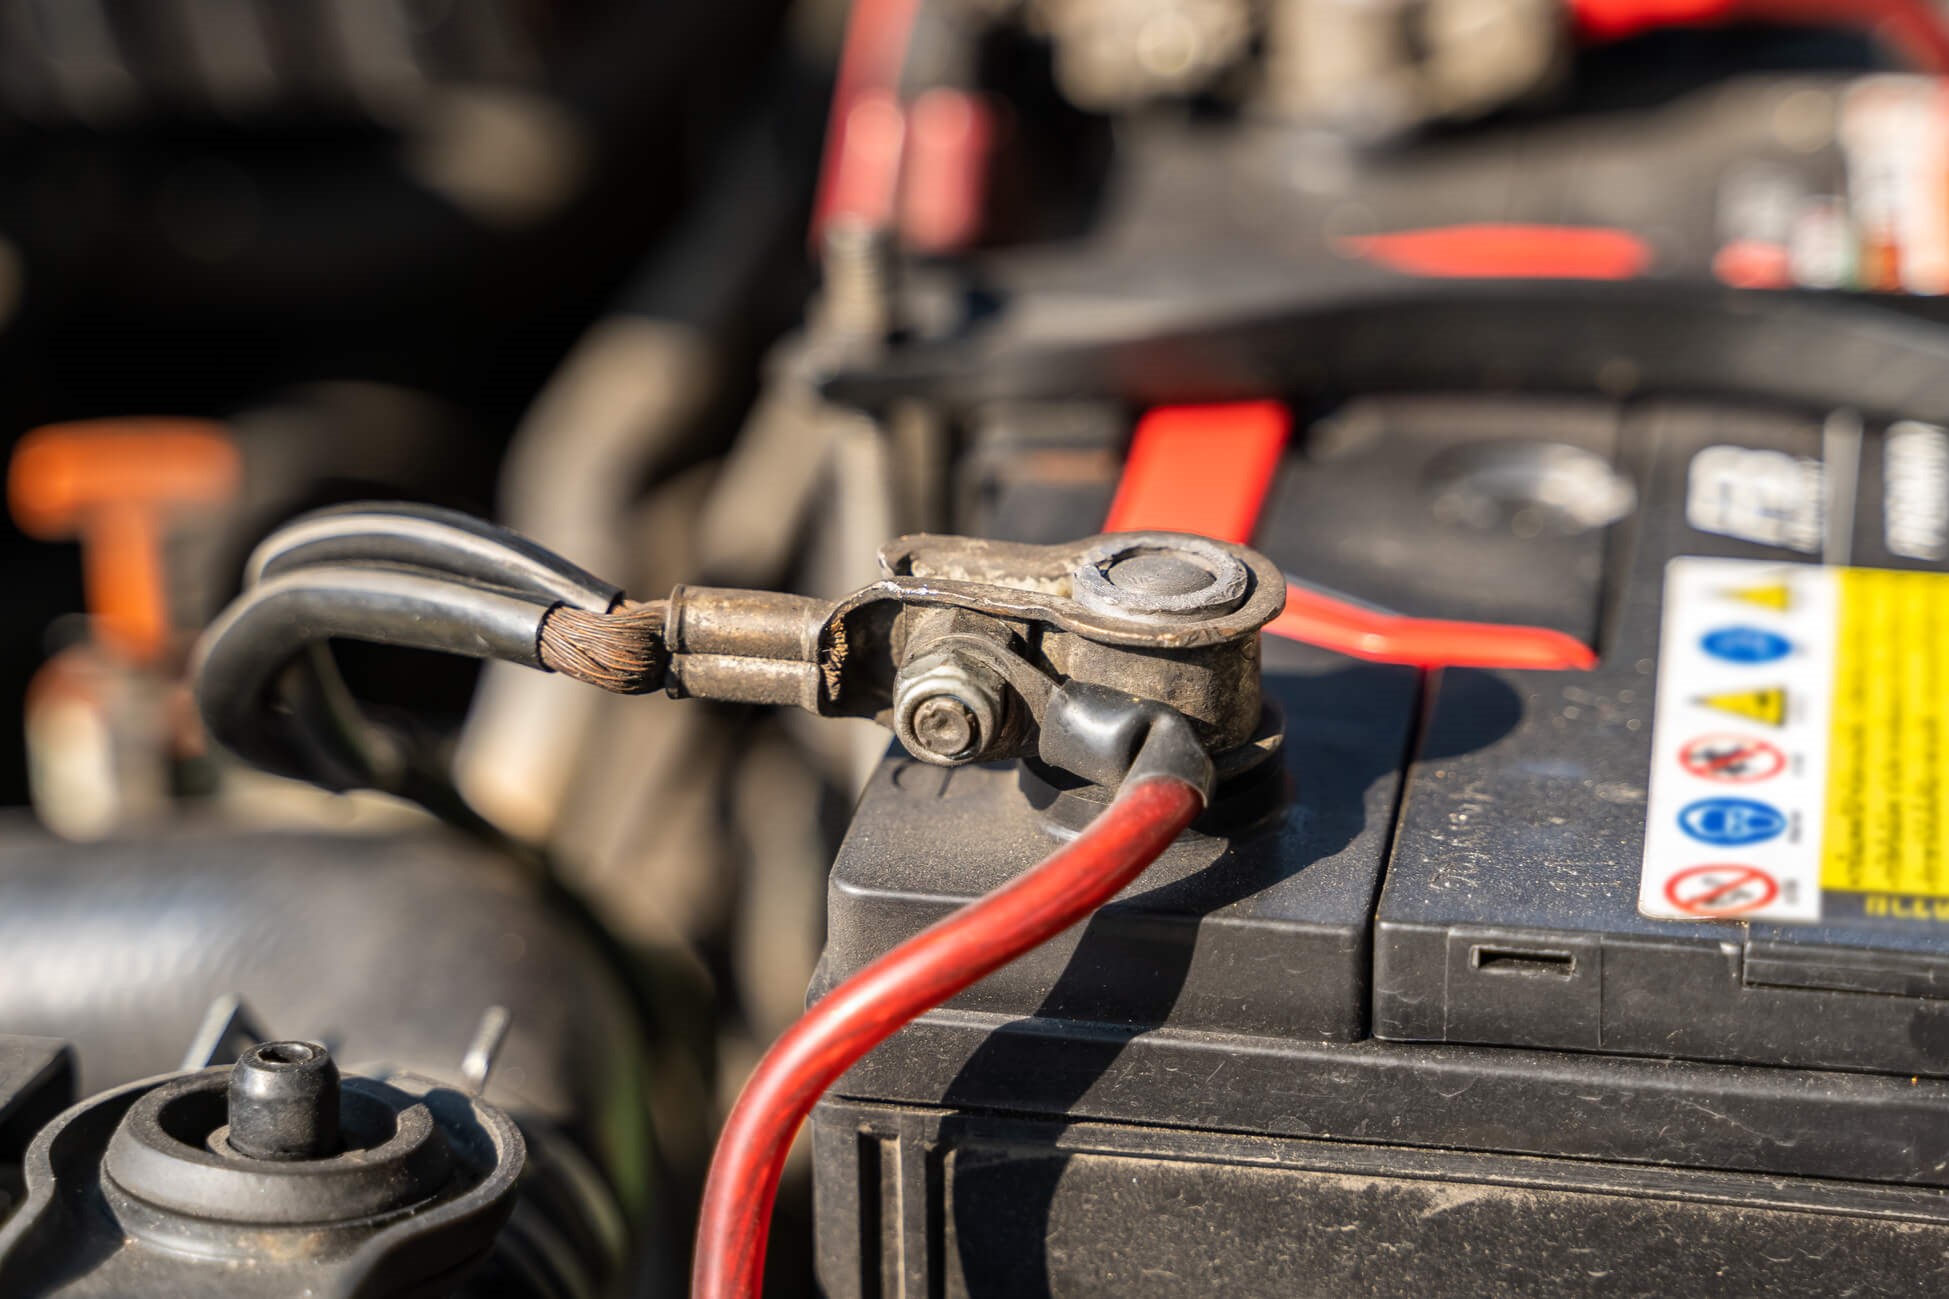
- Inspect for Corrosion: Once the cables are detached, inspect the terminals for any signs of corrosion or damage. If present, use a wire brush or terminal cleaner to remove the corrosion and ensure a clean connection for the new battery connector.
- Remove the Old Connector: Depending on the type of connector, carefully detach it from the battery terminals. Follow the specific removal instructions for your vehicle’s connector type to avoid damaging the terminals or surrounding components.
- Clean the Area: After removing the old connector, use a baking soda and water solution to neutralize any spilled battery acid and clean the battery terminals and surrounding area.
By methodically following these steps, you can safely remove the old battery connector, preparing the way for the installation of the new connector.
Installing the New Battery Connector
Once the old battery connector has been safely removed, the next crucial step is to install the new connector. Proper installation is essential for ensuring a secure and reliable connection. Here’s a detailed guide to installing the new battery connector:
- Inspect the New Connector: Before installation, ensure that the new battery connector is compatible with your vehicle’s battery type and size. Verify that the connector’s terminals match the configuration of your car’s battery.
- Clean the Battery Terminals: If there is any remaining corrosion on the battery terminals, use a wire brush or terminal cleaner to thoroughly clean the surfaces and ensure a pristine connection for the new connector.
- Position the New Connector: Carefully place the new battery connector onto the battery terminals, ensuring that the positive and negative terminals are correctly matched with the corresponding battery posts.
- Secure the Connector: Once the new connector is positioned correctly, fasten it securely to the battery terminals using the appropriate hardware and tools. Ensure a tight and stable connection to prevent any movement or loosening during vehicle operation.
- Reconnect the Cables: Begin by reconnecting the positive cable to the positive terminal, followed by the negative cable to the negative terminal. Use an adjustable wrench or socket set to tighten the bolts or clamps securely.
- Apply Terminal Protectant: To safeguard the new connection from corrosion, apply a battery terminal protectant spray to the terminals and connector. This protective coating helps prolong the lifespan of the connection.
- Test the Connection: With the new connector securely installed, start the vehicle to verify that the electrical systems are functioning properly. Additionally, check that the battery terminals are free from any signs of overheating or abnormal activity.
By meticulously following these steps, you can effectively install the new battery connector, ensuring a reliable and durable connection for your vehicle’s electrical system.
Testing the Connection
After installing the new battery connector, it’s crucial to thoroughly test the connection to ensure that it is secure and functioning as intended. Proper testing helps identify any potential issues and provides peace of mind that the electrical system is operating optimally. Here’s a comprehensive guide to testing the battery connector connection:
- Visual Inspection: Begin by visually inspecting the newly installed battery connector and the surrounding area. Ensure that the connector is securely fastened to the battery terminals and that the cables are tightly connected.
- Check for Stability: Gently wiggle the battery cables and connector to confirm that they are firmly secured to the terminals. Any movement or looseness indicates the need for further tightening.
- Start the Vehicle: Turn the ignition key to start the vehicle and observe the dashboard lights and electrical components. Verify that the vehicle starts smoothly and that the electrical systems, such as headlights, interior lights, and air conditioning, function properly.
- Measure Voltage: Using a multimeter, measure the voltage across the battery terminals to ensure that the battery is providing the appropriate voltage to the vehicle’s electrical system. A healthy battery typically registers around 12.6 volts when fully charged.
- Perform a Load Test: If possible, conduct a load test on the battery to assess its ability to deliver power under a load. This test helps determine the overall health and performance of the battery and its connection to the electrical system.
- Observe for Abnormalities: While the vehicle is running, monitor the battery terminals for any signs of overheating, sparking, or abnormal activity. These indicators may suggest a faulty connection or underlying electrical issues.
By diligently performing these tests, you can ensure that the new battery connector is functioning optimally and providing a reliable connection for your vehicle’s electrical system. Any irregularities observed during testing should be promptly addressed to prevent potential electrical malfunctions.
Additional Tips for Maintenance and Care
Proper maintenance and care of the car battery connector are essential for ensuring its longevity and optimal performance. Here are some additional tips to help maintain and care for the battery connector:
- Regular Inspection: Periodically inspect the battery connector for signs of corrosion, damage, or loose connections. Address any issues promptly to prevent electrical malfunctions.
- Keep the Terminals Clean: Clean the battery terminals and connectors regularly to remove any corrosion or buildup. A mixture of baking soda and water can help neutralize acid and clean the terminals effectively.
- Apply Terminal Protectant: Use a battery terminal protectant spray to coat the terminals and connectors, providing a barrier against corrosion and extending their lifespan.
- Secure the Cables: Ensure that the battery cables are securely fastened to the terminals to prevent any movement or loosening, which can lead to electrical issues.
- Monitor Battery Health: Keep track of the battery’s health by checking its voltage and conducting regular load tests. Replace the battery when necessary to maintain optimal electrical performance.
- Protect from Extreme Temperatures: Extreme heat or cold can affect the battery’s performance. Park the vehicle in shaded areas or garages during hot weather and consider using insulation in cold climates to protect the battery.
- Seek Professional Assistance: If you’re unsure about maintaining or replacing the battery connector, seek assistance from a qualified mechanic or automotive expert to ensure the work is performed correctly.
- Dispose of Old Connectors Properly: When replacing the battery connector, dispose of the old connector according to local regulations for hazardous waste disposal to protect the environment.
By incorporating these maintenance tips into your routine, you can prolong the life of the battery connector, maintain a reliable electrical connection, and ensure the overall health of your vehicle’s electrical system.