
Checking for Software Updates
One of the initial steps in troubleshooting flash issues on your iPhone 11 is to ensure that the device's software is up to date. Software updates often include bug fixes and enhancements that can address compatibility issues with the flash feature. Here's how you can check for software updates on your iPhone 11:
-
Accessing Software Update: To begin, navigate to the "Settings" app on your iPhone 11. Once there, tap on "General," followed by "Software Update." This will prompt your device to check for any available updates.
-
Downloading and Installing Updates: If a software update is available, you will be presented with the option to download and install it. Ensure that your iPhone 11 is connected to a stable Wi-Fi network and has sufficient battery life to complete the update process.
-
Verifying the Update: After the update is installed, your iPhone 11 will restart to apply the changes. Once it powers back on, revisit the "Software Update" section to confirm that your device is now running the latest software version.
By regularly checking for and installing software updates, you can ensure that your iPhone 11 is equipped with the latest features and performance enhancements, which may help resolve any flash-related issues you may encounter.
Remember, keeping your device's software up to date not only improves its overall functionality but also plays a crucial role in troubleshooting and resolving various technical issues, including those related to the flash feature.
Clearing Cache and Data
When encountering flash issues on your iPhone 11, clearing the cache and data associated with the camera app can often serve as an effective troubleshooting step. Over time, the cache and accumulated data within the app may lead to performance issues, including those related to the flash functionality. Here's a detailed guide on how to clear the cache and data for the camera app on your iPhone 11:
-
Accessing iPhone Settings: Begin by locating and tapping the "Settings" app on your iPhone 11's home screen. This will open the device's settings menu, providing access to various configuration options.
-
Navigating to the Camera Settings: Within the "Settings" menu, scroll down and look for the "Camera" option. Tap on it to access the camera settings, where you can manage the app's cache and data.
-
Clearing the Camera Cache: Once in the camera settings, look for the option to clear the app's cache. This action will remove temporary files and data that may be causing conflicts with the flash feature. Tap on the "Clear Cache" or similar option to initiate the process.
-
Clearing the Camera Data: In addition to clearing the cache, you may also find the option to clear the camera app's data. This step will reset the app to its default state, potentially resolving any underlying issues affecting the flash functionality. Tap on the "Clear Data" or similar option to proceed.
-
Confirming the Clearing Process: After selecting the options to clear the cache and data, your iPhone 11 may prompt you to confirm the action. Verify the selection to initiate the clearing process.
By following these steps, you can effectively clear the cache and data associated with the camera app on your iPhone 11. This process aims to eliminate any accumulated temporary files or conflicting data that could be impacting the flash feature's performance. After completing the cache and data clearing process, revisit the camera app to check if the flash functionality has been restored.
Regularly clearing the cache and data of the camera app can help maintain its optimal performance and resolve potential issues, including those related to the flash feature. It is a proactive measure to ensure that the app operates smoothly and delivers consistent functionality, enhancing the overall user experience with the iPhone 11's camera capabilities.
Enabling Flash in Camera Settings
Enabling the flash in the camera settings of your iPhone 11 is a fundamental step in troubleshooting flash issues and ensuring optimal performance when capturing photos or videos in low-light conditions. By configuring the flash settings, you can customize its behavior to suit your specific photography needs. Here's a comprehensive guide on how to enable the flash in the camera settings of your iPhone 11:
-
Accessing Camera Settings: Begin by unlocking your iPhone 11 and locating the "Camera" app on the home screen. Tap on the app icon to launch the camera interface, where you can access the settings related to the flash functionality.
-
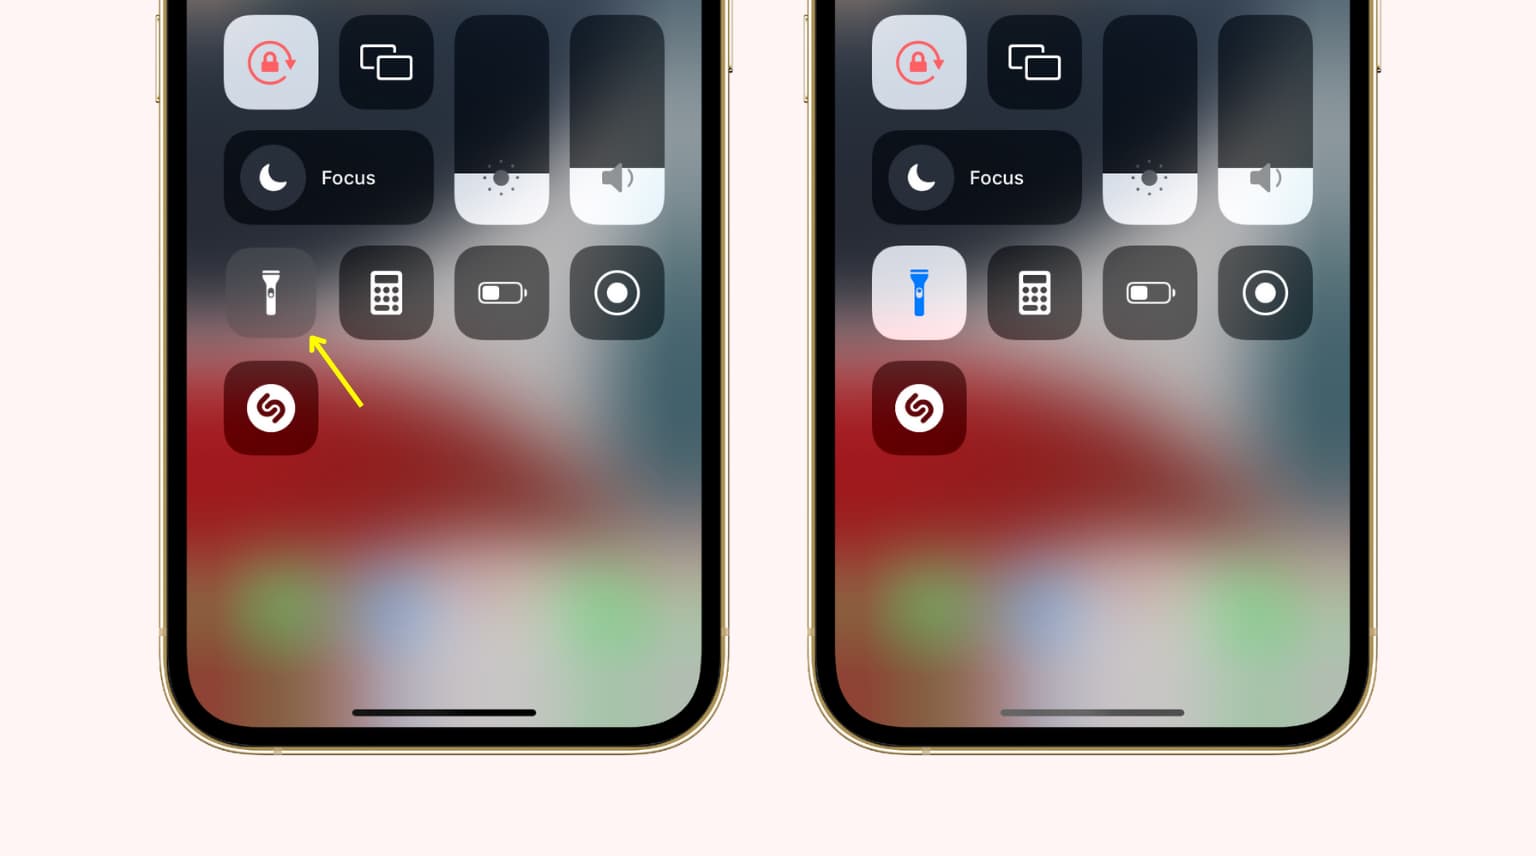
Navigating to Flash Settings: Once in the camera interface, look for the option to access the flash settings. This is typically represented by a lightning bolt icon, which allows you to control the flash behavior based on your preferences. Tap on the lightning bolt icon to reveal the available flash settings.
-
Selecting Flash Mode: Upon accessing the flash settings, you will be presented with different flash modes to choose from. These modes typically include "Auto," "On," "Off," and "Torch." Each mode serves a specific purpose, such as automatic flash activation, forced flash activation, flash deactivation, and continuous torch mode for sustained illumination. Select the appropriate flash mode based on your current photography requirements.
-
Testing the Flash: After configuring the flash settings, it's essential to test the flash functionality within the camera app. Capture a sample photo or video in a low-light environment to verify that the flash operates according to the selected mode. This step allows you to confirm that the flash settings have been successfully applied and that the flash functions as intended.
-
Adjusting Additional Settings: In addition to the flash mode, the camera settings may offer further adjustments related to the flash, such as intensity control and synchronization options. Explore these additional settings to fine-tune the flash behavior and ensure that it aligns with your desired photographic outcomes.
By following these steps, you can effectively enable the flash in the camera settings of your iPhone 11, empowering you to capture high-quality photos and videos in various lighting conditions. Customizing the flash settings based on your specific shooting scenarios enhances the versatility and performance of the iPhone 11's camera, allowing you to achieve stunning results across different environments.
Regularly revisiting the flash settings to adapt to changing photography conditions ensures that you can consistently leverage the flash feature to its full potential, maximizing the quality of your captured moments with the iPhone 11.
Restarting the iPhone
Restarting the iPhone serves as a simple yet effective troubleshooting step to address a wide range of technical issues, including those related to the flash functionality on the iPhone 11. By performing a restart, you can potentially resolve software glitches, temporary system hiccups, and minor conflicts that may be impacting the device's overall performance, including the operation of the flash feature. Here's a detailed exploration of the process of restarting the iPhone 11:
Soft Restart:
A soft restart, also known as a soft reset, involves powering off the iPhone 11 and then turning it back on. This action allows the device to undergo a fresh start, potentially clearing any temporary system inconsistencies that could be affecting the flash functionality. To perform a soft restart:
- Press and hold the Side (Power) button and either Volume button simultaneously until the "slide to power off" slider appears on the screen.
- Drag the slider, then wait for the iPhone 11 to power off completely.
- After the device turns off, press and hold the Side button again until the Apple logo appears, indicating that the iPhone is restarting.
Hard Restart:
In certain instances, a hard restart, also known as a hard reset, may be necessary to address more persistent issues affecting the iPhone 11, including those impacting the flash feature. To execute a hard restart:
- Quickly press and release the Volume Up button.
- Quickly press and release the Volume Down button.
- Press and hold the Side button until the Apple logo appears, signifying that the iPhone is undergoing a hard restart.
Impact on Flash Functionality:
By performing a soft or hard restart, you are essentially giving the iPhone 11 a fresh start, allowing it to reinitialize its software and system processes. This can potentially resolve underlying issues that may be hindering the proper operation of the flash feature. After the restart, revisit the camera app to test the flash functionality and determine if the issue has been resolved.
Regular Maintenance:
In addition to troubleshooting specific issues, incorporating regular restarts into your iPhone 11 usage routine can contribute to its overall stability and performance. Periodic restarts help clear temporary system data and refresh the device's operation, promoting smoother functionality across all features, including the flash.
By incorporating the practice of restarting the iPhone 11 into your device maintenance habits, you can proactively address potential technical hiccups and maintain the optimal performance of the flash feature, ensuring that it reliably serves your photography needs across various lighting conditions.
Resetting the iPhone Settings
Resetting the settings on your iPhone 11 can serve as a comprehensive troubleshooting measure to address persistent technical issues, including those affecting the flash functionality. This process involves reverting the device's settings to their default configurations, potentially resolving software conflicts and irregularities that may be impacting the overall performance of the iPhone 11's features, including the flash.
To initiate the process of resetting the iPhone settings, follow these steps:
-
Accessing the Settings Menu: Begin by unlocking your iPhone 11 and navigating to the "Settings" app on the home screen. The settings menu provides access to various configuration options that govern the device's behavior and functionality.
-
Locating the Reset Option: Within the settings menu, scroll down and look for the "General" option. Tap on "General" to reveal a range of system-level settings and configurations.
-
Accessing the Reset Settings: Upon entering the "General" settings, locate the "Reset" option, which houses various reset functionalities designed to address different aspects of the iPhone's operation. Tap on "Reset" to proceed to the next step.
-
Selecting the Reset All Settings Option: Within the "Reset" menu, identify and tap on the "Reset All Settings" option. This action will prompt the iPhone 11 to confirm the reset process, emphasizing that it will revert all settings to their default values while preserving your data and media.
-
Verifying the Reset: After selecting the "Reset All Settings" option, the iPhone 11 will request confirmation to proceed with the reset process. Verify the action to initiate the resetting of the device's settings.
Upon completing the reset process, the iPhone 11 will restore its settings to their original configurations, potentially resolving any underlying software inconsistencies that may have been affecting the flash functionality. It is important to note that this reset does not erase your personal data, such as photos, videos, and apps, but rather focuses on system-level settings and preferences.
Following the reset, revisit the camera app to test the flash feature and determine if the issue has been resolved. By resetting the iPhone settings, you are essentially providing the device with a fresh start, allowing it to recalibrate its configurations and potentially address the technical issues impacting the flash functionality.
Incorporating the practice of resetting the iPhone settings into your troubleshooting approach can contribute to maintaining the overall stability and performance of the device, ensuring that the flash feature operates reliably across various photography scenarios. Regularly revisiting the device's settings and performing a reset when necessary can help mitigate software-related issues and optimize the iPhone 11's functionality.
Contacting Apple Support
If you have diligently attempted the troubleshooting steps outlined above and continue to experience persistent flash issues on your iPhone 11, reaching out to Apple Support can provide valuable assistance in resolving the underlying technical challenges. Apple's dedicated support channels offer access to knowledgeable representatives who can offer personalized guidance and technical expertise to address your specific concerns.
Direct Support Options
Apple provides several avenues for users to seek support, ensuring accessibility and convenience. These options include:
-
Apple Support Website: The official Apple Support website serves as a comprehensive resource, offering troubleshooting guides, support articles, and community forums where users can seek assistance and advice from fellow Apple device owners.
-
Apple Support App: The Apple Support app, available on the App Store, provides a user-friendly platform to access personalized support for your Apple devices. It offers the convenience of initiating support requests, scheduling appointments at Apple Stores or authorized service providers, and receiving tailored recommendations based on your device's status.
-
Apple Store Visits: Visiting an Apple Store or authorized service provider allows for in-person support, where Apple's trained staff can diagnose and address hardware and software issues, including those related to the flash functionality on your iPhone 11.
Engaging with Apple Support
When contacting Apple Support, it is beneficial to provide a detailed account of the troubleshooting steps you have undertaken, along with a clear description of the persistent flash issues you are encountering. This information equips the support team with valuable insights to expedite the resolution process effectively.
During your interaction with Apple Support, you can expect to receive personalized guidance tailored to your specific situation. The support representatives may offer additional troubleshooting steps, provide insights into potential software or hardware-related factors impacting the flash functionality, and facilitate the arrangement of service appointments if necessary.
Leveraging Warranty and Service Coverage
If your iPhone 11 is within its warranty period or covered by an AppleCare+ plan, Apple Support can assist in assessing the device's eligibility for service or repair. Depending on the nature of the flash issues, the support team can guide you through the warranty and service coverage options available to address the identified concerns.
By engaging with Apple Support, you can leverage the expertise and resources of the Apple ecosystem to effectively address the persistent flash issues on your iPhone 11. The support team's commitment to delivering exceptional customer service ensures that you receive the necessary assistance to restore the optimal functionality of your device's flash feature.
Reaching out to Apple Support demonstrates a proactive approach to resolving technical challenges, allowing you to harness the full potential of your iPhone 11's camera capabilities across various photography scenarios.