Checking for Connection Issues
Checking for Connection Issues
When your wireless earbuds are only functioning on one side, the first step is to troubleshoot any potential connection issues. This can often be the root cause of the problem, and there are several steps you can take to address it.
1. Ensure Proper Placement: Start by checking that both earbuds are correctly placed in your ears. Sometimes, a loose fit can lead to one side not working properly. Adjust the earbuds and ensure they are snug and secure.
2. Check Bluetooth Connectivity: Verify that the earbuds are properly connected to your device via Bluetooth. Open the Bluetooth settings on your device and confirm that the earbuds are paired and connected. If not, go through the pairing process again to establish a stable connection.
3. Battery Level: Low battery levels can also cause connectivity issues. Ensure that both earbuds are adequately charged. If one side is not functioning, it may be due to a drained battery. Place the earbuds in the charging case and allow them to charge fully before attempting to use them again.
4. Interference: External interference, such as other electronic devices or physical obstructions, can disrupt the Bluetooth connection. Try using the earbuds in a different location to see if the issue persists. Additionally, minimizing the distance between the earbuds and the connected device can help strengthen the Bluetooth signal.
By systematically checking for these connection issues, you can address common problems that may be causing your wireless earbuds to function on only one side.
Cleaning the Earbuds
Cleaning the Earbuds
When experiencing issues with one side of your wireless earbuds, it’s important to consider the possibility of dirt, debris, or earwax causing connectivity or sound problems. Cleaning the earbuds regularly can help maintain their performance and address any issues stemming from blockages or buildup.
1. Gentle Wiping: Use a soft, dry cloth to gently wipe the exterior of the earbuds. This can help remove any surface dirt or grime that may be affecting the connection or sound quality. Avoid using harsh chemicals or excessive moisture, as this can damage the earbuds.
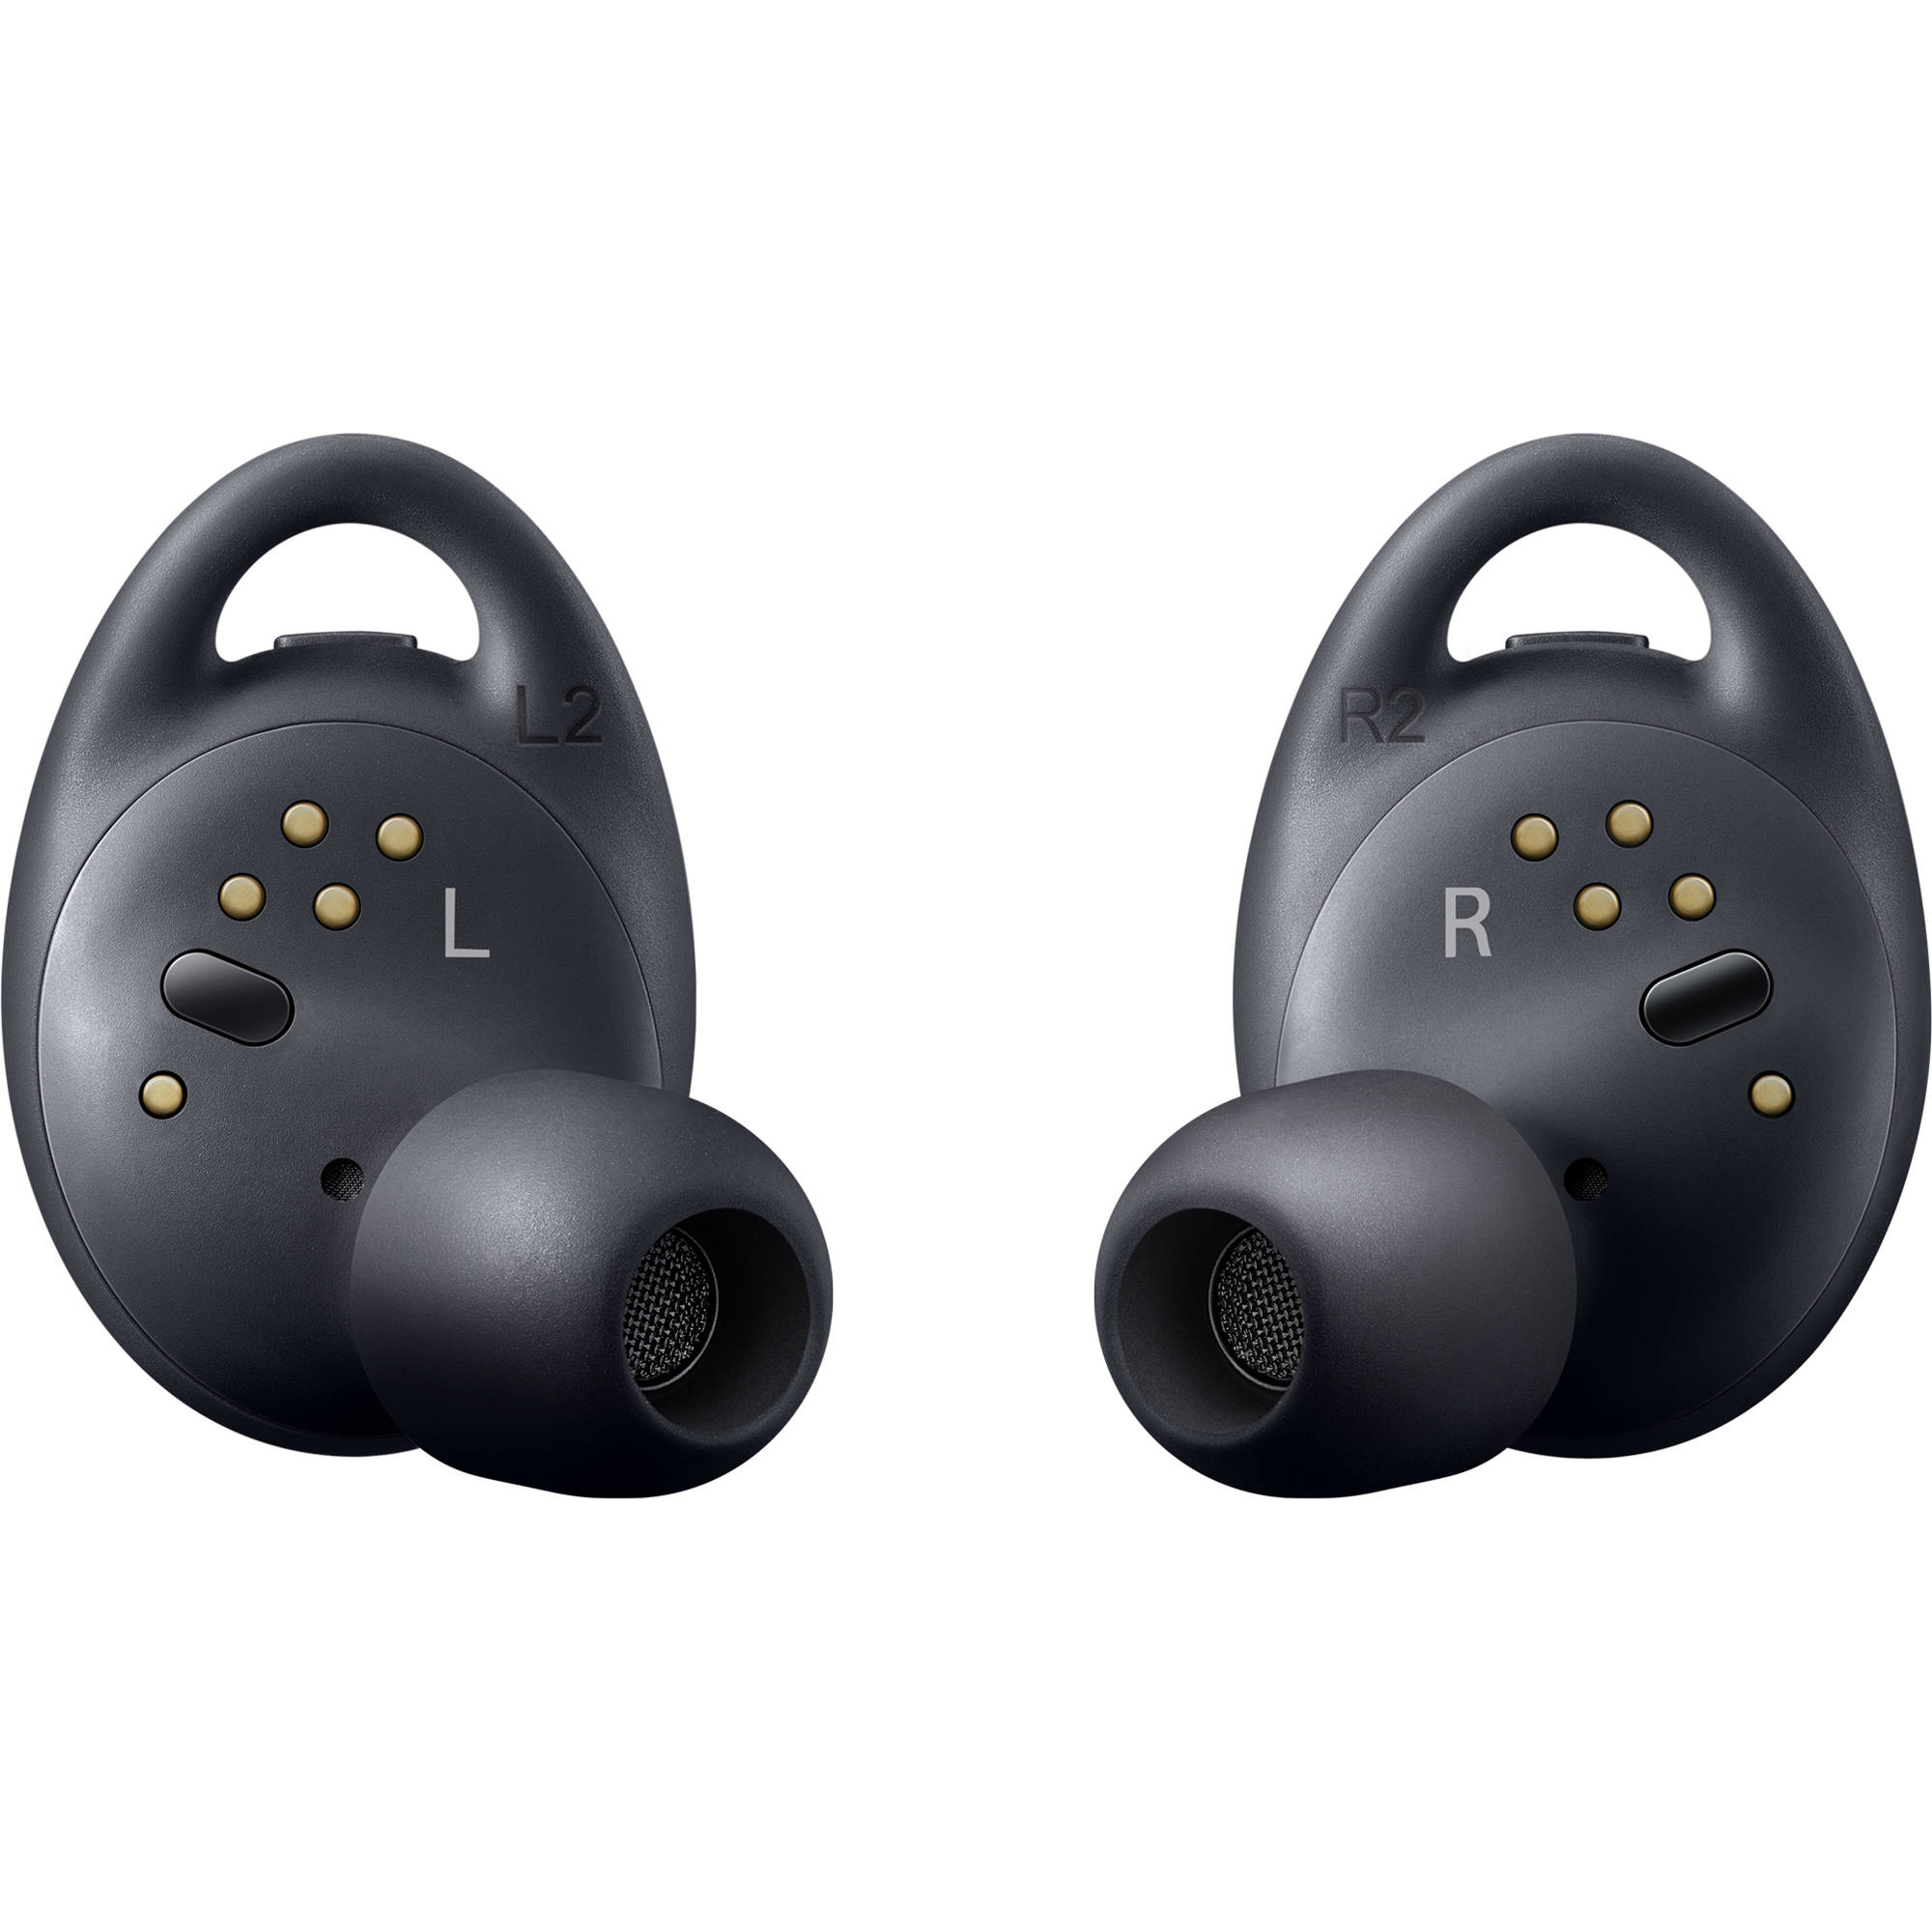
2. Cleaning the Mesh: The mesh covering the speaker or sound outlet can accumulate debris over time. Carefully remove any visible dirt or buildup using a small, soft brush or a cotton swab. Be gentle to avoid pushing debris further into the earbud.
3. Earbud Tips: If your earbuds have removable silicone or foam tips, remove them and clean any accumulated earwax or debris. Wash the tips with mild soap and water, ensuring they are completely dry before reattaching them to the earbuds.
4. Disinfecting: Given that earbuds come into contact with the ears, it’s essential to keep them clean and free from bacteria. Use a mild disinfectant wipe or solution to gently sanitize the earbuds, taking care to avoid the electronic components.
5. Charging Contacts: Ensure that the charging contacts on both the earbuds and the charging case are clean and free from debris. Use a dry cotton swab to remove any buildup that may be inhibiting the charging process.
Regularly cleaning your earbuds can not only improve their performance but also extend their lifespan. By maintaining cleanliness and addressing any buildup, you can mitigate potential issues that may be causing one side of the earbuds to malfunction.
Resetting the Earbuds
When encountering issues with one side of your wireless earbuds, performing a reset can often resolve connectivity or performance issues. Resetting the earbuds can help clear any temporary glitches or malfunctions that may be causing the problem. Here’s how to reset your wireless earbuds:
1. Refer to the User Manual: The reset process may vary depending on the brand and model of your earbuds. Consult the user manual or visit the manufacturer’s website to find specific instructions for resetting your earbuds.
2. Perform a Soft Reset: In many cases, a soft reset can be performed by placing the earbuds in the charging case and leaving them for a few seconds to initiate the reset process. This simple action can help clear any minor issues that may be affecting the functionality of the earbuds.
3. Hard Reset Option: Some earbuds offer a hard reset option, which involves pressing specific buttons or combinations to trigger a complete reset. This can often be an effective way to address persistent problems with one or both earbuds.
4. Disconnect and Reconnect: If the earbuds are connected to a device, disconnect them and then reconnect them after the reset process. This can help establish a fresh connection and resolve any underlying issues.
5. Update Firmware: After performing a reset, it’s advisable to check for firmware updates for your earbuds. Updating the firmware can address known issues and improve the overall performance of the earbuds.
By following these steps to reset your wireless earbuds, you can often troubleshoot and resolve issues related to one side of the earbuds not functioning as expected. It’s a simple yet effective way to address common connectivity and performance issues.
Updating the Earbud Firmware
Ensuring that your wireless earbuds have the latest firmware is crucial for optimal performance and functionality. Firmware updates often include bug fixes, performance enhancements, and compatibility improvements that can address issues such as one side of the earbuds not functioning properly. Here’s how to update the firmware for your earbuds:
1. Check for Updates: Visit the official website of the earbud manufacturer or refer to the user manual to determine the process for checking and installing firmware updates. Many manufacturers provide dedicated software or apps for updating earbud firmware.
2. Download the Firmware: If a new firmware version is available, download it onto a computer or the associated mobile app, following the specific instructions provided by the manufacturer. Ensure that the download is from a trusted and official source to avoid potential issues.
3. Connect the Earbuds: Ensure that the earbuds are fully charged and properly connected to the device used for updating the firmware. Follow the instructions provided by the manufacturer to initiate the firmware update process.
4. Follow the Update Procedure: Depending on the manufacturer and the earbud model, the update procedure may vary. It’s essential to follow the provided instructions carefully to avoid any interruptions or errors during the update process.
5. Test the Earbuds: After the firmware update is complete, test the earbuds to ensure that both sides are functioning as expected. If the issue of one side not working persists, consider reaching out to the manufacturer’s support for further assistance.
By keeping your earbud firmware up to date, you can mitigate potential issues related to connectivity, sound quality, and overall performance. Firmware updates often contain essential improvements that can address common problems, ensuring a seamless and reliable experience with your wireless earbuds.
Trying the Earbuds with Another Device
When encountering issues with one side of your wireless earbuds, testing them with another compatible device can help determine whether the problem is related to the earbuds themselves or the original playback device. This simple troubleshooting step can provide valuable insights and help identify the root cause of the issue. Here’s how to proceed:
1. Select a Different Device: Choose another smartphone, tablet, computer, or audio device that is compatible with your wireless earbuds. Ensure that the selected device supports the same Bluetooth version and profiles as the original playback device.
2. Pair the Earbuds: Pair the earbuds with the alternative device following the standard pairing procedure. Once successfully paired, play audio content to test whether both sides of the earbuds are functioning properly.
3. Assess Performance: Pay close attention to the audio output from both earbuds while connected to the alternative device. Check whether the issue of one side not working persists or if the problem is resolved when used with a different device.
4. Compare Results: Compare the performance of the earbuds when used with the original device and the alternative device. If both sides function correctly with the alternative device, the issue may be related to the original playback device or its settings.
5. Troubleshoot the Original Device: If the problem persists when using the earbuds with another device, consider troubleshooting the original playback device. Check its Bluetooth settings, audio output, and compatibility with the earbuds to identify any potential issues.
By trying the earbuds with another device, you can narrow down the source of the problem and determine whether it is related to the earbuds themselves or the original playback device. This targeted troubleshooting approach can guide you toward an effective solution for resolving the issue of one side of the earbuds not functioning as expected.


