
Understanding the Yellow Exclamation Point in Device Manager
When you open the Device Manager on your computer and see a yellow exclamation point next to a device, it indicates that there is an issue with that particular hardware component. The Device Manager is a useful tool in Windows that allows you to view and manage the hardware devices installed on your system. The yellow exclamation point serves as a warning sign, alerting you to a problem that requires attention.
The yellow exclamation point can indicate various issues, such as a missing driver, outdated driver, driver conflict, or hardware malfunction. It is essential to address these problems promptly to ensure that your devices function properly.
It’s important to note that not all devices with a yellow exclamation point are malfunctioning. In some cases, the warning may be a false positive or a temporary issue. However, it is always advisable to investigate further and fix any potential problems to avoid future complications.
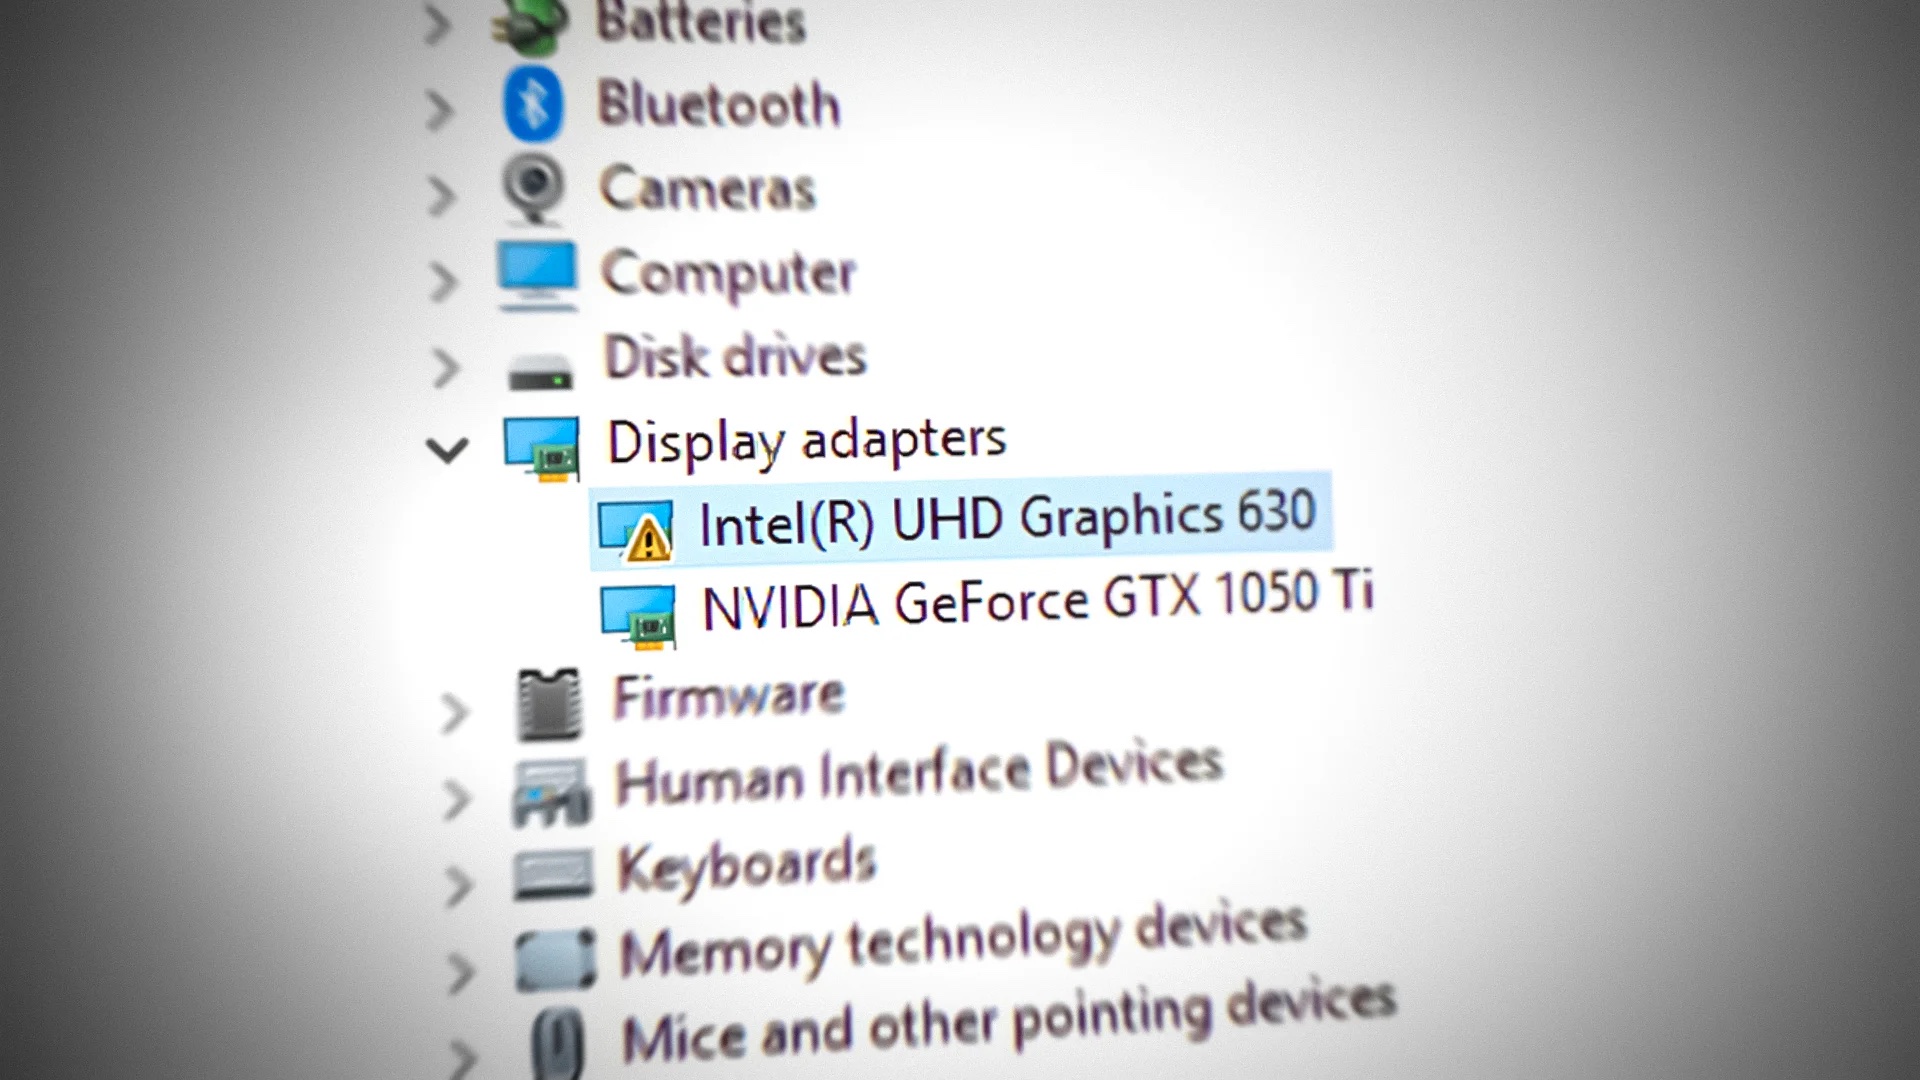
Identifying the specific device with the yellow exclamation point is the first step in troubleshooting. In the Device Manager, expand the category that corresponds to the problematic device. The yellow exclamation point should be visible next to the specific device name or under the “Unknown devices” category.
Once you have identified the device, you can proceed with troubleshooting steps to address the underlying issue. This may involve updating drivers, uninstalling and reinstalling drivers, running hardware diagnostics, or seeking assistance from the device manufacturer’s support.
By understanding the meaning behind the yellow exclamation point in Device Manager, you can effectively diagnose and resolve hardware-related problems on your computer. It is crucial to stay proactive and keep your devices in optimal working condition.
Checking for Driver Issues
When encountering a yellow exclamation point in Device Manager, the first step is to check for driver issues. Drivers are software programs that allow your computer to communicate with and control various hardware devices. Outdated or missing drivers can often cause conflicts and result in device malfunctions.
To check for driver issues, follow these steps:
- Right-click on the device with the yellow exclamation point and select “Properties.”
- Navigate to the “Driver” tab and click on “Update Driver.”
- Choose the option to search for drivers automatically. Windows will attempt to find and install the latest driver for the device.
Alternatively, you can visit the manufacturer’s website and search for the most recent driver specifically designed for your device model. Download the driver and follow the installation instructions to update it manually.
If Windows Update does not find any newer drivers and manually updating the driver does not resolve the issue, there are a few additional steps you can try. One option is to uninstall the driver completely and then reinstall it. To do this, go back to the device’s properties in Device Manager, click on the “Driver” tab, and select “Uninstall Device.” Afterward, restart your computer and let Windows reinstall the driver automatically, or manually install it using the manufacturer’s provided driver files.
If the yellow exclamation point remains, you can also try running the “Hardware and Devices Troubleshooter,” a built-in Windows tool that can help identify and fix common hardware problems. To access the troubleshooter, go to the Windows search bar and type “Troubleshoot,” then select “Troubleshoot settings.” Scroll down to the “Find and fix other problems” section and click on “Hardware and Devices.”
Checking for driver issues is an essential step when dealing with a yellow exclamation point in Device Manager. It helps ensure that your hardware devices are running with the latest and most stable drivers, minimizing the risk of conflicts and malfunctions.
Updating Drivers Manually
If Windows Update fails to find the latest drivers for your device, or if you prefer to have more control over the driver installation process, you can update drivers manually. Manually updating drivers involves visiting the manufacturer’s website and downloading the appropriate driver for your device.
To update drivers manually, follow these steps:
- Identify the make and model of your device with the yellow exclamation point in Device Manager.
- Visit the manufacturer’s website and navigate to the “Support” or “Downloads” section.
- Search for the latest driver for your specific device model and operating system. Download the driver to your computer.
- Once the driver is downloaded, locate the file and double-click on it to begin the installation process. Follow any on-screen prompts or instructions provided by the manufacturer.
- Restart your computer after the driver installation is complete to ensure the changes take effect.
Keep in mind that it is crucial to download drivers only from official manufacturer websites to avoid potential compatibility issues or malware. Avoid downloading drivers from third-party sources, as they may offer outdated or malicious files.
Manually updating drivers allows you to have direct control over the installation process and ensures that you have the most up-to-date driver for your device. This can help resolve compatibility issues, improve performance, and enhance the stability of your hardware components.
Using Windows Update to Update Drivers
Windows Update is a built-in feature of the Windows operating system that allows you to download and install the latest updates, including device drivers. Using Windows Update to update drivers is a convenient method, as it automatically scans your system for available updates and installs them with just a few clicks.
To update drivers using Windows Update, follow these steps:
- Open the Start menu and click on “Settings.”
- In the Settings window, click on “Update & Security.”
- Select “Windows Update” from the left-hand side menu.
- Click on “Check for updates” to initiate a search for available updates.
- If any driver updates are found, click on “Download and install” to start the installation process.
- Follow the on-screen instructions and prompts to complete the driver installation.
- Restart your computer if prompted to do so.
Windows Update will automatically detect and install the latest drivers for your hardware devices, ensuring that you have the most up-to-date software. However, it’s important to note that Windows Update may not always have the newest drivers available, especially for less common or older devices. In such cases, manual driver installation may be necessary.
Using Windows Update to update drivers is a quick and straightforward method, especially for devices with readily available driver updates. It helps keep your system current and ensures compatibility and stability with the latest hardware drivers provided by Microsoft.
Uninstalling and Reinstalling Drivers
If updating drivers does not resolve the issue with the yellow exclamation point in Device Manager, uninstalling and reinstalling the drivers may be necessary. This process involves removing the current driver from your computer and then installing a fresh copy.
To uninstall and reinstall drivers, follow these steps:
- Open Device Manager by right-clicking on the Start button and selecting “Device Manager.”
- Locate the device with the yellow exclamation point and right-click on it.
- Select “Uninstall device” from the drop-down menu.
- If prompted, choose to delete the driver software for the device as well.
- Once the driver is uninstalled, restart your computer.
- After the restart, Windows will automatically reinstall the driver for your device.
Sometimes, Windows may not be able to reinstall the driver automatically. In such cases, you can visit the manufacturer’s website and download the specific driver for your device. Follow the manufacturer’s instructions to install the driver manually.
Uninstalling and reinstalling drivers can help resolve driver conflicts or corruption issues that may be causing the yellow exclamation point in Device Manager. By removing the existing driver and reinstalling a fresh copy, you provide your device with a clean and stable driver installation, often resolving the problem at hand.
Running the Hardware and Devices Troubleshooter
If you are experiencing issues with a device that has a yellow exclamation point in Device Manager, running the Hardware and Devices Troubleshooter can help identify and resolve common hardware problems. This built-in Windows tool scans your system for any hardware-related issues and attempts to fix them automatically.
To run the Hardware and Devices Troubleshooter, follow these steps:
- Open the Windows Control Panel by searching for it in the Windows search bar.
- In the Control Panel, change the view to “Large icons” or “Small icons” for easier navigation.
- Click on “Troubleshooting” to open the Troubleshooting window.
- Click on “Hardware and Sound” and then select “Hardware and Devices” from the list of options.
- Click on “Next” to start the troubleshooter.
- Follow the on-screen instructions to allow the troubleshooter to scan your system and identify any hardware-related issues.
- If any issues are found, the troubleshooter will attempt to fix them automatically. Follow the prompts to complete the troubleshooting process.
- Restart your computer after the troubleshooting process is complete.
The Hardware and Devices Troubleshooter is designed to address common hardware-related problems, such as driver issues, hardware conflicts, or misconfigurations. Running this troubleshooter can help resolve the underlying issues affecting the device with the yellow exclamation point in Device Manager.
It’s important to note that the troubleshooter may not be able to fix all problems and is not a guaranteed solution. In some cases, manual troubleshooting or seeking assistance from the device manufacturer’s support may be necessary.
By utilizing the Hardware and Devices Troubleshooter, you can quickly identify and potentially correct hardware-related issues that may be causing the yellow exclamation point in Device Manager.
Checking for Hardware Issues
If you have exhausted software-related troubleshooting steps and the yellow exclamation point in Device Manager persists, it’s worth checking for any underlying hardware issues. Physical problems with the hardware itself can sometimes be the cause of device malfunctions and the yellow exclamation point.
To check for hardware issues, follow these steps:
- Ensure all cables and connections are securely plugged in. Loose or improperly connected cables can lead to device recognition problems.
- Try connecting the device to a different port. Sometimes, a faulty port can cause issues. Switching to another port can help determine if the problem lies with the device or the port itself.
- Test the device on a different computer or device. This will help determine if the issue is specific to your computer or if the device itself is faulty.
- Inspect the device for physical damage or defects. Cracked casings, bent pins, or other visible damage may indicate a hardware problem.
- If possible, try using a different device of the same type to see if it works without any issues. This can help pinpoint if the problem is with the device or your computer.
If you discover any hardware issues during this process, such as a faulty cable, port, or physically damaged device, you may need to replace the defective component. Contacting the manufacturer or seeking professional assistance can be helpful in determining the best course of action.
Checking for hardware issues is an important step in troubleshooting the yellow exclamation point in Device Manager. It allows you to identify any potential physical problems that may be causing the malfunction and take appropriate action to resolve them.
Resolving Driver Conflicts
Driver conflicts can sometimes result in the appearance of a yellow exclamation point in Device Manager. A driver conflict occurs when two or more drivers are incompatible with each other or are trying to control the same hardware device. Resolving these conflicts is crucial to ensure proper device functionality and eliminate the yellow exclamation point.
To resolve driver conflicts, follow these steps:
- Open Device Manager by right-clicking on the Start button and selecting “Device Manager.”
- Click on the device with the yellow exclamation point to select it.
- Go to the “Driver” tab and click on the “Roll Back Driver” button if available. This will revert the driver to a previous version that has been known to work without conflicts.
- If the “Roll Back Driver” option is grayed out or not available, click on “Update Driver” instead. Choose the option to search for the driver automatically or manually install the driver from the manufacturer’s website.
- If updating the driver does not resolve the conflict, right-click on the device and select “Disable Device.” Restart your computer and then re-enable the device.
- If the conflict persists, you may need to uninstall both conflicting drivers and then reinstall them one at a time, restarting your computer after each installation.
By following these steps, you can attempt to resolve driver conflicts and eliminate the yellow exclamation point. It’s important to note that driver conflicts can be complex, and manual resolution might not always be successful. In some cases, seeking assistance from the device manufacturer’s support or a knowledgeable technician may be necessary.
Resolving driver conflicts is essential for the proper functioning of your hardware devices. By ensuring that drivers are compatible and working harmoniously, you can eliminate conflicts and get your devices back to working condition, without the yellow exclamation point in Device Manager.
Restoring the System to a Previous State
If all previous troubleshooting steps have failed to resolve the yellow exclamation point in Device Manager, restoring the system to a previous state can be an effective solution. This process allows you to revert your computer’s settings, including device drivers, back to a previous working state when the issue was not present.
To restore the system to a previous state, follow these steps:
- Open the Start menu and type “System Restore” in the search bar. Select “Create a restore point” from the search results.
- In the System Properties window, click on “System Restore.”
- Click on “Next” to proceed with the restoration process.
- Select a restore point from the available list. Choose a point where the yellow exclamation point was not present in Device Manager.
- Click on “Next” and then “Finish” to start the restoration process. Keep in mind that this process may take some time.
- Your computer will restart during the restoration process. Once it is complete, your system will be reverted to the selected restore point.
It’s important to note that restoring the system to a previous state may remove any recently installed programs and updates. However, personal files and folders should remain intact.
Restoring the system to a previous state can be an effective solution for resolving persistent issues such as the yellow exclamation point in Device Manager. By undoing recent changes to your computer’s settings, you can eliminate any configuration or driver-related issues that may be causing the problem.
If the issue persists even after restoring the system to a previous state, it may indicate a deeper underlying problem. In such cases, seeking professional assistance or the support of the device manufacturer may be necessary to further investigate and resolve the issue.
Seeking Help from Manufacturer Support
If you have tried all the troubleshooting steps mentioned earlier and are still unable to resolve the yellow exclamation point in Device Manager, it may be time to seek assistance from the manufacturer’s support team. The manufacturer’s support can provide specialized guidance and solutions tailored to your specific hardware device.
To seek help from the manufacturer’s support, follow these steps:
- Identify the make and model of the device with the yellow exclamation point in Device Manager.
- Visit the manufacturer’s website and navigate to the Support or Contact Us section.
- Look for resources such as knowledge base articles, FAQs, or user forums that may address common issues with your device.
- If the available resources do not provide a solution, find the appropriate contact method to reach out to the manufacturer’s support team. This could be through email, phone, or live chat.
- When contacting support, provide detailed information about the problem, including the steps you have already taken to troubleshoot it.
- Follow the instructions provided by the support team. They may require additional information or request diagnostic logs or system reports to better understand the issue.
Manufacturer support is a valuable resource when dealing with complex or persistent hardware issues. Their expertise and access to proprietary information can help identify and resolve problems that might be difficult to tackle on your own.
Remember to be patient when seeking assistance from the manufacturer’s support team, as the process may take some time. Be prepared to follow their instructions closely and provide any requested information promptly to help expedite the support process.
By seeking help from the manufacturer’s support, you can tap into their expertise and knowledge to find a solution to the yellow exclamation point in Device Manager. They may provide specialized troubleshooting steps, updated drivers, or even suggest hardware replacements if necessary.