
Importance of Fire Alarms
Fire alarms are crucial in safeguarding your home and the lives of your loved ones. These devices serve as the first line of defense against the devastating effects of fires, providing early warnings that can mean the difference between life and death. By promptly detecting the presence of smoke or fire, fire alarms can alert occupants to evacuate the premises and summon emergency assistance, mitigating the potential for injury, property damage, and emotional trauma.
Equipping your home with functioning fire alarms is not only a safety measure but also a legal requirement in many jurisdictions. Local building codes and regulations often mandate the installation of fire detection systems to ensure compliance with safety standards. Additionally, having operational fire alarms can lower insurance premiums, as they demonstrate a proactive commitment to risk reduction, potentially resulting in cost savings for homeowners.
Considering the unpredictable nature of fire outbreaks, it’s imperative to maintain and regularly inspect your fire alarms to ensure their reliability. Proactive measures such as testing and replacing batteries can significantly enhance the effectiveness of these life-saving devices, providing peace of mind and protection for you and your family.
Signs of a Low Battery
Recognizing the signs of a low battery in your fire alarm is essential for maintaining its functionality. A chirping sound at regular intervals is the most common indication of a low battery. This intermittent chirp, often accompanied by a flashing light on the alarm unit, serves as an audible and visual alert to prompt battery replacement. Ignoring this warning can compromise the effectiveness of your fire alarm, leaving your household vulnerable to undetected fire hazards.
Furthermore, some modern fire alarms are equipped with digital displays that provide specific error codes or messages to indicate a low battery. These displays offer valuable insights into the status of the alarm system, enabling homeowners to address battery issues promptly and ensure uninterrupted protection against fire-related emergencies.
It’s important to note that the frequency of battery replacement may vary based on the type and model of your fire alarm. While most manufacturers recommend replacing batteries at least once a year, certain alarms with lithium batteries have longer lifespans and may only require replacement every five to ten years. Understanding the unique requirements of your fire alarm system is crucial for maintaining its optimal performance and reliability.
By staying vigilant for these telltale signs of a low battery, you can proactively address maintenance needs and uphold the operational integrity of your fire alarm, thereby fortifying your home against the devastating impact of fires.
Choosing the Right Battery
When it comes to replacing the battery in your fire alarm, selecting the appropriate type is paramount to ensuring the continued efficacy of the alarm system. The most common battery options for fire alarms are alkaline and lithium, each with distinct characteristics that influence their performance and longevity.
Alkaline batteries, readily available and cost-effective, are a popular choice for powering fire alarms. These batteries are suitable for standard smoke detectors and are typically replaced on an annual basis. However, it’s crucial to verify the specific battery type recommended by the manufacturer of your fire alarm, as compatibility can vary across different models and brands.
Lithium batteries, on the other hand, offer an extended lifespan and are often integrated into long-life smoke alarms. While these batteries entail a higher initial investment, their prolonged durability and reliability make them a compelling choice for homeowners seeking minimal maintenance and long-term cost savings. Additionally, lithium batteries are less prone to voltage fluctuations, ensuring consistent power delivery to the fire alarm.
When selecting a replacement battery, it’s imperative to adhere to the manufacturer’s guidelines and recommendations. Reviewing the user manual or consulting the manufacturer’s website can provide valuable insights into the compatible battery types and models for your specific fire alarm. Additionally, some fire alarm units feature battery compartments designed for a particular battery size, such as 9-volt or AA, further emphasizing the importance of adhering to the prescribed specifications.
By conscientiously selecting the right battery for your fire alarm, you can optimize its performance, minimize maintenance requirements, and fortify your home with reliable protection against fire-related risks.
How to Change the Battery
Replacing the battery in your fire alarm is a straightforward yet critical task that ensures the continued functionality of this essential safety device. Follow these step-by-step instructions to safely and effectively change the battery in your fire alarm:
- Prepare the Replacement Battery: Acquire the appropriate replacement battery based on the manufacturer’s recommendations and the specifications outlined in the user manual. Ensure that the new battery is fully charged to guarantee optimal performance.
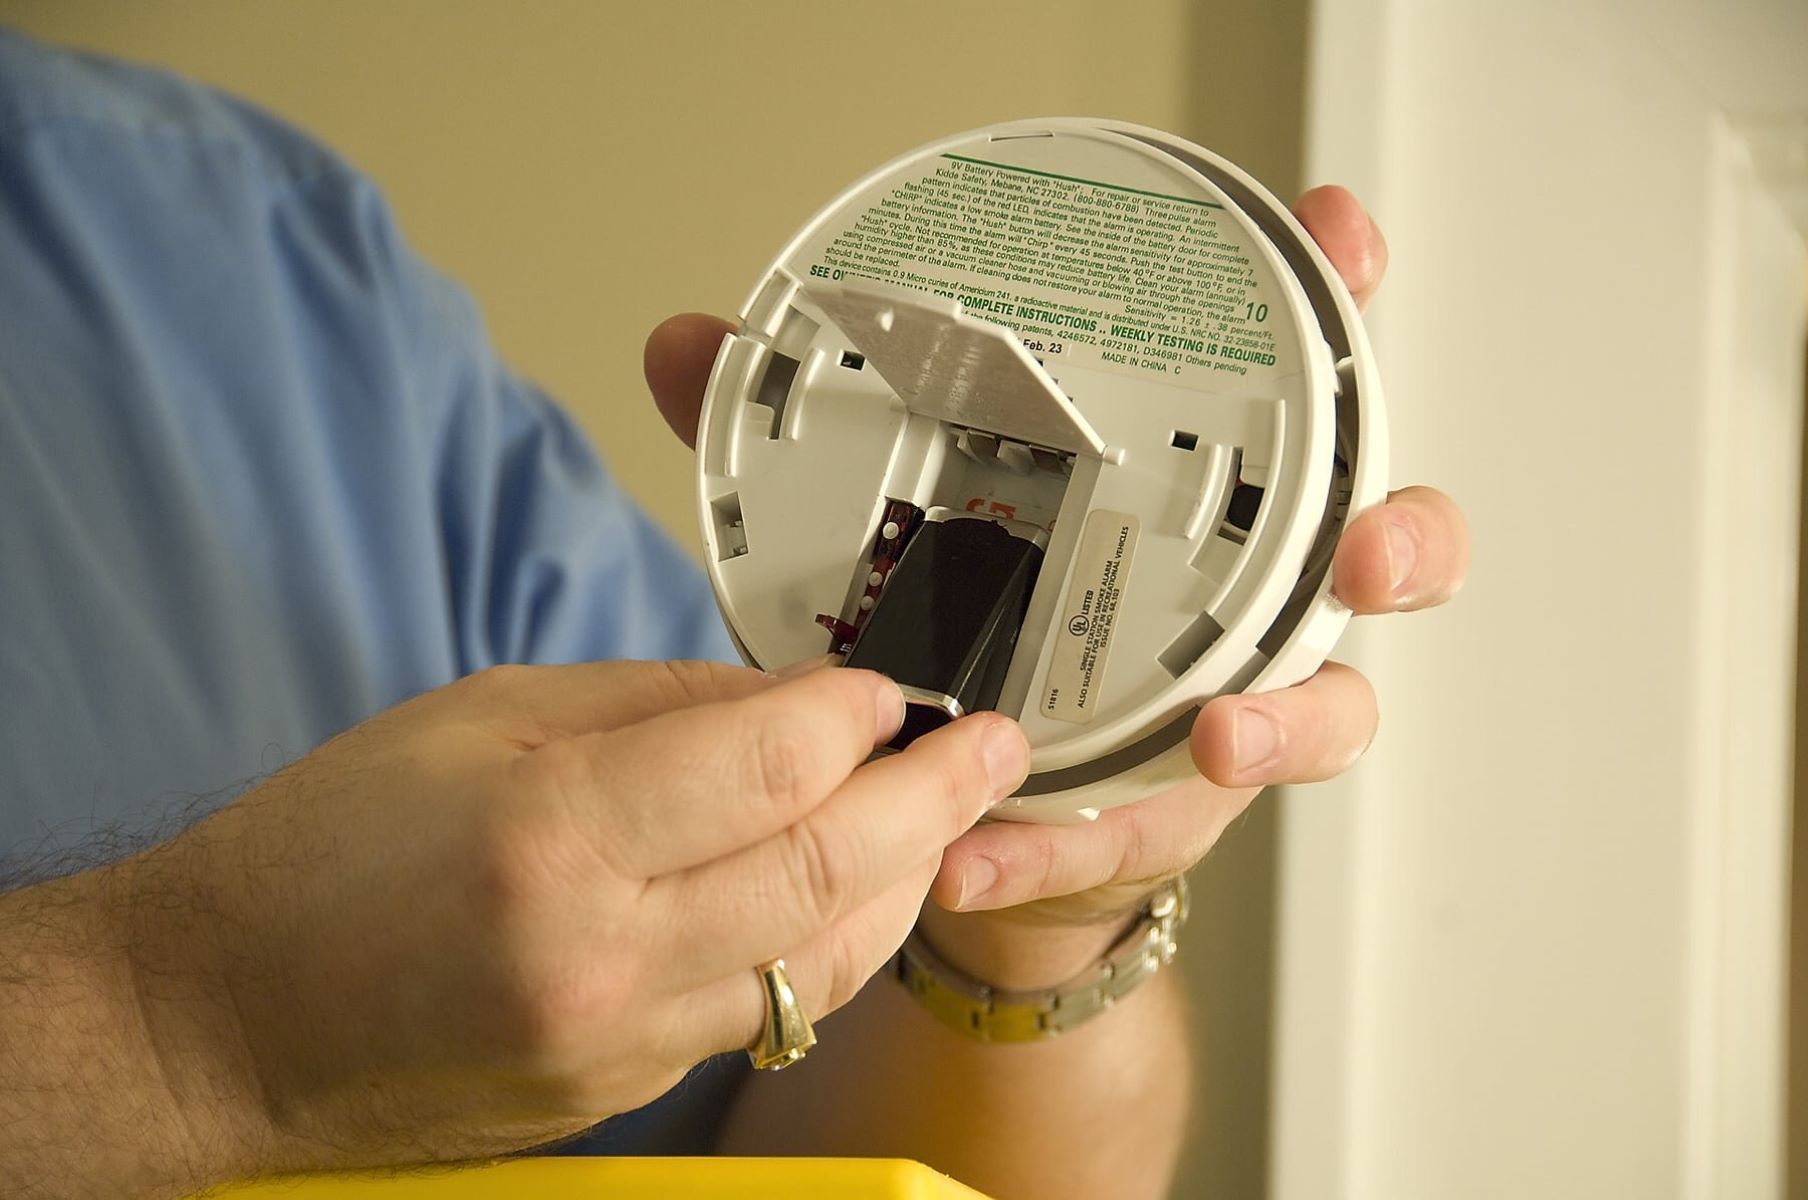
- Locate the Battery Compartment: Depending on the model of your fire alarm, the battery compartment may be located on the front or back of the unit. Carefully remove the alarm from its mounting bracket to access the battery compartment, following any specific instructions provided by the manufacturer.
- Remove the Old Battery: Open the battery compartment and carefully remove the existing battery, taking note of its orientation and the placement of any connectors or terminals. Exercise caution to prevent damage to the alarm unit or the battery compartment.
- Insert the New Battery: Insert the fresh battery into the compartment, ensuring that it aligns correctly with the polarity indicators and securely fits into place. Double-check that the battery is firmly seated to guarantee reliable electrical contact.
- Test the Alarm: After installing the new battery, close the battery compartment and reattach the fire alarm to its mounting bracket. Press the test button on the alarm to verify that the new battery is functioning correctly and that the alarm emits a loud, audible sound.
- Perform a Test Activation: Trigger a test activation of the fire alarm by pressing the designated test button or utilizing the alarm’s testing feature, if available. Confirm that the alarm responds promptly and emits a loud, distinct sound to indicate proper operation.
- Record the Replacement Date: Keep a record of the date on which the battery was replaced to facilitate future maintenance and ensure timely battery replacements in accordance with the manufacturer’s guidelines.
By adhering to these instructions and exercising care during the battery replacement process, you can uphold the reliability and effectiveness of your fire alarm, bolstering the safety and security of your home environment.
Testing Your Fire Alarm
Regular testing of your fire alarm is a critical aspect of home safety maintenance, providing assurance that the alarm system is fully operational and capable of promptly detecting and alerting occupants to potential fire hazards. Follow these essential steps to effectively test your fire alarm:
- Notify Household Members: Before conducting the test, inform all occupants of the household to prevent any unnecessary alarm or panic.
- Locate the Test Button: Identify the test button on your fire alarm unit. This button is typically located on the front or side of the alarm and is designated for initiating test activations.
- Press the Test Button: Gently press and hold the test button to initiate the alarm’s testing sequence. Upon activation, the alarm should emit a loud, distinct sound, indicating that the audible alert system is functioning correctly.
- Verify Audible Sound: Listen for the alarm’s audible sound, ensuring that it is loud and clearly discernible throughout the designated areas of your home. If the sound appears faint or inaudible in certain areas, consider repositioning or adding additional fire alarms to enhance coverage.
- Check Visual Indicators: If your fire alarm features visual indicators, such as flashing lights or digital displays, confirm that these elements activate in conjunction with the audible alarm, providing visual alerts to individuals with hearing impairments or those situated in noisy environments.
- Confirm Alarm Reset: Once the test activation is complete, reset the fire alarm by pressing the designated reset button or following the manufacturer’s specified reset procedure. This ensures that the alarm is prepared to detect and respond to future fire-related threats.
Conducting regular fire alarm tests, ideally on a monthly basis, allows homeowners to proactively identify and address any potential issues with the alarm system, such as low battery alerts or malfunctioning components. Additionally, testing provides an opportunity to familiarize household members with the alarm’s sound and functionality, facilitating a prompt and coordinated response in the event of a real fire emergency.
By incorporating fire alarm testing into your routine home maintenance practices, you can bolster the safety and preparedness of your household, mitigating the risks associated with fire-related incidents and safeguarding the well-being of your family and property.
Additional Fire Safety Tips
Enhancing fire safety in your home extends beyond maintaining functional fire alarms. Implement the following measures to fortify your household’s resilience against fire-related risks:
- Develop and Practice an Escape Plan: Create a detailed escape plan that outlines multiple evacuation routes from each room in your home. Conduct regular fire drills with all household members to ensure familiarity with the escape plan and reinforce a swift and coordinated response in the event of a fire emergency.
- Install Fire Extinguishers: Place fire extinguishers in key locations throughout your home, such as the kitchen, garage, and near potential fire hazards. Familiarize yourself with the proper operation of fire extinguishers and ensure they are regularly inspected and maintained according to manufacturer recommendations.
- Keep Flammable Materials Secure: Store flammable liquids, such as gasoline and solvents, in well-ventilated areas away from ignition sources. Exercise caution when handling and storing flammable materials to minimize the risk of accidental fires.
- Maintain Electrical Safety: Routinely inspect electrical cords, outlets, and appliances for signs of wear or damage. Avoid overloading electrical circuits and promptly address any electrical issues to prevent potential fire hazards.
- Practice Safe Cooking Habits: Exercise vigilance while cooking, and never leave stovetops or ovens unattended. Keep flammable items, such as kitchen towels and curtains, away from cooking surfaces to prevent accidental fires.
- Monitor Heating Sources: Regularly service and maintain heating systems, including furnaces, fireplaces, and space heaters. Keep flammable materials at a safe distance from heating sources and employ proper ventilation to minimize the risk of fire or carbon monoxide buildup.
- Secure Smoke Alarms in Every Bedroom: Install smoke alarms in each bedroom and on every level of your home to maximize early detection of fire threats. Regularly test and maintain these alarms to ensure continuous functionality.
By integrating these additional fire safety tips into your household practices, you can cultivate a proactive and comprehensive approach to fire prevention and preparedness. Prioritizing fire safety measures empowers you to create a secure and resilient home environment, reducing the potential impact of fire-related incidents on your family and property.