
Checking for the SIM Card Slot
Before you can insert or remove the SIM card from your iPhone, you need to locate the SIM card slot. The location of the slot may vary depending on the iPhone model, but it is typically found on the side of the device. Here’s how to check for the SIM card slot:
- Identify the iPhone Model: First, determine the model of your iPhone. The SIM card slot location may differ between iPhone models. For instance, on the iPhone 4 and 4s, the slot is located on the top edge, while on the iPhone 6 and later models, it is positioned on the right side.
- Inspect the Sides of the iPhone: Carefully examine the sides of your iPhone, looking for a small pinhole or a narrow tray. This is where the SIM card slot is housed. On some models, such as the iPhone 4 and 4s, the slot is covered by a small panel that can be opened using a paperclip or SIM card ejector tool.
- Refer to the User Manual: If you’re having trouble locating the SIM card slot, consult the user manual that came with your iPhone. The manual provides detailed instructions and illustrations to help you find the slot with ease.
Once you’ve located the SIM card slot, you can proceed to the next steps for using the SIM card ejector tool to access the slot and manage the SIM card in your iPhone.
Using the SIM Card Ejector Tool
Once you’ve located the SIM card slot on your iPhone, you’ll need a SIM card ejector tool to access the slot. This tool is typically included in the iPhone packaging, but if it’s not available, a small paperclip can be used as an alternative. Here’s how to use the SIM card ejector tool:
- Retrieve the SIM Card Ejector Tool: Locate the small, metal SIM card ejector tool that came with your iPhone. It is a tiny, pointed tool designed specifically for ejecting the SIM card tray. If the original tool is unavailable, straighten a paperclip to create a similar tool for the task.
- Insert the Ejector Tool: Gently insert the pointed end of the SIM card ejector tool or the straightened paperclip into the pinhole located next to the SIM card slot. Apply light pressure until you feel a slight resistance, indicating that the tool has engaged with the internal mechanism.
- Apply Even Pressure: With the tool inserted, exert even pressure to push the tool further into the pinhole. This action triggers the release mechanism, causing the SIM card tray to partially protrude from the iPhone’s body. Take care not to apply excessive force to avoid damaging the internal components.
- Remove the Ejector Tool: Once the SIM card tray has been partially ejected, carefully withdraw the SIM card ejector tool or paperclip from the pinhole, ensuring that the tray remains partially extended for the next step of removing the tray from the iPhone.
After successfully using the SIM card ejector tool, you’re ready to proceed to the next step of removing the SIM card tray from your iPhone, as detailed in the following section.
Removing the SIM Card Tray
With the SIM card slot accessible and the SIM card ejector tool or a paperclip in hand, you can now proceed to remove the SIM card tray from your iPhone. Follow these steps to safely remove the tray and access the SIM card:
- Gently Pull Out the SIM Card Tray: Grasp the partially ejected SIM card tray and carefully pull it out of the iPhone. The tray will slide out smoothly, revealing the space where the SIM card is housed. Exercise caution to avoid applying excessive force that could potentially damage the tray or the internal components of the iPhone.
- Inspect the Tray and SIM Card: Once the tray is removed, take a moment to inspect both the tray and the SIM card. Ensure that the tray is free from any debris or damage, and check the SIM card for any signs of wear or damage. This is also an opportune time to clean the tray and SIM card if necessary.
- Safely Store the Tray: While the tray is removed, keep it in a secure place to prevent misplacement. It’s advisable to store the tray in a designated location, such as a small container or a labeled pouch, to ensure it doesn’t get lost during the SIM card replacement process.
Once you have successfully removed the SIM card tray and inspected its contents, you can proceed to the next step of placing the SIM card in the tray, which will be detailed in the following section.
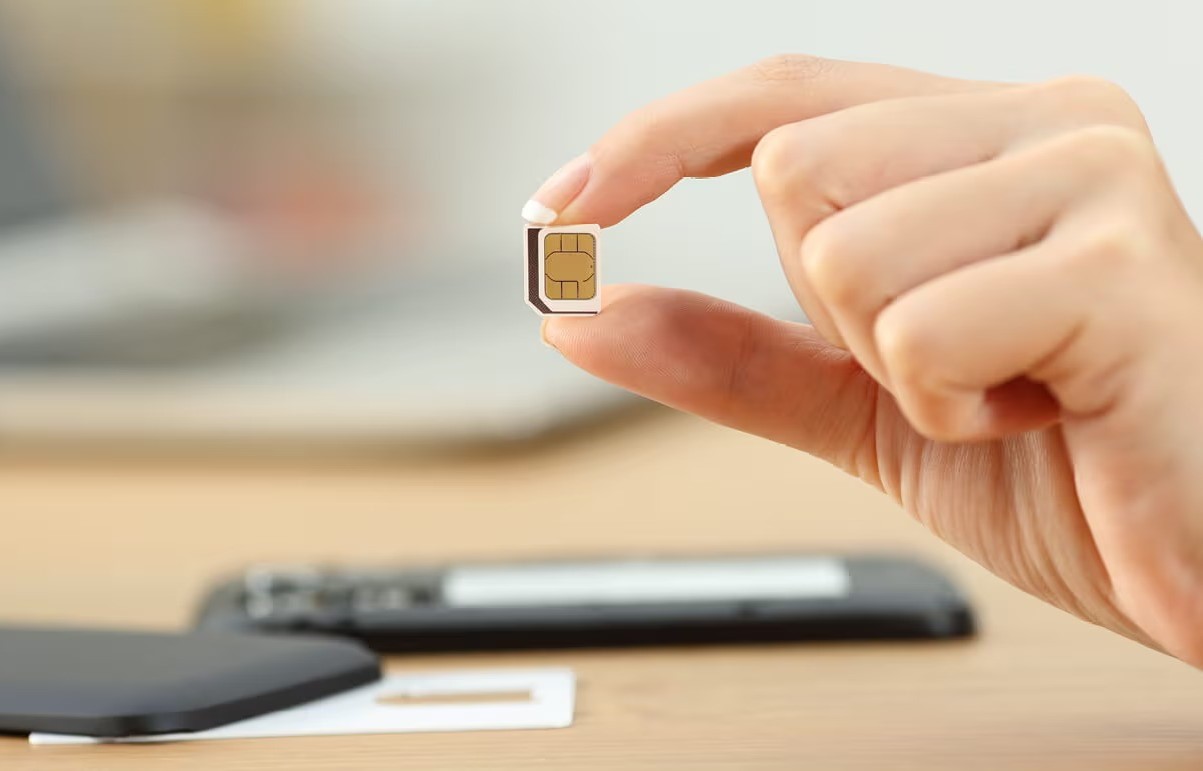
Placing the SIM Card in the Tray
After successfully removing the SIM card tray from your iPhone, the next step is to place the SIM card securely into the tray. Follow these simple steps to ensure the proper placement of the SIM card:
- Position the SIM Card: Take the SIM card and position it so that it aligns with the tray’s designated slot. Most SIM cards and trays are designed with notches or guides to ensure the correct alignment. Carefully place the SIM card into the tray, ensuring that it fits snugly and securely without any forceful manipulation.
- Verify the Orientation: Before proceeding, verify that the SIM card is positioned correctly within the tray. The metal contacts on the SIM card should align with the corresponding contacts within the tray. Ensure that the SIM card is not inserted upside down or in the wrong orientation to prevent any potential damage to the card or the iPhone’s SIM card slot.
- Avoid Bending or Damaging the SIM Card: Handle the SIM card with care to prevent bending or damaging it during the placement process. The delicate nature of the SIM card requires gentle handling to avoid any physical deformities that could affect its functionality.
Once the SIM card is securely placed in the tray, you can proceed to the final step of inserting the SIM card tray back into your iPhone, which will be detailed in the following section.
Inserting the SIM Card Tray Back into the iPhone
After placing the SIM card securely into the tray, the final step is to insert the SIM card tray back into your iPhone. Follow these steps to ensure a smooth and secure reinsertion of the tray:
- Align the Tray with the Slot: Hold the SIM card tray in a way that allows you to align it with the SIM card slot on your iPhone. Position the tray so that it matches the orientation of the slot, ensuring that it sits flush with the device’s exterior.
- Carefully Insert the Tray: With the tray properly aligned, gently slide it back into the SIM card slot. Apply even pressure to ensure that the tray glides smoothly into place without any resistance. Avoid forcing the tray into the slot, as this could cause damage to the tray or the iPhone’s internal components.
- Verify the Secure Fit: Once the tray is inserted, verify that it sits flush with the iPhone’s body and that there are no protruding edges. A secure fit indicates that the tray is properly seated and that the SIM card is firmly in place within the device.
With the SIM card tray securely reinserted into your iPhone, the process of managing your SIM card is complete. Your iPhone is now ready to be powered on and used with the newly placed or repositioned SIM card.