
Why Remove the Blue Light Filter
Why Remove the Blue Light Filter
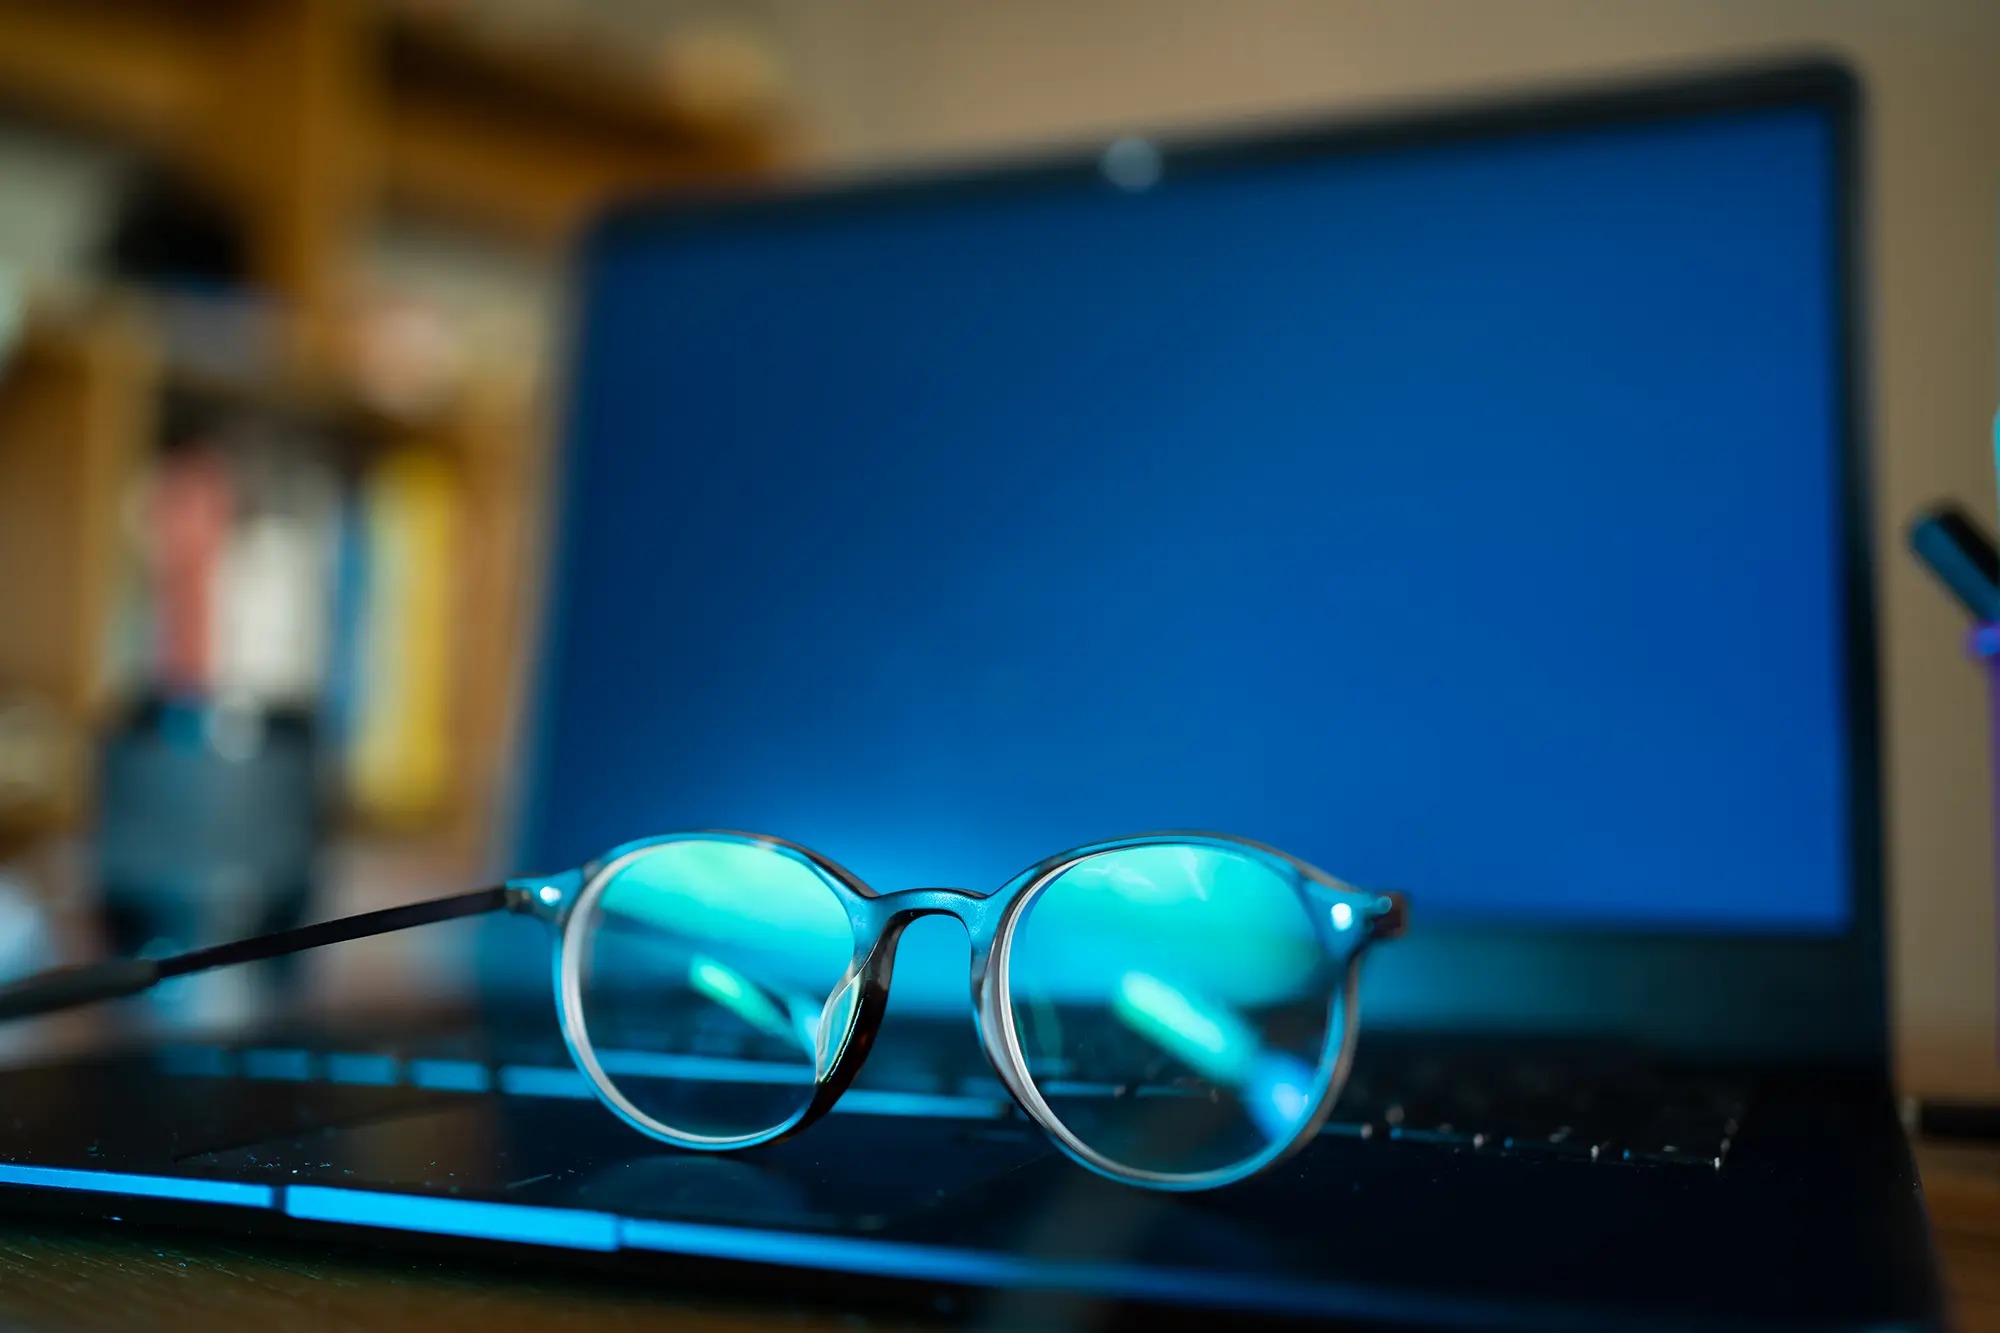
Blue light filters are commonly added to eyeglasses to reduce eye strain and minimize the potential negative effects of excessive exposure to blue light emitted by digital screens. While these filters offer significant benefits, there are instances where individuals may prefer to remove them from their glasses.
One primary reason for removing the blue light filter is the potential alteration of color perception. Some users may find that the filter imparts a slight yellow or amber tint to their vision, which can affect their ability to perceive colors accurately. This can be particularly problematic for individuals who work in professions where color accuracy is crucial, such as graphic designers, photographers, or artists. By removing the blue light filter, individuals can restore the natural color balance and clarity of their vision, allowing for more accurate color perception.
Another reason for removing the blue light filter is the desire for a crisper, clearer visual experience. While the filter effectively reduces blue light exposure, some users may find that it slightly diminishes the sharpness and clarity of their vision. By removing the filter, individuals can experience a perceptible improvement in visual acuity, particularly in low-light conditions.
Furthermore, some individuals may simply prefer the aesthetic appearance of their glasses without the blue light filter. Whether it's for personal style preferences or to match specific outfits or accessories, removing the filter can offer a more versatile and customizable eyewear option.
It's important to note that the decision to remove the blue light filter should be made thoughtfully, considering the potential impact on eye health and visual comfort. Prior to removing the filter, individuals should weigh the advantages and disadvantages, and consult with an eye care professional if necessary.
Ultimately, the choice to remove the blue light filter from glasses is a personal one, influenced by individual preferences, visual needs, and aesthetic considerations. By understanding the reasons for removal and following the appropriate steps, individuals can make an informed decision regarding the presence of blue light filters in their eyewear.
Step 1: Gather Your Supplies
Before embarking on the process of removing the blue light filter from your glasses, it’s essential to gather all the necessary supplies. Having the right tools and materials at hand will streamline the removal process and ensure that it is carried out effectively and safely.
Here’s a list of supplies you will need:
- Clean, Soft Cloth: Prepare a clean, lint-free cloth to protect the lenses from scratches and smudges during the removal process.
- Flat Work Surface: Find a well-lit and spacious area to work on, preferably a flat surface with ample room to maneuver and organize your tools.
- Heat Source: A hairdryer or heat gun can be used to apply controlled heat to the adhesive securing the blue light filter to the lenses.
- Adhesive Remover (Optional): If necessary, have adhesive remover on hand to facilitate the detachment of the filter without causing damage to the lenses.
- Small Pry Tool or Toothpick: A small, non-abrasive tool can be useful for gently prying the edges of the filter away from the lenses.
- Cleaning Solution: Prepare a mild cleaning solution or lens cleaner to thoroughly clean the lenses after the filter removal.
- Microfiber Cloth: Have a microfiber cloth ready for polishing and drying the lenses post-removal.
- Protective Gloves (Optional): If using adhesive remover or handling potentially sharp tools, wearing protective gloves is advisable to ensure safety.
By gathering these supplies beforehand, you can approach the removal process with confidence and efficiency. Ensuring that you have all the necessary tools and materials will contribute to a smooth and successful removal of the blue light filter from your glasses.
Step 2: Prepare Your Work Area
Preparing your work area is crucial before undertaking the task of removing the blue light filter from your glasses. By creating an organized and suitable workspace, you can minimize the risk of damaging your glasses and ensure a smooth removal process.
Here are the essential steps to prepare your work area:
- Clean and Well-Lit Space: Choose a clean and well-lit area to work in. A clutter-free workspace will allow you to lay out your supplies and maneuver comfortably during the removal process.
- Protective Surface: Lay down a soft, clean cloth or towel to provide a protective surface for your glasses. This will prevent any accidental scratches or damage to the frames or lenses.
- Organize Your Supplies: Arrange all the necessary tools and materials within easy reach. Having your supplies organized will streamline the removal process and prevent any unnecessary interruptions to retrieve items.
- Ventilation: If using adhesive remover or a heat gun, ensure that your work area is well-ventilated to disperse any fumes or odors. Adequate ventilation is essential for your comfort and safety.
- Stable Work Surface: Ensure that your work surface is stable and level to prevent any accidental spills or movements that could disrupt the removal process. A stable surface will also provide a secure platform for handling your glasses.
- Protective Gear: If handling adhesive remover or using a heat source, consider wearing protective gloves to safeguard your hands from any potential hazards.
By meticulously preparing your work area, you can create an environment conducive to a successful and safe removal process. Taking the time to set up your workspace thoughtfully will contribute to a seamless and efficient experience as you proceed with the removal of the blue light filter from your glasses.
Step 3: Remove the Lenses from the Frames
Before proceeding with the removal of the blue light filter, it is necessary to detach the lenses from the frames of your glasses. This step requires precision and care to avoid damaging the frames or lenses during the process.
Follow these steps to remove the lenses from the frames:
- Inspect the Frames: Examine the glasses to identify the type of frame and the mechanism holding the lenses in place. Some frames may have screws, while others may feature a snap-in or pop-out design.
- Prepare a Clean Surface: Lay down a soft, clean cloth to place the glasses on. This will provide a protective surface and prevent any scratches or damage to the frames or lenses.
- Secure the Glasses: Gently hold the frames and ensure a firm grip while preparing to remove the lenses. Use caution to avoid applying excessive force that could lead to breakage or misalignment of the frames.
- Follow the Frame-Specific Procedure: Depending on the type of frames, carefully unscrew any screws if present, or follow the specific procedure for releasing the lenses from the frames. This may involve applying gentle pressure to release the lenses or manipulating the frame components as per the manufacturer’s guidelines.
- Handle with Care: As you detach the lenses, handle them with care to prevent any fingerprints or smudges. Hold the lenses by the edges to avoid transferring oils or debris onto the lens surfaces.
- Set Aside the Frames: Once the lenses are removed, place the frames in a safe and secure location to prevent any accidental damage while you proceed with the next steps of the removal process.
By carefully removing the lenses from the frames, you can set the stage for the subsequent steps involved in removing the blue light filter. Taking the time to handle the frames and lenses with precision will contribute to a successful and damage-free removal process.
Step 4: Apply Heat to Soften the Adhesive
Softening the adhesive that secures the blue light filter to the lenses is a critical step in the removal process. By applying controlled heat, you can effectively loosen the adhesive, making it easier to detach the filter without causing damage to the lenses.
Follow these steps to apply heat to soften the adhesive:
- Prepare the Heat Source: Use a hairdryer or heat gun set to a low or medium heat setting. Hold the heat source at a moderate distance from the lenses to avoid overheating or damaging them.
- Apply Heat Evenly: Direct the heat evenly across the surface of the lenses, focusing on the areas where the adhesive is located beneath the blue light filter. Move the heat source in a back-and-forth motion to ensure uniform heating without concentrating the heat in one spot for too long.
- Monitor the Temperature: Periodically touch the surface of the lenses with your fingertips to gauge the temperature. The lenses should feel warm to the touch but not uncomfortably hot. If using a heat gun, exercise caution to prevent overheating the lenses.
- Observe the Adhesive: As the adhesive softens, you may notice a slight change in the appearance of the area beneath the filter. The adhesive may become slightly more translucent or appear to loosen from the surface of the lenses.
- Exercise Patience: Allow sufficient time for the adhesive to soften under the application of heat. Depending on the type of adhesive used, this process may take a few minutes. Avoid rushing this step to ensure the adhesive is adequately softened for the subsequent removal of the blue light filter.
By carefully applying heat to soften the adhesive, you can prepare the adhesive for the next phase of the removal process. Exercise patience and attentiveness during this step to ensure that the adhesive is sufficiently softened, setting the stage for the successful detachment of the blue light filter from the lenses.
Step 5: Remove the Blue Light Filter
With the adhesive sufficiently softened, you are now ready to delicately remove the blue light filter from the lenses of your glasses. This step requires precision and care to ensure that the lenses remain unharmed during the removal process.
Follow these steps to remove the blue light filter:
- Assess the Adhesive Softness: Before proceeding, confirm that the adhesive beneath the filter is adequately softened. Gently touch the edges of the filter to ascertain if the adhesive has reached a pliable state.
- Use a Pry Tool or Toothpick: Insert a small, non-abrasive pry tool or toothpick at the edge of the filter. Apply gentle pressure to lift the filter away from the lenses. Exercise caution to avoid exerting excessive force that could damage the lenses.
- Work Slowly and Methodically: Gradually work your way around the perimeter of the filter, lifting it away from the lenses with a steady and controlled motion. Take your time to ensure that the filter detaches smoothly without leaving any adhesive residue on the lenses.
- Inspect for Residual Adhesive: After removing the filter, carefully examine the lenses for any residual adhesive. If adhesive remnants are present, use a mild adhesive remover or rubbing alcohol on a soft cloth to gently clean the affected areas. Avoid using excessive force or harsh chemicals that could damage the lenses.
- Ensure Clean and Clear Lenses: Once the filter and any remaining adhesive are removed, inspect the lenses to ensure they are clean and free from any smudges or residue. Use a gentle cleaning solution and a microfiber cloth to wipe the lenses, restoring their clarity and cleanliness.
By following these steps, you can successfully remove the blue light filter from your glasses, restoring the lenses to their original state. Exercise patience and precision throughout the process to safeguard the integrity of the lenses and achieve a seamless removal of the blue light filter.
Step 6: Clean the Lenses
After the successful removal of the blue light filter and any residual adhesive, it is essential to thoroughly clean the lenses of your glasses to restore their clarity and ensure optimal visual performance. Proper cleaning will also remove any smudges or marks that may have accumulated during the removal process.
Follow these steps to clean the lenses effectively:
- Use a Cleaning Solution: Apply a small amount of mild lens cleaning solution to the lenses. Alternatively, you can use a gentle dish soap diluted in water to create a cleaning solution. Avoid using harsh chemicals or abrasive cleaners that could damage the lenses.
- Gently Wipe the Lenses: Using a clean, lint-free microfiber cloth, gently wipe the lenses in a circular motion, starting from the center and moving towards the edges. Avoid applying excessive pressure to prevent scratching the lenses.
- Address Stubborn Stains: For any persistent smudges or marks, lightly dampen the microfiber cloth with the cleaning solution and gently rub the affected areas in a circular motion. Exercise caution to avoid overly vigorous cleaning that could harm the lenses.
- Dry the Lenses: Once the lenses are cleaned, use a dry section of the microfiber cloth to gently dry and polish the surfaces. Ensure that the lenses are completely dry and free from any residual moisture or streaks.
- Inspect for Clarity: Hold the lenses up to a light source and inspect them for any remaining smudges or streaks. If necessary, repeat the cleaning process to achieve optimal clarity and cleanliness.
By meticulously cleaning the lenses, you can ensure that they are free from any contaminants or residues, allowing for a clear and unobstructed view. Proper cleaning will also contribute to the longevity of your glasses and maintain their visual performance over time.
Step 7: Reassemble Your Glasses
With the lenses cleaned and free from the blue light filter, it’s time to reassemble your glasses and restore them to their original state. Proper reassembly is crucial to ensure that the lenses are securely and accurately positioned within the frames, allowing for comfortable and effective use of your glasses.
Follow these steps to reassemble your glasses:
- Inspect the Frames: Before reassembling, carefully examine the frames to ensure that they are free from any dust, debris, or residual adhesive. Wipe the frames with a clean, dry cloth if necessary.
- Position the Lenses: Gently place the cleaned lenses back into the frames, ensuring that they are oriented correctly and fit snugly within the frame grooves. Exercise caution to avoid applying excessive pressure that could cause damage to the lenses or frames.
- Secure the Lenses: If your frames feature screws, carefully reinsert and tighten them to secure the lenses in place. For snap-in or pop-out frames, follow the specific reassembly procedure recommended by the manufacturer.
- Inspect for Alignment: After reassembly, visually inspect the glasses to ensure that the lenses are aligned properly within the frames. Adjust the position of the lenses if necessary to achieve optimal alignment and symmetry.
- Test the Fit: Put on the glasses and assess the fit and comfort. Ensure that the frames sit evenly on your face and that the lenses provide clear and unobstructed vision. Make any necessary adjustments to the fit or alignment as needed.
- Final Cleaning and Polishing: Use a clean microfiber cloth to gently polish the lenses and frames, removing any fingerprints or smudges that may have occurred during reassembly. This final step will ensure that your glasses are clean and ready for use.
By carefully reassembling your glasses, you can ensure that the lenses are securely positioned and that the frames provide a comfortable and effective fit. Taking the time to inspect and adjust the reassembled glasses will contribute to a successful restoration of your eyewear to its original condition.