
Backing Up Your Data
Before embarking on the journey of a factory reset for your iPhone 11, it's crucial to safeguard your precious data. This step ensures that your photos, videos, contacts, and other valuable information are securely stored and easily retrievable after the reset. Here's how to back up your data in a few simple steps:
-
iCloud Backup:
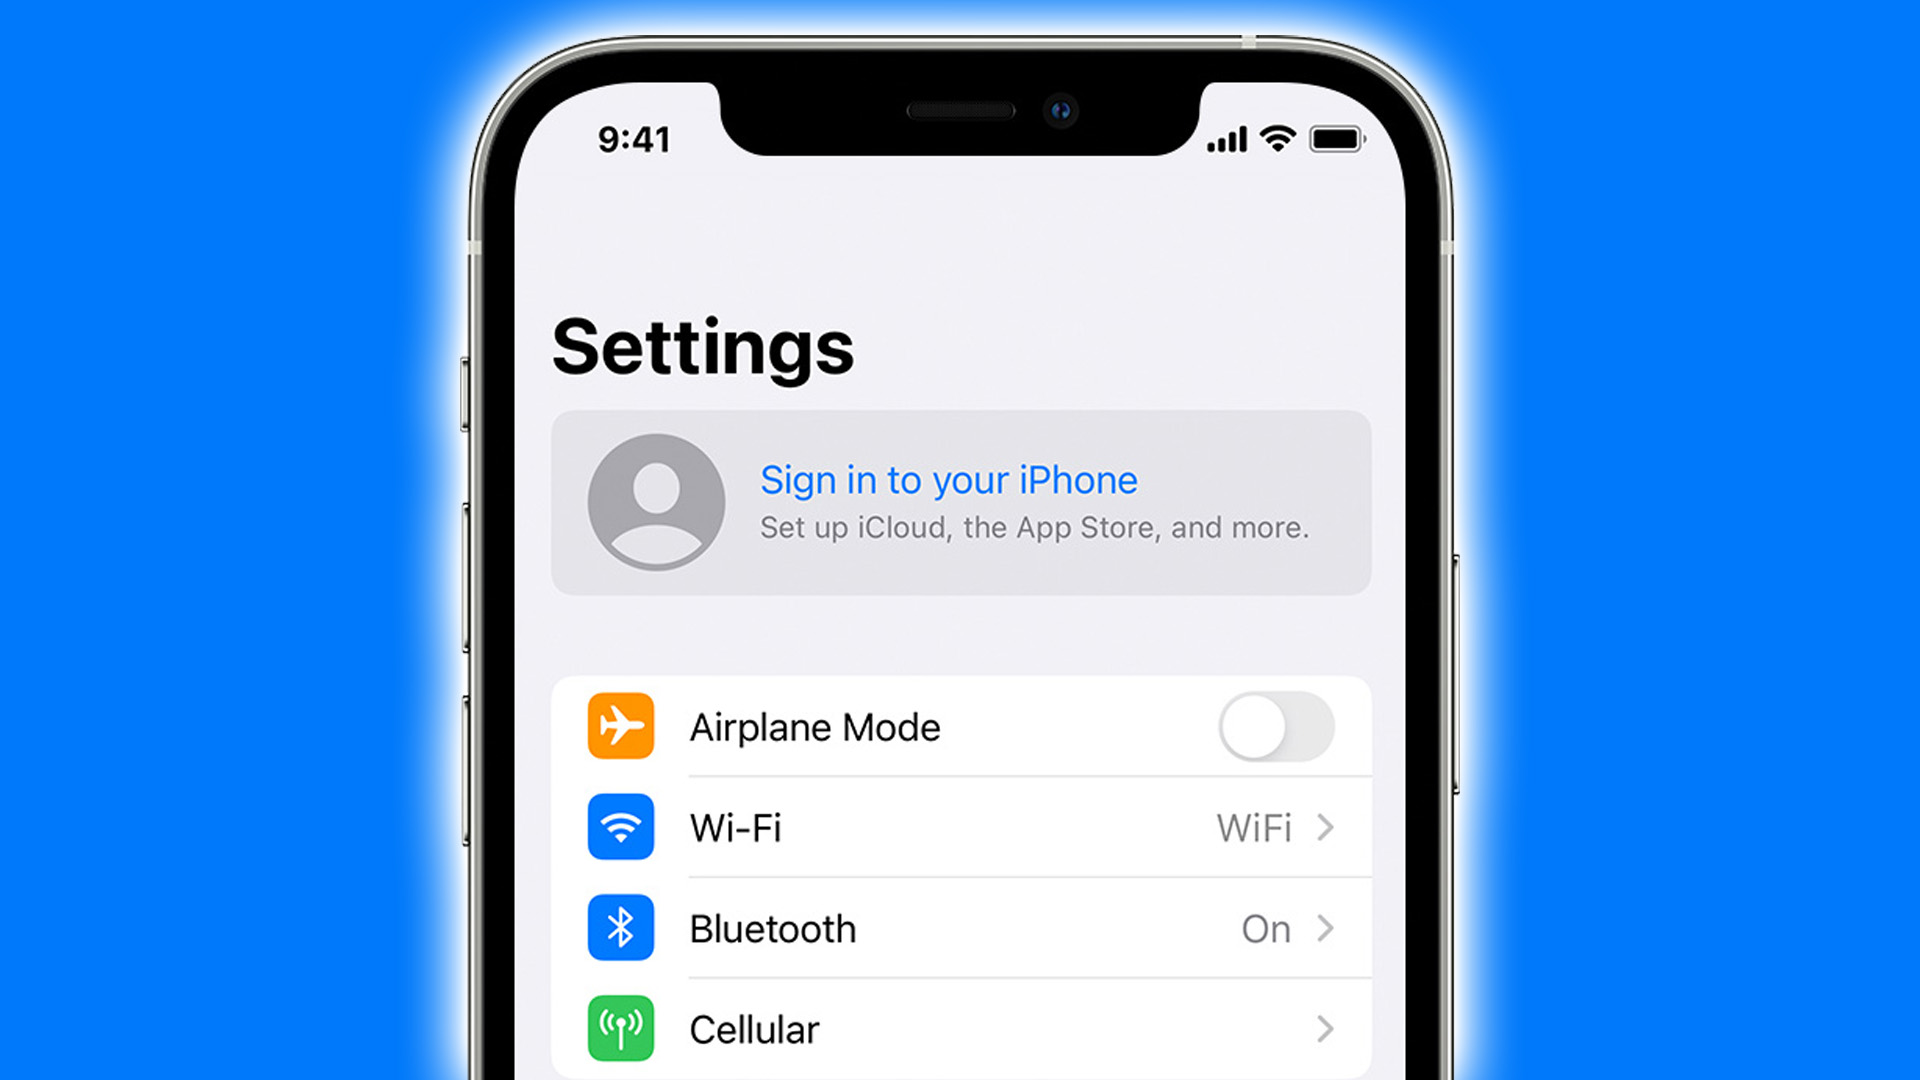
- Open the "Settings" app on your iPhone 11 and tap on your name at the top.
- Select "iCloud" and then "iCloud Backup."
- Toggle on the "iCloud Backup" option. Your device will automatically start backing up your data to iCloud when connected to Wi-Fi and a power source.
-
iTunes Backup:
- Connect your iPhone 11 to your computer and launch iTunes.
- If prompted, enter your device passcode or select "Trust This Computer."
- Click on the device icon in iTunes and select "Back Up Now." Ensure that the "Encrypt iPhone backup" option is checked if you want to include sensitive information like passwords.
-
Third-Party Apps:
- For added security, consider using third-party apps to back up specific data such as photos, videos, and documents. Apps like Google Photos, Dropbox, or OneDrive offer seamless backup solutions for various types of content.
By diligently following these steps, you can rest assured that your data is safely preserved, ready to be restored once the factory reset is complete. Remember, a comprehensive backup ensures a smooth transition to a fresh start without the fear of losing any cherished memories or essential information.
Turning Off Find My iPhone
Before initiating a factory reset on your iPhone 11, it's essential to disable the "Find My iPhone" feature. This security measure, designed to protect your device and personal data, must be turned off to ensure a seamless reset process. Here's a detailed guide on how to disable "Find My iPhone" and prepare your device for a fresh start:
-
Accessing Settings: Begin by unlocking your iPhone 11 and navigating to the "Settings" app. This can be easily located on the home screen, typically represented by a gear icon. Tap on the "Settings" icon to enter the device's settings menu.
-
Selecting Your Apple ID: Within the "Settings" menu, you will find your name or Apple ID banner at the top. Tap on this banner to access your Apple ID settings and various associated options.
-
iCloud Settings: Once you've entered your Apple ID settings, locate and tap on the "iCloud" option. This will lead you to a range of iCloud-related settings and features.
-
Find My iPhone: Within the iCloud settings, you will find the "Find My iPhone" option. Tap on this feature to access its settings and configuration.
-
Disable Find My iPhone: To turn off "Find My iPhone," simply toggle the switch next to the feature. You may be prompted to enter your Apple ID password to confirm the action. Once disabled, the switch will no longer be green, indicating that "Find My iPhone" is no longer active on your device.
By following these steps, you have successfully turned off the "Find My iPhone" feature on your iPhone 11. This crucial step ensures that the device is ready for a factory reset, as the security feature is no longer actively linked to your device. With "Find My iPhone" disabled, you can proceed with confidence, knowing that the reset process will proceed smoothly and without any hindrances.
Turning off "Find My iPhone" is a pivotal part of the pre-reset preparations, as it allows for a seamless transition to a fresh start. With this security feature disabled, you are now ready to initiate the factory reset process, paving the way for a rejuvenated and optimized iPhone 11 experience.
Initiating the Factory Reset
The factory reset process is a transformative step that revitalizes your iPhone 11, restoring it to its original state and eliminating any accumulated clutter or performance issues. This procedure is particularly beneficial when your device experiences persistent software glitches, sluggishness, or when preparing to pass on the device to a new owner. Initiating the factory reset on your iPhone 11 involves a series of straightforward yet impactful steps, ensuring a seamless transition to a fresh start.
To begin the factory reset process, navigate to the "Settings" app on your iPhone 11. This app, denoted by a gear icon, serves as the gateway to a multitude of device management and customization options. Once within the "Settings" interface, proceed to the "General" section, which encompasses essential system-level configurations and controls.
Within the "General" settings, locate the "Reset" option, typically positioned towards the bottom of the menu. Tapping on "Reset" will unveil a range of reset-related actions, each designed to address specific aspects of the device's functionality. Among these options, select "Erase All Content and Settings," signaling your intent to embark on a comprehensive reset journey.
Upon selecting "Erase All Content and Settings," your iPhone 11 will prompt you to confirm this critical action. This confirmation step serves as a safeguard against accidental resets, ensuring that the reset process is deliberate and intentional. Once confirmed, the device will commence the reset procedure, systematically erasing all data, settings, and personalizations.
As the reset unfolds, your iPhone 11 will undergo a thorough cleansing, effectively wiping the slate clean and reverting to its original factory state. This process may take some time, depending on the amount of data stored on the device. It is essential to ensure that your device remains powered and connected to a stable Wi-Fi network throughout this phase to facilitate a smooth and uninterrupted reset.
Upon completion, your iPhone 11 will emerge rejuvenated, devoid of any residual user data or customizations. It will essentially resemble a brand-new device, ready to be reconfigured and personalized according to your preferences. The factory reset marks a pivotal moment, breathing new life into your iPhone 11 and setting the stage for a refreshed and optimized user experience.
By following these steps, you have successfully initiated the factory reset process on your iPhone 11, paving the way for a clean slate and a rejuvenated device. This transformative procedure ensures that your device is primed for a fresh start, free from the burdens of accumulated clutter and performance hindrances.
Setting Up Your iPhone 11 Again
After completing the transformative factory reset process, setting up your iPhone 11 again is an exciting and pivotal phase that sets the stage for a personalized and optimized user experience. This crucial step involves reconfiguring your device, restoring essential data, and customizing settings to align with your preferences. Here's a comprehensive guide on how to seamlessly set up your iPhone 11 again:
Language and Region Selection
Upon powering on your freshly reset iPhone 11, you will be greeted by the device's welcome screen. Begin by selecting your preferred language and region, ensuring that the device's interface aligns with your linguistic and geographical preferences.
Wi-Fi and Cellular Configuration
Connect your iPhone 11 to a stable Wi-Fi network to facilitate the setup process. If a SIM card is inserted, ensure that the device establishes a cellular connection, enabling seamless communication and data access.
Data Restoration
If you previously backed up your data to iCloud or iTunes, the setup process provides an option to restore from these backups. Select the most recent backup to seamlessly retrieve your contacts, photos, apps, and other essential data, ensuring a smooth transition to familiar surroundings.
Apple ID and iCloud Integration
Enter your Apple ID credentials to link your device with your Apple ecosystem, enabling access to iCloud services, App Store purchases, and personalized settings across your devices. Opt to enable iCloud features such as iCloud Drive, Photos, and Keychain to seamlessly sync your data and preferences.
Security and Privacy Settings
Configure essential security features such as Face ID or Touch ID, depending on your device model, to safeguard access to your iPhone 11. Review and customize privacy settings to align with your preferences, ensuring a secure and personalized user experience.
App Installation and Customization
Explore the App Store to reinstall your preferred apps, ensuring that your device reflects your unique digital lifestyle. Customize app layouts, wallpapers, and accessibility settings to tailor your iPhone 11 to your individual preferences.
Personalization and Optimization
Delve into the device settings to fine-tune display, sound, and notification preferences, creating a personalized environment that resonates with your usage patterns and aesthetic preferences. Consider enabling features such as Dark Mode, True Tone, and Night Shift to optimize your visual experience.
Finalizing the Setup
Once you've meticulously configured your iPhone 11 to align with your preferences, take a moment to review your settings and ensure that everything is tailored to your liking. With the setup process complete, your iPhone 11 is now primed to deliver a rejuvenated and personalized user experience, free from the burdens of accumulated clutter and performance hindrances.
By following these steps, you have successfully set up your iPhone 11 again, paving the way for a fresh start and a reinvigorated device. This pivotal phase marks the culmination of the reset journey, empowering you to embark on a seamless and personalized iPhone 11 experience.