
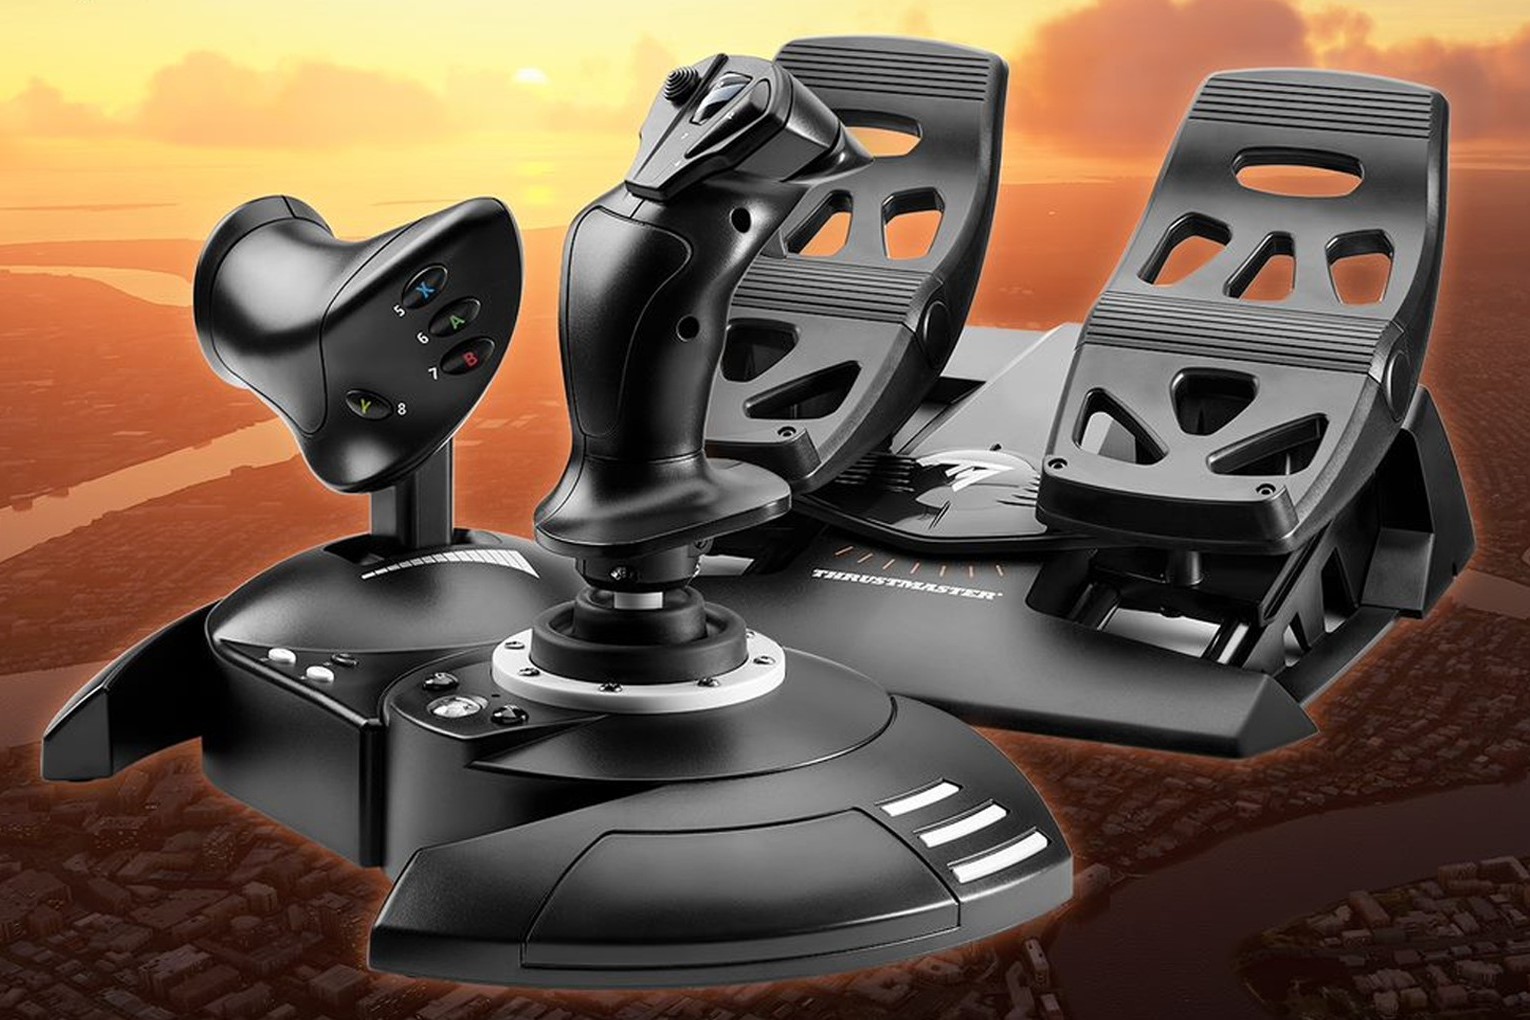
Checking Joystick Compatibility
Checking Joystick Compatibility
Before diving into the world of flight simulation with a joystick, it's crucial to ensure that your device is compatible with Microsoft Flight Simulator. This step is essential to guarantee a seamless and frustration-free experience as you take to the virtual skies.
First and foremost, confirm that your joystick is supported by Microsoft Flight Simulator. Visit the official Microsoft Flight Simulator website or refer to the product documentation to verify compatibility. Look for a list of compatible joysticks and ensure that your model is included.
Additionally, it's advisable to check for any specific system requirements related to the joystick. Some joysticks may require specific drivers or software to function optimally with the simulator. Visit the manufacturer's website to download the latest drivers or software updates for your joystick. This ensures that you have the most up-to-date and compatible software for a smooth experience.
Furthermore, consider the connection interface of your joystick. Most modern joysticks connect via USB, but older models may use different interfaces such as serial or game ports. Ensure that your PC has the necessary ports or adapters to connect your joystick.
Finally, if you're using a specialized or advanced joystick with additional features such as throttle controls, rudder pedals, or hat switches, verify that Microsoft Flight Simulator supports these features. Compatibility with these advanced features can significantly enhance the realism and immersion of your flight simulation experience.
By meticulously checking the compatibility of your joystick with Microsoft Flight Simulator, you can preemptively address any potential issues and ensure a seamless integration of your joystick into the simulator.
Remember, ensuring compatibility is the first step toward unlocking an immersive and captivating flight simulation experience with your joystick.
Connecting the Joystick to Your PC
Once you have confirmed the compatibility of your joystick with Microsoft Flight Simulator, the next step is to connect the joystick to your PC. This process is essential to establish a functional link between the physical joystick and the flight simulation software, enabling you to control the virtual aircraft with precision.
Begin by locating an available USB port on your PC. Most modern joysticks utilize a USB connection for seamless integration. Insert the USB connector of the joystick into the USB port on your computer. You may hear a sound indicating that the device has been recognized and is ready for use.
If your joystick requires additional drivers or software for optimal functionality, now is the time to install them. Visit the manufacturer’s website to download the latest drivers or software specific to your joystick model. Follow the installation instructions provided to ensure that the joystick is fully supported by your operating system.
Once the necessary drivers or software are installed, your PC should recognize the joystick as a connected input device. To verify the successful connection, you can access the Control Panel or System Settings on your PC to view the list of connected devices. The joystick should be listed among the recognized input devices.
After confirming the successful connection, it’s advisable to calibrate the joystick to ensure accurate and responsive control within Microsoft Flight Simulator. Most joysticks include calibration utilities or settings that allow you to fine-tune the sensitivity and dead zones of the controls. Refer to the product documentation or the manufacturer’s website for specific instructions on calibrating your joystick.
By following these steps, you can seamlessly connect your joystick to your PC, ensuring that it is recognized as a reliable input device for Microsoft Flight Simulator. The successful connection sets the stage for an immersive and responsive flight simulation experience, allowing you to take full control of your virtual aircraft with precision and ease.
Configuring Joystick Settings in Microsoft Flight Simulator
Once your joystick is connected to your PC, the next crucial step is to configure its settings within Microsoft Flight Simulator. This process ensures that the simulator recognizes and optimally utilizes the joystick’s inputs, allowing for a seamless and immersive flight control experience.
Upon launching Microsoft Flight Simulator, navigate to the settings or options menu within the simulator interface. Look for the input or control settings section, where you can customize and configure the input devices, including your joystick.
Within the input settings, you should find a dedicated section for configuring joystick inputs. Here, you can assign specific functions to the various controls on your joystick, such as pitch, roll, yaw, throttle, flaps, and other essential aircraft controls. Take the time to map each control on your joystick to its corresponding function within the simulator, ensuring that the controls align with your preferences and the layout of your physical joystick.
Microsoft Flight Simulator often provides the flexibility to customize and fine-tune the sensitivity and dead zones of the joystick controls. Adjusting these settings can significantly impact the responsiveness and precision of the joystick inputs, allowing you to tailor the controls to your desired level of sensitivity and accuracy.
Furthermore, if your joystick features additional buttons, switches, or axes beyond the standard flight controls, take advantage of the simulator’s ability to assign custom functions to these inputs. This customization can enhance the versatility of your joystick, allowing you to access various aircraft systems and functions directly from the joystick interface.
Once you have configured the joystick settings to your satisfaction, take the time to save the configuration or mapping profile within the simulator. This ensures that your custom settings are preserved for future flights, eliminating the need to reconfigure the joystick for each session.
By meticulously configuring the joystick settings within Microsoft Flight Simulator, you can tailor the simulator to seamlessly integrate with your physical joystick, creating a personalized and responsive flight control experience that aligns with your preferences and flying style.
Testing the Joystick Controls
After configuring the joystick settings in Microsoft Flight Simulator, it’s essential to thoroughly test the functionality and responsiveness of the joystick controls to ensure a seamless and immersive flight experience. Testing the controls allows you to verify that the joystick inputs accurately translate into aircraft movements within the simulator, providing confidence in the reliability of your setup.
Begin by entering a free flight or training scenario within Microsoft Flight Simulator. Once in the virtual cockpit, take a moment to familiarize yourself with the layout of the aircraft controls and instruments. This preparation sets the stage for a focused evaluation of the joystick inputs and their impact on the aircraft’s behavior.
With the aircraft on the runway or in a stable airborne position, gently manipulate the joystick controls to observe the corresponding movements of the aircraft. Test the pitch, roll, and yaw inputs to ensure that the aircraft responds accurately to your joystick movements. Pay close attention to the smoothness and precision of the control inputs, adjusting the sensitivity settings if necessary to achieve the desired responsiveness.
Next, evaluate the throttle controls on your joystick by adjusting the engine power and observing the corresponding changes in the aircraft’s speed and thrust. Verify that the throttle inputs are seamlessly integrated, allowing for precise control over the aircraft’s acceleration and deceleration.
If your joystick features additional buttons, switches, or axes, take the opportunity to test their functionality within the simulator. Assign custom functions to these inputs, such as adjusting the flaps, engaging landing gear, or controlling external views, and ensure that the assigned functions respond accurately to your joystick inputs.
As you test the joystick controls, consider performing a variety of maneuvers and flight operations to assess the overall responsiveness and accuracy of the inputs. This may include takeoffs, landings, banking turns, and altitude adjustments, allowing you to gauge the effectiveness of the joystick in managing diverse flight scenarios.
Throughout the testing process, remain attentive to any inconsistencies or unexpected behaviors in the joystick controls. If issues arise, revisit the joystick settings within the simulator to fine-tune the configuration and address any discrepancies in the control inputs.
By thoroughly testing the joystick controls within Microsoft Flight Simulator, you can gain confidence in the reliability and precision of your setup, ensuring that the joystick seamlessly translates your physical inputs into fluid and responsive aircraft movements within the virtual environment.
Troubleshooting Joystick Issues
While setting up and using a joystick in Microsoft Flight Simulator can be a rewarding experience, occasional issues may arise that affect the functionality of the joystick controls. Addressing these issues through troubleshooting steps can help restore the optimal performance of the joystick and ensure a smooth flight simulation experience.
If you encounter unresponsive or erratic behavior from the joystick controls within Microsoft Flight Simulator, consider the following troubleshooting steps to identify and resolve potential issues:
- Check Physical Connections: Ensure that the joystick is securely connected to your PC via the USB port. If using any adapters or extension cables, verify that they are functioning correctly and provide a stable connection.
- Restart the Simulator: Sometimes, restarting Microsoft Flight Simulator can resolve temporary software glitches that may affect the recognition of the joystick inputs.
- Update Joystick Drivers: Visit the manufacturer’s website to download the latest drivers for your joystick. Installing updated drivers can address compatibility issues and improve the overall performance of the joystick.
- Calibrate the Joystick: Access the joystick calibration settings within the simulator and ensure that the controls are accurately recognized and calibrated. Adjust sensitivity and dead zone settings as needed to enhance responsiveness.
- Verify Button Assignments: Check the assigned functions and mappings of the joystick buttons and axes within the simulator settings. Ensure that the correct functions are assigned to each control input.
- Test on Another PC: If possible, test the joystick on another PC to determine if the issue is related to the joystick itself or the configuration on your primary computer.
- Check for Software Conflicts: Verify that no other background software or applications are interfering with the recognition of the joystick inputs. Close unnecessary programs that may conflict with the simulator.
- Inspect USB Ports: Examine the USB ports on your PC for any signs of damage or malfunction. Try connecting the joystick to different USB ports to rule out port-specific issues.
If the troubleshooting steps do not resolve the joystick issues, consider reaching out to the manufacturer’s support for further assistance. They may provide specific guidance or solutions tailored to your joystick model and any unique challenges you encounter.
By proactively troubleshooting and addressing joystick issues, you can maintain a reliable and responsive flight control experience within Microsoft Flight Simulator, allowing you to fully immerse yourself in the captivating world of virtual aviation.