
What You'll Need
To set up the Wii U Gamepad emulation on your PC, you'll need a few essential items to ensure a smooth and successful process. Here's what you'll need:
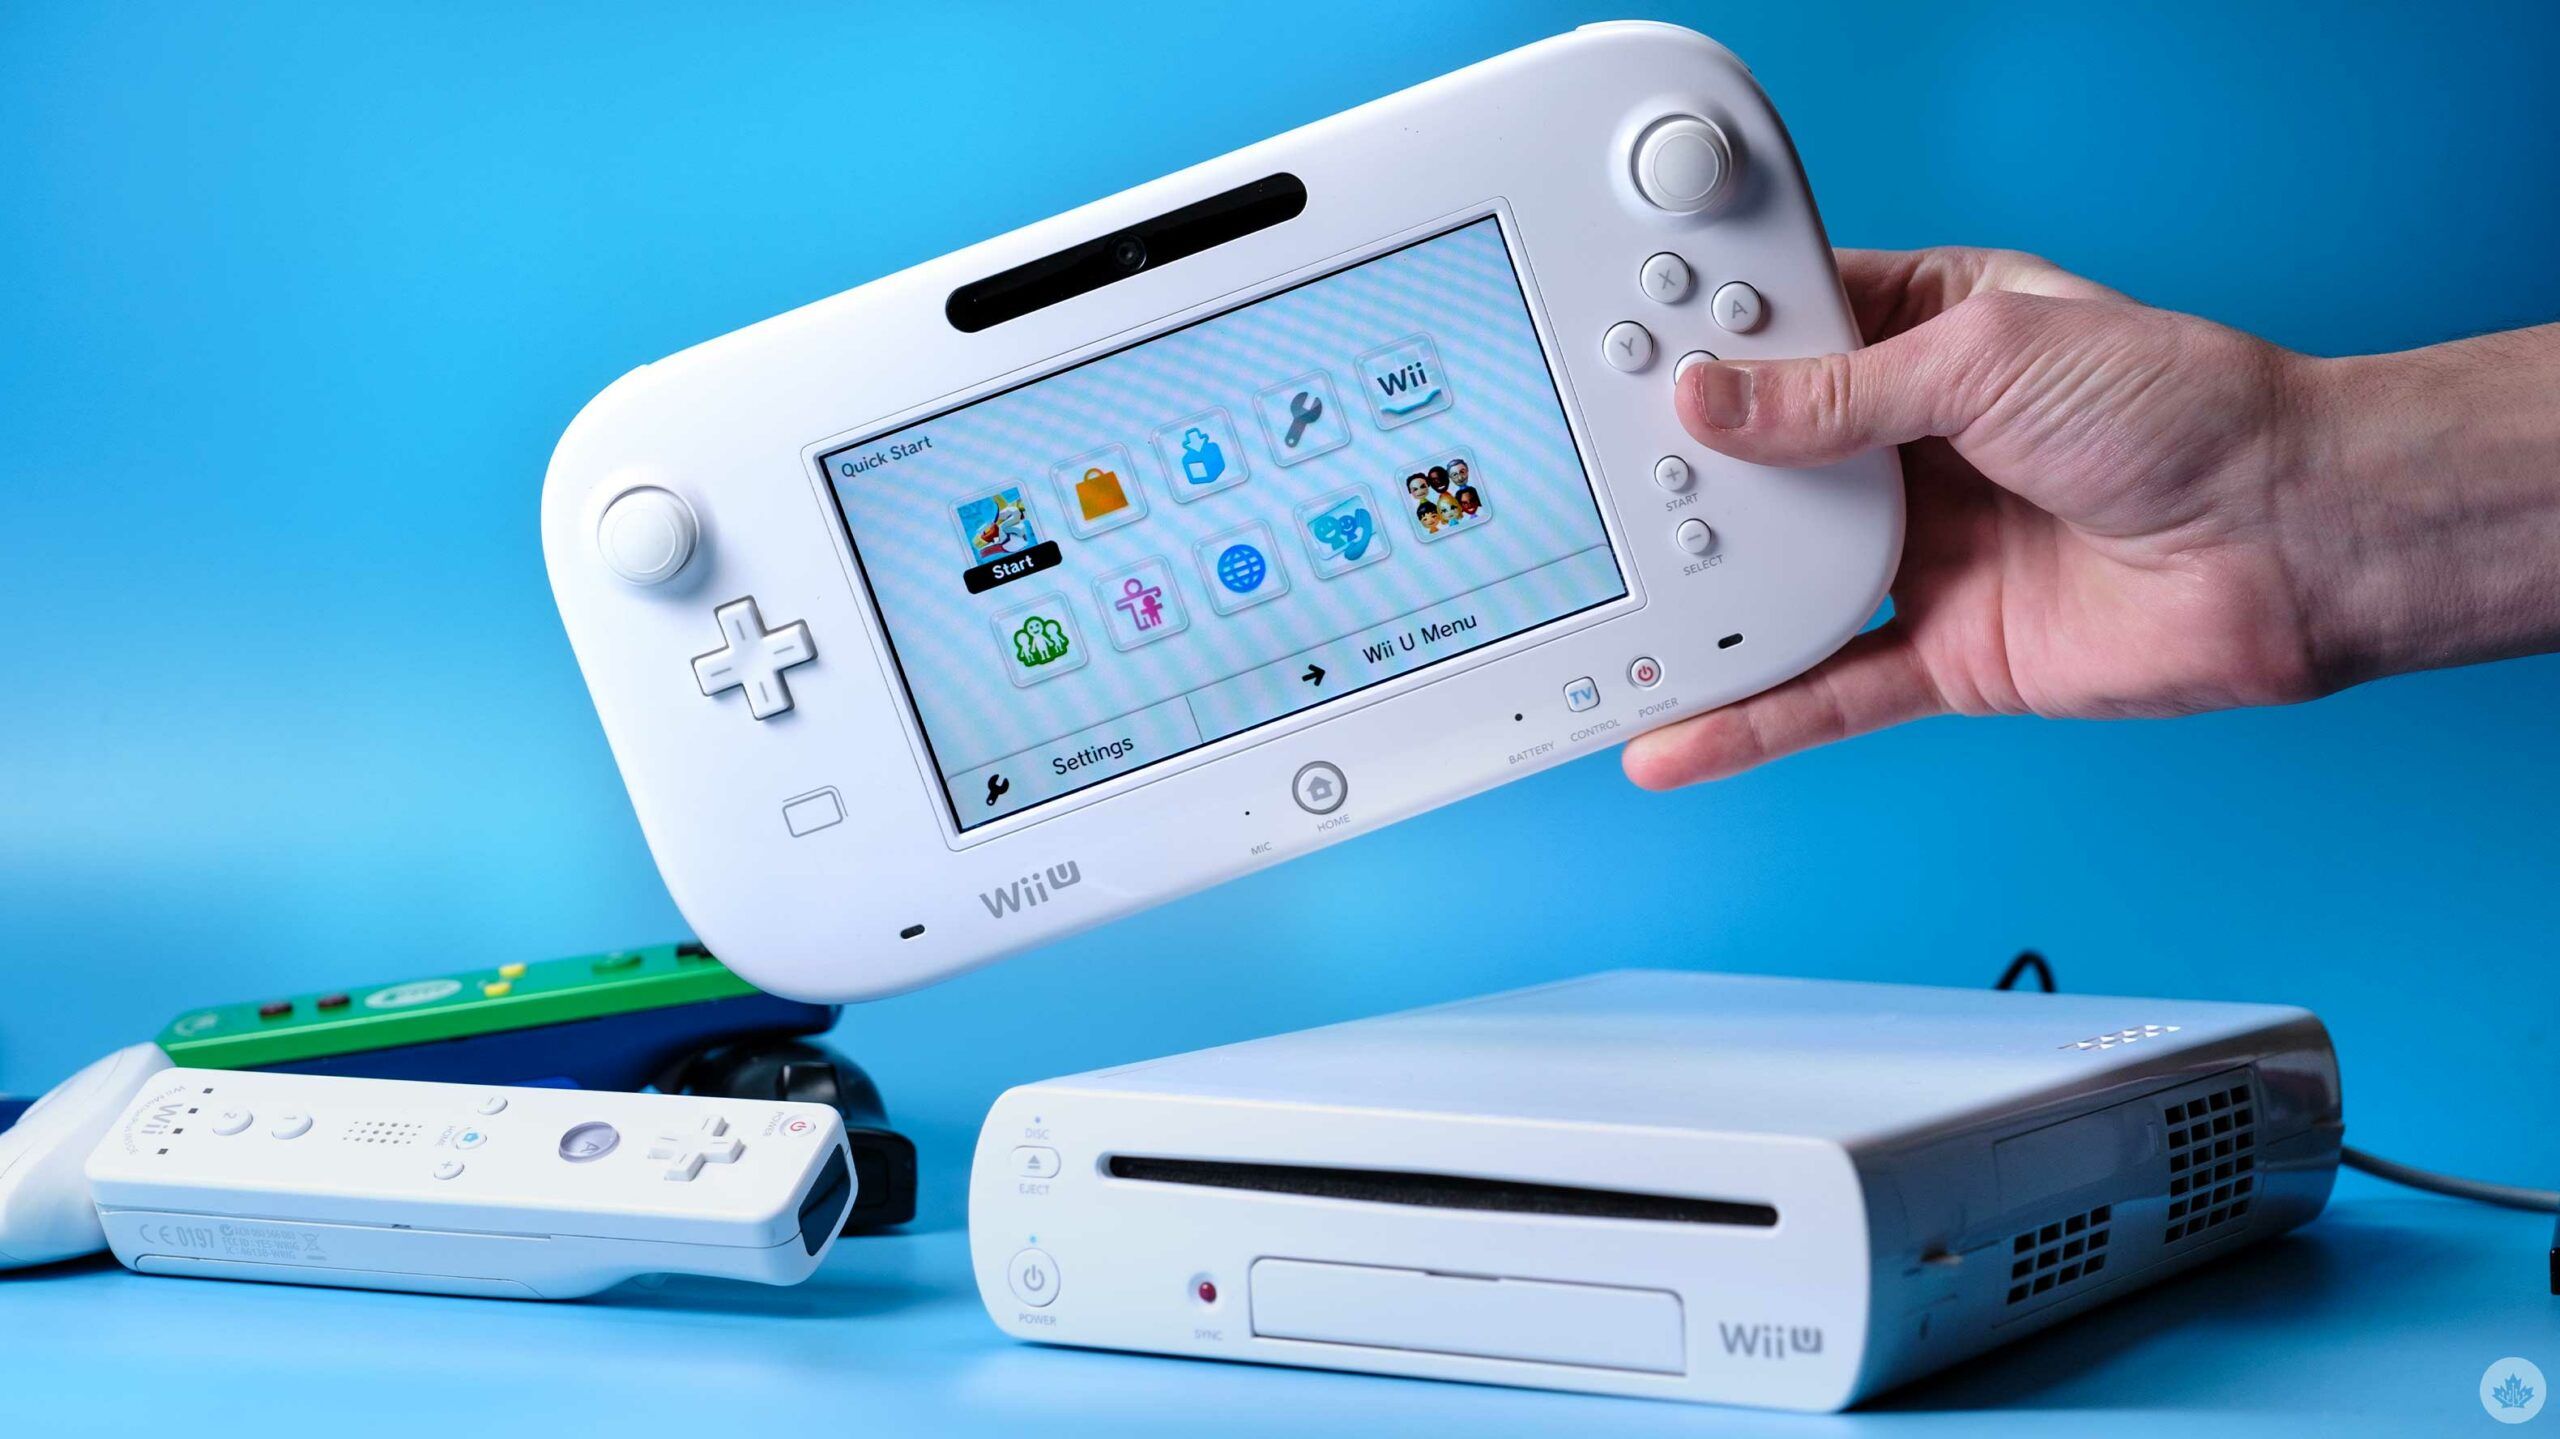
1. Wii U Gamepad
The primary component you'll require is the Wii U Gamepad itself. This handheld controller is essential for emulating the Wii U experience on your PC. Ensure that your Gamepad is in good working condition and has sufficient battery life for the setup process.
2. PC with Bluetooth Capability
Your PC must be equipped with Bluetooth functionality to establish a wireless connection with the Wii U Gamepad. Most modern laptops and desktops come with built-in Bluetooth support. If your computer doesn't have this feature, you can use a USB Bluetooth adapter to enable connectivity.
3. Emulator Software
Select a reliable Wii U emulator that is compatible with your PC's operating system. Emulators such as Cemu and Decaf are popular choices for running Wii U games on a computer. Ensure that you download the emulator from a trustworthy source to avoid potential security risks.
4. Game ROMs
Acquire the game ROMs for the Wii U titles you wish to play on your PC. These digital copies of games are necessary for the emulation process. It's important to note that only legally obtained game ROMs should be used to comply with copyright laws.
5. Stable Internet Connection
A stable and high-speed internet connection is recommended for downloading the emulator software and game ROMs. Additionally, a reliable internet connection ensures that you can access any necessary updates or troubleshooting resources during the setup process.
6. Patience and Persistence
Emulating the Wii U Gamepad on your PC may require some troubleshooting and configuration adjustments. Patience and persistence are crucial as you navigate through the setup process, especially when fine-tuning the emulator settings and establishing a seamless connection between the Gamepad and your PC.
Gathering these essential components and preparing your PC for the emulation process sets the stage for an immersive gaming experience that mirrors the Wii U console's functionality. With these prerequisites in place, you're ready to proceed with setting up the Wii U Gamepad emulation on your PC.
Setting Up the Wii U Gamepad
Before delving into the emulation process, it’s crucial to ensure that the Wii U Gamepad is ready for use with your PC. Follow these steps to set up the Gamepad:
1. Ensure Gamepad Functionality
Start by checking the functionality of your Wii U Gamepad. Power it on and verify that all buttons, joysticks, and touchscreen features are responsive. If the Gamepad requires charging, connect it to a power source and allow it to fully charge before proceeding.
2. Update Gamepad Firmware
Check for any available firmware updates for the Wii U Gamepad. Keeping the Gamepad’s firmware up to date is essential for compatibility with the emulator and ensures optimal performance during the emulation process. Follow the manufacturer’s instructions to update the Gamepad’s firmware if necessary.
3. Familiarize Yourself with Gamepad Controls
Take some time to familiarize yourself with the layout and functionality of the Wii U Gamepad controls. Understanding the button configurations and touch-based inputs will enhance your gaming experience when using the Gamepad for emulation on your PC.
4. Charge or Replace Batteries
If your Wii U Gamepad operates on replaceable batteries, ensure that they are fully charged or replace them with fresh batteries. A reliable power source for the Gamepad is essential for uninterrupted gameplay during the emulation process.
5. Clean and Maintain the Gamepad
Inspect the Gamepad for any dirt, dust, or debris that may affect its performance. Clean the surfaces and buttons of the Gamepad using a soft, dry cloth to maintain its functionality and longevity. Proper maintenance ensures that the Gamepad remains in optimal condition for the emulation setup.
By carefully preparing and setting up the Wii U Gamepad, you establish a solid foundation for the subsequent stages of the emulation process. With the Gamepad ready for use, you’re now poised to proceed with installing the necessary emulator software on your PC.
Installing the Emulator
Once you’ve prepared the Wii U Gamepad, the next step in emulating the Wii U experience on your PC is to install the appropriate emulator software. Follow these steps to install the emulator:
1. Research and Select a Compatible Emulator
Begin by researching and identifying a Wii U emulator that is compatible with your PC’s operating system. Consider factors such as user reviews, system requirements, and the emulator’s development status to make an informed decision. Popular emulators like Cemu and Decaf are well-regarded options for running Wii U games on a computer.
2. Download the Emulator Software
Visit the official website or a reputable source for the selected emulator and download the latest version of the software. Ensure that you obtain the emulator from a trusted source to mitigate the risk of downloading potentially harmful or outdated versions. Verify the compatibility of the emulator with your PC’s specifications before proceeding with the download.
3. Extract and Install the Emulator
Once the emulator software is downloaded, extract the files from the compressed folder and follow the installation instructions provided by the emulator’s developers. Pay attention to any specific configuration settings or dependencies required for the emulator to function optimally on your PC. Complete the installation process and launch the emulator application.
4. Configure Emulator Settings
Upon launching the emulator, navigate to the settings or configuration menu to customize the emulator’s options according to your preferences and system capabilities. Adjust graphics settings, input configurations, and performance parameters to optimize the emulation experience for your PC setup. Refer to the emulator’s documentation or user community for guidance on fine-tuning the settings.
5. Verify Emulator Functionality
After configuring the emulator settings, verify its functionality by running a test game or accessing the emulator’s built-in features. Ensure that the emulator operates smoothly and that the game graphics, audio, and input responsiveness meet your expectations. Troubleshoot any issues that arise during this initial verification process.
By installing and configuring the emulator software on your PC, you pave the way for seamlessly emulating Wii U games and utilizing the Wii U Gamepad for an immersive gaming experience. With the emulator in place, you’re now ready to proceed with connecting the Gamepad to your PC and testing the emulation process.
Configuring the Emulator
Configuring the emulator is a crucial step in ensuring optimal performance and compatibility when emulating Wii U games on your PC. Follow these steps to configure the emulator for an enhanced gaming experience:
1. Graphics Settings
Access the graphics settings within the emulator and adjust parameters such as resolution, anti-aliasing, and texture filtering to achieve the desired visual quality. Depending on your PC’s hardware capabilities, you can fine-tune these settings to balance graphical fidelity with smooth performance during gameplay.
2. Controller Configuration
Configure the input settings to map the controls of the Wii U Gamepad to your PC’s input devices. Ensure that the buttons, joysticks, and motion controls of the Gamepad are properly assigned to your keyboard, mouse, or external game controllers. This step is essential for seamless interaction with the emulated games.
3. Audio Settings
Adjust the audio settings within the emulator to optimize sound output and ensure that in-game audio is clear and synchronized with the gameplay. Fine-tune parameters such as volume levels, audio backend options, and channel configurations to achieve an immersive auditory experience while playing Wii U games on your PC.
4. System Configuration
Explore the system configuration options in the emulator to customize settings related to CPU, RAM allocation, and overall performance optimization. Depending on your PC’s specifications, you can allocate system resources to the emulator to enhance its stability and responsiveness during gameplay.
5. Network Settings
If you plan to engage in online multiplayer or network features within emulated Wii U games, configure the network settings within the emulator to enable seamless connectivity. Ensure that your PC’s network adapter is properly recognized by the emulator and that online features function as intended.
6. Save and Apply Settings
Once you’ve configured the emulator settings to your satisfaction, save the changes and apply the configurations. It’s advisable to test the configured settings with a variety of Wii U games to ensure that the emulator’s performance and compatibility meet your expectations.
By meticulously configuring the emulator settings, you fine-tune the emulation environment to closely replicate the Wii U console experience on your PC. With the emulator settings optimized, you’re now prepared to connect the Wii U Gamepad to your PC and initiate the emulation process.
Connecting the Gamepad to Your PC
Establishing a seamless connection between the Wii U Gamepad and your PC is essential for a successful emulation experience. Follow these steps to connect the Gamepad to your computer:
1. Enable Bluetooth on Your PC
If your PC has built-in Bluetooth functionality, ensure that it is enabled and ready to pair with external devices. Access the Bluetooth settings on your computer and activate the Bluetooth feature to initiate the pairing process with the Wii U Gamepad.
2. Put the Gamepad in Pairing Mode
Activate the pairing mode on the Wii U Gamepad by pressing the designated pairing button or following the manufacturer’s instructions for initiating Bluetooth connectivity. The Gamepad should enter a discoverable state, allowing your PC to detect and establish a wireless connection with the device.
3. Pair the Gamepad with Your PC
Within the Bluetooth settings on your PC, search for available devices and locate the Wii U Gamepad in the list of discoverable devices. Select the Gamepad and initiate the pairing process to establish a secure connection between the Gamepad and your computer. Follow any on-screen prompts to complete the pairing procedure.
4. Verify Connection Stability
Once the Gamepad is successfully paired with your PC, verify the stability of the connection by ensuring that the Gamepad’s inputs are recognized by the computer. Test the buttons, joysticks, and touch-based controls to confirm that the Gamepad’s inputs are accurately transmitted to the emulator software on your PC.
5. Calibrate the Gamepad (if necessary)
If the Gamepad’s inputs exhibit any inaccuracies or inconsistencies, consider calibrating the device within the Windows control panel or using the calibration tools provided by the emulator software. Calibration ensures that the Gamepad’s controls are accurately interpreted by the emulator during gameplay.
6. Fine-tune Input Settings
Access the input settings within the emulator and verify that the Wii U Gamepad is recognized as the primary input device. Fine-tune the input configurations to ensure that the Gamepad’s controls are properly mapped to the emulator’s input settings, allowing for seamless interaction with emulated Wii U games.
By successfully connecting the Wii U Gamepad to your PC and verifying its functionality within the emulator, you’ve laid the groundwork for an immersive gaming experience that closely mirrors the original Wii U console setup. With the Gamepad securely connected, you’re now ready to proceed with testing the emulation process and enjoying your favorite Wii U games on your PC.
Testing the Emulation
Once the Wii U Gamepad is successfully connected to your PC and the emulator is configured, it’s time to test the emulation process and ensure that everything functions as intended. Follow these steps to test the emulation and verify the performance:
1. Launch a Wii U Game Title
Start by launching a Wii U game title within the emulator to initiate the emulation process. Select a game from your collection of legally obtained game ROMs and ensure that the emulator loads the game without errors or glitches.
2. Verify Graphics and Audio Output
Upon launching the game, verify that the graphics and audio output are rendered accurately within the emulator. Pay attention to visual fidelity, frame rates, and audio synchronization to ensure that the emulated game closely resembles the original Wii U gaming experience.
3. Test Gamepad Inputs
Engage in gameplay and test the responsiveness of the Wii U Gamepad inputs within the emulated environment. Verify that button presses, joystick movements, and touchscreen interactions are accurately translated within the game, allowing for seamless control and interaction.
4. Evaluate Performance and Stability
Assess the overall performance and stability of the emulation during gameplay. Monitor the frame rates, input lag, and overall system responsiveness to ensure that the emulator and the emulated game deliver a smooth and enjoyable gaming experience on your PC.
5. Explore Emulation Features
Explore any additional features or enhancements offered by the emulator, such as save states, graphical enhancements, or multiplayer capabilities. Verify that these features function as intended and enhance the overall emulation experience for Wii U games on your PC.
6. Troubleshoot and Refine Settings (if necessary)
If you encounter any issues or inconsistencies during the testing phase, troubleshoot and refine the emulator settings as needed. Adjust graphics, audio, and input configurations to address any performance or compatibility issues that may arise during the emulation process.
By thoroughly testing the emulation process and verifying the functionality of the Wii U Gamepad within the emulated environment, you ensure that the emulation setup on your PC provides an authentic and enjoyable gaming experience. With successful testing, you can now immerse yourself in a diverse library of Wii U games, all accessible and playable on your computer.