Checking Compatibility
Before connecting your Razer headset to your PC, it’s essential to ensure that your headset is compatible with your computer. This step is crucial to avoid any potential issues and to guarantee that your headset will function seamlessly with your PC.
Here are some easy steps to check the compatibility of your Razer headset with your PC:
- Review System Requirements: Start by reviewing the system requirements for your Razer headset. You can typically find this information on the packaging or in the product manual. Check the compatibility of the headset with your operating system (e.g., Windows 10, macOS) and ensure that your PC meets the minimum requirements.
- Visit the Razer Website: Head to the official Razer website and navigate to the product page for your specific headset model. Look for compatibility information or system requirements listed on the product page. Razer often provides detailed information about compatible operating systems and software.
- Check Device Manager: Open the Device Manager on your PC and look for any unrecognized or conflicting devices. Ensure that your PC recognizes the headset when it’s connected. If there are any issues or conflicts, you may need to troubleshoot or update drivers to ensure compatibility.
By following these simple steps, you can verify the compatibility of your Razer headset with your PC, ensuring a smooth and hassle-free connection process.
Installing Razer Synapse Software
Before you can fully utilize your Razer headset’s features and customize its settings, it’s essential to install the Razer Synapse software on your PC. Razer Synapse is a powerful configuration tool that allows you to personalize your Razer peripherals, including headsets, with advanced features such as EQ settings, mic enhancements, and RGB lighting customization.
Here are the steps to install Razer Synapse software on your PC:
- Download from the Official Website: Visit the official Razer website and navigate to the Razer Synapse download page. Ensure that you download the version compatible with your operating system (e.g., Windows or macOS).
- Run the Installer: Once the download is complete, run the installer file. Follow the on-screen instructions to complete the installation process. Make sure to read and accept the terms of use and privacy policy.
- Create or Log In to Your Razer Account: To access the full functionality of Razer Synapse, you may need to create a Razer account or log in with your existing credentials. This step is essential for saving your custom settings and syncing them across multiple devices.
- Connect Your Razer Headset: After installing Razer Synapse, connect your Razer headset to your PC using the appropriate USB connection or audio jacks. The software should automatically detect the headset and prompt you to configure its settings.
By following these steps, you can easily install the Razer Synapse software and prepare your Razer headset for personalized customization and optimal performance. Once the software is installed, you’ll have access to a wide range of features to enhance your gaming or audio experience.
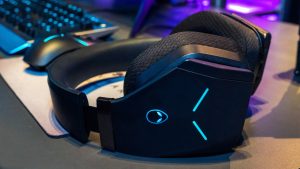
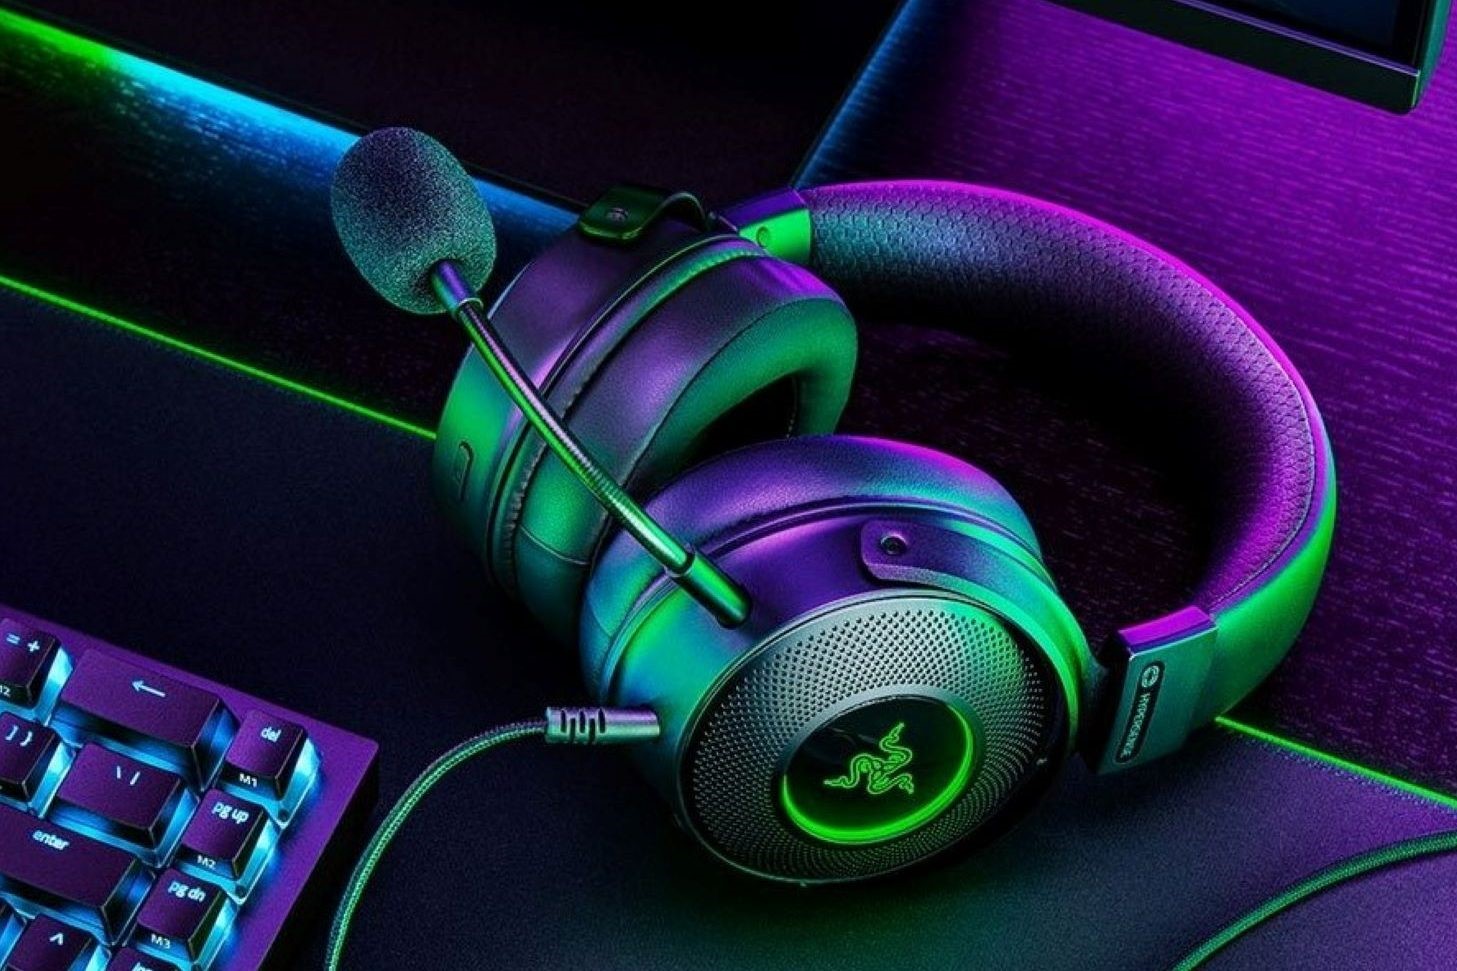
Connecting the Razer Headset to PC
Once you’ve confirmed the compatibility of your Razer headset and installed the Razer Synapse software, the next step is to connect your headset to your PC. Properly connecting the headset ensures that it functions correctly and allows you to enjoy its full range of features. Here’s a simple guide to connecting your Razer headset to your PC:
- Locate the USB or Audio Jacks: Depending on your Razer headset model, you may need to connect it using a USB port or audio jacks. Locate the appropriate ports on your PC and ensure they are easily accessible.
- USB Connection: If your Razer headset utilizes a USB connection, simply plug the USB connector into an available USB port on your PC. Wait for the PC to recognize the headset and install any necessary drivers. Once connected, the Razer Synapse software may prompt you to configure the headset’s settings.
- Audio Jack Connection: For headsets with audio jacks, insert the headphone and microphone plugs into the corresponding audio ports on your PC. These ports are typically color-coded, with green for headphones and pink for the microphone. Ensure a secure connection to avoid audio issues.
- Wireless Connection (If Applicable): If your Razer headset supports wireless connectivity, follow the manufacturer’s instructions to pair the headset with your PC via Bluetooth or a wireless receiver. Ensure that the headset is fully charged and within the recommended range for a stable connection.
By following these steps, you can easily connect your Razer headset to your PC, setting the stage for an immersive audio experience and seamless communication. Once connected, you can proceed to configure the audio settings and personalize the headset’s features using the Razer Synapse software.
Configuring Audio Settings
After connecting your Razer headset to your PC, it’s essential to configure the audio settings to ensure optimal sound quality and microphone performance. The Razer Synapse software offers a range of customization options that allow you to tailor the audio output and microphone settings to your preferences. Here’s how to configure the audio settings for your Razer headset:
- Open Razer Synapse: Launch the Razer Synapse software on your PC. If you haven’t already done so, connect your Razer headset to your computer to enable the configuration options within the software.
- Access the Audio Settings: Navigate to the audio settings section within Razer Synapse. Here, you’ll find options to adjust the equalizer settings, enable surround sound features, and fine-tune the microphone settings for optimal clarity.
- Adjust Equalizer Settings: Customize the audio output by adjusting the equalizer settings to suit your audio preferences. You can choose from preset EQ profiles or create a custom profile to enhance the bass, treble, and overall sound balance based on your preferences.
- Enable Surround Sound (If Available): If your Razer headset supports surround sound, explore the available options to enable this feature. Surround sound can provide an immersive audio experience, particularly during gaming or multimedia playback.
- Optimize Microphone Settings: Fine-tune the microphone settings to ensure clear and accurate voice capture. Adjust the microphone sensitivity, noise reduction, and voice clarity settings to optimize communication during gaming sessions or voice calls.
By configuring the audio settings through Razer Synapse, you can personalize your Razer headset’s audio output and microphone performance to match your preferences and usage scenarios. Once you’ve fine-tuned the settings, you’ll be ready to experience high-quality audio and clear communication with your Razer headset.
Testing the Razer Headset
Once you’ve completed the setup and configuration of your Razer headset, it’s crucial to conduct thorough testing to ensure that the audio output, microphone, and additional features are functioning as intended. Proper testing allows you to identify any potential issues and make further adjustments as needed. Here’s a comprehensive guide to testing your Razer headset:
- Audio Playback Test: Start by playing your favorite music, a movie, or an audio clip to assess the audio quality of the Razer headset. Pay attention to the clarity, bass response, and overall sound balance. If available, test the headset’s surround sound capabilities with compatible multimedia content.
- Microphone Test: Record a brief voice clip or use a voice communication application to test the microphone’s performance. Speak clearly and listen to the playback to ensure that the microphone captures your voice accurately without distortion or background noise. Adjust the microphone settings if necessary.
- Gaming or Multimedia Experience: Engage in a gaming session or immerse yourself in multimedia content to experience the full capabilities of your Razer headset. Pay attention to positional audio, in-game sound effects, and dialogue clarity. Evaluate the headset’s ability to provide an immersive audio experience.
- Communication Test: If applicable, engage in a voice call or online chat to test the headset’s communication capabilities. Verify that the microphone delivers clear voice transmission, and the headset allows you to hear the other party without issues.
- Customization Check: If you’ve personalized the headset’s settings using Razer Synapse, ensure that your custom audio profiles, EQ settings, and other configurations are applied correctly during testing. Make adjustments as needed to achieve the desired audio experience.
By conducting comprehensive testing, you can verify the performance and functionality of your Razer headset across various scenarios, ensuring that it meets your expectations for audio quality, communication, and customization. If any issues arise during testing, refer to the Razer support resources or make further adjustments using the Razer Synapse software to optimize your headset’s performance.