
Materials Needed
Creating a homemade tripod using bamboo is a rewarding and eco-friendly craft. Before embarking on this DIY project, gather the following materials:
- Bamboo poles: Select four bamboo poles of equal length, approximately 5-6 feet long, to ensure stability and uniformity in the tripod’s structure.
- Rope or twine: Choose a durable and weather-resistant rope or twine to bind the bamboo poles securely. Natural fibers such as jute or hemp are ideal for an organic touch.
- Scissors or knife: Have a sharp pair of scissors or a knife on hand to cut the rope and trim the excess bamboo.
- Optional accessories: Consider adding hooks, clips, or a small platform to the tripod for enhanced functionality, depending on the intended use.
Once you have gathered these materials, you are ready to embark on the exciting journey of crafting your very own bamboo tripod. The natural, rustic appeal of bamboo combined with the satisfaction of creating a functional tool from sustainable materials makes this project both enjoyable and environmentally conscious.
Step 1: Selecting and Preparing the Bamboo
Choosing the right bamboo is crucial for the stability and durability of your homemade tripod. When selecting bamboo poles, opt for ones that are straight, sturdy, and free from cracks or splits. Additionally, ensure that the bamboo is dry to prevent warping after construction.
Before using the bamboo, it is essential to prepare it for the crafting process. Start by removing any protruding branches or nodes from the poles using a sharp knife or pruning shears. This step will create a smooth surface for binding the bamboo together and enhance the overall aesthetic appeal of the tripod.
Next, inspect the bamboo for any signs of damage or weakness. Gently tap each pole to listen for hollow or weak spots, as these can compromise the structural integrity of the tripod. It is advisable to discard any bamboo poles that exhibit these characteristics to ensure the stability and safety of the finished product.
After inspecting the bamboo, carefully measure and mark the desired length for each pole, ensuring uniformity for a balanced tripod. Use a saw or sharp knife to cut the bamboo to the predetermined length, taking care to make clean, straight cuts to facilitate a secure and stable assembly.
By meticulously selecting and preparing the bamboo, you are laying the foundation for a sturdy and aesthetically pleasing homemade tripod. This attention to detail will contribute to the overall quality and longevity of your craft, ensuring that it serves its purpose effectively and brings joy to your DIY endeavors.
Step 2: Tying the Bamboo Together
Once you have selected and prepared the bamboo poles, the next step in creating your homemade tripod is to securely bind the poles together. This process requires precision and care to ensure the stability and functionality of the finished product.
Begin by arranging the bamboo poles in a tripod formation, ensuring that they are evenly spaced and aligned at the top. Using a durable rope or twine, start binding the poles together at the top, gradually working your way down to create a tight and secure structure. It is essential to maintain even tension while wrapping the rope around the poles to prevent any wobbling or instability.
Employ a reliable knot, such as a square knot or clove hitch, to secure the rope at the top and prevent unraveling. As you continue wrapping the rope around the poles, periodically tighten the binding to maintain a snug fit. This meticulous approach will contribute to the overall strength and solidity of the tripod.
Ensure that the binding is firm but not overly constricting, allowing for a slight degree of flexibility to accommodate varying terrain and usage scenarios. Once the binding is complete, trim any excess rope and tuck the ends securely to prevent unraveling and maintain a neat appearance.
By skillfully tying the bamboo together, you are not only creating a functional tripod but also engaging in a time-honored craft that celebrates the versatility and sustainability of natural materials. The process of binding the bamboo embodies the fusion of artistry and practicality, resulting in a visually appealing and reliable tool for your photography, camping, or outdoor activities.
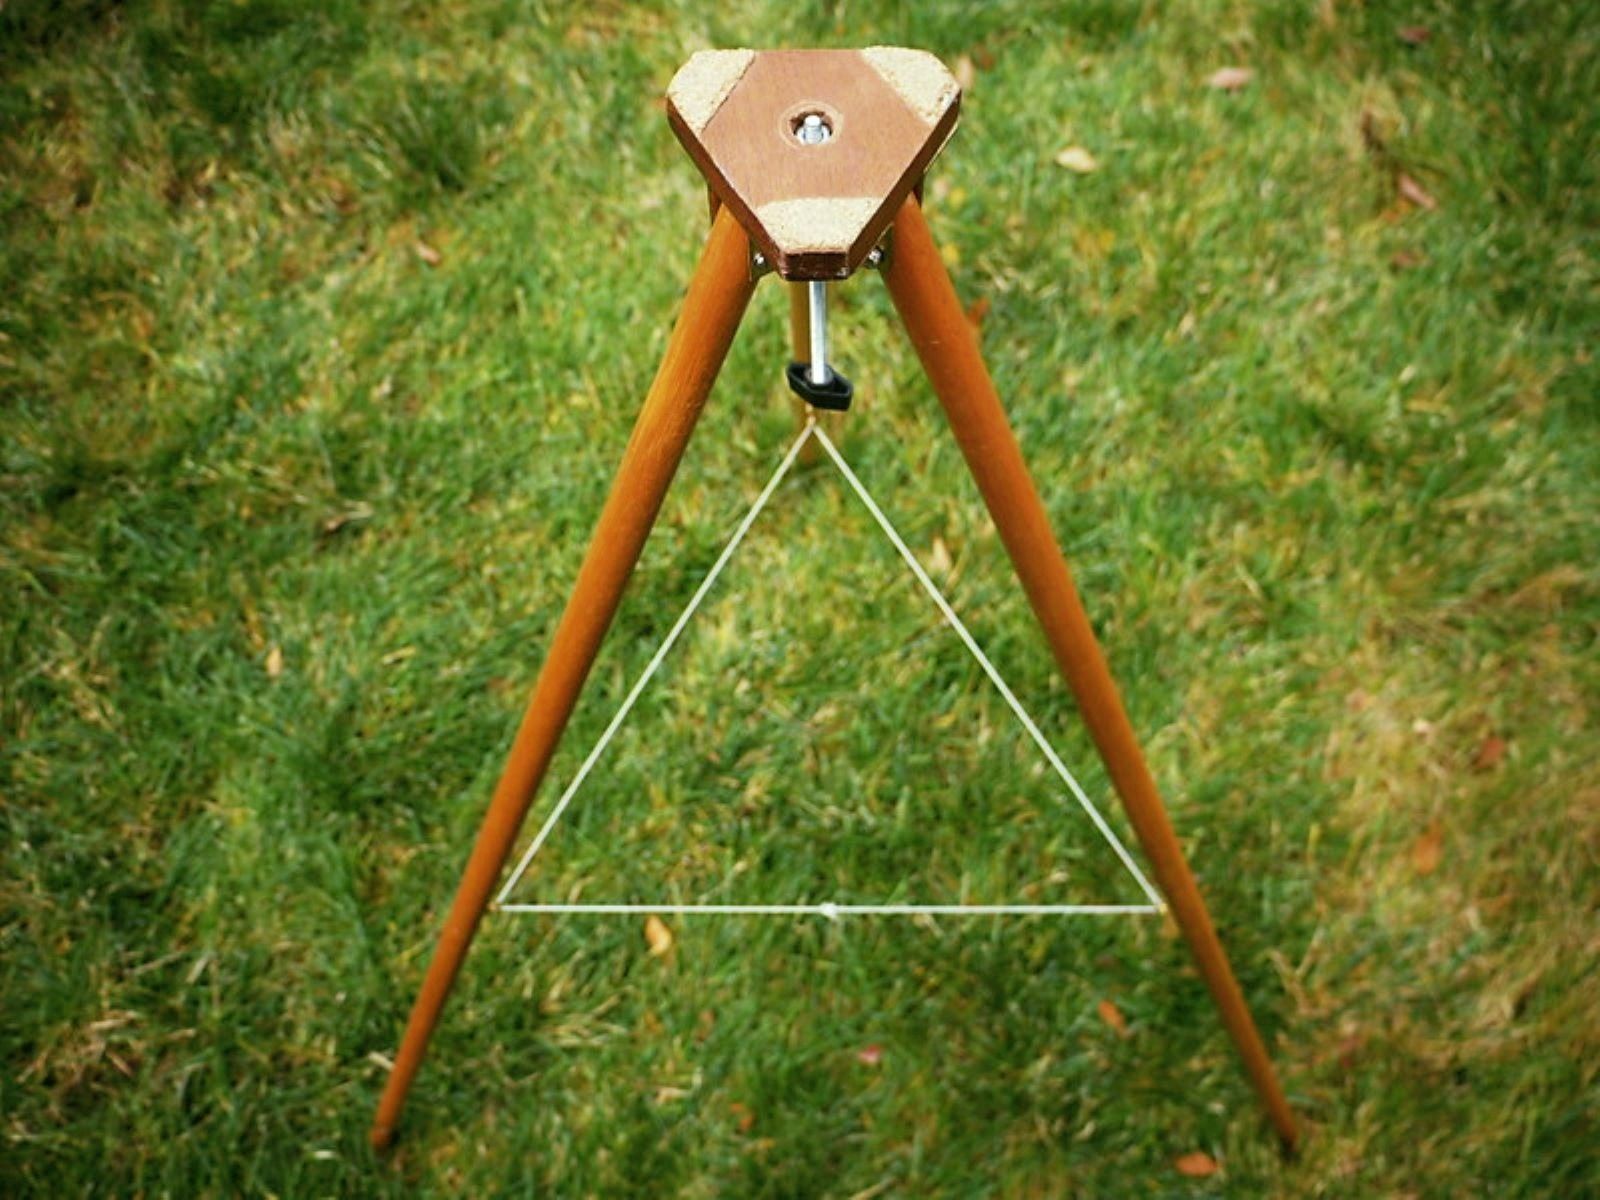
Step 3: Testing the Stability
After tying the bamboo together to form the tripod, it is crucial to assess its stability to ensure that it can support the intended load and withstand outdoor conditions. Testing the stability of the homemade tripod is a vital step in the crafting process, providing reassurance of its reliability and safety during use.
Begin by placing the tripod on a flat, level surface and gently applying pressure to each leg to gauge its sturdiness. Observe any wobbling or shifting and make adjustments to the binding if necessary to achieve a balanced and secure foundation. This initial assessment will reveal any immediate stability issues that need to be addressed before further testing.
Once the tripod demonstrates stability on a level surface, consider testing it on various terrains such as grass, gravel, or uneven ground to simulate real-world usage scenarios. This comprehensive approach will help identify any potential weaknesses and allow for fine-tuning to optimize the tripod’s stability across different environments.
If the tripod is intended for supporting a camera or other equipment, attach the desired load to the top and observe how the tripod responds to the weight. Assess its ability to remain steady and level, ensuring that the binding and structure hold firm under the added load. This step is crucial for confirming the tripod’s suitability for its intended purpose.
By meticulously testing the stability of the homemade tripod, you are actively engaging in the craftsmanship and functionality of your creation. This hands-on approach not only validates the structural integrity of the tripod but also provides a sense of accomplishment as you witness the successful culmination of your DIY endeavor.
Step 4: Adding Optional Accessories
With the basic structure of the bamboo tripod in place, you have the opportunity to enhance its functionality and versatility by adding optional accessories. These accessories can elevate the tripod from a simple support stand to a multifaceted tool tailored to your specific needs and interests.
Consider incorporating hooks or clips onto the legs of the tripod to provide convenient storage for camera bags, backpacks, or other accessories. This simple addition can significantly improve the practicality of the tripod, especially during outdoor excursions or photography sessions where keeping gear organized is essential.
For photography enthusiasts, attaching a small platform or mounting head to the top of the tripod can transform it into a stable and customizable camera support system. This modification allows for seamless adjustments and precise positioning of the camera, enhancing the quality of photos and providing a professional touch to your photography setup.
Furthermore, integrating adjustable legs or extensions to the tripod can expand its functionality, enabling it to adapt to varying heights and terrains. This feature is particularly valuable for outdoor activities such as camping or hiking, where a versatile and adaptable tripod can serve a multitude of purposes beyond photography.
Embracing your creativity, you can personalize the tripod with decorative elements or embellishments that reflect your unique style and personality. Whether it’s painting the bamboo with intricate designs or adding natural adornments such as feathers or beads, infusing artistic flair into the tripod can make it a visually captivating and personalized tool.
By adding optional accessories to the homemade bamboo tripod, you are customizing and refining its utility to align with your specific interests and requirements. This creative process not only enhances the functionality of the tripod but also allows you to imbue it with a touch of individuality, transforming it into a truly one-of-a-kind creation.