
Step 1: Gather Your Tools and Replacement Parts
Before embarking on the journey of replacing your Nintendo Switch joystick, it’s crucial to gather all the necessary tools and replacement parts. Having the right equipment at your disposal will ensure a smooth and efficient process, allowing you to tackle the task with confidence.
Here’s a comprehensive list of tools and replacement parts you’ll need:
- Tri-wing Screwdriver: This specialized screwdriver is essential for opening the Joy-Con controller, as it features tri-point screws designed specifically for Nintendo products.
- Phillips Head Screwdriver: You’ll need this tool to remove the internal screws of the Joy-Con.
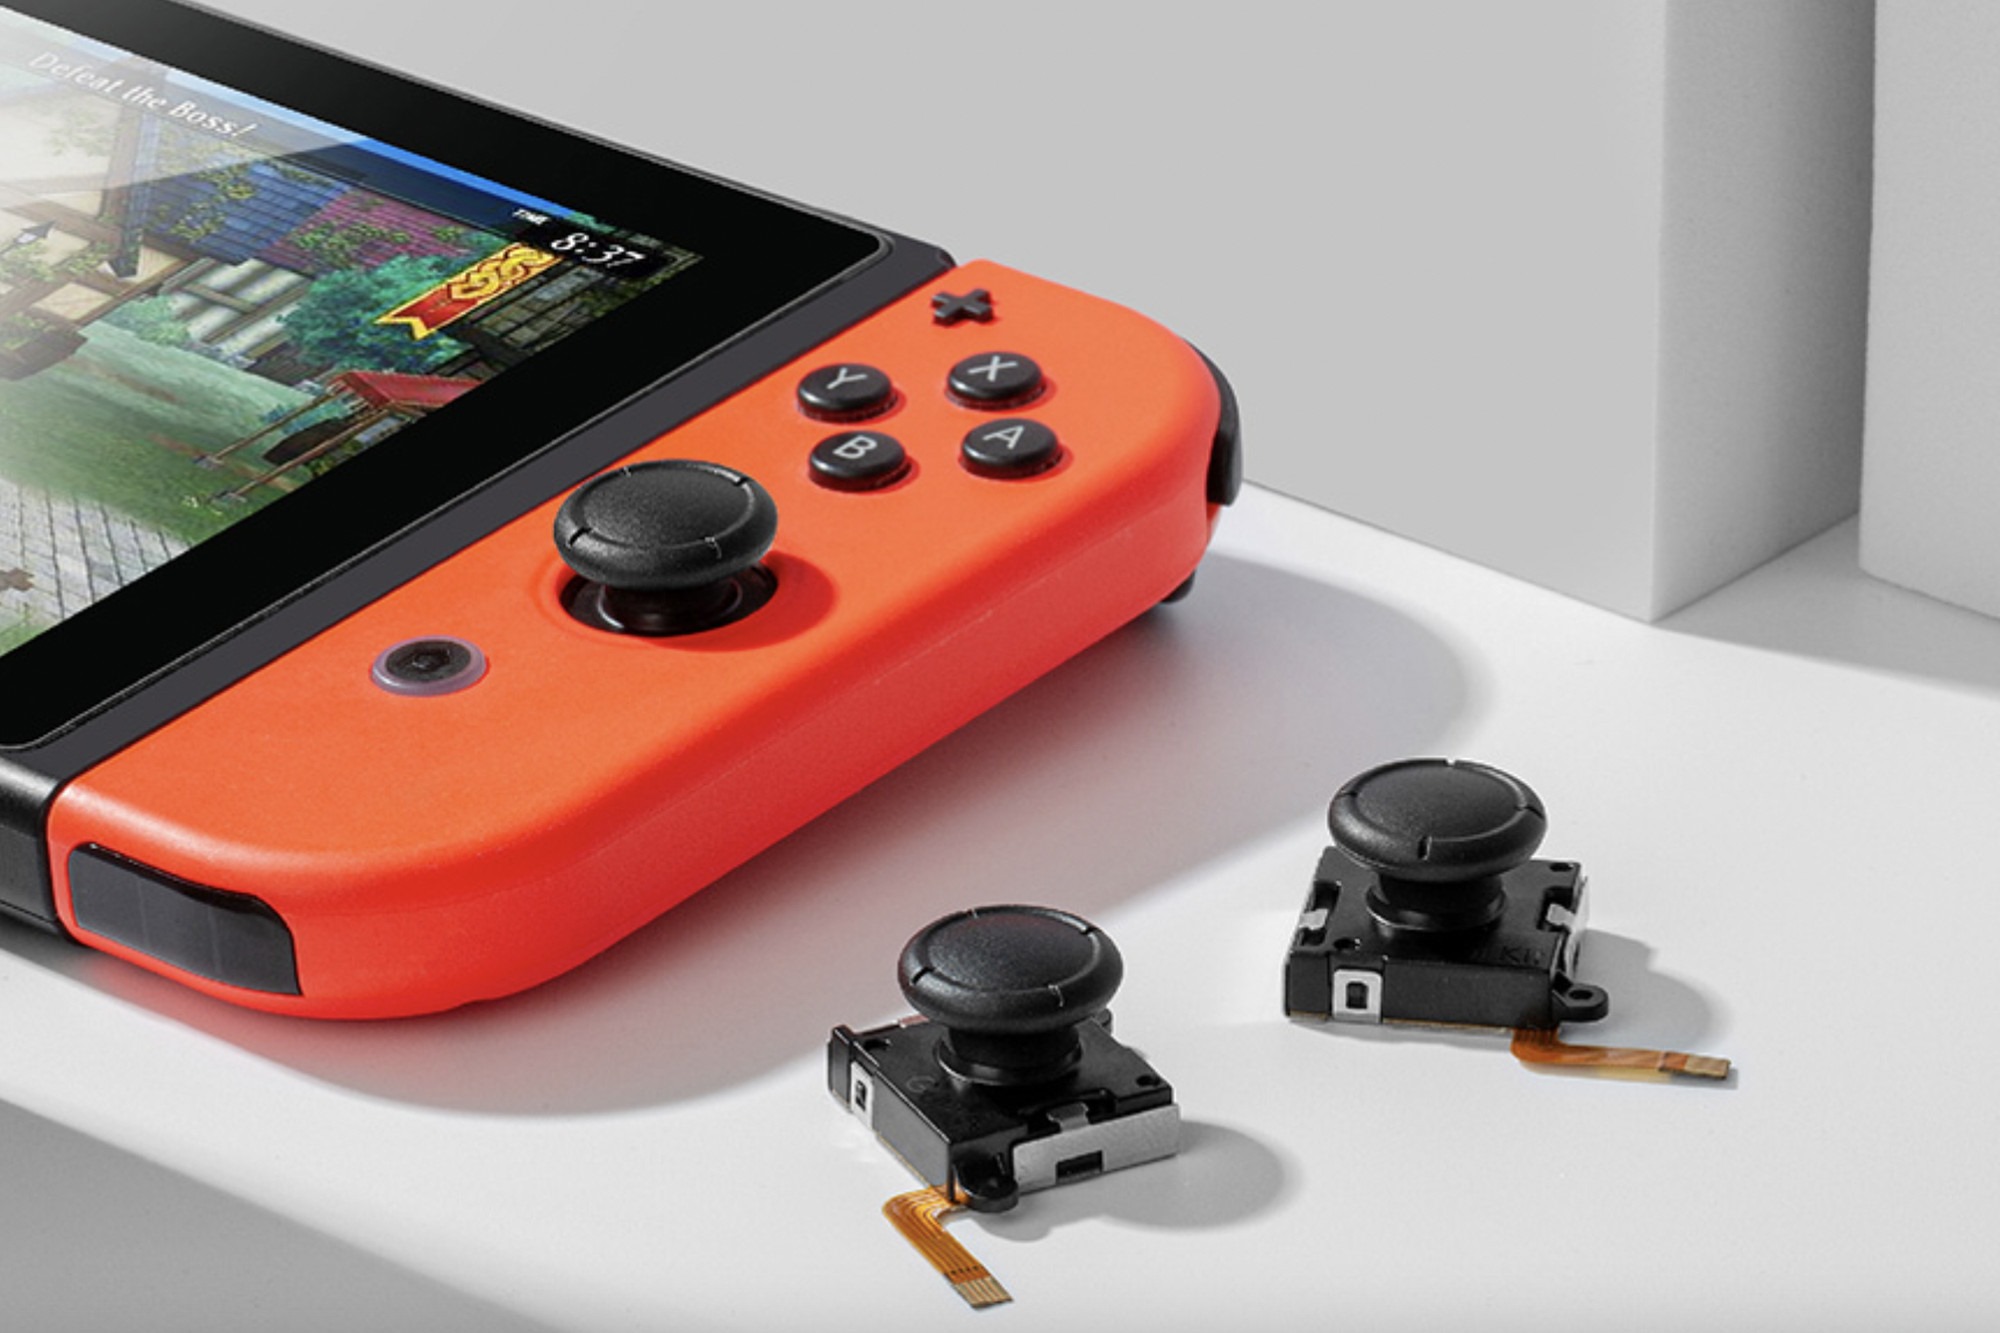
- Replacement Joystick: Ensure you have a compatible replacement joystick for your Nintendo Switch. It’s advisable to purchase a high-quality joystick from a reputable source to guarantee optimal performance.
- Spudger or Opening Tool: A spudger or similar tool will aid in prying apart the Joy-Con without causing damage to the delicate components.
- Tweezers: Precision tweezers will assist in handling small components and securing delicate connections during the replacement process.
- Cotton Swabs and Isopropyl Alcohol: These items are useful for cleaning the internal components and removing any debris or dust that may have accumulated.
- Clean Workspace: Set up your work area on a clean, well-lit surface with ample space to organize and lay out the components as you work.
By ensuring you have all the necessary tools and replacement parts ready, you can proceed with confidence, knowing that you are well-prepared to undertake the joystick replacement process. This proactive approach will streamline the repair and minimize the risk of encountering unexpected obstacles along the way.
Step 2: Prepare Your Workstation
Creating an organized and conducive workspace is essential before delving into the intricate process of replacing the joystick on your Nintendo Switch. By preparing your workstation thoughtfully, you can mitigate potential complications and work with precision and focus.
Here are the key steps to prepare your workstation:
- Clean and Well-Lit Area: Select a clean and well-lit area to set up your workstation. Adequate lighting is crucial for identifying small components and ensuring precision during the repair process.
- Organize Your Tools: Lay out your tools and replacement parts in an organized manner, ensuring easy access as you progress through the repair. This prevents unnecessary interruptions and helps maintain a steady workflow.
- Protective Measures: Consider using an anti-static mat or grounding strap to prevent electrostatic discharge, which can potentially damage sensitive electronic components.
- Reference Materials: Keep the relevant repair guides, such as online tutorials or printed instructions, readily accessible for quick consultation if needed.
- Patience and Focus: Approach the task with patience and focus, as precision and attention to detail are paramount in successfully replacing the joystick without causing any damage to the Joy-Con controller.
By meticulously preparing your workstation, you set the stage for a smooth and efficient repair process. This proactive approach not only enhances the overall experience but also contributes to the successful restoration of your Nintendo Switch joystick, ensuring optimal functionality for your gaming adventures.
Step 3: Disassemble the Joy-Con Controller
Disassembling the Joy-Con controller is a crucial step in the process of replacing the joystick on your Nintendo Switch. This step requires careful attention to detail and a methodical approach to ensure that the delicate components are handled with precision and care. Follow these steps to disassemble the Joy-Con controller:
- Power Off the Nintendo Switch: Before beginning the disassembly process, ensure that your Nintendo Switch is powered off to prevent any potential electrical hazards.
- Remove the Joy-Con from the Console: Slide the Joy-Con off the Nintendo Switch console and set it on your prepared workstation.
- Identify and Remove Screws: Use the tri-wing screwdriver to carefully remove the screws securing the back panel of the Joy-Con. Keep the screws organized and separate from the Phillips head screws that will be removed later in the process.
- Separate the Back Panel: Gently pry open the back panel using a spudger or opening tool, taking care not to damage the delicate internal components. Once the back panel is removed, set it aside in a safe location.
- Remove the Battery and Additional Components: Carefully disconnect the battery and other internal components, ensuring that you keep track of the various screws and components as you proceed.
- Detach the Main Board: Unscrew and carefully detach the main board from the front casing of the Joy-Con, taking note of the intricate connections and ribbon cables that need to be delicately handled.
Disassembling the Joy-Con controller requires patience and precision to avoid damaging any of the internal components. By following these steps diligently, you can successfully disassemble the Joy-Con in preparation for the next phase of the joystick replacement process.
Step 4: Remove the Old Joystick
Once the Joy-Con controller is carefully disassembled, the next critical step in the joystick replacement process is removing the old joystick. This step requires attention to detail and precision to ensure that the old joystick is safely extracted without causing any damage to the surrounding components. Follow these steps to remove the old joystick from your Nintendo Switch:
- Identify the Joystick Module: Locate the old joystick module within the Joy-Con controller assembly. Take note of its position and the connections that need to be delicately handled during removal.
- Disconnect the Ribbon Cable: Gently detach the ribbon cable connected to the old joystick module, ensuring that you exercise caution to avoid any undue stress on the delicate connectors.
- Unscrew and Remove the Joystick: Use the appropriate screwdriver to carefully remove any screws securing the old joystick module in place. Once the screws are removed, gently lift and remove the old joystick from its housing within the Joy-Con controller.
- Inspect for Debris or Damage: Take this opportunity to inspect the surrounding area for any debris or damage that may have contributed to the malfunction of the old joystick. Clean the area if necessary before proceeding with the installation of the new joystick.
Removing the old joystick is a delicate process that requires a steady hand and careful attention to detail. By following these steps meticulously, you can safely extract the old joystick from your Nintendo Switch, paving the way for the installation of the new joystick to restore optimal functionality to your Joy-Con controller.
Step 5: Install the New Joystick
With the old joystick successfully removed from the Joy-Con controller, it’s time to proceed with the installation of the new joystick. This step is crucial in restoring the full functionality of your Nintendo Switch, and it requires precision and attention to detail to ensure a seamless replacement. Follow these steps to install the new joystick:
- Prepare the New Joystick: Inspect the new joystick module to ensure it is free from any defects or damage. Verify that it is compatible with your Nintendo Switch model before proceeding.
- Position the New Joystick: Carefully place the new joystick module into the designated housing within the Joy-Con controller, ensuring that it aligns correctly and sits securely in place.
- Secure the Joystick with Screws: Use the appropriate screws and screwdriver to fasten the new joystick module securely to the Joy-Con controller, ensuring that it is firmly in place without overtightening the screws.
- Reconnect the Ribbon Cable: Delicately reconnect the ribbon cable to the new joystick module, ensuring a secure and stable connection without applying excessive force.
- Test the Joystick Movement: Before reassembling the Joy-Con controller, perform a quick test to ensure that the new joystick responds accurately to movement and registers inputs correctly.
Installing the new joystick is a pivotal step in the repair process, and it sets the stage for the successful restoration of your Nintendo Switch functionality. By following these steps diligently, you can confidently proceed with the final phase of reassembling the Joy-Con controller, knowing that the new joystick has been securely and accurately installed.
Step 6: Reassemble the Joy-Con Controller
As you approach the final phase of the Nintendo Switch joystick replacement process, it’s time to reassemble the Joy-Con controller. This step is critical in ensuring that all components are securely and correctly positioned, setting the stage for the successful restoration of your gaming device. Follow these steps to reassemble the Joy-Con controller:
- Reconnect the Main Board: Carefully reattach the main board to the front casing of the Joy-Con, ensuring that all connections and ribbon cables are delicately handled and securely fastened.
- Reinstall the Battery and Additional Components: Place the battery and other internal components back into their designated positions, ensuring that they fit snugly and securely without any undue force.
- Secure the Back Panel: Position the back panel of the Joy-Con controller and gently press it into place, ensuring that it aligns correctly before securing it with the tri-wing screws.
- Secure the Screws: Use the tri-wing and Phillips head screwdrivers to securely fasten the screws, ensuring that they are tightened appropriately without over-tightening, which may cause damage to the components.
- Perform a Visual Inspection: Before proceeding, visually inspect the Joy-Con controller to ensure that all components are correctly positioned and that no loose screws or cables are left unattended.
Reassembling the Joy-Con controller requires patience and precision to ensure that all components are securely and accurately positioned. By following these steps diligently, you can proceed with confidence, knowing that the Joy-Con controller has been meticulously reassembled in preparation for the final testing phase.
Step 7: Test the Joystick
After completing the meticulous process of replacing the joystick and reassembling the Joy-Con controller, the final and crucial step is to test the functionality of the new joystick. This step ensures that the replacement has been successful and that your Nintendo Switch is ready to deliver an optimal gaming experience. Follow these steps to test the new joystick:
- Power On the Nintendo Switch: Turn on your Nintendo Switch console and ensure that the Joy-Con controller with the newly replaced joystick is synced and connected.
- Access the Calibration Settings: Navigate to the system settings on your Nintendo Switch and locate the joystick calibration option to fine-tune and verify the responsiveness of the new joystick.
- Test the Joystick Movement: Engage in a test session within a game or application that requires joystick input, such as navigating menus or controlling characters, to gauge the accuracy and responsiveness of the new joystick.
- Verify Input Recognition: Pay close attention to how the new joystick registers and responds to your inputs, ensuring that it accurately translates your movements into on-screen actions without any lag or inaccuracies.
- Perform a Range of Movements: Test the full range of movements offered by the joystick, including precise directional inputs and subtle adjustments, to ensure that it performs reliably across various scenarios.
Thoroughly testing the new joystick is essential to confirm its functionality and ensure that it meets the stringent requirements of gaming performance. By following these steps diligently, you can rest assured that the new joystick has been successfully integrated into your Nintendo Switch, ready to elevate your gaming experiences with its precise and responsive performance.