
Understanding Wireless Charging Technology
Wireless charging technology has revolutionized the way we power our devices, offering a convenient and cable-free method of replenishing battery life. At its core, wireless charging operates on the principle of electromagnetic induction, where an electrical current is transferred between two coils to facilitate the charging process. The transmitting coil, housed within the charging pad or station, generates an oscillating magnetic field when an electrical current passes through it. This magnetic field induces a voltage in the receiving coil, which is integrated into the device being charged, thereby initiating the transfer of power without the need for physical connectors.
One of the key advantages of wireless charging is its user-friendly nature, eliminating the hassle of dealing with tangled cords and worn-out connectors. Moreover, this technology promotes the longevity of devices by reducing wear and tear on charging ports, ultimately enhancing the overall user experience.
While wireless charging offers unparalleled convenience, it is essential to understand the technical aspects of this technology to fully appreciate its functionality. By delving into the intricacies of electromagnetic induction and the underlying principles of wireless power transfer, DIY enthusiasts can gain a comprehensive understanding of how to construct their own wireless charging circuit.
Components Needed for the DIY Wireless Charging Circuit
Embarking on the journey of creating a DIY wireless charging circuit requires a careful selection of essential components to ensure the successful assembly and operation of the circuit. Understanding the role of each component is crucial for achieving optimal performance and compatibility with various devices.
1. Transmitting Coil: The transmitting coil, also known as the primary coil, is a fundamental component that generates the oscillating magnetic field necessary for wireless power transfer. This coil is typically wound around a ferrite core to enhance its inductive properties and maximize the efficiency of power transmission.
2. Receiving Coil: The receiving coil, or secondary coil, is integrated into the device to be charged and is responsible for capturing the magnetic field generated by the transmitting coil. It converts the magnetic flux into electrical energy, facilitating the charging process.
3. Power Source: A stable and regulated power source, such as a DC power supply or a rechargeable battery pack, is essential for providing the input power to the wireless charging circuit. The voltage and current output of the power source should align with the requirements of the transmitting coil for efficient operation.
4. Driver Circuit: The driver circuit, comprising a suitable oscillator and driver IC, controls the frequency and amplitude of the electrical current flowing through the transmitting coil. This circuitry ensures that the coil generates the precise magnetic field needed for effective power transfer.
5. Rectifier and Voltage Regulator: To convert the alternating current induced in the receiving coil into direct current suitable for charging the device’s battery, a rectifier circuit is employed. Additionally, a voltage regulator helps maintain a consistent and safe charging voltage for the device.
6. Heat Sink and Enclosure: As wireless charging circuits may generate heat during operation, a heat sink is employed to dissipate excess heat and prevent overheating. An enclosure or housing provides physical protection and structural support for the circuit components.
By sourcing high-quality components and understanding their individual functions within the wireless charging circuit, DIY enthusiasts can lay the foundation for a successful and reliable charging solution.
Designing the Circuit Layout
Creating an efficient and well-organized circuit layout is a critical phase in the development of a DIY wireless charging circuit. The layout encompasses the physical arrangement of components, interconnections, and the overall structure of the circuit, laying the groundwork for seamless integration and optimal performance.
1. Component Placement: Careful consideration must be given to the placement of the transmitting and receiving coils, ensuring that they are positioned in close proximity to facilitate effective power transfer. Additionally, the driver circuit, rectifier, voltage regulator, and power source should be strategically positioned to minimize signal interference and streamline the flow of electrical energy.
2. Signal Routing: The layout should incorporate well-defined signal paths, minimizing the length of interconnecting wires and traces to reduce signal degradation and electromagnetic interference. Proper routing of signals from the driver circuit to the transmitting coil and from the receiving coil to the rectifier is essential for maintaining signal integrity and maximizing charging efficiency.
3. Grounding and Shielding: Implementing a robust grounding scheme and shielding sensitive circuitry from external electromagnetic influences is imperative for maintaining the integrity of the wireless charging circuit. Ground planes and shielding techniques help mitigate noise and ensure stable operation, especially in environments with high electromagnetic interference.
4. Thermal Management: Given the potential for heat generation during wireless charging, the circuit layout should accommodate effective thermal management measures. Placing the heat sink in close proximity to heat-generating components and optimizing airflow within the enclosure are essential considerations to prevent overheating and ensure long-term reliability.
5. Scalability and Modularity: Designing the circuit layout with scalability and modularity in mind allows for future expansion and customization. By incorporating standardized connectors and interfaces, the circuit can be easily adapted to accommodate different devices and charging requirements, enhancing its versatility and usability.
By meticulously planning and executing the circuit layout, DIY enthusiasts can optimize the performance, reliability, and adaptability of their wireless charging circuit, setting the stage for successful integration and testing.
Soldering the Components Together
Once the circuit layout has been meticulously planned and finalized, the next crucial step in constructing a DIY wireless charging circuit involves soldering the components together. Soldering is a fundamental skill that enables the creation of robust and reliable electrical connections, ensuring the seamless flow of current throughout the circuit.
1. Preparation and Organization: Before commencing the soldering process, it is essential to organize the components and ensure that all necessary tools and materials are readily available. This includes the soldering iron, solder wire, flux, desoldering braid, and a well-ventilated workspace to facilitate the soldering process.
2. Component Orientation: Ensuring the correct orientation of components is crucial to avoid errors during the soldering process. Components should be aligned according to the circuit layout, with attention to the polarity of components such as diodes, capacitors, and integrated circuits to prevent reverse connections.
3. Heat Management: Proper heat management is key to achieving high-quality solder joints without damaging sensitive components. The soldering iron should be set to the appropriate temperature, and the duration of heat application to each joint should be carefully controlled to prevent overheating and thermal damage.
4. Application of Flux: Applying flux to the soldering joints facilitates the flow of solder and promotes strong, reliable connections. Flux helps remove oxidation from the metal surfaces, ensuring proper wetting and adhesion of the solder to the component leads and circuit board traces.
5. Soldering Technique: Employing the correct soldering technique, such as drag soldering or reflow soldering, is essential for achieving clean and uniform solder joints. Ensuring that the solder flows smoothly and adheres to the component leads and circuit board pads is crucial for establishing low-resistance connections.
6. Inspection and Testing: Following the soldering process, a thorough visual inspection of the solder joints should be conducted to identify any potential defects, such as cold joints or solder bridges. Subsequently, continuity testing and functional testing of the circuit should be performed to verify the integrity of the soldered connections and the overall functionality of the wireless charging circuit.
By meticulously executing the soldering process and adhering to best practices, DIY enthusiasts can ensure the structural integrity and electrical reliability of their wireless charging circuit, paving the way for successful testing and integration into a charging pad.
Testing and Troubleshooting the Circuit
Upon completing the assembly of the DIY wireless charging circuit, thorough testing and troubleshooting are essential to validate its functionality and address any potential issues that may arise. Rigorous testing procedures and systematic troubleshooting techniques enable DIY enthusiasts to identify and rectify circuit anomalies, ensuring optimal performance and reliability.
1. Functional Testing: The initial step involves conducting functional tests to evaluate the wireless charging circuit’s ability to transmit power and charge compatible devices. This includes verifying the output voltage and current of the transmitting coil, as well as confirming the successful reception and conversion of the transmitted power by the receiving coil.
2. Efficiency Assessment: Assessing the efficiency of the wireless charging circuit involves measuring the power transfer efficiency and identifying any inefficiencies or losses within the system. This evaluation provides insights into the circuit’s performance and aids in optimizing its design for enhanced charging efficiency.
3. Electromagnetic Compatibility (EMC) Testing: EMC testing is crucial to assess the circuit’s susceptibility to electromagnetic interference and its compliance with regulatory standards. By subjecting the circuit to EMC tests, DIY enthusiasts can ensure that it operates reliably in various environments and does not emit harmful interference that could affect other electronic devices.
4. Temperature and Thermal Analysis: Conducting temperature measurements and thermal analysis during charging operations is vital to identify potential overheating issues and implement appropriate thermal management strategies. Monitoring the temperature of key components and the overall circuit facilitates the detection of thermal hotspots and aids in the prevention of circuit damage due to excessive heat.
5. Troubleshooting Techniques: In the event of circuit malfunctions or suboptimal performance, employing systematic troubleshooting techniques is essential. This may involve inspecting solder joints for cold soldering, verifying component orientations, and using diagnostic tools such as multimeters and oscilloscopes to pinpoint and rectify potential faults.
6. Iterative Optimization: Iterative testing and troubleshooting cycles enable DIY enthusiasts to incrementally improve the wireless charging circuit by addressing identified issues and refining its performance. This iterative approach fosters continuous improvement and ensures that the circuit meets the desired specifications and performance targets.
By rigorously testing the wireless charging circuit and employing effective troubleshooting strategies, DIY enthusiasts can validate its functionality, optimize its performance, and address any potential challenges, ultimately paving the way for its successful integration into a wireless charging pad.
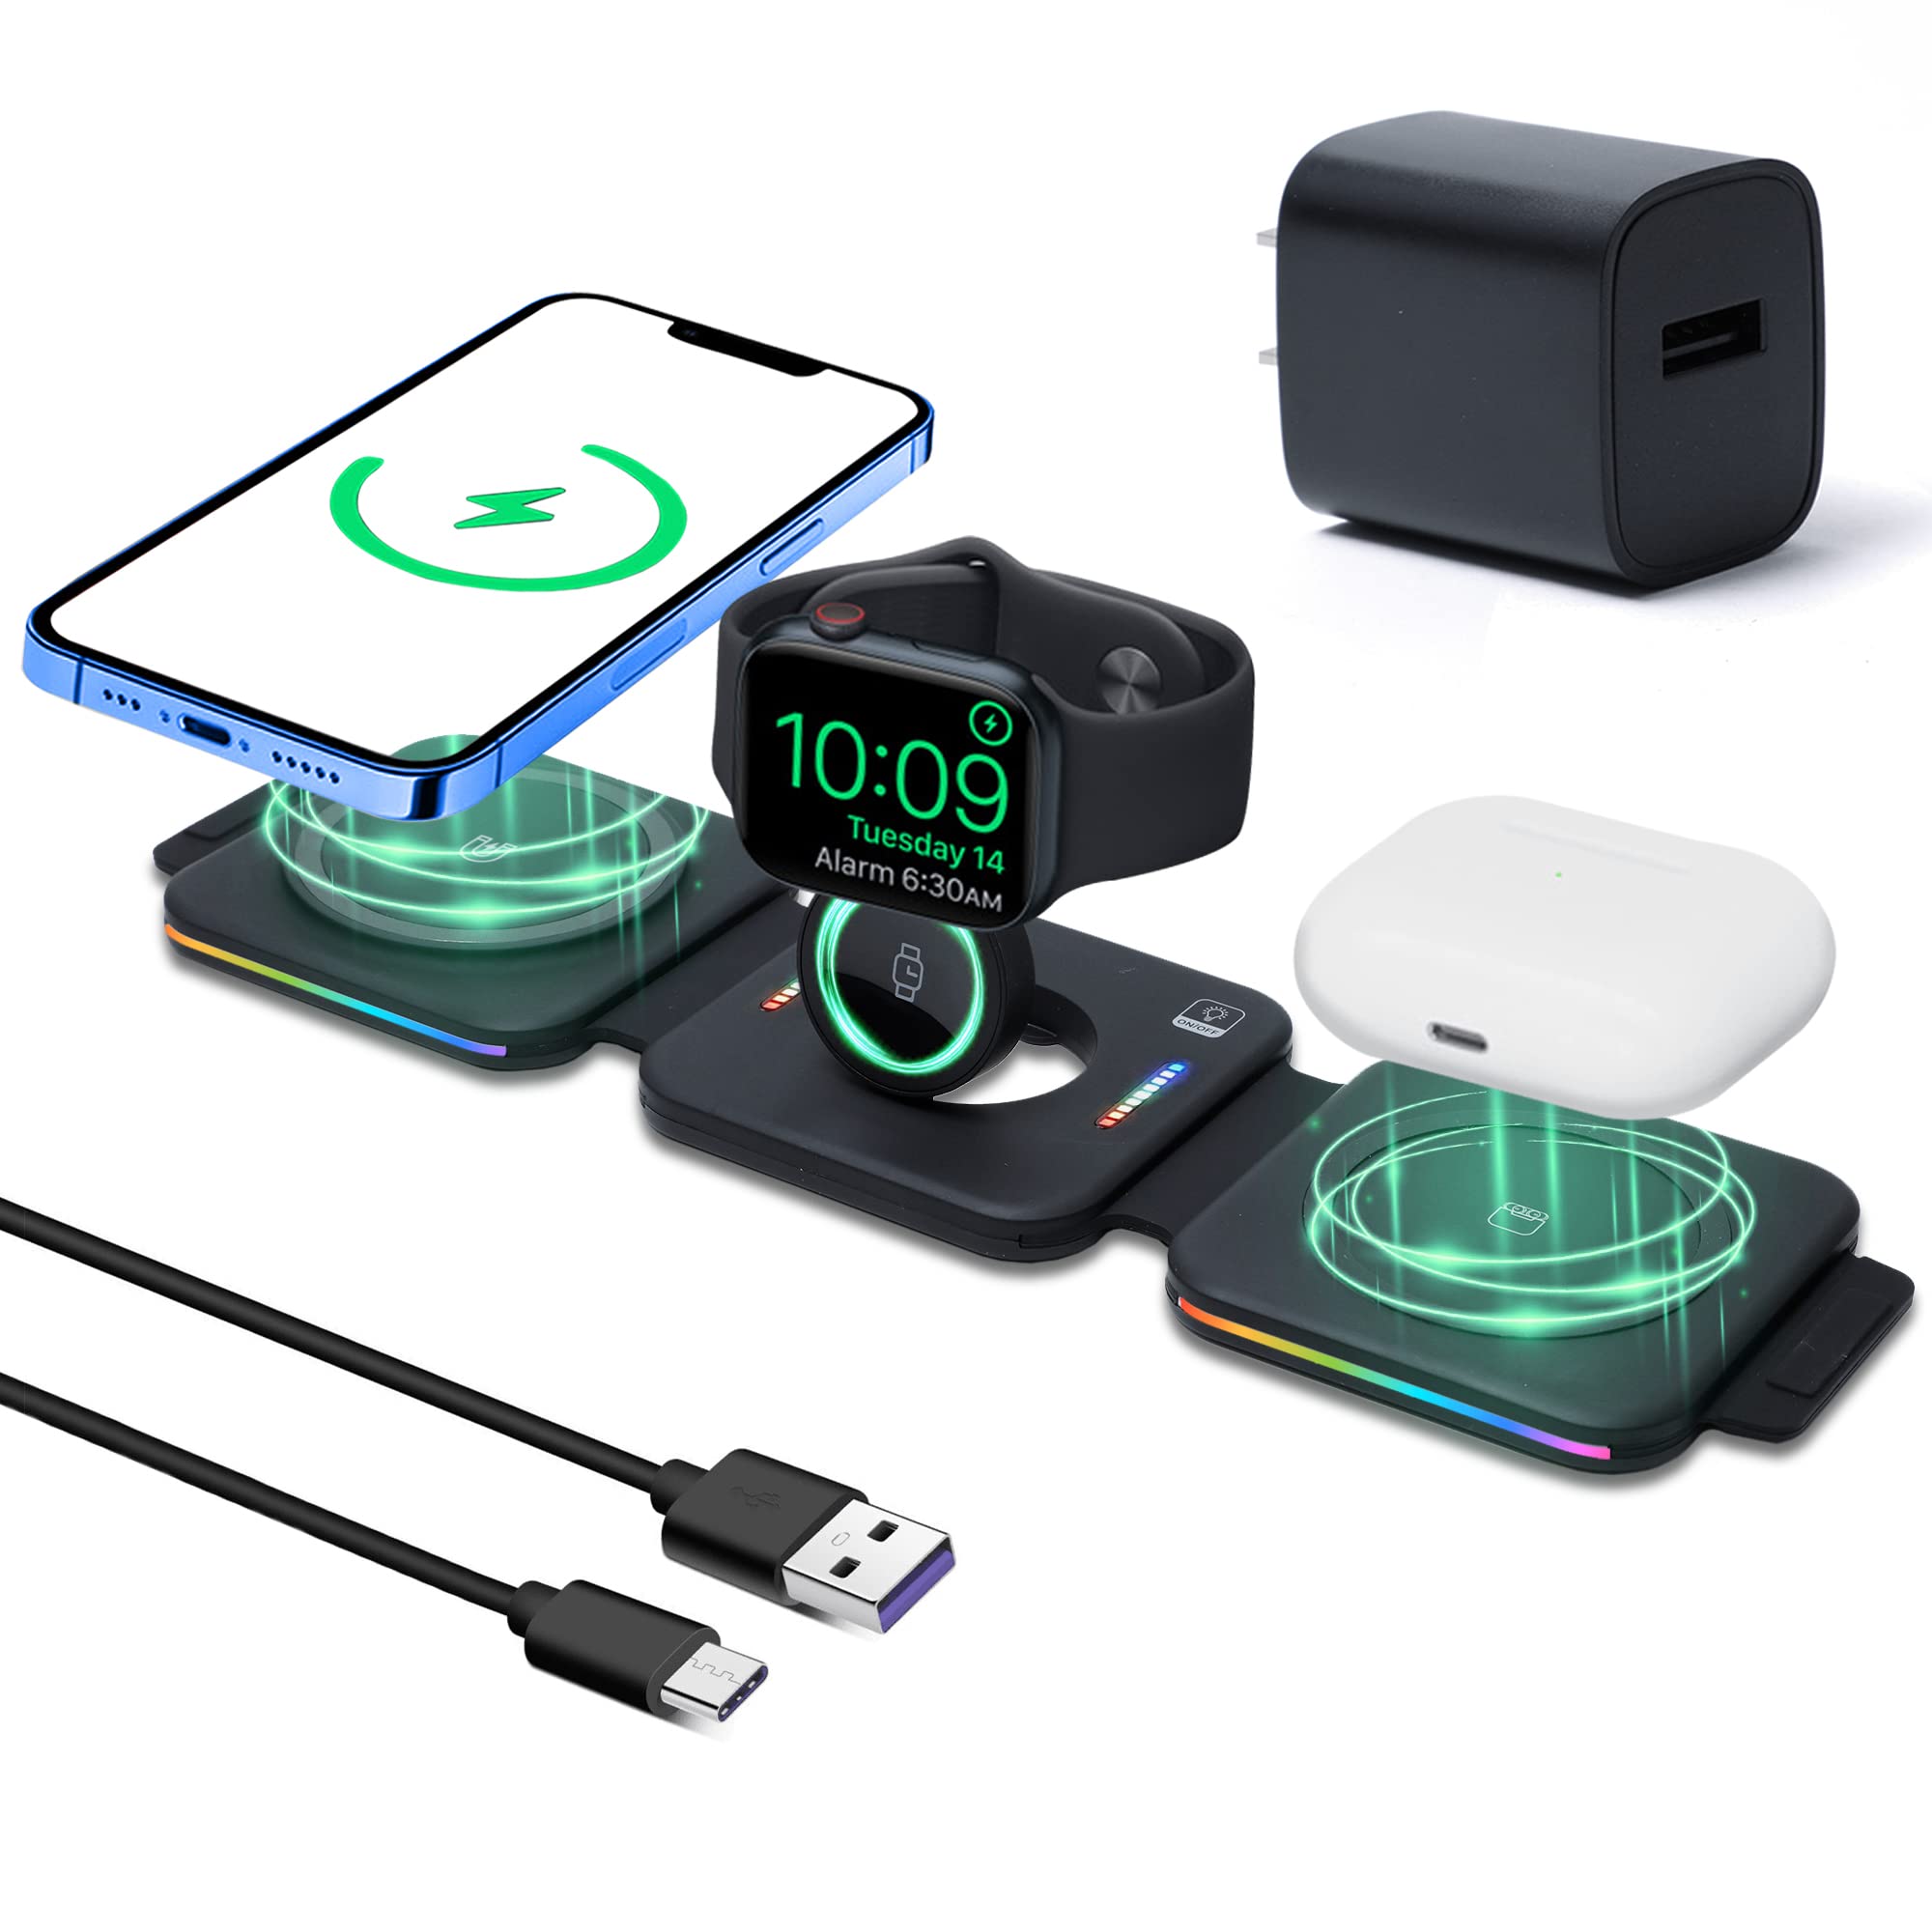
Integrating the Circuit into a Charging Pad
Integrating the meticulously constructed DIY wireless charging circuit into a functional and user-friendly charging pad is a pivotal step that transforms the circuit into a practical and accessible charging solution. The seamless integration of the circuit into the charging pad involves the incorporation of essential features and considerations to deliver a reliable and efficient wireless charging experience.
1. Pad Design and Enclosure: Designing a robust and aesthetically pleasing charging pad enclosure is essential to house the wireless charging circuit and provide a stable platform for device charging. The enclosure should be designed to accommodate the transmitting coil, ensuring proper alignment with the receiving coils of compatible devices for efficient power transfer.
2. Alignment and Positioning: Ensuring precise alignment and positioning of the transmitting coil within the charging pad is crucial for optimizing the charging efficiency and compatibility with a wide range of devices. Incorporating alignment guides or markers on the charging pad’s surface facilitates the accurate placement of devices for seamless wireless charging.
3. Indicator Lights and User Interface: Integrating indicator lights or a user interface into the charging pad enables users to easily discern the charging status and troubleshoot any connectivity issues. Clear visual indicators for power on/off, charging status, and error notifications enhance the user experience and provide valuable feedback during the charging process.
4. Overcurrent and Overvoltage Protection: Implementing overcurrent and overvoltage protection mechanisms within the charging pad safeguards both the devices being charged and the wireless charging circuit from potential electrical hazards. These protective features ensure safe and reliable operation, minimizing the risk of damage to connected devices and the charging pad itself.
5. Qi Compatibility and Standards Compliance: Ensuring compatibility with Qi wireless charging standards, if applicable, and adhering to relevant industry standards and regulations is essential for the seamless integration of the charging pad into the broader ecosystem of wireless charging-enabled devices. Compliance with established standards enhances interoperability and broadens the charging pad’s utility.
6. User Experience Enhancements: Incorporating user-centric features such as non-slip padding, device orientation flexibility, and compact form factors enhances the overall user experience and convenience of the wireless charging pad. These enhancements contribute to the pad’s usability and appeal to a diverse user base.
By thoughtfully integrating the wireless charging circuit into a purpose-built charging pad, DIY enthusiasts can create a compelling and reliable wireless charging solution that aligns with industry standards and delivers a seamless and user-friendly charging experience.
Safety Precautions to Consider
When embarking on the creation of a DIY wireless charging circuit and its integration into a charging pad, prioritizing safety measures is paramount to ensure the protection of both the circuit’s operators and the devices being charged. By considering and implementing essential safety precautions, DIY enthusiasts can mitigate potential risks and promote the safe and reliable operation of the wireless charging system.
1. Electrical Isolation and Insulation: Ensuring adequate electrical isolation and insulation within the circuit and the charging pad enclosure is crucial to prevent electrical hazards and protect users from potential shocks. Insulating high-voltage components and providing clear warnings on the enclosure minimize the risk of accidental contact with live circuitry.
2. Thermal Management and Ventilation: Implementing effective thermal management measures, such as heat sinks, ventilation openings, and temperature monitoring, prevents excessive heat buildup within the charging pad enclosure. Proper thermal dissipation safeguards the circuit components and mitigates the risk of overheating, enhancing the overall safety of the wireless charging system.
3. Overcurrent and Overvoltage Protection: Incorporating robust overcurrent and overvoltage protection mechanisms within the circuit and the charging pad safeguards against potential electrical faults and power surges. These protective features prevent damage to connected devices and the circuit itself, ensuring safe and reliable charging operations.
4. Fire Resistance and Enclosure Integrity: Selecting fire-resistant materials for the charging pad enclosure and ensuring its structural integrity under normal operating conditions mitigates the risk of fire hazards. Additionally, incorporating flame-retardant components and adhering to enclosure design best practices enhances the overall safety of the wireless charging system.
5. Compliance with Regulatory Standards: Adhering to relevant industry standards and regulatory requirements, such as electromagnetic compatibility (EMC) directives and safety certifications, validates the safety and reliability of the wireless charging system. Compliance with established standards promotes user confidence and ensures the system’s compatibility with a diverse range of devices.
6. User Education and Guidelines: Providing clear user guidelines, safety instructions, and warnings on the charging pad enclosure enhances user awareness and promotes safe usage practices. Educating users about proper device placement, charging pad operation, and potential safety considerations fosters a secure charging environment.
By meticulously considering and implementing these safety precautions, DIY enthusiasts can create a secure and reliable DIY wireless charging system that prioritizes user safety and device protection, fostering confidence in its operation and usability.
Potential Applications for DIY Wireless Charging Circuits
The versatility and convenience of DIY wireless charging circuits extend beyond personal device charging, offering a myriad of potential applications across various domains. As DIY enthusiasts explore the possibilities of wireless power transfer, they can envision innovative use cases that harness the capabilities of wireless charging technology to enhance efficiency, accessibility, and user experience in diverse settings.
1. Automotive Integration: DIY wireless charging circuits can be integrated into vehicles to enable seamless and cord-free charging of smartphones, tablets, and other portable devices while on the move. This integration enhances the in-car charging experience and eliminates the need for cumbersome charging cables, contributing to a clutter-free and efficient automotive environment.
2. Furniture and Home Décor: Incorporating wireless charging circuits into furniture, such as coffee tables, nightstands, and desks, transforms these everyday items into functional charging stations. This integration seamlessly blends charging capabilities with home décor, offering a discreet and convenient charging solution for electronic devices.
3. Consumer Electronics: DIY wireless charging circuits can be adapted for use in a wide range of consumer electronics, including smartwatches, wireless headphones, and remote controls. By integrating wireless charging capabilities into these devices, DIY enthusiasts can enhance user convenience and eliminate the hassle of managing multiple charging cables.
4. Medical Devices and Wearables: The integration of DIY wireless charging circuits into medical devices and wearable technologies offers a streamlined and hygienic charging solution in healthcare settings. Wireless charging eliminates the need for physical connectors, reducing the risk of contamination and simplifying the charging process for medical professionals and patients.
5. Industrial and IoT Applications: DIY wireless charging circuits can be adapted for industrial and Internet of Things (IoT) applications, enabling the wireless replenishment of power for sensors, monitoring devices, and low-power electronics. This integration facilitates maintenance-free operation and extends the deployment lifespan of IoT devices in various industrial and commercial settings.
6. Public Infrastructure and Hospitality: Integrating wireless charging pads equipped with DIY wireless charging circuits into public spaces, such as airports, cafes, and hotels, offers a convenient charging solution for patrons and visitors. This integration enhances customer experience and provides a valuable amenity in public venues.
By exploring these potential applications and embracing the versatility of DIY wireless charging circuits, enthusiasts can unlock innovative solutions that cater to diverse needs and environments, ultimately contributing to the widespread adoption of wireless charging technology across various industries and everyday settings.