
Signs of a Blown Car Audio Amplifier Fuse
When your car audio system fails to produce sound or experiences a sudden loss of power, there’s a good chance that the amplifier fuse has blown. The amplifier fuse is a critical component that protects the amplifier from power surges and electrical faults. Recognizing the signs of a blown fuse can help you diagnose and troubleshoot the issue effectively.
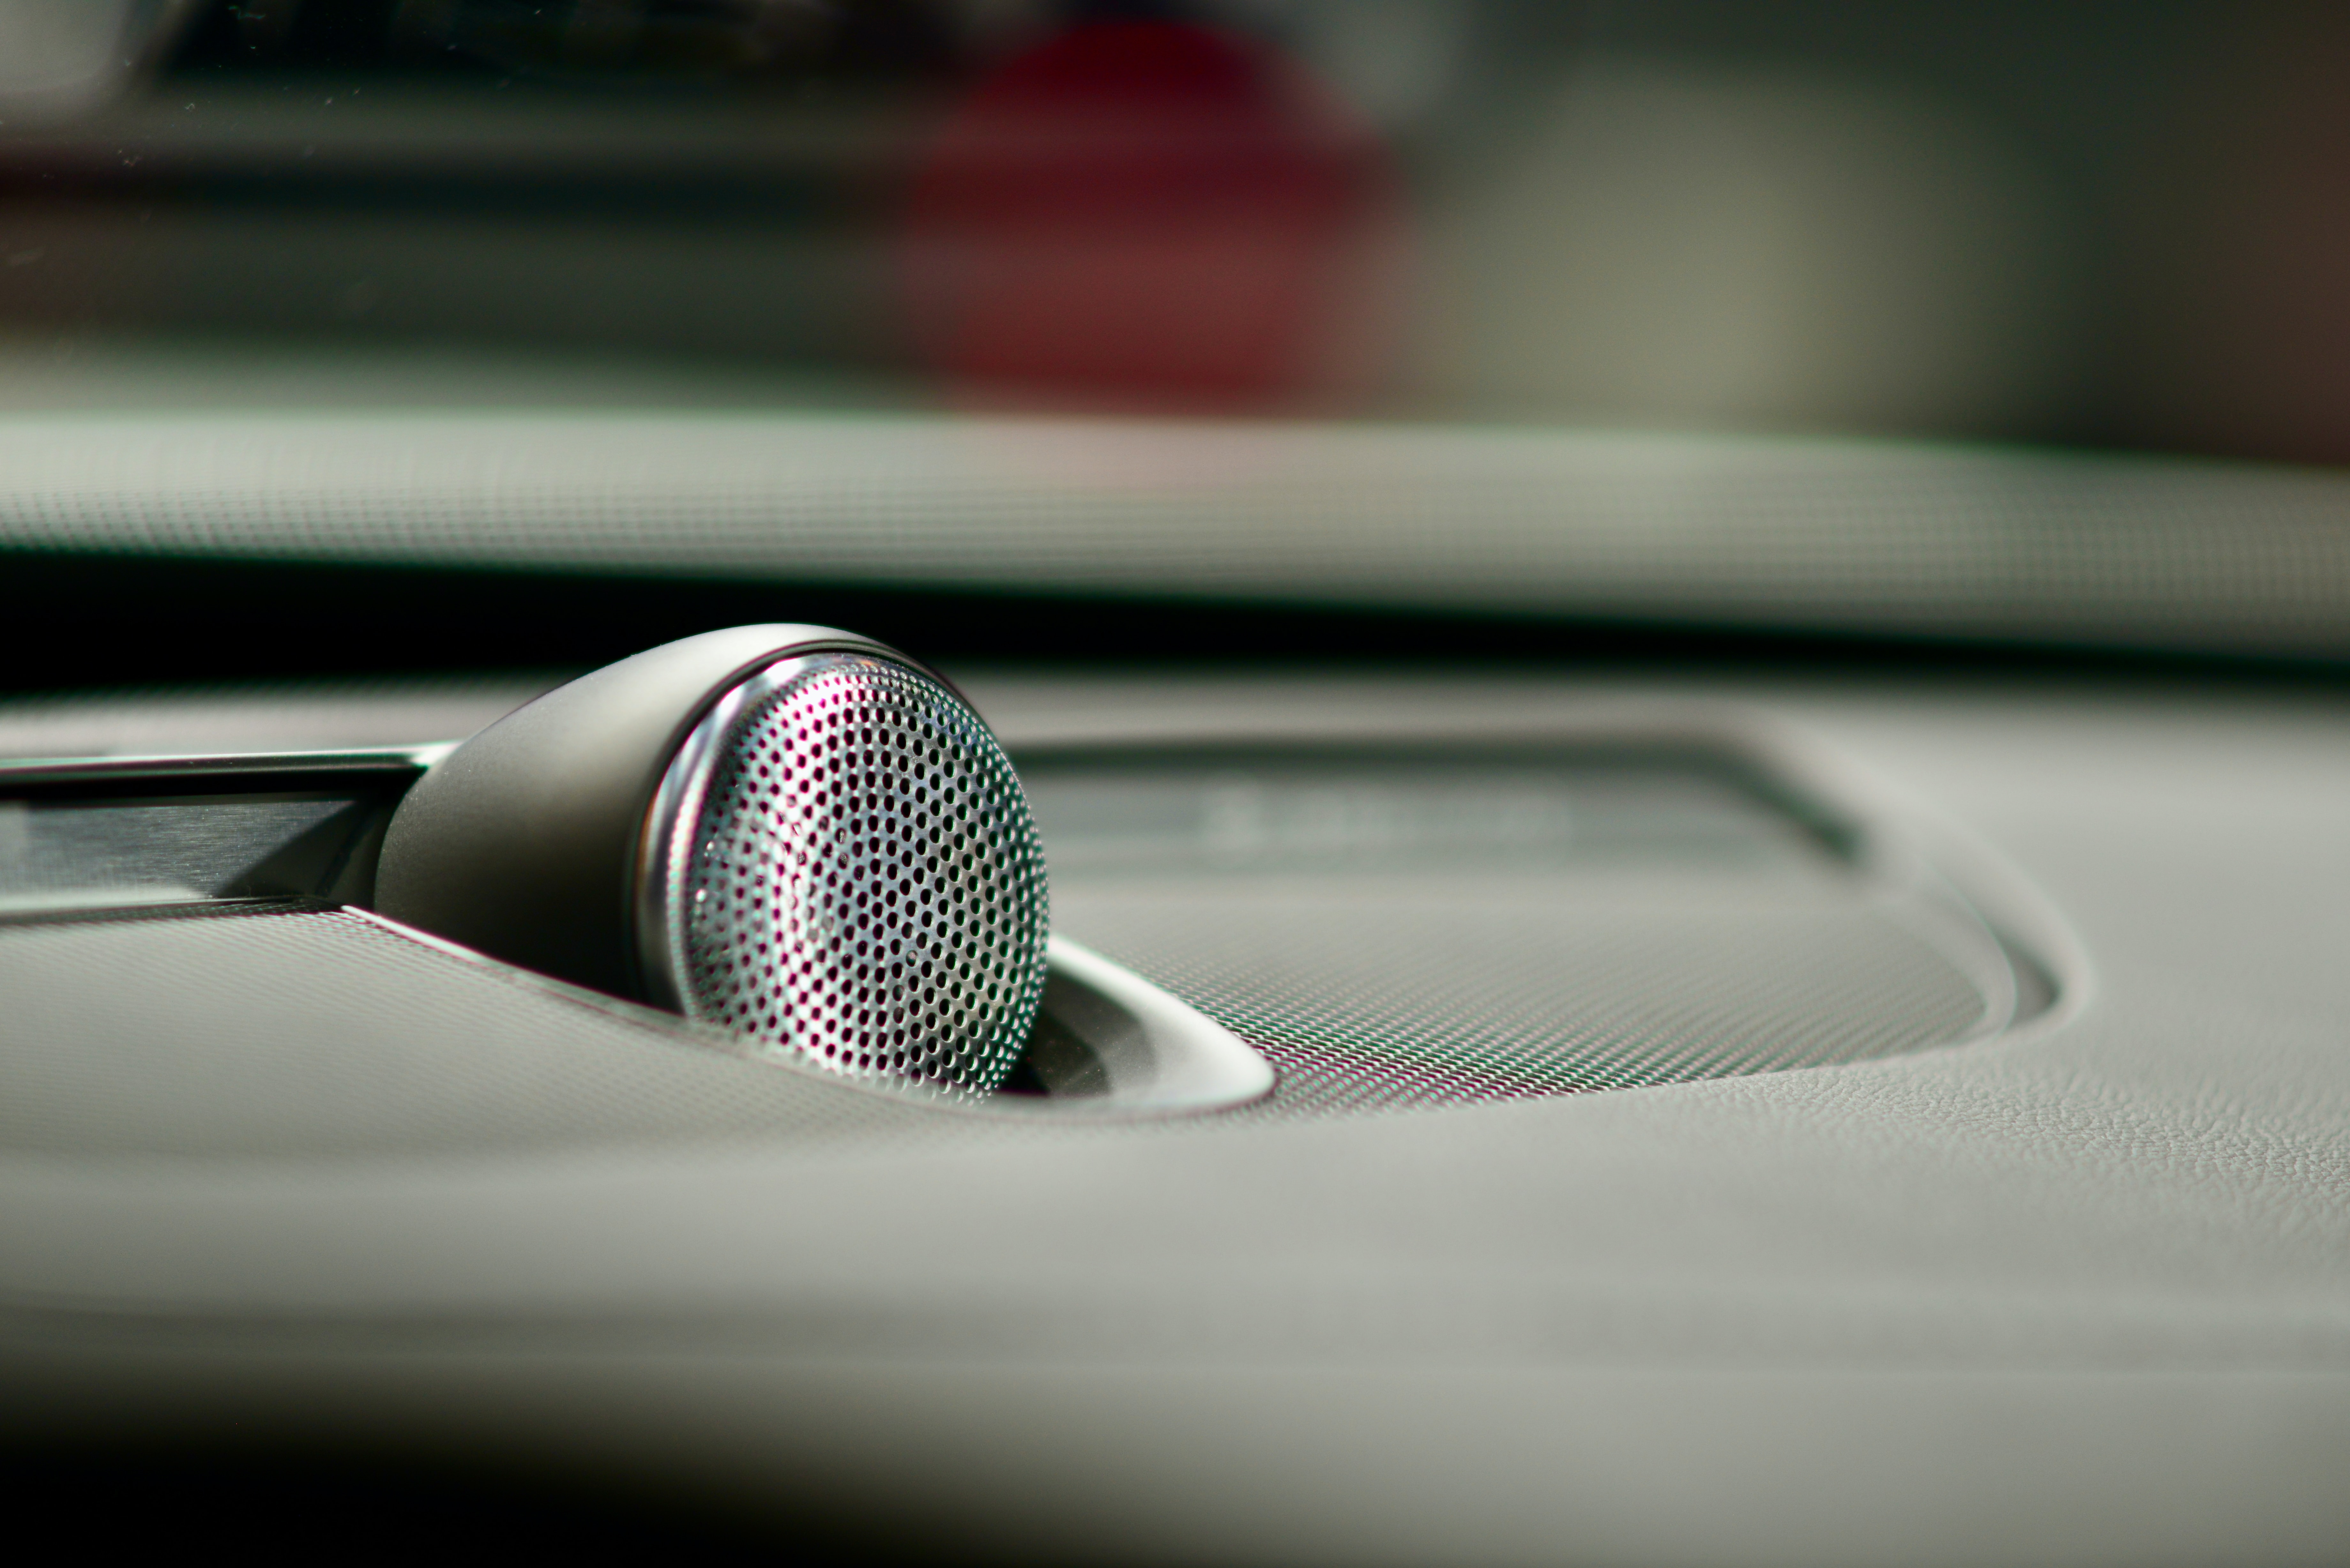
One of the most obvious signs of a blown amplifier fuse is complete silence from your speakers. If you notice that your car’s audio system is not producing any sound, even though it’s powered on, it is likely that the fuse has blown. Additionally, a blown fuse can cause intermittent sound or low volume output. If you hear distorted or weak audio coming from your speakers, it’s possible that the fuse is partially blown, causing a decrease in power delivery.
Another indicator of a blown amplifier fuse is the inability to turn on the amplifier. If you press the power button but the amplifier remains unresponsive, it suggests a blown fuse. Moreover, some amplifiers have built-in indicators, such as LED lights, that turn off when the fuse is blown. If you notice the absence of these indicators, it’s a clear indication that the fuse needs to be replaced.
In some cases, a blown fuse can also cause electrical issues in your car. You might experience power fluctuations, flickering lights, or even the complete shutdown of other electrical components. Therefore, if you notice any of these symptoms along with audio problems, it’s important to check the amplifier fuse as a potential cause.
By recognizing these signs of a blown car audio amplifier fuse, you can take the necessary steps to diagnose and resolve the issue. In the following sections, we will discuss how to gather the necessary tools and equipment, locate the amplifier fuse, visually inspect it, and test it using a multimeter. This step-by-step process will help you identify if the fuse is indeed blown and guide you on how to replace it properly.
Gathering the Necessary Tools and Equipment
Before you begin diagnosing and replacing a blown car audio amplifier fuse, it’s essential to gather the right tools and equipment. Having everything prepared will save you time and ensure a smooth troubleshooting process. Here are the items you’ll need:
- Owner’s Manual: Locate your car’s owner’s manual, as it contains valuable information regarding the fuse box and the specific fuse for your amplifier.
- Screwdriver or Trim Removal Tool: Depending on your car’s make and model, you may need a Phillips screwdriver or a trim removal tool to access the fuse box.
- Flashlight: A flashlight will come in handy when inspecting the fuse box, especially if it’s located in a dimly lit area of your vehicle.
- Replacement Fuses: It’s essential to have replacement fuses on hand to replace the blown one. Check your owner’s manual or consult an audio professional to determine the appropriate fuse type and rating for your amplifier.
- Protective Gloves: To prevent any potential injuries and avoid touching sensitive electronic components, consider wearing protective gloves while handling fuses.
By gathering these tools and equipment before starting the process, you’ll be well-prepared to diagnose and replace a blown car audio amplifier fuse. Once you have everything ready, the next step is to locate the amplifier fuse within your vehicle, as discussed in the next section.
Locating the Amplifier Fuse
Locating the amplifier fuse is an essential step in diagnosing and replacing a blown car audio amplifier fuse. The exact location of the fuse may vary depending on your vehicle’s make and model. Here are the general steps to help you find the amplifier fuse:
- Refer to the Owner’s Manual: Start by referring to your car’s owner’s manual. It will typically provide a diagram or description of the fuse box’s location and the specific fuse for the amplifier. This information will help you identify the fuse box’s general area.
- Inspect the Dashboard Area: In many vehicles, the fuse box is located under the dashboard on the driver’s side. Look for a panel or cover that can be removed to access the fuse box. Use a screwdriver or a trim removal tool, if necessary, to remove the cover.
- Check Other Potential Locations: If you couldn’t find the fuse box under the dashboard, it’s worth checking other potential locations. Some vehicles may have the fuse box in the engine compartment, near the battery, or in the trunk. Refer to your owner’s manual for guidance.
- Identify the Amplifier Fuse: Once you’ve located the fuse box, identify the fuse dedicated to the amplifier. The owner’s manual, fuse box cover labels, or a diagram on the fuse box itself can help you pinpoint the correct fuse.
Remember, every vehicle is different, so it’s crucial to consult your owner’s manual or seek professional advice if you’re having trouble locating the amplifier fuse. Taking the time to find the fuse accurately will ensure that you’re examining the correct fuse and eliminate the risk of damaging other electrical components during the troubleshooting process.
Inspecting the Fuse Visually
Once you have located the amplifier fuse in your car’s fuse box, the next step is to visually inspect it for any signs of damage. This inspection will help determine if the fuse is blown and needs to be replaced. Follow these steps to inspect the fuse:
- Ensure Safety: Before inspecting the fuse, make sure that the car’s ignition is turned off and the key is removed. This will prevent any electrical mishaps or injuries during the inspection process.
- Remove the Fuse: Using your fingers or a pair of needle-nose pliers, gently pull out the amplifier fuse from its socket. Handle the fuse with care to avoid damaging it or causing injury.
- Examine the Fuse: Once you have removed the fuse, visually inspect its transparent window or indicator. A blown fuse will often have a broken wire or a visibly burnt or melted appearance. If the wire inside the fuse is intact and the transparent window is clear, the fuse is likely still functional.
- Check for Blown Indicator: Some fuses have small colored indicators that pop out when the fuse is blown. If your fuse has this feature, check if the indicator is popped out or dislodged from its original position. This is a clear indication that the fuse is blown.
During the visual inspection, remember to handle the fuse with care and avoid touching the metal terminals if the fuse is still intact. If you notice any signs of damage or if the indicator is popped out, it is a clear indication that the fuse is blown and needs to be replaced.
In the next section, we will discuss how to test the amplifier fuse using a multimeter, which will provide a more accurate confirmation of its functionality.
Testing the Amplifier Fuse Using a Multimeter
While visual inspection provides some indications of a blown fuse, testing the amplifier fuse with a multimeter will give you a more accurate assessment of its functionality. Here’s how you can test the fuse using a multimeter:
- Set Up the Multimeter: Ensure that your multimeter is set to the continuity or resistance mode. These modes will allow you to check if the fuse is conducting electrical current properly.
- Turn on the Multimeter: Turn on your multimeter and ensure that the probes are securely connected to the appropriate ports. The black probe should be connected to the COM (common) port, and the red probe should be connected to the VΩmA (voltage, ohm, milliampere) port.
- Test the Multimeter: Verify the functionality of your multimeter by touching the probes together. The multimeter should display a reading of zero or close to zero, indicating continuity.
- Test the Fuse: To test the amplifier fuse, place one probe on each end of the fuse. The multimeter should display a reading close to zero if the fuse is intact and conducting electrical current correctly.
- Interpret the Results: If the multimeter shows an “open” or “OL” reading, it indicates that there is no continuity in the circuit, meaning the fuse is blown and needs to be replaced. However, if the multimeter displays a reading close to zero, it suggests that the fuse is still functional.
Testing the amplifier fuse using a multimeter provides a more reliable confirmation of its condition. If the multimeter indicates that the fuse is blown, proceed to the next section to learn how to replace the fuse. However, if the fuse tests functional, it’s important to investigate further for any other underlying issues that may be causing the audio problem.
Testing the amplifier fuse is an important step in the diagnostic process, helping you pinpoint the exact cause of the issue and ensuring that you replace the fuse only if necessary.
Replacing a Blown Amplifier Fuse
Once you have confirmed that the amplifier fuse is blown, it’s time to replace it with a new one. Follow these steps to safely and properly replace a blown amplifier fuse:
- Locate a Replacement Fuse: Refer to your car’s owner’s manual or consult an audio professional to determine the correct fuse type and rating for your amplifier. Acquire a replacement fuse that matches the specifications.
- Disconnect Power: Turn off your car’s ignition and remove the key to ensure safety. Disconnect any power source connected to the amplifier, such as the battery or power cables.
- Remove the Blown Fuse: Using your fingers or a pair of needle-nose pliers, carefully remove the blown fuse from its socket. Gently wiggle it back and forth if it’s stuck, but avoid applying excessive force to prevent damage.
- Insert the New Fuse: Take the new fuse and align it with the socket. Insert it securely into the socket, applying gentle pressure until it is fully seated. Ensure that it is inserted in the correct orientation as indicated by the fuse box or the owner’s manual.
- Reconnect Power: Once the new fuse is installed, reconnect any power source that was disconnected earlier, such as the battery or power cables. Ensure the connections are tight and secure.
After replacing the blown amplifier fuse, it’s important to test the audio system to ensure that it is functioning properly. Turn on your car’s ignition and power on the audio system. Check if the sound is restored and that there are no other issues.
If the audio system still does not function correctly, even after replacing the fuse, there may be additional electrical issues or a problem with the amplifier itself. It’s advisable to seek professional assistance to diagnose and rectify the problem if needed.
By following these steps, you can replace a blown amplifier fuse efficiently and effectively, restoring the audio functionality in your car’s audio system.
Checking for Additional Electrical Issues
After replacing a blown amplifier fuse and restoring power to your car’s audio system, it’s important to check for any additional electrical issues that may be affecting its performance. Here are some steps to follow when checking for additional electrical issues:
- Inspect Other Fuses: While the blown amplifier fuse may have been the primary cause of the audio issue, it’s a good idea to inspect other fuses in the fuse box as well. Look for any other blown fuses and replace them if necessary. A blown fuse in another circuit could be affecting the performance of the audio system.
- Test the Audio System: With the new fuse in place, test the audio system again to ensure that the sound is clear and there are no abnormalities. Check the volume levels, balance, and fade to ensure everything is functioning as expected.
- Inspect Wiring Connections: Examine the wiring connections to the amplifier and speakers. Ensure that all connections are secure and free from corrosion or damage. Loose or faulty wiring can disrupt the audio signal and cause performance issues.
- Check Grounding Connections: The amplifier and audio components rely on proper grounding for optimal performance. Inspect the grounding connections to ensure they are clean, secure, and free from corrosion. Poor grounding can result in noise or audio distortion.
- Consider Professional Help: If you’ve gone through these checks and are still experiencing issues with your car audio system, it may be necessary to seek professional assistance. A trained technician can perform a thorough inspection, perform electrical tests, and diagnose any underlying problems that may be affecting the audio system.
By checking for additional electrical issues, you can ensure that your car’s audio system is functioning optimally. It’s important to address any underlying problems promptly to avoid further damage or performance degradation. Regular maintenance and inspections can help prevent future issues and keep your car audio system running smoothly.
Tips to Prevent Blown Amplifier Fuses in the Future
To avoid the frustration and inconvenience of dealing with blown amplifier fuses in the future, there are several preventive measures you can take. Follow these tips to help maintain the integrity and performance of your car’s audio system:
- Choose the Right Fuse Rating: Always use the correct fuse rating recommended by the manufacturer for your amplifier. Using a higher or lower rated fuse can result in premature blowing or inadequate protection.
- Check Wiring Connections: Regularly inspect the wiring connections to ensure they are secure and free from damage. Loose or frayed wires can cause electrical issues and potentially blow fuses.
- Avoid Overloading the Amplifier: Be mindful of the power limits of your amplifier and avoid cranking the volume beyond its capabilities. Overloading the amplifier can generate excessive heat and lead to blown fuses.
- Protect Against Power Surges: Consider using a surge protector or voltage regulator to protect your car’s audio system from sudden power surges or fluctuations. These devices help prevent damage to the amplifier and minimize the risk of blown fuses.
- Keep the Amplifier Ventilated: Ensure that the amplifier has proper ventilation to prevent overheating. A cool operating temperature helps maintain optimal amplifier performance and reduces the likelihood of blown fuses.
- Use Quality Wiring and Components: Invest in high-quality wiring and components for your car audio system. Inferior quality wires or components can create electrical issues and increase the risk of blown fuses.
- Professional Installation: If you’re unsure about proper installation techniques, consider having your car audio system installed by a professional. They have the expertise to ensure that everything is done correctly, reducing the chances of blown fuses due to faulty installations.
- Regular Maintenance: Perform regular inspections and maintenance of your car’s audio system to identify any potential issues early on. Clean and maintain connectors, check for loose or damaged components, and address any anomalies promptly to prevent blown fuses.
By implementing these preventive measures, you can significantly reduce the risk of blown amplifier fuses and enjoy a reliable and uninterrupted audio experience in your car. Taking proactive steps to protect and maintain your car audio system will ensure its longevity and optimal performance.