Materials Needed
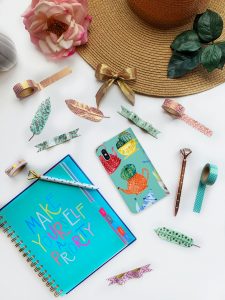
To create a unique and personalized phone case with paper, you will need a few simple materials that are readily available at home or in a local craft store. Here's what you'll need:
-
Thick Paper or Cardstock: Select a sturdy and durable paper material that can provide ample protection for your phone while offering a suitable surface for decoration.
-
Ruler and Pencil: These basic tools will be essential for measuring your phone and creating an accurate template for the case.
-
Scissors: A pair of sharp scissors will be necessary for cutting out the template and shaping the paper to fit your phone.
-
Decorative Materials: Get creative with your choice of decorative materials such as markers, stickers, washi tape, or any other embellishments you'd like to use to personalize your phone case.
-
Glue or Double-Sided Tape: To assemble the paper case, you'll need a reliable adhesive to secure the edges and ensure the case holds together.
-
Clear Contact Paper or Lamination (Optional): For added protection and durability, you may choose to use clear contact paper or lamination to seal and safeguard the paper case against wear and tear.
-
Utility Knife (Optional): If you prefer a precise and professional finish, a utility knife can be used to make clean cuts and refine the details of your paper case.
Gathering these materials will set the stage for an enjoyable and creative crafting experience as you transform simple paper into a functional and stylish phone case. Now that you have your materials ready, let's move on to the next step: measuring your phone.
Step 1: Measure Your Phone
Before diving into the creative process of making a paper phone case, it’s crucial to start with precise measurements of your phone. This step ensures that the case will fit your device perfectly, providing both protection and a tailored look. Here’s how to measure your phone:
-
Length and Width: Using a ruler, measure the length and width of your phone. Take note of the dimensions, ensuring accuracy for a snug fit.
-
Thickness: Measure the thickness of your phone as well. This measurement will determine the depth of the case, allowing ample space for the phone to fit comfortably without being too tight.
-
Camera and Port Openings: If your phone has a camera or specific ports, make sure to measure their placement from the edges of the phone. This is essential for creating precise openings in the paper case, allowing easy access to these features.
By taking these measurements, you’ll be well-equipped to proceed to the next step: creating a template for your paper phone case. With the dimensions in hand, you can confidently move forward in crafting a custom case that showcases both functionality and style. Now that you’ve measured your phone, it’s time to translate these measurements into a template for the case.
Step 2: Create a Template
With the precise measurements of your phone in hand, it’s time to translate these dimensions into a template that will serve as the foundation for your paper case. Creating an accurate template is essential for ensuring a proper fit and a polished final product. Here’s how to create a template for your phone case:
-
Transfer Measurements: Using a ruler and pencil, carefully transfer the measurements of your phone onto the thick paper or cardstock. Mark the length, width, and thickness, and indicate the positions of any camera or port openings.
-
Add Allowance: To accommodate the thickness of the phone and allow for easy insertion and removal, add a small allowance around the edges of the measurements. This additional space will ensure that the phone fits comfortably within the case.
-
Cut Out the Template: Once the measurements and allowances are marked, carefully cut out the template using scissors. Ensure that the edges are smooth and the openings for the camera and ports are accurately represented.
By creating a precise template, you’re laying the groundwork for a well-fitting and functional paper phone case. The template will serve as a guide for the next steps in crafting the case, allowing you to proceed with confidence and accuracy. Now that you have your template ready, it’s time to move on to the exciting phase of cutting out the actual case from the paper.
Step 3: Cut Out the Template
Now that you have a carefully crafted template for your phone case, it’s time to bring it to life by cutting out the actual case from the chosen paper or cardstock. This step requires precision and attention to detail to ensure that the case fits your phone perfectly. Here’s how to cut out the template:
-
Secure the Template: Place the template on a flat and stable surface, ensuring that it is secured in place to prevent any movement while cutting.
-
Use Sharp Scissors: With a pair of sharp scissors, carefully cut along the outlines of the template. Take your time to create smooth and accurate cuts, especially around the edges and the openings for the camera and ports.
-
Refine the Edges: After cutting out the main shape of the case, refine the edges to ensure they are even and free from any jagged edges. This step contributes to a clean and professional finish for your paper phone case.
By cutting out the template with precision and care, you’re one step closer to assembling your custom paper phone case. The attention to detail at this stage will result in a well-crafted foundation for the next steps of folding and assembling the case. With the template now transformed into the actual case, you’re ready to move on to the exciting phase of folding and bringing the case together. Let’s dive into the next step of folding and assembling the paper case.
Step 4: Fold and Assemble the Paper Case
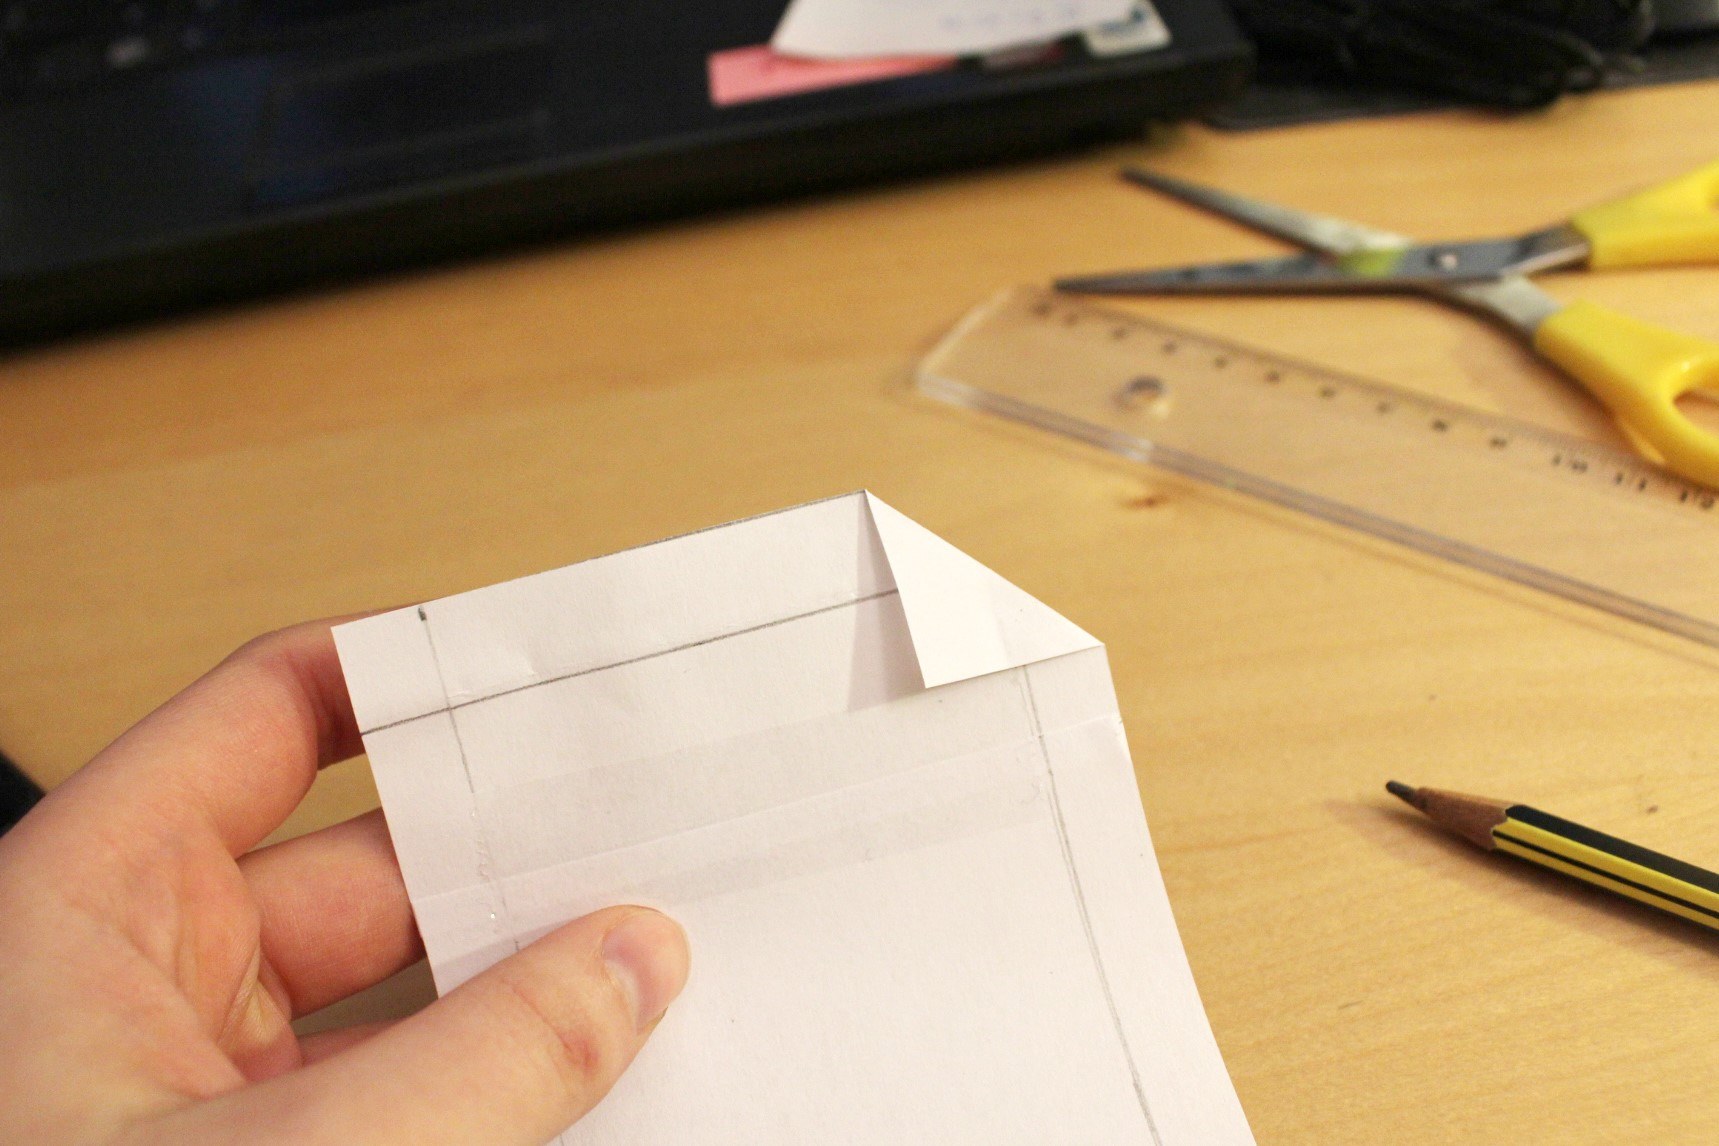
With the template cut out, it’s time to transform the flat piece of paper into a three-dimensional phone case through folding and assembling. This step marks the transition from a simple cutout to a functional case that will snugly hold your phone. Here’s how to fold and assemble the paper case:
-
Score the Folding Lines: Using a ruler and a blunt edge, such as the back of a utility knife or an empty ballpoint pen, gently score along the folding lines indicated on the template. This step makes it easier to fold the paper accurately.
-
Fold Along the Lines: Carefully fold the paper along the scored lines, ensuring that the edges align neatly and the corners are crisp. This process will begin to shape the paper into the form of a case.
-
Secure the Edges: Apply glue or double-sided tape to the tabs and edges as indicated on the template. Press the edges together firmly to secure the case in place, ensuring that the structure holds together sturdily.
-
Allow the Case to Set: Once the edges are secured, allow the case to set and dry properly. This step ensures that the adhesive forms a strong bond, contributing to the durability of the paper case.
By carefully folding and assembling the paper case, you’re bringing your creation to life in a tangible and functional form. The attention to detail during this step will result in a well-constructed case that reflects your craftsmanship and creativity. With the paper case now assembled, it’s time to add a personal touch and enhance its visual appeal through design and customization. Let’s move on to the next step of adding design and personalization to your paper phone case.
Step 5: Add Design and Personalization
With the paper case assembled, it’s time to infuse it with your personal style and creativity through design and decoration. This step allows you to transform the functional case into a unique and visually appealing accessory that reflects your individuality. Here’s how to add design and personalization to your paper phone case:
-
Color and Patterns: Use markers, colored pencils, or paints to add vibrant colors and eye-catching patterns to the exterior of the case. Consider incorporating your favorite colors or creating intricate designs that resonate with your personal style.
-
Stickers and Embellishments: Explore the use of stickers, rhinestones, washi tape, or other embellishments to adorn the case. These elements can add texture and visual interest, elevating the overall look of the phone case.
-
Personalization: Consider adding your initials, a meaningful symbol, or a favorite quote to personalize the case further. This touch of personalization adds a sentimental value to the case and makes it uniquely yours.
-
Protective Coating (Optional): If desired, apply a clear protective coating over the decorated surface to safeguard the design from wear and tear. This step adds an extra layer of protection while preserving the visual appeal of the case.
By adding your creative touch to the paper phone case, you’re transforming it into a reflection of your personality and style. The design and personalization phase allows you to express your individuality while enhancing the functionality of the case. With the design elements in place, the final step involves sealing and protecting the case to ensure its longevity and durability. Let’s proceed to the next step of sealing and protecting your customized paper phone case.
Step 6: Seal and Protect the Case
After adding your personalized design, it’s essential to take the final step of sealing and protecting the paper phone case. This critical phase ensures that your creative efforts are preserved, and the case is equipped to withstand daily use. Here’s how to seal and protect the case:
-
Clear Contact Paper or Lamination: Cut a piece of clear contact paper or lamination to fit the size of the decorated surface. Carefully apply it over the design, smoothing out any air bubbles or wrinkles for a seamless finish.
-
Trim Excess Material: If using clear contact paper, trim any excess material around the edges of the case using scissors. This step contributes to a clean and polished appearance.
-
Secure Edges: Ensure that the contact paper or lamination is securely adhered to the surface, paying special attention to the edges to prevent peeling or lifting over time.
-
Allow for Setting: After applying the protective layer, allow the case to set and dry completely. This period ensures that the protective coating forms a durable shield over the design.
By sealing and protecting the case, you’re enhancing its longevity and resilience while safeguarding the personalized design from everyday wear and tear. This final step ensures that your creative expression remains vibrant and intact, allowing you to showcase your personalized paper phone case with confidence. With the case now sealed and protected, it’s ready to serve as a stylish and functional accessory for your phone, reflecting your unique creativity and personal touch.