
Materials Needed
Materials Needed
To craft Amiibo tags on your iPhone, you will need a few essential materials. These include:
-
NFC Tags: These are rewritable tags that can store data that your iPhone can read and write to. Ensure that the tags are compatible with the NTAG215 standard, as this is the type supported by Amiibo.
-
iPhone: You will need an iPhone 7 or later model, as these are equipped with the necessary NFC reader capabilities.
-
Amiibo Data: This refers to the .bin files of the Amiibo characters you wish to create tags for. You can obtain these files from a variety of sources online.
-
AmiiBot App: This app, available on the App Store, is essential for writing Amiibo data to the NFC tags. It provides a user-friendly interface for managing and writing the data.
-
Files App: This built-in app on your iPhone allows you to manage and access the .bin files needed for crafting Amiibo tags.
-
Clear NFC Tag Storage Cards: These can be used to store and organize your NFC tags, keeping them safe and easily accessible.
-
Optional: NFC Tag Reader: While not essential, an NFC tag reader can be useful for backing up the Amiibo data from existing figures.
Ensure you have these materials ready before proceeding with the crafting process. Each item plays a crucial role in successfully creating and using your personalized Amiibo tags.
Step 1: Downloading the Required Apps
Before you can start crafting Amiibo tags on your iPhone, you need to download the necessary apps that will facilitate the process. Here are the steps to get the required apps:
-
AmiiBot App: Head to the App Store on your iPhone and search for the “AmiiBot” app. Once you locate it, download and install the app on your device. This application will serve as your primary tool for managing and writing Amiibo data to NFC tags. It provides an intuitive interface that simplifies the crafting process.
-
Files App: The Files app comes pre-installed on your iPhone. If you don’t have it on your home screen, you can access it through the App Library or by swiping down on your home screen and using the search feature. The Files app will be used to manage and access the .bin files required for creating Amiibo tags.
Once you have successfully downloaded the AmiiBot app and ensured access to the Files app, you are ready to proceed to the next step in the crafting process. These apps will serve as the foundation for managing the Amiibo data and writing it to the NFC tags using your iPhone.
Step 2: Preparing the Amiibo Data
With the required apps installed, the next step in crafting Amiibo tags on your iPhone involves preparing the Amiibo data. This process ensures that the .bin files containing the character data are accessible and ready for writing to the NFC tags. Follow these steps to prepare the Amiibo data:
-
Locate the .bin Files: Using the Files app on your iPhone, navigate to the directory where the .bin files of the Amiibo characters are stored. These files can be obtained from various online sources and are essential for creating personalized Amiibo tags.
-
Organize the Data: Create a dedicated folder within the Files app to store and organize the .bin files. This will make it easier to access the specific character data when crafting the Amiibo tags. Organizing the data ensures a seamless and efficient process when writing the data to the NFC tags.
-
Verify File Integrity: Before proceeding, ensure that the .bin files are intact and contain the correct Amiibo character data. This step is crucial for preventing any errors during the writing process and ensures that the crafted Amiibo tags function as intended.
By following these steps, you will have effectively prepared the Amiibo data for writing to the NFC tags. Organizing the files and verifying their integrity sets the stage for a smooth crafting process, allowing you to seamlessly proceed to the next step of writing the data to the NFC tags using your iPhone.
Step 3: Writing the Data to the NFC Tag
Once the Amiibo data is prepared, the next crucial step in crafting Amiibo tags on your iPhone involves writing the data to the NFC tags. This process enables the tags to store the specific character data, effectively transforming them into personalized Amiibo figures. Follow these steps to write the data to the NFC tag:
-
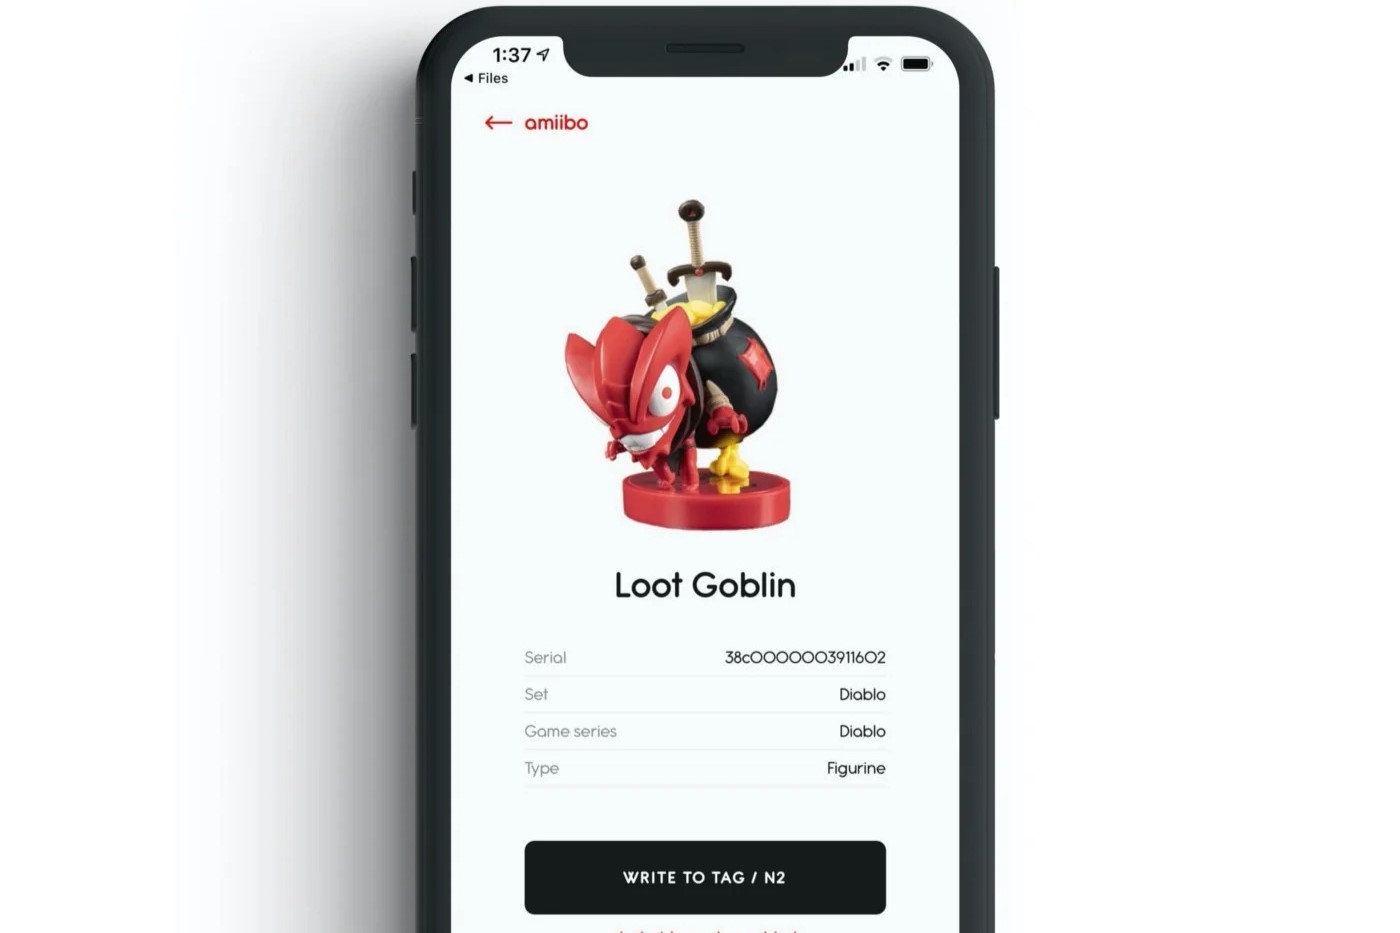
Open the AmiiBot App: Launch the AmiiBot app on your iPhone. The app provides a user-friendly interface for managing and writing Amiibo data to NFC tags. Ensure that your NFC tags are in close proximity to your iPhone, as the app requires this proximity to write the data.
-
Select the Desired Character Data: Within the AmiiBot app, navigate to the location where you stored the .bin files of the Amiibo characters. Select the specific character data that you want to write to the NFC tag. This step ensures that the tag will be associated with the chosen character.
-
Initiate the Writing Process: Follow the on-screen prompts within the AmiiBot app to initiate the writing process. Your iPhone will write the selected character data to the NFC tag, effectively encoding it with the unique attributes of the chosen Amiibo character.
-
Verify the Writing Completion: Once the writing process is complete, verify that the data has been successfully written to the NFC tag. The AmiiBot app will typically provide a confirmation message, ensuring that the tag is now personalized with the selected Amiibo character data.
By following these steps, you will have successfully written the Amiibo character data to the NFC tag using your iPhone. This marks a significant milestone in the crafting process, as the tags are now equipped with the unique attributes of the chosen characters, ready for testing and personalization.
Step 4: Testing the Amiibo Tag
After writing the Amiibo character data to the NFC tag, the next step in crafting Amiibo tags on your iPhone involves testing the functionality of the tags. This critical step ensures that the tags effectively emulate the behaviors of the corresponding Amiibo characters. Follow these steps to test the Amiibo tag:
-
Approach an NFC-Compatible Device: Bring the newly crafted Amiibo tag in close proximity to an NFC-compatible device, such as a Nintendo Switch or a compatible Android device. The tag should be within range for the device to detect its presence.
-
Observe the Tag Recognition: Upon bringing the Amiibo tag near the NFC-compatible device, observe the device’s response. If the tag has been successfully crafted and encoded with the Amiibo character data, the device should recognize it as the corresponding character, triggering relevant in-game actions or interactions.
-
Test Multiple Interactions: Perform multiple interactions with the NFC-compatible device using the Amiibo tag. Test various in-game functionalities and interactions to ensure that the tag accurately emulates the behavior of the chosen Amiibo character. This comprehensive testing validates the effectiveness of the crafted tag.
-
Verify Consistent Performance: Ensure that the Amiibo tag consistently performs as expected across multiple interactions and uses. Consistency in its behavior reinforces the successful crafting of the tag, providing confidence in its reliability for future use.
By following these steps, you will have thoroughly tested the functionality of the crafted Amiibo tag. The successful recognition and consistent performance of the tag validate its effectiveness in emulating the chosen Amiibo character, affirming the completion of this pivotal step in the crafting process.
Step 5: Personalizing the Amiibo Tag
With the Amiibo tag successfully crafted and tested, the final step in the process of creating Amiibo tags on your iPhone involves personalizing the tag to make it uniquely yours. This step allows you to add a personal touch to the tag, distinguishing it from generic Amiibo figures. Follow these steps to personalize the Amiibo tag:
-
Assign a Name: Within the AmiiBot app or using compatible software, assign a custom name to the Amiibo tag. This name can reflect your personal preferences, making it easier to identify the tag when managing multiple Amiibo figures.
-
Associate Custom Data: Some applications may allow you to associate additional custom data with the Amiibo tag, such as personalized messages or attributes. This feature enables you to infuse the tag with unique elements that resonate with you.
-
Decorate the Tag (Optional): If the NFC tag features a writable surface, consider decorating it with personalized designs or markings. This creative touch adds a visually distinctive element to the tag, further personalizing it to align with your preferences.
-
Document and Store Information: Maintain a record of the personalized details associated with the Amiibo tag, ensuring that you have a clear reference for its unique attributes. Store this information in a secure location for future retrieval.
By following these steps, you will have effectively personalized the Amiibo tag, infusing it with custom elements that reflect your individuality. This personalization adds a unique dimension to the crafted tag, transforming it into a personalized item that resonates with your preferences and style.