
Materials Needed
To craft a stylus for your Android phone, you'll need a few simple materials that are readily available. Here's what you'll need to get started:
-
Ballpoint Pen: Look for a ballpoint pen with a removable cap and a sturdy, smooth barrel. The pen should be comfortable to hold and easy to manipulate.
-
Aluminum Foil: A small piece of aluminum foil will serve as the conductive material to mimic the touch of a human finger on the phone screen.
-
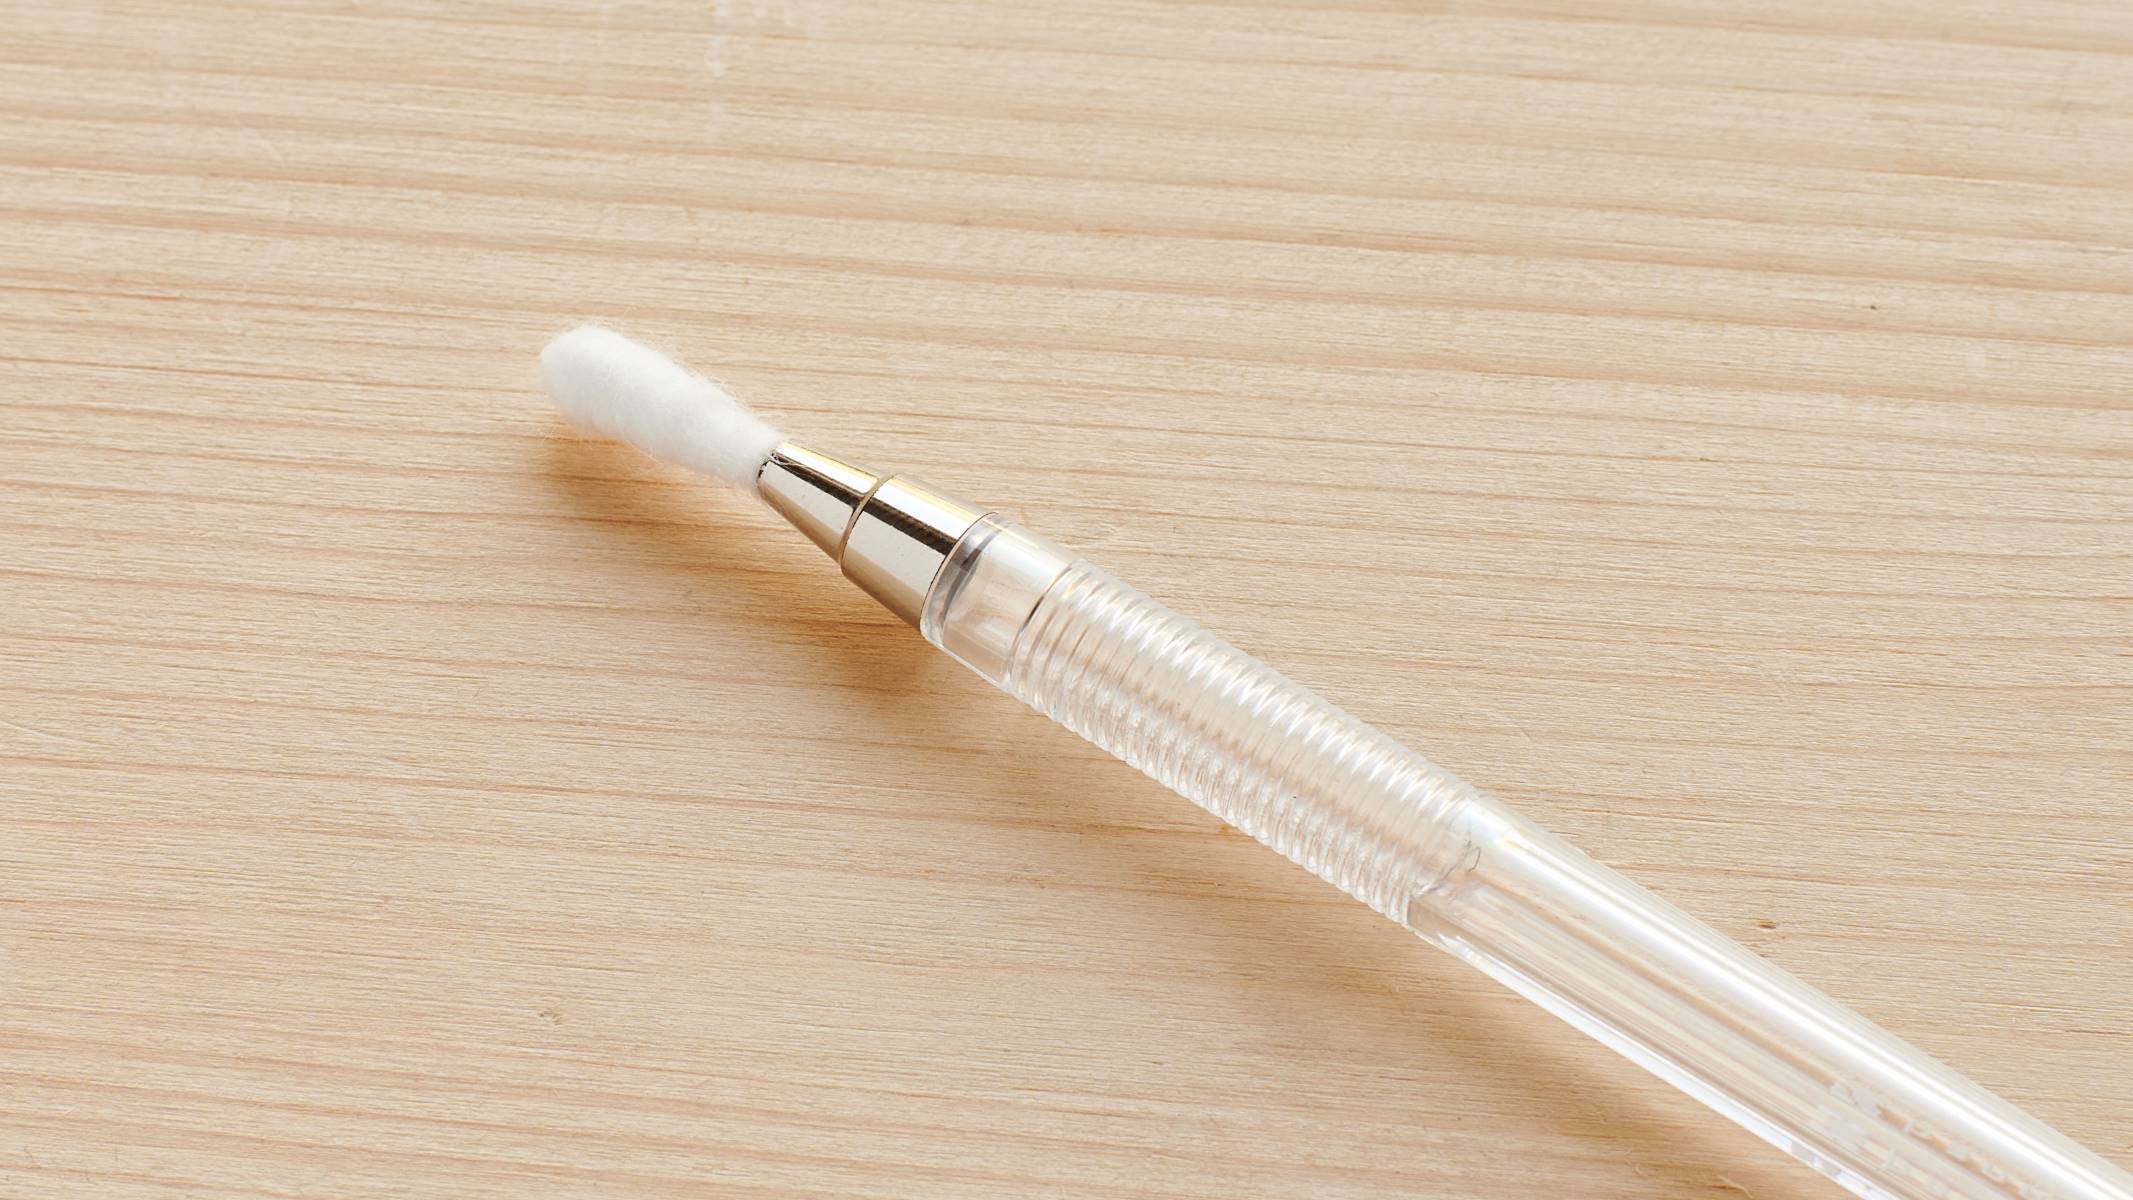
Cotton Swab: You'll need a cotton swab or a piece of foam to serve as the tip of the stylus. This will help to protect your screen from scratches and provide a smooth touch experience.
-
Scissors: A pair of scissors will be necessary to cut the aluminum foil and the cotton swab to the appropriate sizes.
-
Tape: Any adhesive tape, such as electrical tape or duct tape, will be used to secure the aluminum foil and the cotton swab to the pen.
-
Optional: Paint or Decorative Tape: If you want to customize the stylus, you can use paint or decorative tape to add a personal touch.
With these materials in hand, you're ready to proceed to the next steps and assemble your DIY stylus for your Android phone.
Step 1: Gather the Materials
Before you begin crafting your stylus, it’s essential to gather all the necessary materials. This step sets the foundation for a smooth and efficient DIY process. Here’s a detailed guide on how to gather the materials:
-
Find a Suitable Ballpoint Pen: Search for a ballpoint pen with a removable cap and a comfortable, smooth barrel. The pen’s design and structure will significantly influence the functionality and ergonomics of your DIY stylus.
-
Locate Aluminum Foil: Aluminum foil serves as the conductive material necessary for the stylus to interact with the touch screen. Ensure you have a small piece of aluminum foil readily available for this purpose.
-
Prepare a Cotton Swab or Foam: A cotton swab or a piece of foam will be used as the tip of the stylus. This component is crucial for protecting your screen from scratches and ensuring a smooth touch experience.
-
Gather Essential Tools: Retrieve a pair of scissors for cutting the aluminum foil and the cotton swab to the appropriate sizes. Additionally, have adhesive tape, such as electrical or duct tape, on hand to secure the components to the pen.
-
Optional: Customize Your Stylus: If you plan to personalize your stylus, gather any paint or decorative tape you wish to use for this purpose.
By following these steps, you’ll ensure that you have all the required materials and tools at your disposal before embarking on the stylus crafting process. This preparation will streamline the subsequent stages and contribute to a successful DIY endeavor.
Step 2: Prepare the Materials
With all the necessary materials assembled, the next step is to prepare them for the stylus crafting process. Proper preparation ensures that the materials are ready for assembly, making the subsequent steps more efficient. Here’s a detailed guide on how to prepare the materials:
-
Inspect the Ballpoint Pen: Examine the ballpoint pen to ensure that it meets the desired criteria. Confirm that the pen has a removable cap and a smooth, comfortable barrel for easy handling.
-
Cut the Aluminum Foil: Using the scissors, carefully cut a small piece of aluminum foil to a size that will adequately cover the tip of the pen. The foil will serve as the conductive element of the stylus, enabling it to interact with the touch screen.
-
Prepare the Cotton Swab or Foam: If you’ve chosen to use a cotton swab as the stylus tip, ensure that it is trimmed to the appropriate length to fit securely on the pen. If using foam, shape it to form a smooth, rounded tip that will provide optimal touch sensitivity.
-
Get the Adhesive Tape Ready: Have the adhesive tape within reach, as it will be used to affix the aluminum foil and the cotton swab or foam to the pen. Cut small pieces of tape in advance to facilitate the assembly process.
-
Optional: Prepare for Customization: If you plan to customize your stylus with paint or decorative tape, set aside these materials and ensure that the work area is ready for this creative step.
By meticulously preparing the materials, you’ll set the stage for a seamless assembly process, ultimately leading to the successful creation of your DIY stylus for your Android phone.
Step 3: Assemble the Stylus
Now that the materials are prepared, it’s time to proceed with assembling the stylus. This step involves combining the components to create a functional and effective tool for your Android phone. Here’s a detailed guide on how to assemble the stylus:
-
Attach the Aluminum Foil: Take the cut piece of aluminum foil and securely wrap it around the tip of the pen. Ensure that the foil makes direct contact with the pen’s tip, as this will enable the stylus to interact with the touch screen through the conductive properties of the foil.
-
Affix the Cotton Swab or Foam: If using a cotton swab, carefully attach it to the end of the pen opposite the aluminum foil, ensuring a snug fit. If using foam, affix it securely to create a smooth, rounded tip that will provide optimal touch sensitivity without scratching the screen.
-
Secure the Components with Tape: Use the adhesive tape to firmly secure the aluminum foil and the cotton swab or foam in place. Wrap the tape around the components, ensuring that they are held firmly and that the stylus maintains its structural integrity.
-
Optional: Customize the Stylus: If you’ve chosen to customize your stylus, this is the time to unleash your creativity. Apply paint or decorative tape to the pen to personalize your DIY stylus and make it uniquely yours.
By following these steps, you’ll successfully assemble a functional stylus for your Android phone. The careful combination of materials and the optional customization will result in a personalized tool that enhances your touchscreen experience.
Step 4: Test the Stylus
After assembling the stylus, it’s crucial to test its functionality to ensure that it effectively interacts with your Android phone’s touchscreen. This step allows you to verify the performance of the DIY stylus and make any necessary adjustments. Here’s a detailed guide on how to test the stylus:
-
Power On Your Android Phone: Turn on your Android phone and navigate to a screen where you can comfortably test the stylus. This may be an app, the home screen, or any area where touch input is required.
-
Use the Stylus on the Touchscreen: Gently apply the stylus to the touchscreen, mimicking the actions you would typically perform with your finger. Test various touch gestures, such as tapping, swiping, and drawing, to assess the stylus’s responsiveness and accuracy.
-
Observe the Stylus Performance: Pay close attention to how the stylus interacts with the touchscreen. Note whether it accurately registers touch input and provides a smooth, responsive experience. Evaluate its precision and sensitivity to ensure it meets your expectations.
-
Make Adjustments if Necessary: If the stylus exhibits any issues, such as inconsistent responsiveness or imprecise touch input, consider making adjustments. This may involve refining the position of the aluminum foil or ensuring that the stylus tip maintains optimal contact with the screen.
By thoroughly testing the stylus, you can confirm its functionality and make any needed refinements to enhance its performance. This step ensures that the DIY stylus meets the desired standards for touchscreen interaction, providing a seamless user experience on your Android phone.
Step 5: Customize the Stylus (Optional)
Customizing your DIY stylus provides an opportunity to infuse personal flair and creativity into the tool, making it uniquely yours. This optional step allows you to add a personalized touch to the stylus, enhancing its visual appeal and reflecting your individual style. Here’s a detailed guide on how to customize the stylus:
-
Choose Your Customization Method: Decide whether you prefer to use paint or decorative tape to customize the stylus. Both options offer a chance to express your creativity and personalize the stylus to your liking.
-
If Using Paint: If you opt for paint, select colors that resonate with your preferences. Apply the paint evenly to the pen, ensuring smooth coverage and allowing for ample drying time between coats. You can create patterns, designs, or even write your name for a truly personalized touch.
-
If Using Decorative Tape: When using decorative tape, choose patterns or colors that align with your aesthetic. Carefully apply the tape to the pen, ensuring that it adheres smoothly and securely. You can experiment with different tape designs to achieve a unique and eye-catching look.
-
Consider Additional Embellishments: If desired, you can explore further embellishments such as stickers, charms, or small decorative elements to enhance the stylus’s appearance. Ensure that any additional elements are securely attached and do not interfere with the stylus’s functionality.
-
Allow for Proper Drying or Setting Time: Whether using paint or decorative tape, allow the stylus to thoroughly dry or set before handling it. This will ensure that your customization remains intact and that the stylus is ready for use without any smudges or imperfections.
By customizing your stylus, you can transform it into a personalized accessory that reflects your individual style and preferences. This optional step adds a creative dimension to the DIY process, resulting in a stylus that is not only functional but also visually appealing and uniquely tailored to you.