
Benefits of Converting Paper Documents to PDF Files
Converting paper documents to PDF files offers numerous advantages, making it a wise decision for individuals and organizations alike. Whether you’re a student, a professional, or a business owner, here are some key benefits of embracing digital document management:
1. Enhanced Accessibility and Portability
By converting paper documents to PDF files, you can access them from any device with a PDF reader, such as computers, smartphones, and tablets. This ensures that important documents are always at your fingertips, even when you’re on the go. With the increasing reliance on remote work, having digital files that can be easily shared and accessed by multiple people becomes crucial.
2. Efficient Storage and Organization
Paper documents require physical storage space, which can quickly become overwhelming and cluttered. Converting them to PDF files eliminates the need for bulky file cabinets or shelves, freeing up valuable office space. Furthermore, PDF files can be easily organized into folders and subfolders, making it effortless to categorize and retrieve specific documents in a matter of seconds.
3. Improved Document Security
PDF files offer robust security features to protect sensitive information. You can apply encryption, password protection, and digital signatures to ensure that only authorized individuals can access and modify the documents. Additionally, PDFs support watermarks and redaction, allowing you to hide or remove confidential information before sharing the files.
4. Simplified Collaboration
Collaborating on paper documents can be cumbersome, with the need for physical copies or extensive mailing. With PDF files, you can easily share, edit, and comment on documents electronically. Multiple individuals can work on the same document simultaneously, eliminating the delays caused by manual coordination. This streamlines teamwork, improves productivity, and enables real-time collaboration regardless of geographical locations.
5. Cost and Time Savings
Converting paper documents to PDF files can lead to significant cost and time savings. The expenses associated with printing, photocopying, and storing physical documents are eliminated. Searching for specific information within piles of paper becomes a thing of the past, as PDF files allow you to perform quick full-text searches and find the desired content effortlessly.
Steps to Convert Paper Documents to PDF Files
Converting paper documents to PDF files may seem daunting at first, but with the right tools and workflow, it can be a straightforward process. Here are the essential steps to convert your paper documents into digital PDF files:
1. Gather the Necessary Equipment
To start, you will need a scanner and a computer with PDF conversion software installed. Ensure that the scanner is in working condition and connected to the computer. Select a reliable PDF conversion software that suits your needs and supports the functionalities you require.
2. Prepare the Documents
Remove any staples, paper clips, or post-it notes from the documents to ensure a smooth scanning process. Arrange the papers in the desired order to maintain the document’s original structure. If the documents are fragile or easily damaged, handle them with care to prevent any tears or folds during scanning.
3. Set Up the Scanner
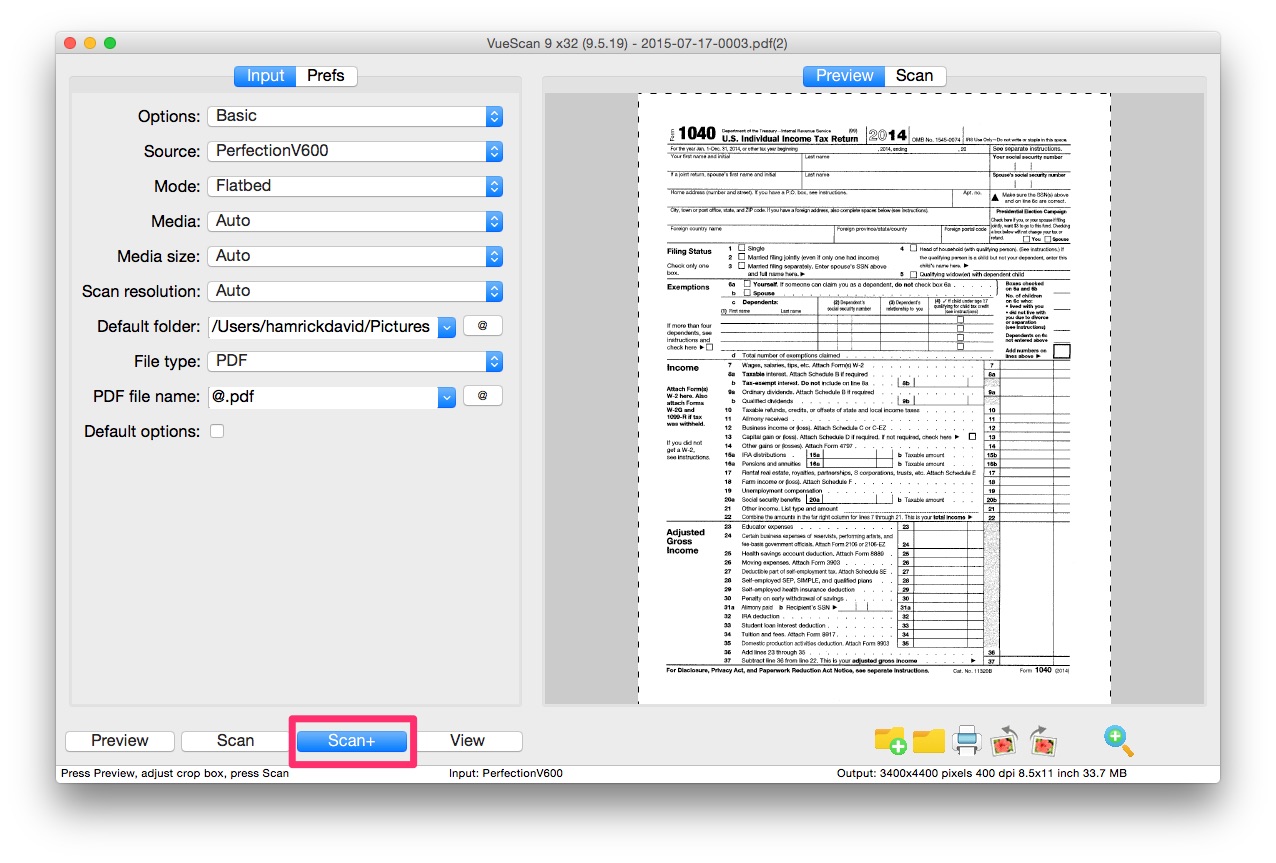
Launch the scanning software on your computer and ensure that it is properly connected to the scanner. Configure the settings according to your preferences, such as resolution, color mode, and file format (PDF). Adjust the settings to optimize the scanning quality and file size.
4. Scan the Documents
Place the first document on the scanner’s glass or through the automatic document feeder (ADF) if available. Start the scanning process using the software interface or the scanner’s control panel. Ensure that all the pages are scanned correctly without any missing or skewed pages. Repeat this process for each document.
5. Edit and Enhance the PDF Files
Once the scanning is complete, open the scanned PDF files in your PDF editing software. Review the documents for any errors or imperfections and make necessary adjustments. You can rotate pages, crop unwanted borders, and improve the overall image quality using the tools provided by the software.
6. Organize and Save the PDF Files
Organize the PDF files into folders and subfolders based on their content or any other logical criteria. Make use of appropriate file names and add metadata such as titles and tags to facilitate easy searching and retrieval in the future. Save the PDF files in a designated location on your computer or a cloud storage service for secure backup.
Remember to always validate the HTML encoding of your output to ensure it is valid.
Choosing the Right Scanner for Document Conversion
When it comes to converting paper documents to digital files, selecting the right scanner is crucial. The quality of the scanner directly affects the accuracy and readability of the scanned documents. Here are some factors to consider when choosing a scanner for document conversion:
1. Scanner Type
There are various types of scanners available, including flatbed scanners, sheet-fed scanners, and portable scanners. Flatbed scanners are versatile and can handle different sizes and types of documents, making them suitable for bulk scanning. Sheet-fed scanners are ideal for high-volume document conversion as they can process multiple documents automatically. Portable scanners offer convenience for on-the-go scanning but may have limitations in terms of speed and document size.
2. Scanning Speed and Capacity
The scanning speed determines how quickly you can convert your documents. For large-scale document conversion projects, opt for a scanner with a higher scanning speed to maximize efficiency. Similarly, consider the scanner’s capacity, which refers to the number of documents it can handle in a single batch. A higher capacity will result in less manual intervention and faster document processing.
3. Optical Resolution
The optical resolution of the scanner plays a significant role in the quality of the scanned documents. Higher resolution ensures sharper and more detailed scans, especially for text-heavy documents or documents with intricate graphics. Aim for a scanner with a minimum optical resolution of 600 dpi (dots per inch) to ensure clear and legible PDF files.
4. Connectivity Options
Consider the connectivity options provided by the scanner. USB connectivity is standard and allows for easy integration with your computer. Some scanners also offer wireless connectivity, which enables scanning from various devices and eliminates the need for wired connections. Evaluate your needs and choose a scanner that provides the desired connectivity options for seamless document conversion.
5. Software Compatibility
Check if the scanner is compatible with the scanning software you plan to use. Ensure that the scanner supports the necessary file formats, such as PDF, and integrates well with the software’s functionalities. Compatibility is vital to ensure a smooth and efficient document conversion process without any compatibility issues or limitations.
6. Budget and Warranty
Set a budget for your scanner purchase and explore options within that range. Consider the value for money, features offered, and reviews from other users. Additionally, check the warranty provided by the manufacturer to safeguard against any potential defects or malfunctions.
By carefully evaluating these factors, you can choose a scanner that meets your document conversion requirements and facilitates a seamless transition from physical to digital documents.
Setting Up and Preparing the Scanner
Before you begin the process of converting your paper documents into digital PDF files, it is important to properly set up and prepare your scanner. Following these steps will ensure optimal performance and accurate document scanning:
1. Location and Environment
Choose an appropriate location for your scanner that is easily accessible and well-lit. Ensure that the area is clean and free from dust, as dust particles can potentially affect the scanning quality. Keep the scanner away from direct sunlight or other sources of extreme heat, as this could damage the device.
2. Install Required Software
Check if your scanner requires any specific software for proper installation and functionality. Most scanners come with their own scanning software, but you may also need to install additional drivers or updates. Visit the manufacturer’s website or refer to the user manual to download and install the necessary software.
3. Connect to Power and Computer
Connect the scanner to a power source and ensure it is turned on. Use the provided USB cable or any other compatible method to connect the scanner to your computer. Make sure the connection is secure and that the scanner is recognized by your computer’s operating system. Follow any on-screen instructions to complete the setup process.
4. Adjust Scanner Settings
Open the scanner software on your computer and access the settings. Adjust the settings according to your requirements, such as resolution, color mode, and file format. Higher resolution settings are recommended for text-heavy documents to ensure readability, while color mode options can be selected based on the nature of the documents being scanned.
5. Calibrate the Scanner
Calibrating the scanner ensures accurate color reproduction and optimal scanning results. Refer to the scanner’s user manual or software guide for specific instructions on calibration. The process typically involves scanning a calibration sheet or adjusting specific settings within the scanner software. Follow the prompts and complete the calibration process before scanning your documents.
6. Prepare the Documents
Prior to scanning, remove any staples, paper clips, or sticky notes from the documents. Arrange the documents in the desired order and ensure they are flat and straight to avoid any feeding issues during scanning. If necessary, use document separators or post-it notes to indicate breaks between different documents.
By properly setting up and preparing your scanner, you can ensure smooth and efficient document scanning, resulting in high-quality digital PDF files.
Scanning the Paper Documents
Once you have set up and prepared your scanner, it’s time to proceed with scanning your paper documents and converting them into digital PDF files. Follow these steps to ensure a successful scanning process:
1. Place the Documents
Start by placing the first document you want to scan on the scanner’s glass or through the automatic document feeder (ADF) if your scanner has one. Ensure that the document is positioned correctly and is aligned with the edges of the scanner. If using the ADF, make sure the stack of documents is neatly aligned and does not exceed the recommended capacity.
2. Adjust Scanner Settings
Before initiating the scan, double-check the scanner settings to ensure they meet your requirements. Adjust the resolution, color mode, and other settings based on the nature of the documents. Higher resolutions are recommended for text-heavy documents, while color mode options can be selected for documents with colored images or graphics.
3. Initiate the Scan
Using the scanner’s control panel or the scanning software on your computer, initiate the scan. If using the scanner’s control panel, select the scan mode, such as grayscale or color, and press the scan button. If using software, select the appropriate scanning option and start the scanning process. The scanner will begin capturing the images of the documents.
4. Monitor the Scanning Process
While the scanner is working, keep an eye on the scanning process to ensure that it proceeds smoothly. Check that each page is being scanned correctly, without any missing or skewed pages. If using the ADF, make sure the documents are feeding properly and are being scanned in the correct order. Address any issues or errors that may arise during the scanning process promptly.
5. Review the Scanned Documents
Once the scanning is complete, review the scanned documents on your computer screen. Check for any scanning errors, such as skewing, blurriness, or missing pages. If necessary, rescan the documents that did not meet the desired quality standards. Take note of any adjustments or changes that need to be made to the scanned files.
6. Save and Name the Scanned Files
After reviewing the scanned documents, save them as PDF files. Choose a location on your computer or a designated folder for the PDF files. Name the files appropriately, either based on the document’s content or using a systematic naming convention. Adding index or metadata information can also help with organizing and searching for the files later.
By following these steps, you can successfully scan your paper documents and convert them into digital PDF files, ready for further editing, organization, and sharing.
Editing and Organizing PDF Files
Once you have scanned your paper documents and converted them into PDF files, it’s time to edit and organize them to ensure efficiency and easy accessibility. The following steps will guide you through the process of effectively managing your PDF files:
1. Open the PDF Editing Software
Launch your chosen PDF editing software and open the scanned PDF files that you wish to edit and organize. Ensure that the software has the necessary tools and features for editing text, images, and pages, as well as organizing and managing PDF files.
2. Edit Text and Images
If needed, make any necessary changes or corrections to the text within the PDF files. Use the text editing tools to add, delete, or modify text within the document. Similarly, use the image editing tools to resize, crop, or adjust images within the PDF file. This step is particularly useful when dealing with scanned documents that may require text correction or image enhancement.
3. Rearrange and Merge Pages
If the original document’s sequence or order needs adjustment, use the page rearrangement feature in your PDF editing software. Rearrange the pages by dragging and dropping them to the desired position or by using the page number to navigate through the document. Additionally, utilize the merge feature to combine multiple PDF files into one, facilitating easier management and organization.
4. Add Bookmarks and Hyperlinks
Enhance the navigability of your PDF files by adding bookmarks and hyperlinks. Bookmarks allow users to quickly jump to specific sections or pages within a document, making it easier to navigate through lengthy documents. Hyperlinks can be used to link to external resources or to create internal links within the document, providing additional context or references.
5. Use Annotations and Comments
Annotations and comments are useful for adding additional information or providing feedback within the PDF files. Use text annotations to highlight important points or add explanatory notes. Utilize the comment feature to leave feedback or initiate discussions with collaborators or readers of the document. These annotations and comments can greatly enhance the understanding and collaboration around the PDF files.
6. Organize into Folders and Add Metadata
Create folders or directories within your PDF management software to categorize and organize your PDF files based on their content or any other logical criteria. Consider adding metadata such as titles, tags, or keywords to facilitate easier searching and retrieval of specific documents.
By following these steps, you can effectively edit and organize your PDF files, making them more manageable, searchable, and user-friendly.
Ensuring Security and Privacy of PDF Files
When working with PDF files, it’s essential to prioritize the security and privacy of your documents. Protecting sensitive information and ensuring that only authorized individuals can access and modify your PDF files is crucial. Here are some steps you can take to enhance the security and privacy of your PDF files:
1. Password Protection
Apply password protection to your PDF files to prevent unauthorized access. Set a strong password that includes a combination of letters, numbers, and special characters. Choose a password manager to securely store your passwords, ensuring that they are not easily guessable or prone to being hacked.
2. Encryption
Encrypting your PDF files adds an additional layer of security. Use encryption algorithms like AES (Advanced Encryption Standard) to protect your documents. Select a minimum encryption key length of 128 bits for strong encryption, and consider using even stronger encryption methods if documents contain highly sensitive information.
3. Digital Signatures
Utilize digital signatures to verify the authenticity and integrity of your PDF files. Digital signatures ensure that the document has not been tampered with and that it originated from the expected sender. Choose a reputable digital signature provider and follow proper certificate management practices to maintain the integrity of your signed PDF files.
4. Redaction
If you need to share PDF files that contain sensitive information, consider utilizing redaction to permanently remove or hide that information from the document. Redaction ensures that confidential details, such as social security numbers or financial data, are not visible or accessible to unauthorized individuals. Double-check the redacted PDF files to ensure that no sensitive information remains visible.
5. Watermarks
Add watermarks to your PDF files for an added layer of security and protection against unauthorized use. Watermarks can contain text, images, or logos that identify the source or status of the document. This makes it harder for unauthorized users to manipulate or pass off the document as their own.
6. Secure File Transfer
When sharing PDF files, be mindful of the security of the file transfer. Use secure file transfer methods such as encrypted email attachments, password-protected ZIP files, or secure file-sharing platforms. Always verify the recipient’s identity and ensure that they are authorized to access the document.
By implementing these measures, you can enhance the security and privacy of your PDF files, safeguarding sensitive information and maintaining control over your documents.
Archiving and Storing PDF Files
Archiving and storing PDF files properly is crucial for maintaining their integrity, accessibility, and long-term preservation. Here are some best practices to ensure the efficient archiving and storage of your PDF files:
1. Organize Files in a Logical Structure
Establish a logical folder structure to store your PDF files. Create main folders based on categories or projects, and subfolders within them to further categorize documents. Use descriptive file names to easily identify the contents of each PDF file. A well-organized structure makes it easier to locate and retrieve specific documents when needed.
2. Implement a Naming Convention
Adopt a naming convention that provides consistency in labeling your PDF files. Including relevant information such as document type, date, and version number in the file name can help with easy identification and sorting. A clear and consistent naming convention ensures that files are both searchable and comprehensible.
3. Utilize Metadata
Leverage metadata to capture additional information about your PDF files. Include details such as author, date created, keywords, and document description. Metadata enhances searchability and provides valuable context for your PDF files. Most PDF editing software allows you to add and modify metadata properties.
4. Backup and Redundancy
Regularly back up your PDF files to ensure their preservation in case of data loss or system failures. Utilize both local and cloud-based backup solutions. Implement redundant storage options to protect against hardware failures and maintain multiple copies of essential documents in different locations.
5. Consider Document Management Systems
If you deal with a large volume of PDF files, consider implementing a document management system (DMS) to streamline archiving and storage. A DMS allows for centralized storage, efficient retrieval, and enhanced collaboration features. Choose a DMS that aligns with your specific requirements and integrates well with your existing workflow.
6. Periodically Review and Purge
Regularly review your archived PDF files to identify outdated or irrelevant documents that can be deleted or purged from the storage system. This helps to keep your archival storage tidy and relevant. Be mindful of any legal or regulatory requirements that may necessitate document retention for specific periods of time.
By following these practices, you can ensure the efficient archiving and storage of your PDF files, making them easily accessible, well-maintained, and protected for the long-term.
Tips and Tricks for a Successful Document Conversion
Converting paper documents to digital PDF files can be a complex process, but with the right strategies and considerations, you can ensure a successful and efficient conversion. Here are some tips and tricks to help you achieve the best results:
1. Prepare Documents Thoroughly
Prior to scanning, ensure that your paper documents are clean and free from any dirt, staples, or post-it notes. Organize the documents in the desired order to maintain their original structure, and handle them with care to prevent any damage during the scanning process.
2. Choose the Right Scanner
Select a scanner that suits your document conversion needs. Consider factors such as scanner type, scanning speed, optical resolution, connectivity options, and budget. A high-quality scanner will ensure accurate and clear scans, saving you time and effort in the long run.
3. Optimize Scanner Settings
Adjust the scanner settings based on the type of documents you are scanning. Experiment with different resolution and color mode options to find the balance between file size and image quality. Make use of advanced settings, such as auto-crop and auto-rotate, to further enhance the scanning process.
4. Validate OCR Results
If you plan to perform OCR (Optical Character Recognition) on your scanned documents, validate the results to ensure accuracy. OCR technology converts scanned images into editable and searchable text. Review the converted text for any errors or inconsistencies, especially in cases where the original document had complex formatting or unusual fonts.
5. Utilize Batch Scanning
If you have a large volume of paper documents to convert, take advantage of the batch scanning feature offered by many scanners. Batch scanning allows you to scan multiple documents in one go, saving time and effort. Be sure to properly organize and separate the different documents to avoid any mix-ups or confusion during the scanning process.
6. Name and Organize Scanned Files Consistently
Establish a consistent naming convention for your scanned files to ensure easy identification and organization. Include relevant information such as document type, date, and any relevant keywords. Organize the files into folders and subfolders based on categories or projects for efficient retrieval and management.
7. Perform Regular File Backups
Backup your scanned PDF files regularly to protect against data loss or system failures. Implement both local and cloud-based backup solutions to ensure redundancy and safeguard against unforeseen circumstances. Regularly test your backups to ensure they are functioning properly and can be restored if needed.
8. Regularly Maintain and Update Software
Keep your scanning software and PDF editing software up to date with the latest versions. Software updates often include bug fixes, performance enhancements, and security patches. Regularly check for updates from the software providers and install them to ensure optimal performance and compatibility.
By following these tips and tricks, you can streamline your document conversion process and achieve accurate, high-quality results while maximizing efficiency and productivity.