
Checking Compatibility
Before connecting a stylus pen to your Surface Pro, it’s crucial to ensure that the pen is compatible with your device. Microsoft Surface Pro is compatible with a variety of stylus pens, but it’s essential to verify compatibility to avoid any issues during the connection process.
Here are the steps to check the compatibility of your stylus pen with your Surface Pro:
- Check the Manufacturer’s Compatibility List: Start by consulting the manufacturer’s compatibility list for the Surface Pro. This list provides details of stylus pens that are specifically designed to work with the Surface Pro. Ensure that the stylus pen you have is listed as compatible with your device.
- Examine the Stylus Pen’s Packaging: If you have the original packaging of the stylus pen, look for any compatibility labels or stickers. Manufacturers often label their stylus pens with the devices they are compatible with. Look for indications that the pen is designed for use with the Surface Pro.
- Check the Device’s Settings: Navigate to the settings menu on your Surface Pro and look for the “Pen & Windows Ink” section. This area may provide information about compatible stylus pens. Some devices have a feature that allows you to search for compatible accessories, including stylus pens.
By following these steps, you can confidently verify the compatibility of your stylus pen with your Surface Pro, ensuring a seamless connection process.
Charging the Stylus Pen
Before you can start using your stylus pen with your Surface Pro, it’s essential to ensure that the pen is adequately charged. Most stylus pens for Surface Pro devices are rechargeable, and ensuring they have sufficient power is crucial for optimal performance.
Here’s a step-by-step guide to charging your stylus pen:
- Locate the Charging Port: Identify the charging port on your stylus pen. It is typically located at one end of the pen and may be concealed by a small cover. Some stylus pens use a micro-USB or USB-C port for charging, while others may have a proprietary charging connector.
- Use the Correct Charging Cable: Ensure that you have the appropriate charging cable for your stylus pen. If the pen uses a standard USB or USB-C connection, you can use the charging cable that came with your Surface Pro or any compatible charging cable.
- Connect the Charging Cable: Insert the charging cable into the charging port of the stylus pen. Make sure it is securely connected to establish a proper charging connection.
- Connect to a Power Source: Once the charging cable is connected to the stylus pen, plug the other end into a power source. This can be a USB port on your Surface Pro, a wall adapter, or any other compatible power source.
- Monitor the Charging Status: Some stylus pens have LED indicator lights to show the charging status. Monitor the indicator to ensure that the pen is charging properly. Allow sufficient time for the pen to reach a full charge.
By following these steps, you can ensure that your stylus pen is adequately charged and ready for use with your Surface Pro. Keeping the stylus pen charged will enable you to make the most of its features and functionality.
Turning on Bluetooth on Your Surface Pro
Before you can pair your stylus pen with your Surface Pro, it’s essential to ensure that Bluetooth is enabled on your device. Bluetooth connectivity allows the stylus pen to communicate with your Surface Pro, enabling seamless interaction and functionality.
Here’s a simple guide to turning on Bluetooth on your Surface Pro:
- Access the Action Center: Swipe in from the right edge of the screen or select the Action Center icon on the taskbar to open the Action Center.
- Toggle Bluetooth On: In the Action Center, look for the Bluetooth icon. If it’s grayed out, it means Bluetooth is currently disabled. Tap the Bluetooth icon to enable it. Once enabled, the icon should turn blue, indicating that Bluetooth is active.
- Access Bluetooth Settings: If you want to access more advanced Bluetooth settings, such as pairing devices or managing connections, you can click on the Bluetooth icon to open the Bluetooth settings window.
- Verify Bluetooth Functionality: Once Bluetooth is turned on, you can verify its functionality by looking for available devices in the Bluetooth settings. Your stylus pen should appear in the list of available devices once it’s ready to be paired.
By following these steps, you can ensure that Bluetooth is enabled on your Surface Pro, allowing you to seamlessly pair your stylus pen with the device. Bluetooth connectivity is essential for the proper functioning of the stylus pen and its interaction with your Surface Pro.
Pairing the Stylus Pen with Your Surface Pro
Once you have verified compatibility and ensured that Bluetooth is enabled on your Surface Pro, you are ready to pair your stylus pen with the device. Pairing the stylus pen establishes a wireless connection between the pen and your Surface Pro, allowing you to take advantage of its full range of features and capabilities.
Here’s a step-by-step guide to pairing your stylus pen with your Surface Pro:
- Put the Stylus Pen in Pairing Mode: Depending on the model of your stylus pen, there may be a specific pairing mode. Refer to the user manual or instructions provided by the manufacturer to activate the pairing mode on the stylus pen.
- Open Bluetooth Settings: On your Surface Pro, navigate to the Bluetooth settings. This can typically be accessed through the device settings or the Action Center. Look for the option to add a new Bluetooth device.
- Search for Available Devices: In the Bluetooth settings, initiate a search for available devices. Your stylus pen should appear in the list of discoverable devices. Select the stylus pen from the list to begin the pairing process.
- Follow Pairing Instructions: Once you select the stylus pen, follow any on-screen instructions to complete the pairing process. This may involve confirming a pairing code or accepting a connection request on both the stylus pen and the Surface Pro.
- Verify Successful Pairing: After completing the pairing process, verify that the stylus pen is successfully connected to your Surface Pro. You can do this by checking the Bluetooth settings or using the stylus pen to interact with the device.
By following these steps, you can successfully pair your stylus pen with your Surface Pro, enabling you to harness the full potential of the stylus for various tasks and creative endeavors. A properly paired stylus pen enhances the functionality and versatility of your Surface Pro, providing a seamless digital writing and drawing experience.
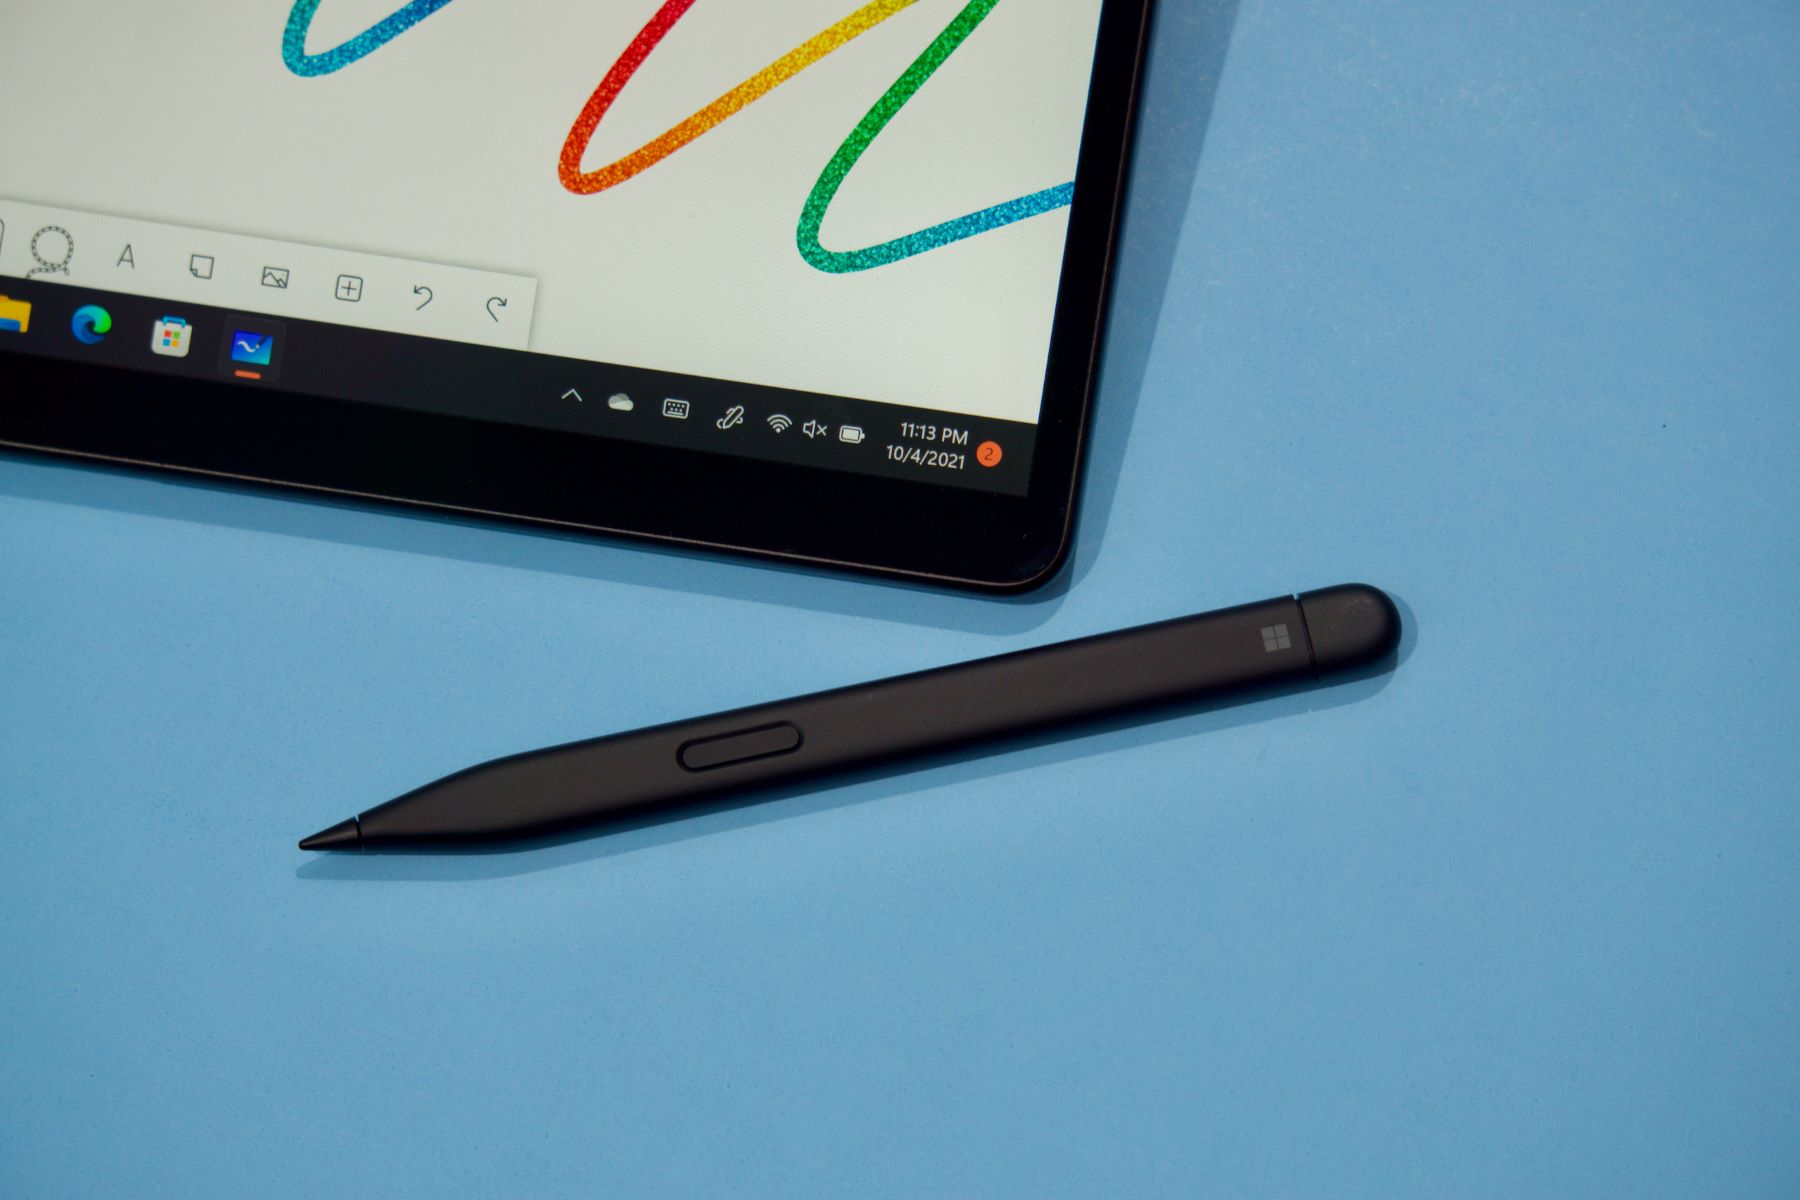
Testing the Stylus Pen
After successfully pairing your stylus pen with your Surface Pro, it’s important to test the pen to ensure that it functions as expected. Testing the stylus pen allows you to verify its responsiveness, accuracy, and additional features, providing confidence in its performance for various tasks and creative endeavors.
Here’s a guide to testing your stylus pen:
- Writing and Drawing: Open a note-taking or drawing app on your Surface Pro and test the stylus pen’s writing and drawing capabilities. Check for smooth and accurate input, pressure sensitivity, and the ability to create precise lines and strokes.
- Eraser Functionality: If your stylus pen features an eraser function, test its effectiveness in erasing digital ink or markings. Verify that the eraser end of the stylus pen functions seamlessly with compatible apps and software.
- Button Functions: Some stylus pens include programmable buttons for additional functionality. Test the button(s) on the stylus pen to ensure that they perform their designated actions, such as opening apps, activating shortcuts, or toggling between different modes.
- Palm Rejection: If your stylus pen and Surface Pro support palm rejection, test this feature by resting your palm on the screen while using the stylus. Verify that the device accurately detects and ignores palm input, allowing you to write or draw comfortably without unintended touch interactions.
- Pressure Sensitivity: Explore the pressure sensitivity of the stylus pen by varying the pressure applied while writing or drawing. Verify that the pen accurately captures different levels of pressure, resulting in varied line thickness and opacity, enhancing the natural feel of digital input.
By thoroughly testing your stylus pen, you can ensure that it meets your expectations in terms of performance and functionality. A well-performing stylus pen enhances your digital creativity, productivity, and overall user experience with your Surface Pro.
Troubleshooting Common Issues
While connecting and using a stylus pen with your Surface Pro, you may encounter common issues that can hinder the seamless functionality of the pen. Understanding how to troubleshoot these issues can help you quickly address and resolve any challenges that may arise, ensuring a smooth and productive experience with your stylus pen.
Here are some common issues and troubleshooting steps:
- Intermittent Connectivity: If the stylus pen intermittently loses connectivity with your Surface Pro, try replacing the battery or recharging the pen. Additionally, ensure that there are no obstructions or interference near the device that may disrupt the Bluetooth signal.
- Unresponsive Stylus Pen: If the stylus pen becomes unresponsive, try restarting your Surface Pro. Additionally, check for any software updates for the Surface Pro and the stylus pen, as updated firmware or drivers can address performance issues.
- Calibration and Accuracy: If the stylus pen’s input appears misaligned or inaccurate, consider calibrating the pen through the device settings. Calibration can correct any discrepancies between the pen’s input and the on-screen cursor or markings.
- Button Malfunction: If the programmable buttons on the stylus pen do not perform their designated functions, review the device’s settings to ensure that the buttons are properly configured. Resetting the button assignments or reprogramming them may resolve this issue.
- Compatibility Errors: If you experience compatibility errors or warnings when using the stylus pen, verify that the pen is indeed compatible with your Surface Pro model. Consult the manufacturer’s documentation or support resources for any specific compatibility requirements or updates.
- Eraser Function Failure: If the eraser end of the stylus pen fails to function as expected, check the compatibility of the pen with the app or software you are using. Some apps may require specific settings or support for stylus pen eraser functionality.
By following these troubleshooting steps, you can address common issues that may arise when using a stylus pen with your Surface Pro. Resolving these issues promptly can help you maximize the functionality and performance of the stylus pen, ensuring a seamless and productive digital experience.