
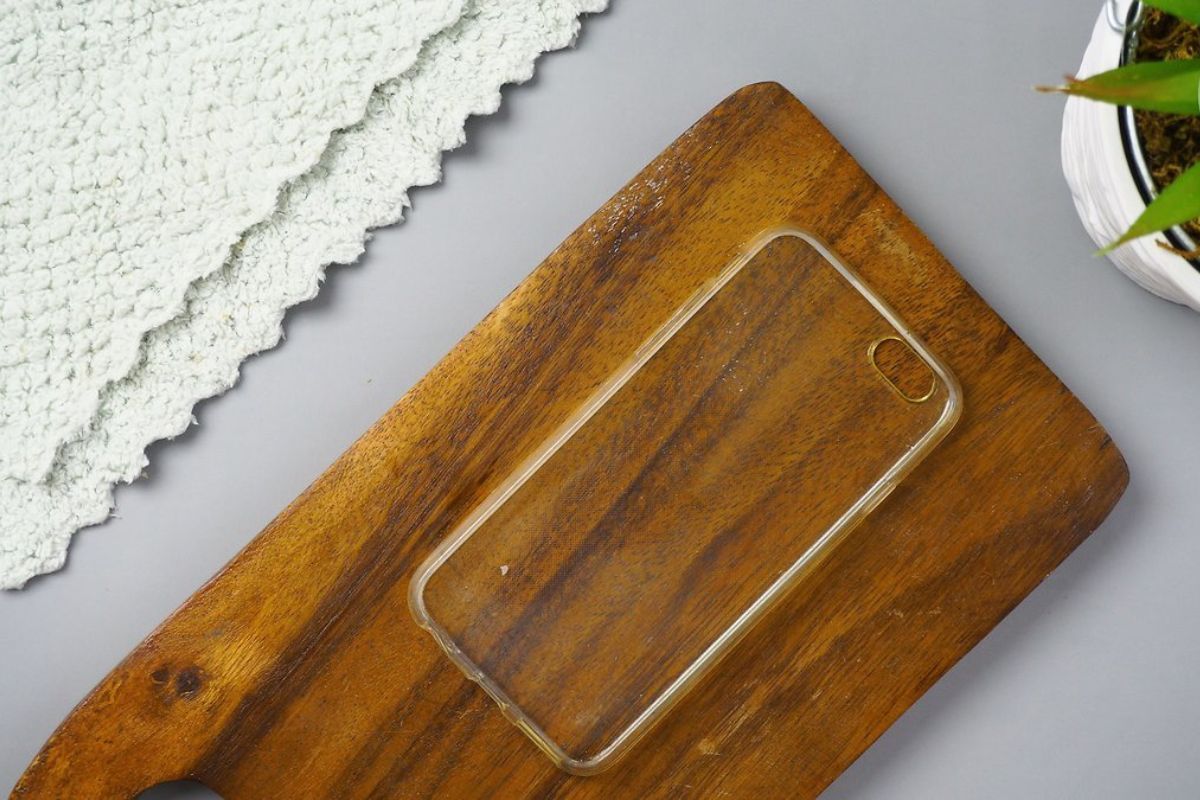
Why Clean Your Silicone Phone Case
Why It's Important to Clean Your Silicone Phone Case
Your smartphone is an essential part of your daily life, and its constant use exposes your phone case to various elements, such as dirt, oil, and bacteria. Over time, these contaminants can accumulate on your silicone phone case, leading to a grimy and unhygienic surface. Regularly cleaning your silicone phone case not only helps maintain its appearance but also prevents the buildup of germs that can potentially transfer to your hands and face.
Furthermore, a clean phone case contributes to a polished and professional look, especially in work or social settings. It reflects your attention to detail and personal hygiene, leaving a positive impression on those around you. Additionally, maintaining a clean phone case prolongs its lifespan, ensuring that it continues to protect your device effectively.
By understanding the importance of cleaning your silicone phone case, you can prioritize its maintenance and ensure that it remains a functional and aesthetically pleasing accessory for your smartphone.
Materials Needed
Before you embark on cleaning your silicone phone case, it’s essential to gather the necessary materials to ensure an effective and thorough cleaning process. Here are the items you’ll need:
- Mild soap: Opt for a gentle, non-abrasive soap to prevent any damage to the silicone material of your phone case.
- Water: You’ll need water for rinsing and diluting the soap during the cleaning process.
- Soft-bristled brush or cloth: Use a soft-bristled brush or a microfiber cloth to gently scrub the phone case and remove any stubborn grime.
- Rubbing alcohol: This will be used to disinfect the phone case and eliminate any lingering bacteria.
- Clean, dry towel: Prepare a clean, dry towel for drying the phone case after washing and disinfecting it.
- Optional: Cotton swabs or cotton balls can be used to reach small crevices and corners of the phone case.
By having these materials on hand, you can ensure that the cleaning process is efficient and that your silicone phone case receives the care it needs to maintain its cleanliness and durability.
Step 1: Remove the Phone Case
Before you begin cleaning your silicone phone case, the first step is to carefully remove it from your smartphone. Removing the phone case provides unobstructed access to its entire surface, allowing you to clean it thoroughly and effectively. Here’s how you can safely remove your phone case:
- Power off your phone: To prevent any accidental button presses or screen interactions, power off your smartphone before removing the case.
- Inspect the case: Take a moment to inspect the phone case for any debris or dirt that may have accumulated around the edges. Gently wipe away any loose particles with a soft cloth or brush.
- Start from a corner: Identify a corner or edge of the phone case and carefully begin to detach it from your smartphone. Avoid using excessive force to prevent any damage to the case or your phone.
- Work around the edges: Once you’ve loosened one corner, gradually work your way around the edges of the phone case, gently separating it from the device. Take your time to ensure that the case is released evenly without putting stress on any specific area.
- Remove the case: Once the phone case is detached, carefully lift it away from your smartphone, ensuring that none of its edges or corners snag on the device.
By following these steps, you can safely remove your silicone phone case without causing any damage to your smartphone or the case itself. With the phone case removed, you’re ready to proceed with the cleaning process to restore its cleanliness and appeal.
Step 2: Wash with Mild Soap and Water
Once you have removed the silicone phone case from your device, the next step is to wash it with a gentle, non-abrasive soap and water. This process effectively removes dirt, oils, and other residues from the surface of the case. Follow these steps to ensure a thorough cleaning:
- Prepare the cleaning solution: Fill a basin or sink with lukewarm water and add a small amount of mild soap. Mix the soap and water to create a soapy solution that will be used to clean the phone case.
- Submerge the phone case: Place the silicone phone case into the soapy water, ensuring that it is fully submerged. Allow the case to soak for a few minutes to loosen any stubborn grime or residue.
- Gently scrub the case: Using a soft-bristled brush or microfiber cloth, gently scrub the entire surface of the phone case. Pay particular attention to areas with visible dirt or discoloration, and ensure that the entire case receives an even cleaning.
- Rinse with clean water: Once the phone case has been thoroughly scrubbed, remove it from the soapy water and rinse it under clean, running water. Ensure that all soap residue is washed away, and the case is free from suds.
- Inspect for cleanliness: After rinsing, inspect the phone case to ensure that it is visibly clean and free from any remaining dirt or soap residue. If necessary, repeat the washing process to achieve the desired level of cleanliness.
By washing your silicone phone case with mild soap and water, you can effectively eliminate dirt and oils, restoring its appearance and maintaining a hygienic surface. Once the case is clean, proceed to the next step to ensure that it is thoroughly dried before reattaching it to your smartphone.
Step 3: Dry Thoroughly
After washing your silicone phone case, it’s crucial to ensure that it is thoroughly dried before proceeding with the next steps. Proper drying prevents the accumulation of moisture, which can lead to mold or mildew growth on the case. Follow these steps to effectively dry your phone case:
- Shake off excess water: Gently shake the phone case to remove any excess water that may be trapped in its crevices or corners. Be careful not to apply excessive force, as silicone phone cases are flexible and can be easily distorted.
- Use a clean, dry towel: Place the phone case on a clean, dry towel and pat it gently to absorb additional moisture. Avoid rubbing the case vigorously, as this can cause lint or fibers from the towel to adhere to the silicone surface.
- Air dry in a well-ventilated area: Allow the phone case to air dry in a well-ventilated area, away from direct sunlight or heat sources. Ensure that the case is positioned in a way that allows air to circulate around it, promoting thorough drying.
- Check for residual moisture: After some time has passed, check the phone case to ensure that it is completely dry. Feel the surface for any remaining moisture, and if necessary, allow the case to air dry for a longer period.
By taking the time to dry your silicone phone case thoroughly, you can prevent the retention of moisture and the potential development of mold or mildew. Once the case is completely dry, you can proceed to the next step, which involves disinfecting the surface to eliminate any remaining bacteria or germs.
Step 4: Disinfect with Rubbing Alcohol
Disinfecting your silicone phone case with rubbing alcohol is a crucial step in the cleaning process, as it effectively eliminates bacteria and germs that may be present on the surface. Follow these steps to ensure thorough disinfection of your phone case:
- Prepare a rubbing alcohol solution: Dilute rubbing alcohol with water to create a cleaning solution. A mixture of equal parts rubbing alcohol and water is effective for disinfecting the phone case without causing damage to the silicone material.
- Apply the solution to the case: Dampen a clean, soft cloth or cotton ball with the rubbing alcohol solution. Gently wipe the entire surface of the phone case, ensuring that the solution comes into contact with all areas of the case, including edges and corners.
- Focus on high-touch areas: Pay particular attention to areas of the phone case that come into frequent contact with your hands, such as the sides and buttons. Thoroughly disinfecting these high-touch areas helps minimize the transfer of germs and bacteria during regular use.
- Allow the case to air dry: After disinfecting the phone case with rubbing alcohol, allow it to air dry completely. The alcohol will evaporate, leaving the surface clean and free from harmful microorganisms.
By disinfecting your silicone phone case with rubbing alcohol, you can effectively eliminate bacteria and germs, ensuring that the case is hygienic and safe for everyday use. Once the case has dried completely, you can proceed to the next step, which involves ensuring that it is entirely dry before reattaching it to your smartphone.
Step 5: Let It Dry Completely
After disinfecting your silicone phone case with rubbing alcohol, it’s essential to allow it to dry completely before reattaching it to your smartphone. Proper drying ensures that the case is free from moisture and ready for use. Follow these steps to facilitate thorough drying:
- Air dry in a well-ventilated area: Place the disinfected phone case in a well-ventilated area, away from direct sunlight or heat sources. Allowing air to circulate around the case promotes efficient drying and ensures that any residual moisture evaporates.
- Patience is key: Be patient and allow the phone case to air dry for an adequate amount of time. Depending on the environmental conditions, drying times may vary, so it’s essential to ensure that the case is completely dry before proceeding.
- Check for residual moisture: After some time has passed, check the phone case to ensure that it is completely dry. Feel the surface for any remaining moisture, and if necessary, allow the case to air dry for a longer period.
By allowing your disinfected silicone phone case to dry completely, you can ensure that it is free from moisture and ready to be reattached to your smartphone. Once the case is dry, you can proceed to the final step, which involves reattaching it to your device, completing the cleaning process and restoring its functionality and aesthetic appeal.
Step 6: Reattach the Phone Case
After the silicone phone case has been thoroughly cleaned, disinfected, and allowed to dry completely, the final step is to reattach it to your smartphone. Follow these simple steps to ensure a secure and proper reattachment:
- Align the case with your smartphone: Hold the phone case in a way that allows you to align it properly with your smartphone. Ensure that the case’s cutouts align with the device’s camera, ports, buttons, and speakers.
- Gently snap the case into place: Starting from one edge, gently snap the phone case onto your smartphone, ensuring that it fits snugly and evenly around the device. Apply gentle pressure to each corner and edge to secure the case in place.
- Double-check the alignment: Once the case is attached, double-check the alignment to ensure that it fits properly and does not obstruct any ports, buttons, or features of your smartphone.
- Power on your smartphone: After reattaching the phone case, power on your smartphone and ensure that it functions as expected. Test the buttons, ports, and camera to confirm that the case does not interfere with any of the device’s functionalities.
By following these steps, you can successfully reattach your clean and dry silicone phone case, providing your smartphone with the protection and aesthetic appeal it offers. With the case securely in place, you can enjoy the benefits of a hygienic, well-maintained accessory that complements your device and reflects your attention to cleanliness and detail.