
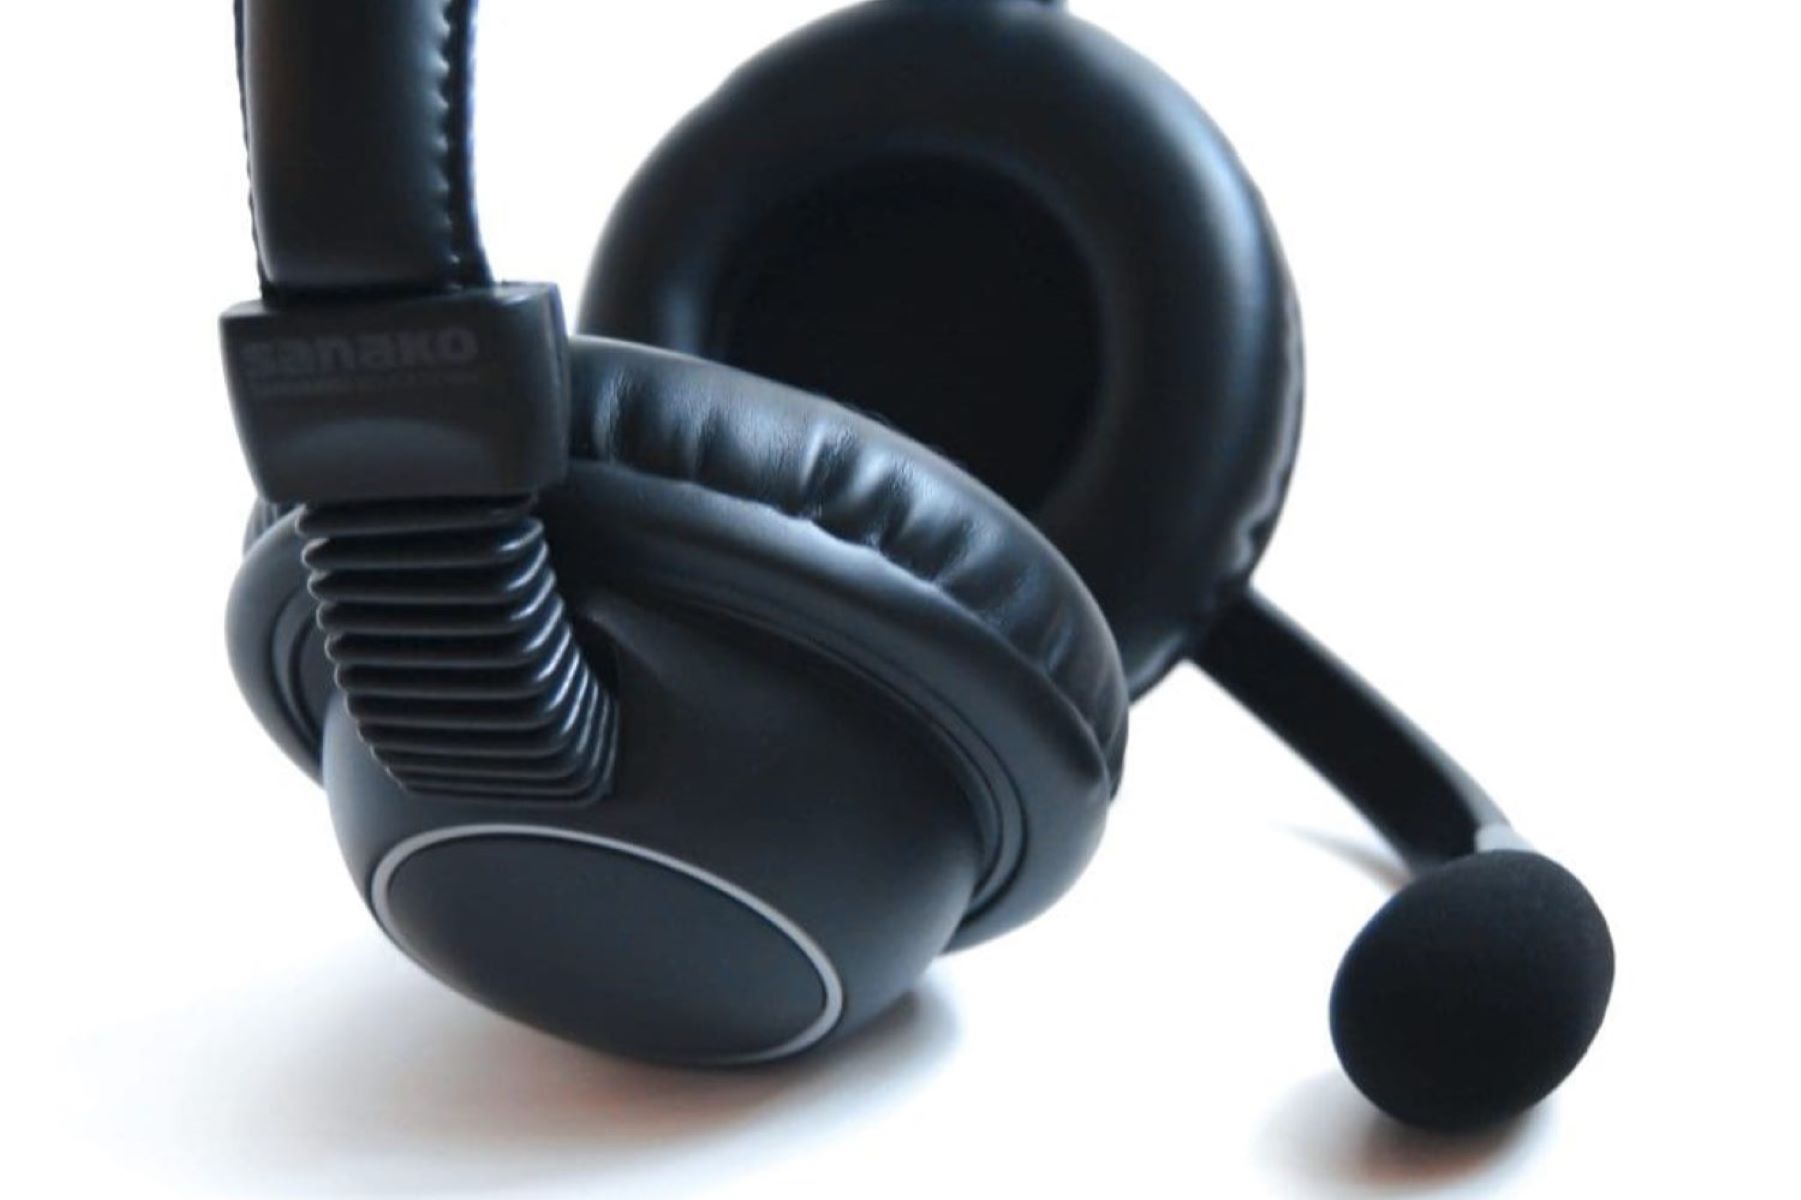
Why Clean Your Headset Microphone?
Keeping your headset microphone clean is essential for maintaining its performance and ensuring clear communication. Over time, headset microphones can accumulate dirt, dust, and grime, which can degrade the audio quality and lead to hygiene concerns. Whether you use your headset for gaming, virtual meetings, or making calls, a clean microphone not only enhances sound clarity but also promotes good hygiene practices.
Regular cleaning of your headset microphone can prevent the buildup of bacteria and germs, which is especially important if you share your headset with others. Additionally, a clean microphone is less likely to develop technical issues, such as muffled sound or intermittent disruptions, prolonging the lifespan of your equipment and saving you from potential repair costs.
Furthermore, maintaining a clean headset microphone demonstrates professionalism, particularly in work environments where clear and uninterrupted communication is crucial. Whether you are a professional gamer, remote worker, or content creator, a clean microphone reflects your commitment to quality and attention to detail, leaving a positive impression on your audience or colleagues.
Best Practices for Cleaning Your Headset Microphone
When it comes to cleaning your headset microphone, adopting the best practices ensures that you effectively remove dirt and maintain the integrity of the equipment. Here are some essential tips for cleaning your headset microphone:
- Regular Cleaning: Make it a habit to clean your headset microphone regularly, especially if you use it frequently. This proactive approach prevents the accumulation of debris and ensures consistent audio quality.
- Gentle Handling: Handle the microphone delicately to avoid causing damage. Use soft, non-abrasive materials to clean the microphone and avoid applying excessive pressure.
- Unplugging the Headset: Before cleaning, ensure that the headset is unplugged from the device to prevent any accidental damage or interference with the audio settings.
- Using Recommended Products: Opt for cleaning products that are safe for electronic devices. Avoid using harsh chemicals or excessive moisture, as these can harm the microphone’s components.
- Following Manufacturer’s Guidelines: Refer to the manufacturer’s instructions for specific cleaning recommendations. Some headsets may have unique cleaning requirements based on their design and materials.
- Thorough Drying: After cleaning, allow the microphone to dry completely before using it again. Ensuring that no moisture remains trapped in the microphone prevents potential damage and malfunctions.
- Inspecting for Damage: While cleaning, take the opportunity to inspect the microphone for any signs of wear or damage. Address any issues promptly to prevent further deterioration.
By adhering to these best practices, you can maintain a clean and functional headset microphone, prolonging its lifespan and preserving the quality of your audio experiences.
Tools and Supplies You Will Need
Before embarking on the cleaning process for your headset microphone, it’s important to gather the necessary tools and supplies to ensure a thorough and effective cleaning routine. Here’s a list of essential items you will need:
- Microfiber Cloth: A soft microfiber cloth is ideal for gently wiping the microphone to remove dust and smudges without scratching the surface.
- Cotton Swabs: These are useful for reaching small crevices and corners of the microphone where dirt may accumulate.
- Isopropyl Alcohol: A small amount of isopropyl alcohol can be used to disinfect the microphone and eliminate bacteria and germs.
- Clean Water: For diluting the isopropyl alcohol and moistening the cloth, clean water is essential for the cleaning process.
- Canned Air or Soft Brush: To remove stubborn debris and dust particles, canned air or a soft brush can be used to gently dislodge and remove them from the microphone’s surface.
- Mild Cleaning Solution: If necessary, a mild electronic device cleaning solution can be used, ensuring that it is safe for use on delicate components.
- Clean, Dry Surface: Prepare a clean and dry surface where you can lay out the headset and its components during the cleaning process.
Having these tools and supplies readily available will streamline the cleaning process and enable you to maintain your headset microphone with ease and efficiency. It’s important to ensure that the products used are safe for electronic devices and will not cause damage to the microphone’s components.
Step-by-Step Guide to Cleaning Your Headset Microphone
Cleaning your headset microphone involves a systematic approach to ensure thorough cleaning while safeguarding the delicate components. Follow these step-by-step instructions to effectively clean your headset microphone:
- Unplug the Headset: Begin by unplugging the headset from the device to prevent any electrical interference and ensure safety during the cleaning process.
- Prepare the Cleaning Solution: If using a mild cleaning solution, mix it with water according to the product instructions. Alternatively, use isopropyl alcohol sparingly for disinfecting purposes.
- Dampen the Cloth: Moisten a microfiber cloth with the cleaning solution or water, ensuring that it is not excessively wet to avoid any liquid seeping into the microphone’s components.
- Gently Wipe the Microphone: With the dampened cloth, gently wipe the microphone’s surface in a circular motion, removing any visible dirt, smudges, or residue. Take care not to apply excessive pressure to the microphone.
- Use Cotton Swabs for Detailing: For intricate areas and corners of the microphone, use cotton swabs lightly moistened with the cleaning solution to remove any stubborn dirt or grime.
- Dislodge Debris with Canned Air or Brush: If there are debris or dust particles in crevices or on the microphone grille, use canned air or a soft brush to dislodge and remove them gently.
- Inspect for Moisture: After cleaning, inspect the microphone to ensure that no moisture remains. Allow the microphone to air dry completely before reattaching it to the headset.
- Reassemble the Headset: Once the microphone is dry, reassemble the headset and ensure that all components are securely in place before using it again.
By following these steps, you can maintain a clean and functional headset microphone, promoting optimal audio performance and hygiene.
Additional Tips for Maintaining a Clean Headset Microphone
Aside from regular cleaning, there are additional strategies to uphold the cleanliness and functionality of your headset microphone. Implementing these tips will contribute to a consistently pristine and well-performing microphone:
- Storage: When not in use, store your headset in a clean and dust-free environment to minimize the accumulation of dirt and debris on the microphone.
- Personal Use: Whenever possible, avoid sharing your headset with others to reduce the transfer of germs and bacteria, preserving the hygiene of the microphone.
- Protective Coverings: Consider using removable microphone covers or windshields to shield the microphone from saliva, dust, and other particles during use, making cleaning more manageable.
- Avoiding Food and Drink: Refrain from consuming food and beverages while using the headset to prevent spills and food particles from coming into contact with the microphone.
- Regular Inspections: Periodically inspect the microphone for any signs of wear, damage, or buildup, addressing any issues promptly to prevent deterioration.
- Professional Maintenance: If your headset microphone experiences technical issues or persistent dirt buildup, consider seeking professional maintenance to ensure thorough cleaning and proper functionality.
- Hygienic Practices: Encourage good hygiene practices, such as washing hands before using the headset, to minimize the transfer of dirt and germs to the microphone.
- Replacement Components: If the microphone cover or windscreen is removable, consider replacing them periodically to maintain optimal hygiene and audio quality.
By incorporating these additional tips into your maintenance routine, you can uphold the cleanliness, functionality, and longevity of your headset microphone, ensuring optimal audio performance and hygiene for your continued use.