
How to Clean the Ear Cups
Gaming headsets are essential accessories for avid gamers, providing immersive audio experiences during intense gaming sessions. However, prolonged use can lead to the accumulation of dirt, sweat, and bacteria on the ear cups, compromising both hygiene and sound quality. Regular cleaning not only maintains the headset’s cleanliness but also prolongs its lifespan. Here’s a comprehensive guide on how to effectively clean the ear cups of your gaming headset:
- Remove the Ear Pads: Start by carefully removing the ear pads from the ear cups. Most ear pads are attached using a simple clip mechanism or are held in place by a plastic ring. Gently detach them to access the surface of the ear cups.
- Use a Mild Cleaning Solution: Prepare a gentle cleaning solution by mixing a small amount of mild liquid soap or dish detergent with warm water. Dampen a soft, lint-free cloth with the solution. Ensure that the cloth is not dripping wet, as excess moisture can damage the headset’s internal components.
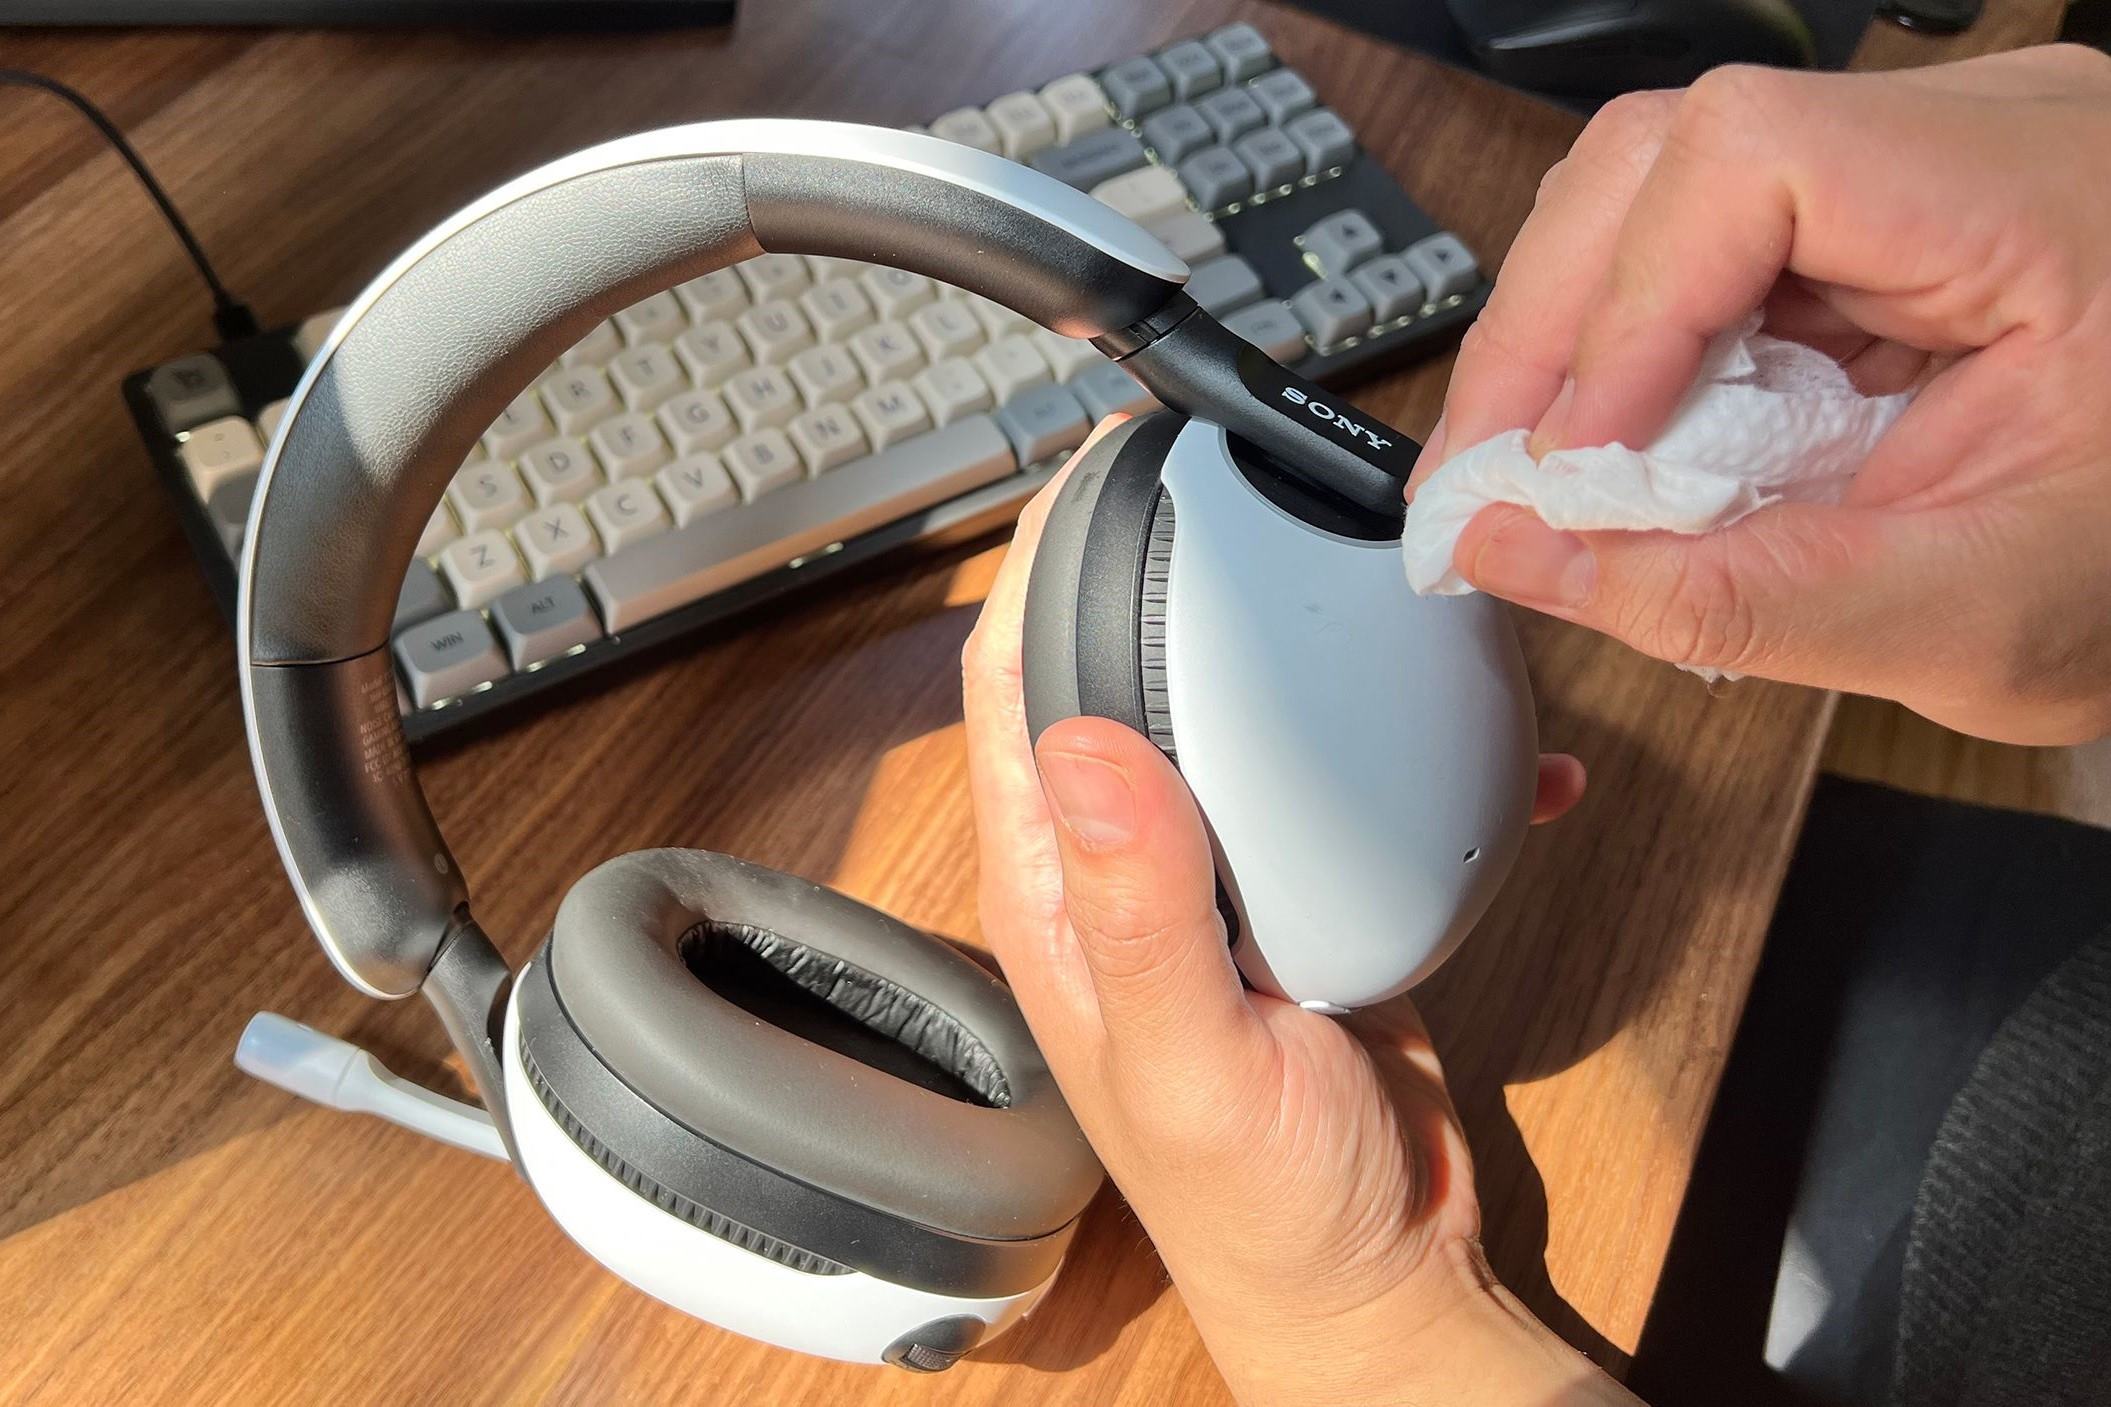
- Wipe the Ear Cups: Gently wipe the exterior and interior surfaces of the ear cups with the damp cloth. Pay close attention to areas where dirt and sweat tend to accumulate, such as the seams and crevices. Avoid using excessive force to prevent damaging the delicate materials.
- Sanitize with Isopropyl Alcohol: For a deeper clean and to eliminate bacteria, dampen a cotton swab or pad with isopropyl alcohol. Carefully swab the nooks and crannies of the ear cups, ensuring that the alcohol does not come into contact with the headset’s sensitive electronic components.
- Dry Thoroughly: After cleaning, allow the ear cups to air dry completely before reattaching the ear pads. Ensure that there is no residual moisture, as dampness can lead to mold growth and unpleasant odors.
By following these simple yet effective steps, you can maintain the cleanliness and hygiene of your gaming headset’s ear cups, ensuring a comfortable and enjoyable gaming experience while preserving the longevity of your valuable accessory.
Cleaning the Headband
While the ear cups of a gaming headset often receive the most attention, the headband is equally susceptible to accumulating dirt, oils, and sweat over time. Proper maintenance of the headband not only enhances comfort but also contributes to the overall hygiene of the headset. Here’s a detailed guide on effectively cleaning the headband of your gaming headset:
- Use a Soft Brush: Begin by gently brushing the headband with a soft-bristled brush or a clean, dry toothbrush. This helps remove loose dirt, hair, and debris that may have settled on the headband’s surface.
- Spot Cleaning: For localized stains or areas with visible grime, lightly dampen a cloth with a mild cleaning solution, such as a mixture of water and gentle liquid soap. Carefully dab the affected areas to lift the dirt without saturating the headband.
- Leather or Fabric: Depending on the material of the headband, tailor your cleaning approach accordingly. If the headband is made of leather, use a leather cleaner and conditioner to maintain its suppleness and prevent cracking. For fabric headbands, a gentle fabric cleaner can effectively lift stains and refresh the material.
- Drying: After spot cleaning, allow the headband to air dry completely. Avoid exposing it to direct heat sources, as excessive heat can cause damage to both leather and fabric materials.
- Regular Maintenance: Incorporate headband cleaning into your routine maintenance schedule to prevent the buildup of grime. Regularly wiping down the headband with a dry cloth can help mitigate the need for intensive cleaning sessions.
By incorporating these cleaning practices into your headset care routine, you can ensure that the headband remains clean, comfortable, and free from unsightly stains. This not only enhances the aesthetic appeal of your gaming headset but also contributes to a more hygienic and enjoyable gaming experience.
Wiping Down the Microphone
The microphone of a gaming headset plays a crucial role in facilitating clear communication with teammates and opponents during gaming sessions. However, constant use can lead to the accumulation of dust, debris, and germs on the microphone, affecting both its performance and hygiene. Proper cleaning and maintenance are essential to ensure optimal functionality and cleanliness. Here’s a comprehensive guide on effectively wiping down the microphone of your gaming headset:
- Unplug the Microphone: Before cleaning, ensure that the microphone is unplugged from the headset to prevent accidental damage or interference with the electrical connections.
- Use a Microfiber Cloth: Gently wipe the exterior of the microphone with a clean, dry microfiber cloth to remove surface dust and smudges. Microfiber is ideal for this task as it effectively captures and lifts particles without leaving lint or scratches.
- Sanitize with Isopropyl Alcohol: For a deeper clean and to eliminate bacteria, lightly dampen a cotton swab or pad with isopropyl alcohol. Carefully swab the microphone’s exterior, ensuring that no excess liquid enters the microphone’s openings or sensitive components.
- Cleaning the Microphone Mesh: If your microphone features a mesh cover, use a soft-bristled brush or a can of compressed air to gently dislodge and remove any trapped debris. Avoid using excessive force to prevent damaging the delicate mesh.
- Drying: After cleaning, allow the microphone to air dry completely before reattaching it to the headset. Ensure that there is no residual moisture, as this can affect the microphone’s performance and lead to corrosion.
By incorporating these cleaning practices into your gaming headset maintenance routine, you can ensure that the microphone remains free from dirt, germs, and obstructions, allowing for clear and uninterrupted communication during gaming sessions. Additionally, regular cleaning can contribute to the longevity and optimal performance of the microphone, enhancing the overall gaming experience.
Cleaning the Audio Cables
While the focus of headset maintenance often centers on the physical components, such as the ear cups and headband, the audio cables are equally important and require attention to ensure optimal performance and longevity. Over time, audio cables can accumulate dust, grime, and even become tangled, affecting both their functionality and the overall aesthetics of the headset. Here’s a comprehensive guide on effectively cleaning the audio cables of your gaming headset:
- Untangle and Inspect: Begin by carefully untangling the audio cables, inspecting them for any signs of damage, such as fraying or exposed wires. Address any issues with the cables before proceeding with the cleaning process.
- Use a Lint-Free Cloth: Gently wipe down the entire length of the audio cables with a clean, dry, lint-free cloth to remove surface dust and debris. Ensure that the cloth is soft to prevent any potential damage to the cable’s insulation or connectors.
- Spot Cleaning: For stubborn stains or areas with visible grime, lightly dampen a cloth with a mild cleaning solution, such as a mixture of water and isopropyl alcohol. Carefully wipe the affected areas, taking care not to saturate the cables.
- Securing Loose Connections: Check the cable connectors for any looseness or instability. If the connectors are detachable, ensure that they are securely attached to the headset and audio source to maintain a consistent and reliable connection.
- Proper Coiling and Storage: After cleaning, neatly coil the audio cables to prevent tangling and store them in a safe and dry location when not in use. Avoid placing heavy objects on the cables or exposing them to extreme temperatures.
By incorporating these cleaning and maintenance practices into your routine, you can ensure that the audio cables of your gaming headset remain free from dirt, tangles, and damage, preserving their functionality and contributing to a neat and organized gaming setup. Additionally, regular cleaning can help prevent signal interference and maintain the integrity of the audio transmission, ensuring a seamless and immersive gaming experience.
Maintaining the Headset’s Overall Hygiene
Ensuring the overall hygiene of your gaming headset goes beyond cleaning individual components; it involves cultivating habits and practices that contribute to the cleanliness and longevity of the entire device. By incorporating the following guidelines into your headset maintenance routine, you can uphold its hygiene and optimize its performance:
- Regular Dusting: Use a soft, dry microfiber cloth to gently dust the entire surface of the headset, including the ear cups, headband, and microphone. This helps prevent the accumulation of dust and debris that can compromise hygiene and aesthetics.
- Storage in a Clean Environment: When not in use, store your gaming headset in a clean and dust-free environment. A dedicated headset stand or case can provide a safe and organized storage solution, preventing exposure to dirt and potential damage.
- Hygienic Practices: Encourage users to maintain good personal hygiene, especially when using the headset. Avoid wearing the headset with wet hair or after applying hair products, as this can lead to the buildup of residue on the ear cups and headband.
- Periodic Deep Cleaning: Schedule regular deep cleaning sessions for your gaming headset, focusing on individual components such as the ear cups, headband, microphone, and audio cables. This thorough maintenance helps eliminate accumulated grime and bacteria, contributing to overall hygiene.
- Replacement of Ear Pads: If your headset’s ear pads are removable and replaceable, consider replacing them periodically to ensure a fresh and hygienic surface for prolonged use.
- Hygienic Handling: Encourage users to handle the headset with clean hands to prevent the transfer of oils, dirt, and bacteria onto the device. Additionally, avoid sharing headsets to minimize the risk of cross-contamination.
By integrating these practices into your headset care regimen, you can maintain the overall hygiene of your gaming headset, prolong its lifespan, and ensure a clean and comfortable gaming experience for both you and other users. Consistent maintenance not only preserves the aesthetics of the headset but also upholds its functionality and hygiene standards.